
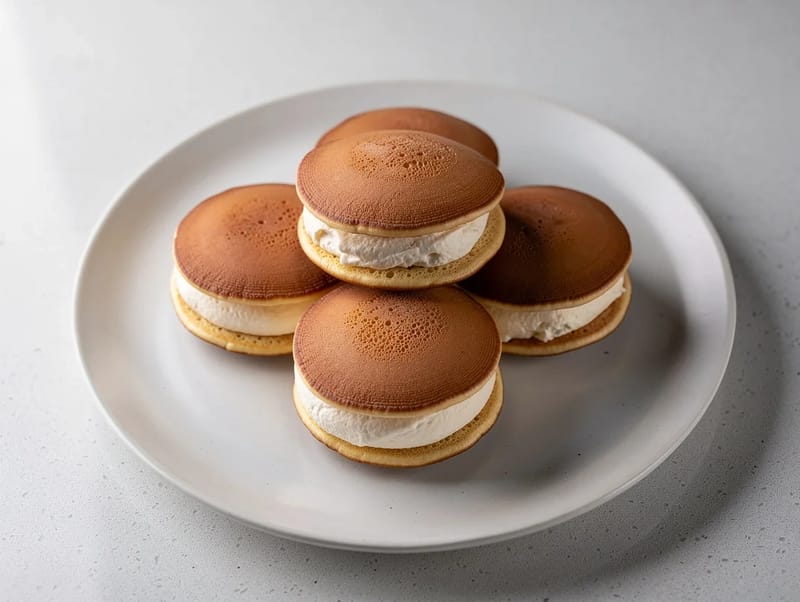
Cream-Filled Dorayaki (Japanese Honey Pancakes)
Why this recipe works
- Gentle sweetness: Honey in the batter gives the pancakes a rounded sweetness, while the lightly sweetened cream keeps the filling from feeling heavy.
- Soft cream filling: Cooling the pancakes fully before filling helps the whipped cream stay light, spoonable and distinct from the warm batter.
- Controlled pan cooking: A low to medium-low heat and a barely oiled nonstick pan help the pancakes colour evenly and cook through without drying out.
Get the most out of this recipe
Timing notes
- Rest the batter: The short rest allows the flour to hydrate and helps the batter relax, giving the pancakes a softer, more even texture.
- Cool before filling: Fill only once the pancakes are completely cool; residual warmth will soften or melt the whipped cream.
- Best served fresh: Cream-filled dorayaki are at their best soon after assembly. If storing, keep them chilled and serve within 24 hours.
Authenticity notes
- Classic filling: Dorayaki are traditionally associated with anko, a sweet red bean paste, rather than whipped cream.
- Cream-filled version: Whipped cream gives this version a lighter, café-style finish while keeping the recognisable dorayaki pancake format.
Common mistakes
- Pan too hot: High heat can brown the surface before the centre sets. Keep the pan low to medium-low and adjust between batches.
- Overworking the batter: Whisk only until smooth after adding the flour; excessive mixing can make the pancakes less tender.
- Too much oil: Wipe away excess oil so the pan is barely coated. This helps create an even golden surface rather than a fried edge.
Ingredient notes
- Use well-chilled cream: Cold whipping cream holds soft peaks more easily and gives the filling a lighter texture.
- Honey matters: A mild, smooth honey works well here because its flavour comes through clearly in the simple pancake batter.
- Butter colours faster: Using butter instead of vegetable oil gives a richer aroma, but it may deepen the colour of the pancakes more quickly.
Equipment you'll need
Ingredients
Pancakes
Cream filling
Instructions
- In a bowl, whisk the eggs with the caster sugar until the mixture looks pale and slightly thickened. Whisk in the honey and vanilla extract until smooth.
- Sift in the plain flour and baking powder, then whisk just until you have a smooth batter. Set aside for 10 minutes so the flour hydrates and the batter relaxes.
- Heat a nonstick frying pan over low to medium-low heat and lightly oil it, then wipe away any excess with kitchen paper so the surface is barely coated. Spoon small rounds of batter into the pan (about 7 to 8 cm across) and cook for 1.5 to 2 minutes until bubbles appear and the surface looks set. Flip and cook for 45 to 60 seconds until springy and evenly golden, then repeat with the remaining batter.
- Transfer the pancakes to a plate and let them cool completely so the cream does not melt. While they cool, whip the whipping cream with the caster sugar to soft peaks, keeping it light and spoonable.
- Pair up the pancakes by size, then spread or pipe the sweetened cream onto the flat side of one pancake and sandwich with another. Serve straight away for the softest texture.
Recipe notes
Tips
- Keep the pan heat low to medium-low so the pancakes colour evenly without drying out; adjust the heat between batches as needed.
- For neat rounds, hold the spoon close to the pan and let the batter spread naturally rather than swirling it.
- Food safety: if serving to pregnant people, young children, older adults, or anyone immunocompromised, use pasteurised eggs and keep the filled dorayaki chilled until serving.
Substitutions
- Replace Vanilla extract with the same amount of Honey for a more pronounced honey flavour.
- Replace Vegetable oil with the same amount of Unsalted butter for a richer aroma and slightly deeper colour.
Storage
- Refrigerate up to 1 days
- Dorayaki are best eaten the day they are filled. If needed, store filled dorayaki in an airtight container in the fridge and serve within 24 hours; the pancakes will soften as they sit.
Ratings & reviews
Liked this recipe? Share your feedback to support our cooking community.
Tried this recipe?
Choose 1–5 stars. A comment is optional.
Stay inspired
Discover new recipes, seasonal favourites and cooking inspiration every day. Follow JustRecipes on Pinterest and Spillt.
Recipe overview
- Servings: 4 servings
- Yield: dorayaki pancakes
- Total time: 45min (30min active)
- Difficulty: Medium
- Cuisine: Japanese
-
Allergens:
Eggs Gluten Milk Wheat
Plan your meals and get a complete grocery list automatically.
Add to meal plannerEquipment you'll need
Got ingredients left?
Find recipes using ingredients from this recipe or what you already have at home.
Find recipes with these ingredients →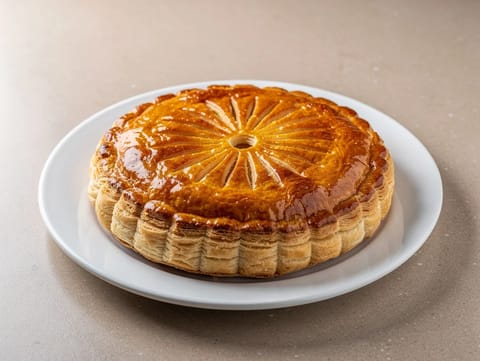
Galette des Rois (Puff Pastry Cake with Almond Frangipane)
Puff pastry cake filled with sweet almond frangipane
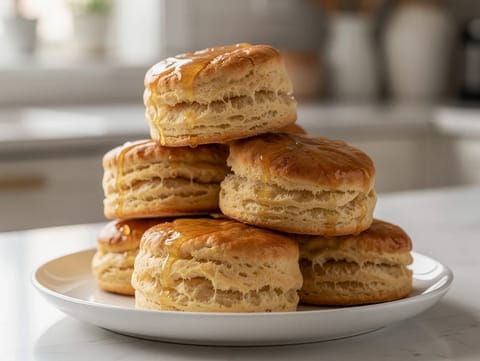
Air Fryer Butter Biscuits
Buttermilk biscuits cooked in the air fryer and brushed with butter.
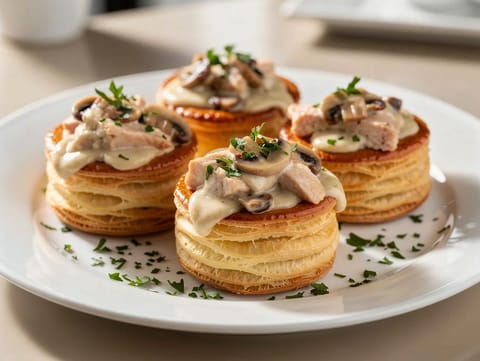
Bouchées à la Reine (Vol-au-Vents with Creamy Chicken and Mushrooms)
Vol-au-vents filled with creamy chicken and mushroom sauce
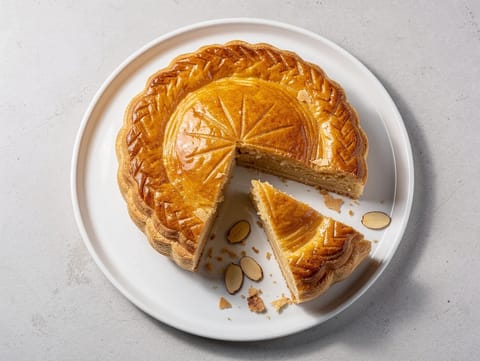
Galette des Rois (Kings’ Cake) with Almond Frangipane
Puff pastry cake filled with almond frangipane
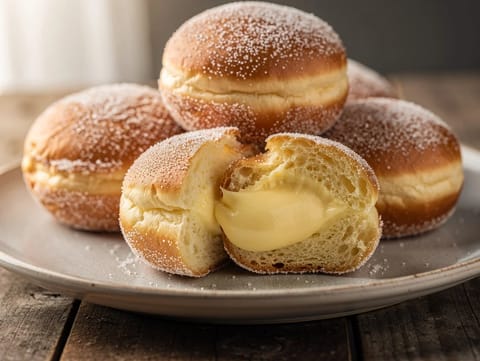
Bomboloni alla Crema (Italian Custard Doughnuts)
Sugar-coated doughnuts filled with vanilla pastry cream
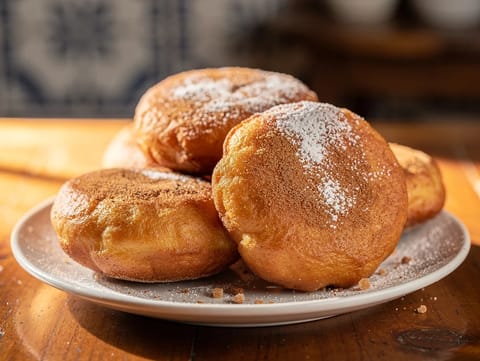
Filhoses (Portuguese Fried Christmas Pastries)
Portuguese fried pastries coated in cinnamon sugar
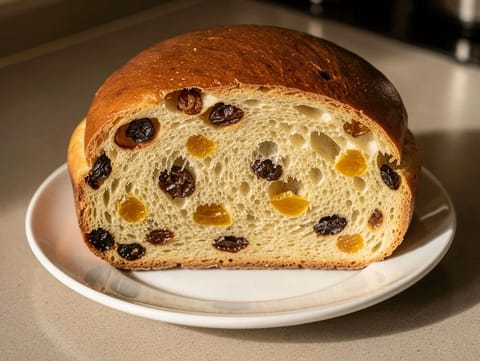
Julekake (Norwegian Christmas Bread with Raisins and Mixed Peel)
Soft Norwegian Christmas bread with raisins and mixed peel
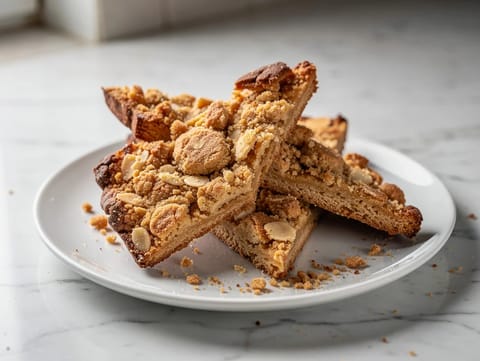
Fregolotta (Venetian Crumbly Almond Cake)
Crumbly Venetian almond cake baked until golden
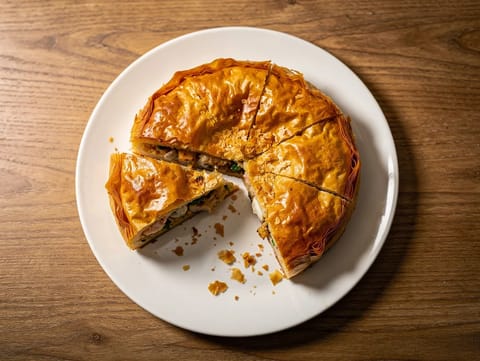
Seafood Pastilla (Moroccan Filo Pie with Prawns and White Fish)
Crisp Moroccan filo pie filled with prawns and white fish
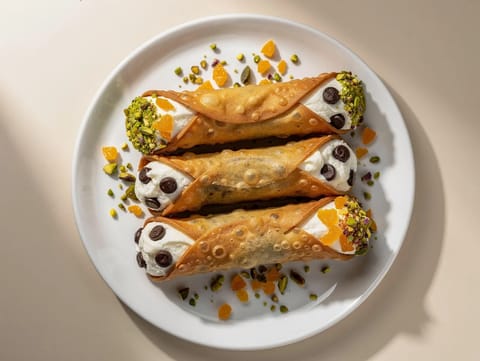
Cannoli Siciliani (Fried Pastry Tubes Filled with Ricotta)
Fried cannoli filled with sweet ricotta and finished with pistachios
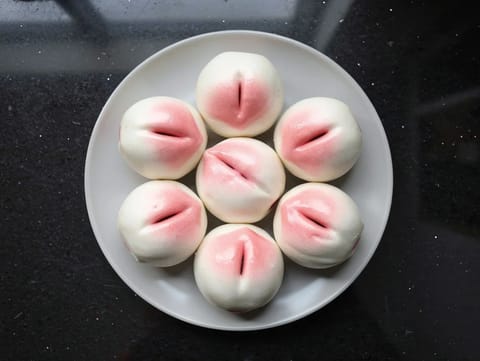
Longevity Peach Buns (Shou Tao)
Peach-shaped steamed buns filled with sweet red bean paste
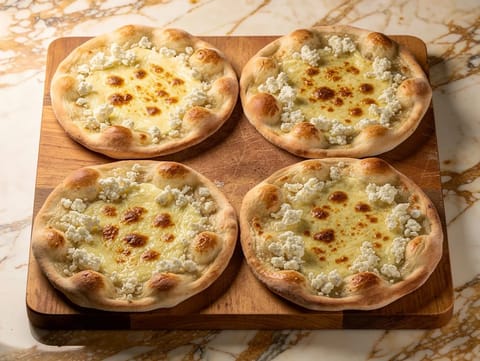
Manakish Cheese (Middle Eastern Flatbread)
Yeasted flatbreads topped with mozzarella and feta
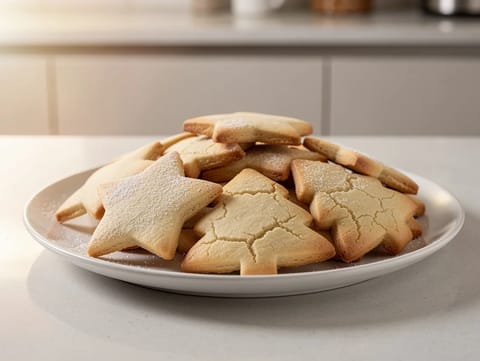
Christmas Sugar Cookies with Vanilla Butter Dough
Buttery vanilla sugar cookies cut into festive shapes
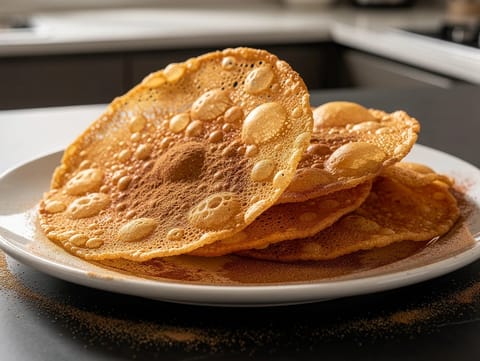
Buñuelos (Crispy Fried Pastry Discs)
Crispy fried pastry discs dusted with cinnamon sugar
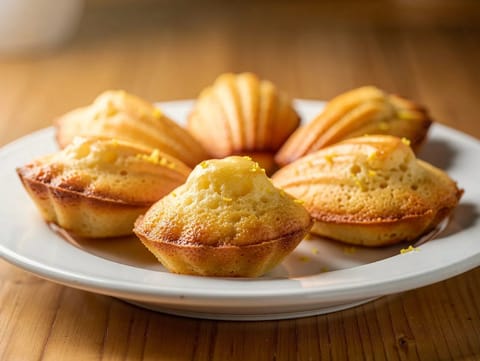
Madeleines (French Shell Cakes with Lemon and Vanilla)
Buttery shell-shaped cakes with lemon zest and vanilla
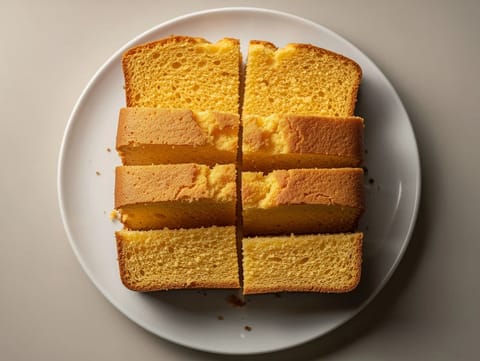
Babka Piaskowa (Polish Sponge Cake)
Polish sponge cake with a fine, tender crumb
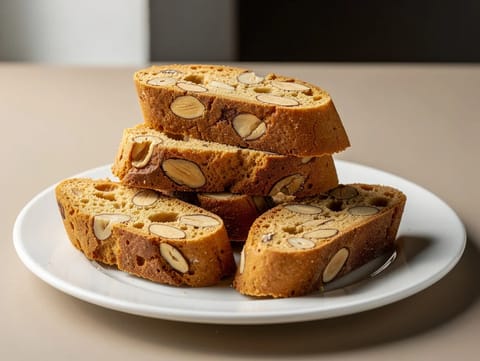
Biscotti di Prato (Almond Cantuccini)
Twice-baked almond biscuits with a crisp, dunkable texture
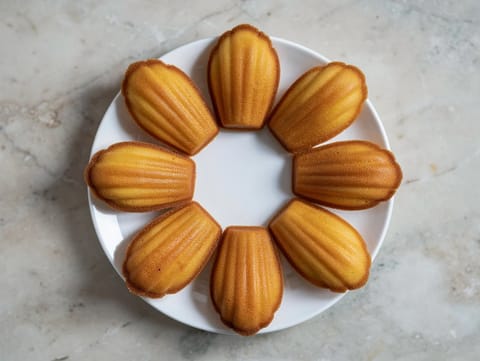
Madeleine Cakes
French shell-shaped sponge cakes with lemon and vanilla
You might also like
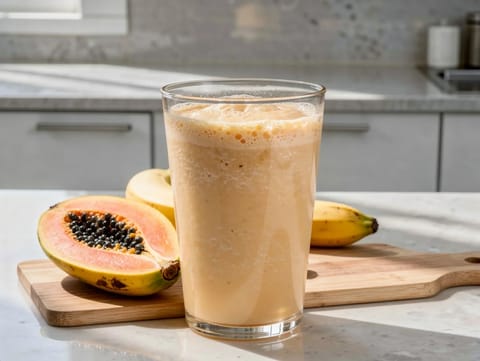
Caribbean Papaya Banana Smoothie
Papaya and banana smoothie with yoghurt, lime and coconut milk.
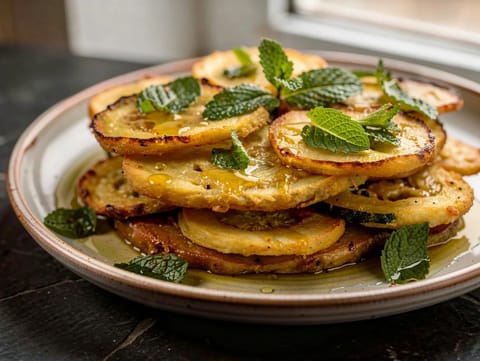
Zucchine alla Scapece (Fried Courgettes with Mint and Vinegar)
Fried courgettes dressed with mint, garlic and vinegar
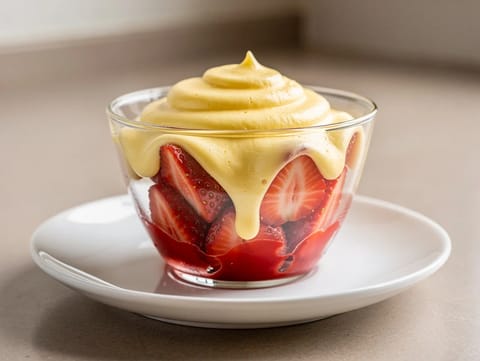
Zabaglione con Fragole (Marsala Custard with Strawberries)
Warm Marsala custard served over fresh strawberries
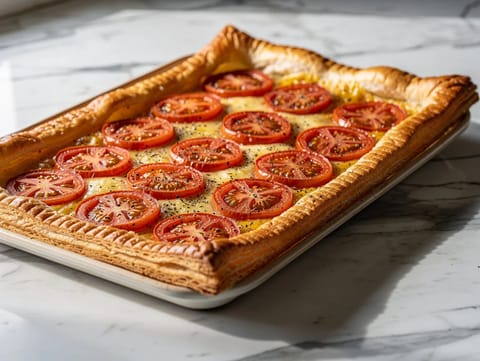
Tarte à la Tomate (French Tomato Mustard Tart)
Puff pastry tart with Dijon mustard, tomatoes and Gruyère
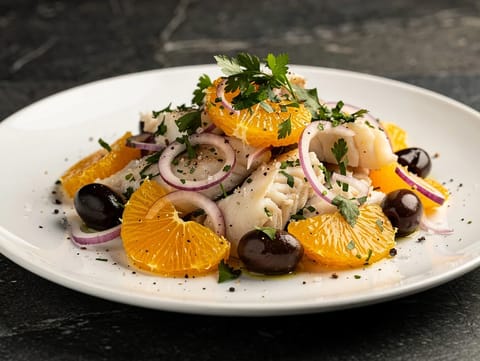
Ensalada de Naranja y Bacalao (Orange and Salt Cod Salad)
Orange and salt cod salad with red onion and olives
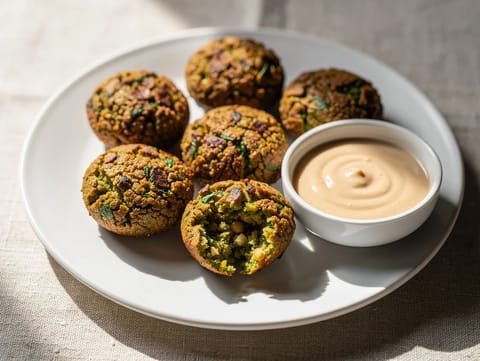
Air Fryer Falafel
Air-fried falafel made with chickpeas, herbs, spices and tahini.
Make this recipe easier next time
AdvertisementThese tools help you get better results with less effort.
KitchenAid Stainless Steel Mixing Bowls
- Non-slip base
- Stainless steel
- Not microwave safe
Pyrex Glass Mixing Bowls with Lids
- Microwave safe
- BPA-free lids
- Glass is heavier
OXO Good Grips Stainless Mixing Bowl Set
- Non-slip base
- Comfort grip
- Higher price
Enjoy cooking with JustRecipes?
Add JustRecipes as one of your preferred Google sources to discover our recipes more easily across Google Search.
Add JustRecipes to GoogleEvery recipe on JustRecipes follows the same structured editorial process. Learn how recipes are created, validated, translated, illustrated, and continuously improved across the platform. How we create recipes.
