
Air Fryer Garlic Bread
Why this recipe works
- Fast cooking: The air fryer browns the buttered bread quickly, making this a useful last-minute side.
- Crisp edges: Spacing the slices in a single layer helps the baguette toast rather than steam.
- Simple flavour base: Butter, garlic, parsley and seasoning create a classic savoury finish without extra ingredients.
Get the most out of this recipe
Texture tips
- For extra crispness: Use slightly day-old baguette, which air-fries more cleanly and develops a firmer bite.
- Avoid steaming: Keep the slices in a single layer and cook in batches if the air fryer basket is small.
Timing notes
- Serve straight away: Garlic bread is at its best immediately after cooking, while the butter is hot and the edges are crisp.
- Best made fresh: The bread can be reheated, but the texture is noticeably better when cooked just before serving.
Ingredient notes
- Choose the right bread: A baguette gives a crisp exterior and open crumb; slightly stale bread works especially well.
- Use fresh herbs if possible: Fresh parsley adds a clean, classic finish to the garlic butter, while basil gives a softer, sweeter note.
Common mistakes
- Watch the garlic butter: If the butter or garlic browns too quickly, reduce the heat to 180°C (355°F) and cook a little longer.
- Do not overcook: Remove the bread once golden and crisp; extra time can make the baguette dry rather than pleasantly crunchy.
Equipment you'll need
Ingredients
Instructions
- In a bowl, mash the butter with the garlic, most of the parsley, the salt and the pepper until well combined. Reserve a small pinch of parsley for finishing.
- Slice the baguette into pieces about 2 cm thick. Spread the garlic butter generously over the cut sides.
- Heat the air fryer to 190°C (375°F). Arrange the bread in a single layer and air-fry for 4 to 6 minutes until golden and crisp, turning once if needed for even browning.
- Transfer to a serving plate and sprinkle with the reserved parsley. Serve straight away while hot and crisp.
Recipe notes
Tips
- Do not overcrowd the air fryer basket; cook in batches if needed so the bread browns rather than steams.
- If the garlic butter starts to brown too quickly, reduce the temperature to 180°C (355°F) and cook for a minute longer.
Substitutions
- Replace Fresh parsley with Fresh basil for a softer, sweeter herbal finish.
Storage
- Refrigerate up to 2 days
- Best eaten straight away. Store cooled leftovers in an airtight container in the fridge, then reheat in the air fryer at 180°C (355°F) for 2 to 3 minutes until hot and crisp.
Ratings & reviews
Liked this recipe? Share your feedback to support our cooking community.
Tried this recipe?
Choose 1–5 stars. A comment is optional.
Stay inspired
Discover new recipes, seasonal favourites and cooking inspiration every day. Follow JustRecipes on Pinterest and Spillt.

Recipe overview
- Servings: 4 servings
- Total time: 12min (7min active)
- Difficulty: Easy
- Cuisine: Italian
-
Allergens:
Gluten Milk Wheat
Plan your meals and get a complete grocery list automatically.
Add to meal plannerEquipment you'll need
Got ingredients left?
Find recipes using ingredients from this recipe or what you already have at home.
Find recipes with these ingredients →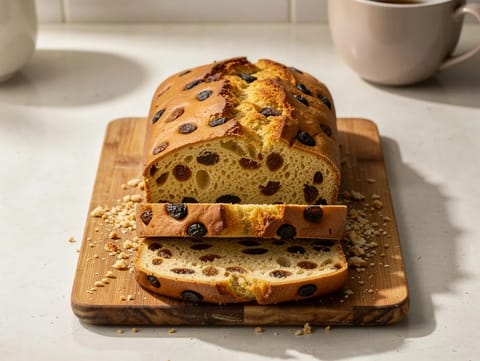
Barmbrack (Irish Tea-Soaked Fruit Loaf)
Tea-soaked fruit loaf enriched with butter, egg and milk
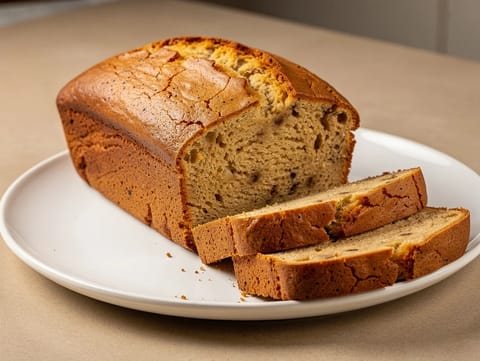
American Banana Bread
Moist banana bread loaf with vanilla
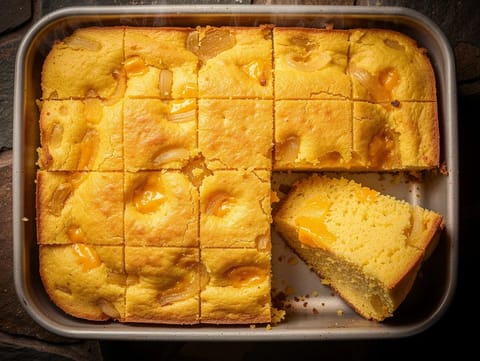
Sopa Paraguaya (Savoury Cornbread with Cheese and Onion)
Savoury cornbread baked with cheese and softened onions

Bolo Rei (King’s Cake)
Portuguese sweet ring bread with candied peel and raisins
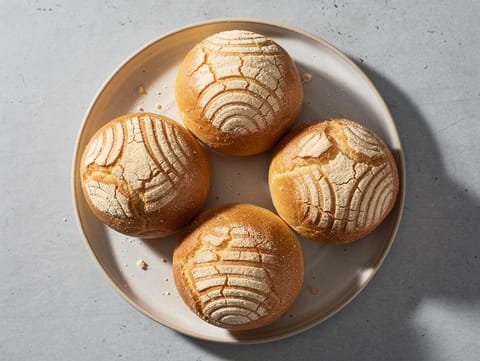
Conchas (Mexican Sweet Bread Rolls)
Soft conchas with a crackly vanilla sugar topping
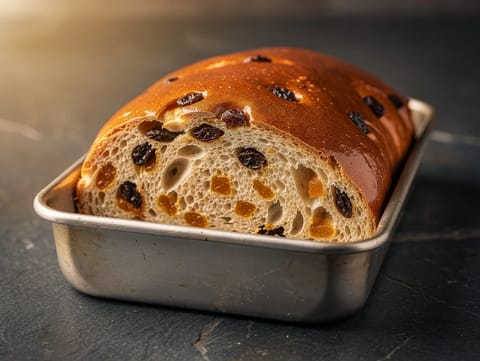
Julebrød (Norwegian Christmas Bread with Raisins and Mixed Peel)
Norwegian Christmas bread with raisins, peel and cardamom

Tết Pickled Carrot and Daikon
Crisp pickled carrot and daikon in sweet vinegar brine
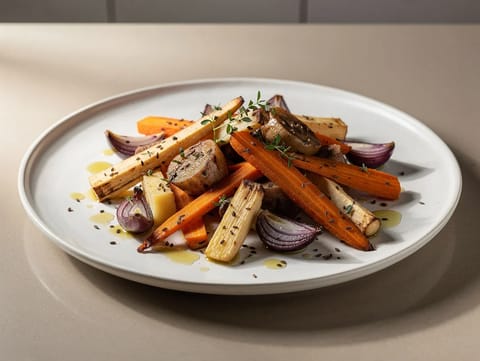
Roasted Nordic Root Vegetables with Thyme and Caraway
Roasted roots with thyme, caraway and apple cider vinegar
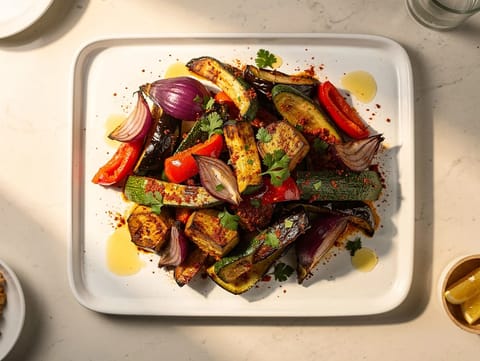
Moroccan Harissa Roasted Vegetables
Harissa-roasted vegetables finished with lemon and coriander

Aligot (Stretchy Cheese Mashed Potatoes)
Stretchy cheese mash with potatoes, Tomme and garlic
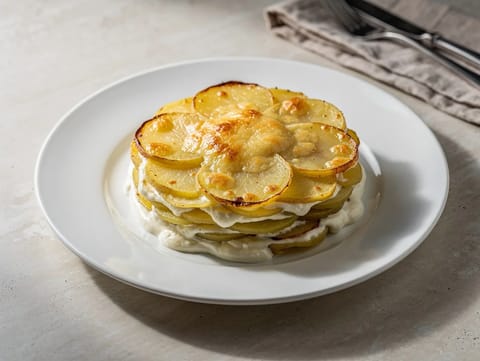
Light Potato Gratin with Gruyère
Potato gratin with Gruyère, milk and garlic
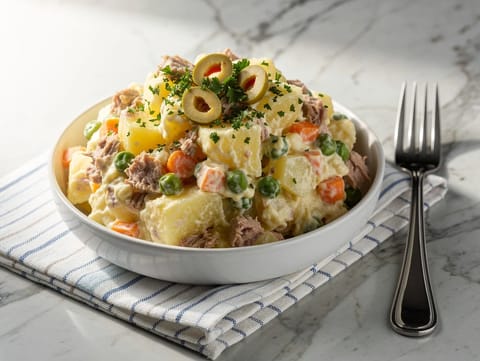
Ensaladilla Rusa (Spanish Potato Salad with Tuna)
Chilled Spanish potato salad with tuna, peas and mayonnaise

Farofa (Toasted Cassava Flour Side)
Toasted cassava flour side with butter, onion and garlic
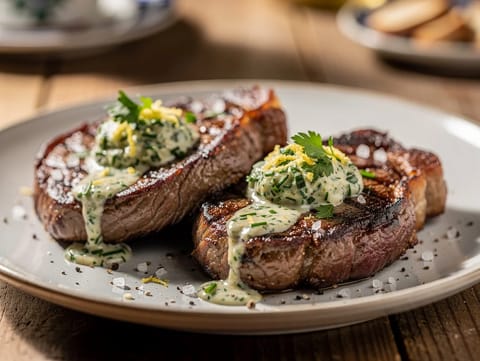
Steak mit Kräuterbutter (Pan-Seared Steak with Herb Butter)
Pan-seared ribeye steak served with melting herb butter
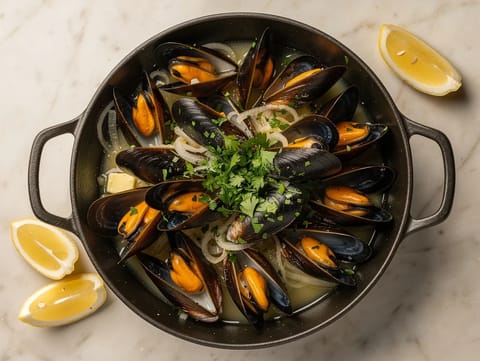
Moules Marinières (Mussels in White Wine)
Mussels steamed in white wine with garlic and parsley
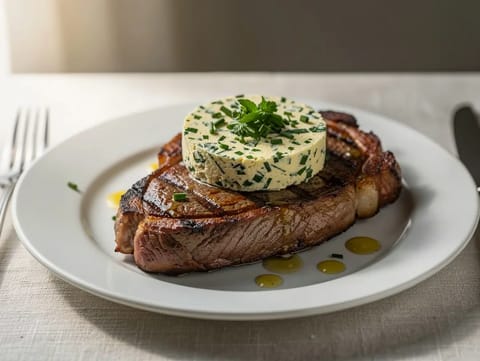
Grilled Entrecôte with Café de Paris Butter
Grilled entrecôte with melting Café de Paris butter
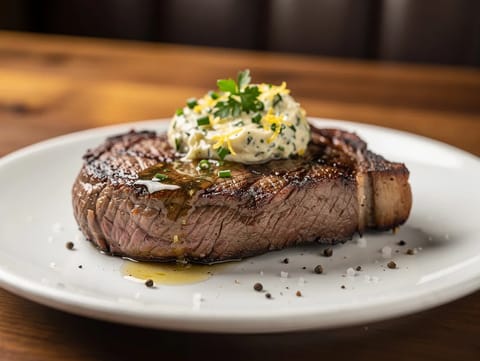
Pan-Seared Ribeye Steak with Garlic Herb Butter
Pan-seared ribeye topped with garlic herb butter
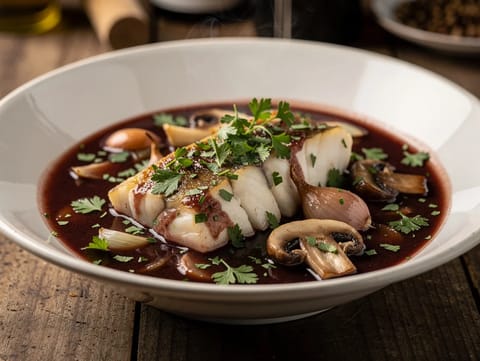
Matelote (French Fish Stew in Red Wine)
French fish stew poached in red wine with mushrooms
You might also like

Hummus with Spiced Lamb
Creamy hummus topped with cumin-spiced minced lamb
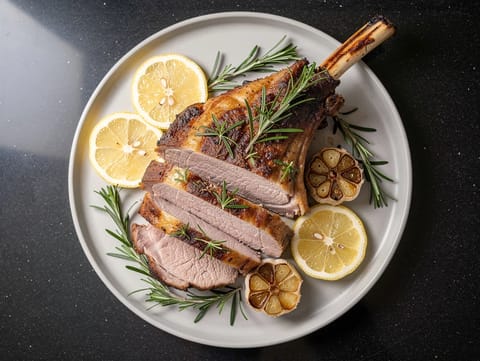
Agnello al Forno con Rosmarino (Roast Lamb with Rosemary, Garlic and Lemon)
Roast lamb with rosemary, garlic and lemon
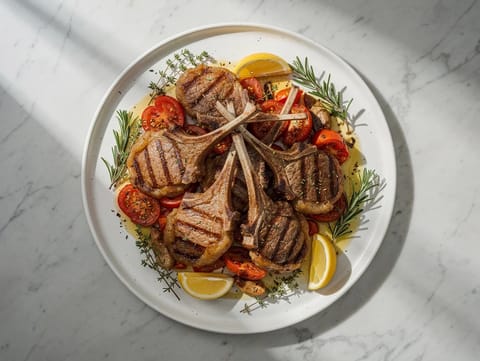
Côtelettes d’Agneau à la Provençale (Lamb Cutlets with Herbes de Provence)
Pan-seared lamb cutlets with herbes de Provence, lemon and tomatoes
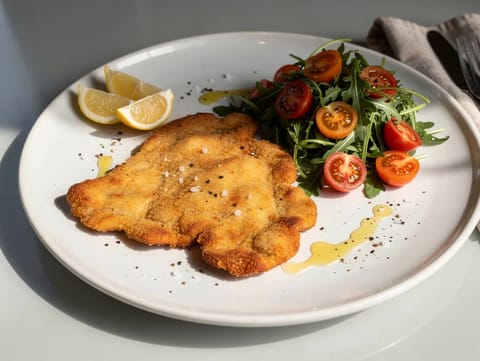
Veal Milanese with Rocket and Tomato
Crisp breadcrumbed veal with rocket and tomato salad
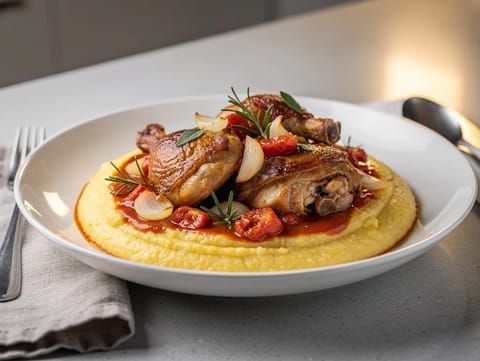
Pollo alla Cacciatora with Polenta
Chicken cacciatore served with buttery Parmesan polenta
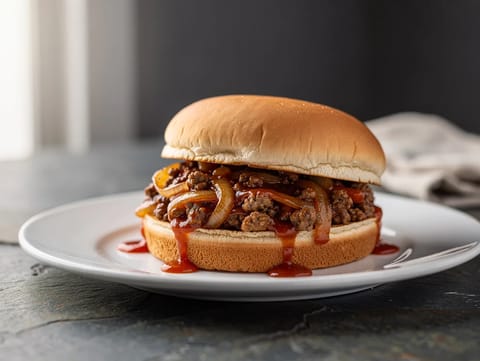
Sloppy Joe (Minced Beef in Tangy Tomato Sauce)
Sloppy Joe buns filled with tangy minced beef
Make this recipe easier next time
AdvertisementThese tools help you get better results with less effort.
KitchenAid Stainless Steel Mixing Bowls
- Non-slip base
- Stainless steel
- Not microwave safe
Pyrex Glass Mixing Bowls with Lids
- Microwave safe
- BPA-free lids
- Glass is heavier
OXO Good Grips Stainless Mixing Bowl Set
- Non-slip base
- Comfort grip
- Higher price
Enjoy cooking with JustRecipes?
Add JustRecipes as one of your preferred Google sources to discover our recipes more easily across Google Search.
Add JustRecipes to GoogleEvery recipe on JustRecipes follows the same structured editorial process. Learn how recipes are created, validated, translated, illustrated, and continuously improved across the platform. How we create recipes.
