
Air Fryer Cheesecake
Why this recipe works
- Creamy, smooth filling: Room-temperature dairy and gentle mixing help the cream cheese, egg and sour cream combine into a smooth filling without excess air.
- Balanced richness: Sour cream, lemon zest and a little lemon juice cut through the richness of the cream cheese and buttery biscuit base.
- Ideal for making ahead: The cheesecake needs time to chill and set, so it can be prepared in advance and served straight from the fridge.
Get the most out of this recipe
Timing notes
- Bake until just set: The edges should be set while the centre still has a gentle wobble; it will continue to firm as it cools and chills.
- Cool gradually: Leaving the cheesecake in the switched-off air fryer with the drawer slightly open helps reduce sudden temperature changes that can cause cracking.
- Chill before slicing: The cheesecake should be fully chilled before unmoulding so the filling cuts cleanly and holds its shape.
Texture tips
- For a smoother filling: Use room-temperature cream cheese, egg and sour cream, and scrape down the bowl so no dense pockets of cream cheese remain.
- Avoid excess air: Once the egg is added, mix gently rather than beating hard; too much air can make the cheesecake rise, then sink or crack.
- Keep the centre slightly wobbly: A fully firm centre in the air fryer usually means the cheesecake has gone too far and may set with a drier texture.
Ingredient notes
- Use full-flavoured cream cheese: A good cream cheese gives the filling its structure and classic tang; very soft or watery versions can make the cheesecake less stable.
- Choose unwaxed lemon: Because the zest is used, an unwaxed lemon is the best choice for clean citrus flavour in the filling.
- Biscuit base texture: Finely crushed digestives make a more even base, while a few coarser crumbs give a slightly more rustic bite.
Make-ahead tips
- Make it in advance: Bake and chill the cheesecake ahead of serving; the texture improves once it has had time to set properly.
- Keep chilled: Store covered in the fridge and return any leftovers to the fridge between servings.
- Freeze in slices: Wrap slices well, freeze, then thaw overnight in the fridge for an easy make-ahead dessert.
Equipment you'll need
Ingredients
Base
Filling
Instructions
- Grease and line the base of a 18 to 20 cm springform tin that fits your air fryer basket. Crush the digestive biscuits to fine crumbs. Melt the butter in a small saucepan over low heat.
- Stir the biscuit crumbs into the melted butter until evenly coated. Tip into the tin and press firmly into an even layer. Chill the base while you make the filling.
- In a mixing bowl, beat the cream cheese and caster sugar until smooth and creamy, scraping down the bowl as needed. Beat in the flour just until combined. Add the eggs one at a time, mixing gently so you do not whip in lots of air.
- Stir in the sour cream and vanilla extract. Finely zest the lemon into the bowl, then add 1 tbsp of lemon juice and mix until just smooth. Pour the filling over the chilled base and tap the tin lightly on the worktop to pop surface bubbles.
- Air fry at 150°C (300°F) for 30 to 40 minutes until the edges are set but the centre still has a gentle wobble. If the top is browning too quickly, reduce to 140°C (285°F) for the final 10 minutes. Turn off the air fryer and leave the cheesecake inside with the drawer slightly open for 20 minutes to cool gradually.
- Cool to room temperature, then cover and chill until fully set. Unmould, slice with a warm knife, and serve. Keep chilled between servings.
Recipe notes
Tips
- Room-temperature cream cheese, eggs and sour cream mix more smoothly and help prevent a lumpy filling.
- Mix gently once the eggs go in; too much air can cause the cheesecake to rise and crack as it cools.
- Food safety: this dessert contains eggs and should be kept chilled; avoid serving to vulnerable groups if the centre is underbaked.
Substitutions
- Replace Vanilla extract with Vanilla bean paste for a slightly richer vanilla flavour.
- Replace Sour cream with Greek yogurt for a tangier, slightly lighter filling.
- Replace Digestive biscuits with Digestive biscuits and reduce Unsalted butter to 60 g if your biscuits are especially buttery.
Storage
- Refrigerate up to 4 days
- Store covered in the fridge. For freezing, wrap slices well, freeze for up to 2 months, then thaw overnight in the fridge before serving.
Ratings & reviews
Liked this recipe? Share your feedback to support our cooking community.
Tried this recipe?
Choose 1–5 stars. A comment is optional.
Stay inspired
Discover new recipes, seasonal favourites and cooking inspiration every day. Follow JustRecipes on Pinterest and Spillt.
Recipe overview
- Servings: 8 servings
- Total time: 3h 30min (25min active)
- Difficulty: Medium
- Cuisine: American
-
Allergens:
Eggs Gluten Milk Wheat
Plan your meals and get a complete grocery list automatically.
Add to meal plannerEquipment you'll need
Got ingredients left?
Find recipes using ingredients from this recipe or what you already have at home.
Find recipes with these ingredients →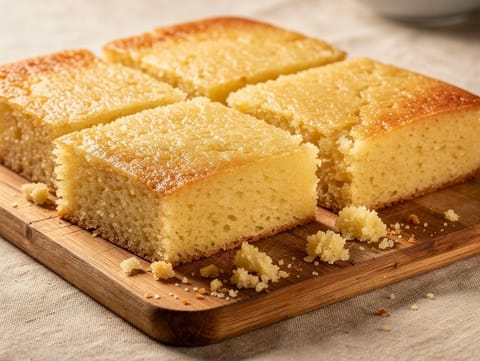
Revani (Greek Semolina Syrup Cake with Lemon)
Greek revani semolina cake soaked in lemon syrup
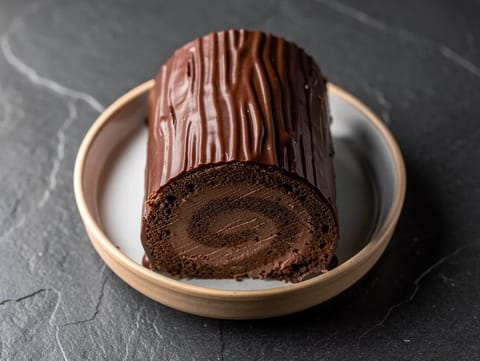
Chocolate Yule Log (Rolled Chocolate Sponge Cake)
Rolled chocolate sponge with chocolate cream and ganache
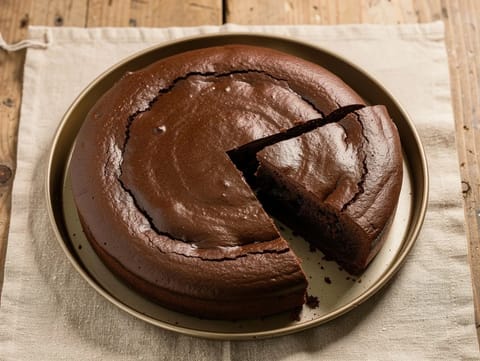
Gluten-Free Flourless Chocolate Cake
Fudgy flourless chocolate cake with cocoa
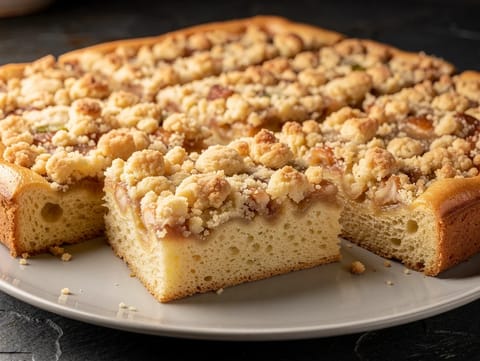
Streuselkuchen (German Yeasted Crumb Cake)
German yeasted crumb cake with a thick buttery streusel topping
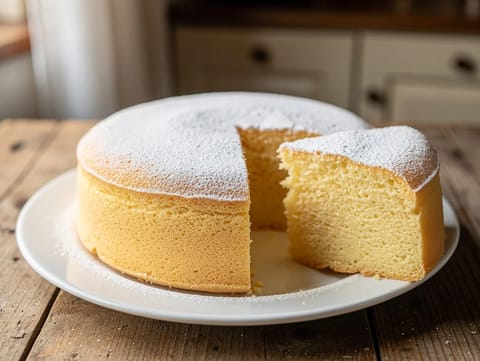
Torta Paradiso (Light Buttery Sponge Cake from Pavia)
Light buttery sponge cake finished with a dusting of icing sugar

Matcha Castella Cake (Japanese Green Tea Sponge)
Matcha castella sponge cake with honey
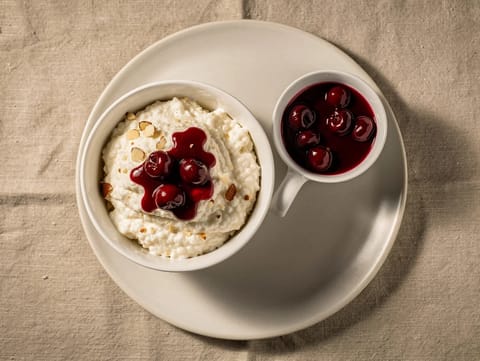
Risalamande (Danish Almond Rice Pudding with Cherry Sauce)
Danish almond rice pudding served with cherry sauce

Bomboloni alla Crema (Italian Custard Doughnuts)
Sugar-coated doughnuts filled with vanilla pastry cream
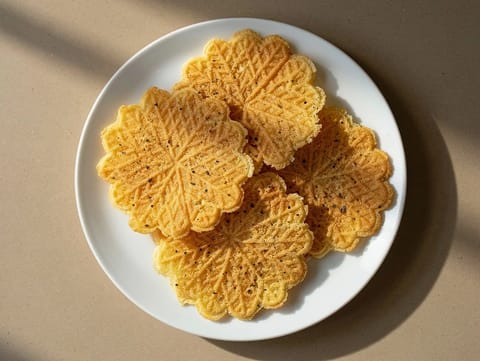
Pizelle (Italian Waffle Biscuits)
Thin Italian waffle biscuits with anise and lemon zest

Zuccotto (Florentine Dome Cake)
Florentine dome cake with cocoa sponge and ricotta filling
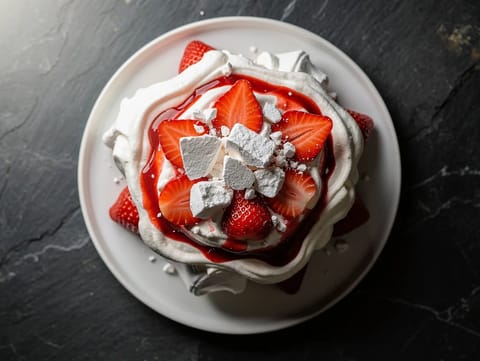
Eton Mess
Eton mess with strawberries, whipped cream and crushed meringue

Bomboloni (Italian Filled Doughnuts)
Sugar-coated Italian doughnuts filled with vanilla pastry cream
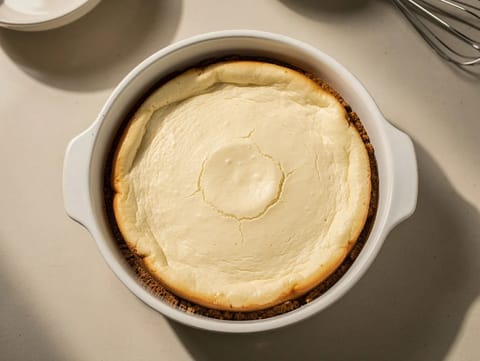
Air Fryer New York Cheesecake
Rich New York-style cheesecake baked in an air fryer.
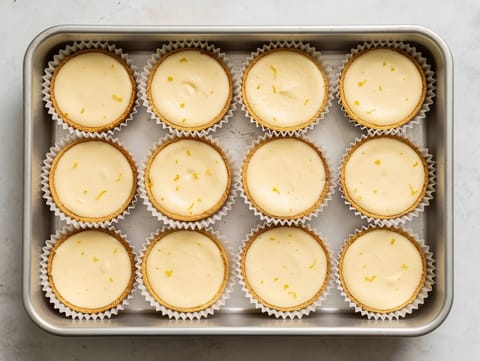
Air Fryer Mini Cheesecakes
Mini cheesecakes baked in an air fryer, then chilled.
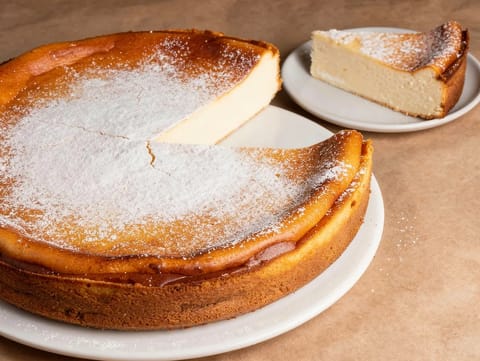
Sernik (Polish Baked Cheesecake with Quark)
Polish baked cheesecake made with quark and vanilla
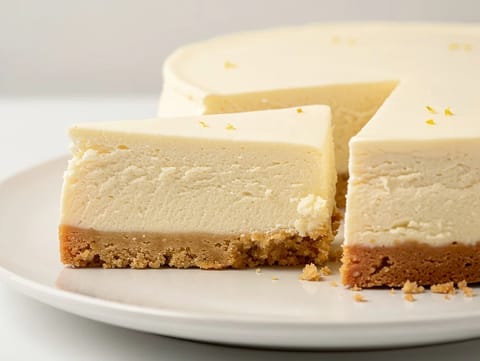
Modern Greek Yoghurt Cheesecake
Baked Greek yoghurt cheesecake with a digestive biscuit base

Madeleines (French Shell Cakes with Lemon and Vanilla)
Buttery shell-shaped cakes with lemon zest and vanilla

Tulumba (Turkish Fried Choux Fritters in Lemon Syrup)
Ridged choux fritters soaked in cooled lemon syrup
You might also like
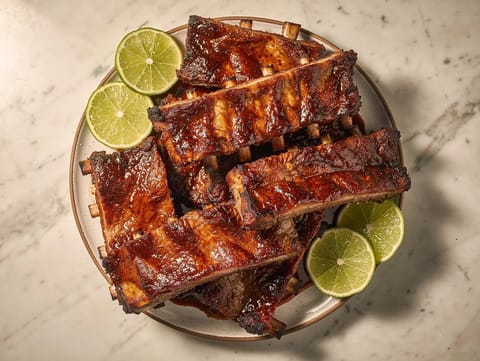
Costillas de Cerdo Adobadas (Adobo-Marinated Pork Ribs)
Roasted pork ribs in smoky adobo with a glossy glaze
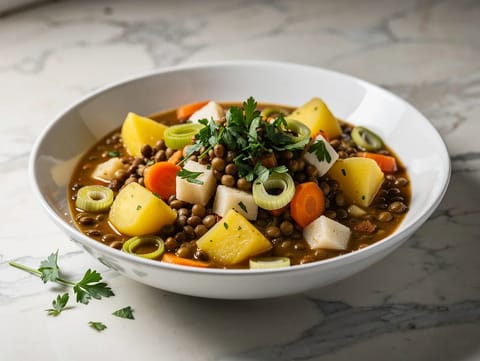
Vegetarian Lentil and Potato Eintopf
German-style lentil and potato stew with carrots, leeks and herbs
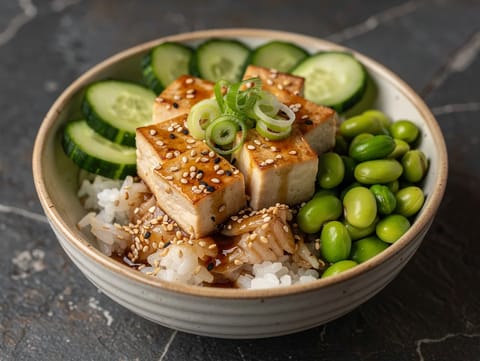
Tofu Sesame Poke Bowl
Sesame tofu poke bowl with sushi rice, cucumber and edamame.

Roast Beef with Yorkshire Pudding
Roast beef with crisp Yorkshire puddings and simple gravy
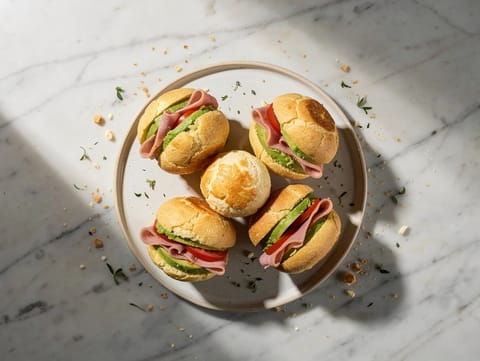
Pão de Queijo Sandwich with Avocado and Ham
Warm pão de queijo sandwich with avocado, tomato and ham
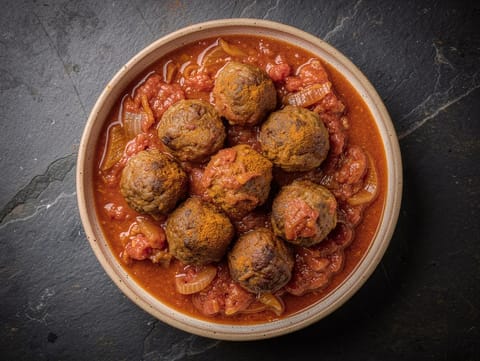
Albóndigas en Salsa (Meatballs in Tomato and White Wine Sauce)
Beef and pork meatballs simmered in tomato and white wine sauce
Make this recipe easier next time
AdvertisementThese tools help you get better results with less effort.
KitchenAid Stainless Steel Mixing Bowls
- Non-slip base
- Stainless steel
- Not microwave safe
T-fal Specialty Nonstick Handy Pot with Glass Lid 3 Quart
- Easy food release
- Dishwasher safe
- Not induction compatible
OXO Good Grips Stainless Mixing Bowl Set
- Non-slip base
- Comfort grip
- Higher price
WMF Mini Saucepan 16 cm with Lid
- High-quality stainless steel
- Even heat distribution
- Higher price point
Enjoy cooking with JustRecipes?
Add JustRecipes as one of your preferred Google sources to discover our recipes more easily across Google Search.
Add JustRecipes to GoogleEvery recipe on JustRecipes follows the same structured editorial process. Learn how recipes are created, validated, translated, illustrated, and continuously improved across the platform. How we create recipes.
