
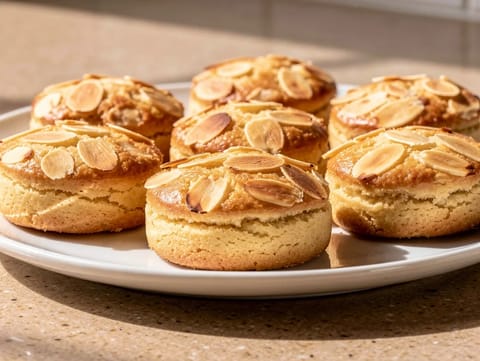
Gevulde Koek (Dutch Almond-Filled Cookie)
Buttery Dutch cookies with a thick almond paste filling

A baking tray is the workhorse for foods that need dry heat and plenty of exposed surface: roasting vegetables, baking biscuits, toasting nuts, or cooking anything you want to brown rather than stew. Because it’s thin and wide, it heats quickly and encourages evaporation, but it also reacts to how you load it. Overcrowding leads to steaming; a warped tray can pool fat and cook unevenly. A few small choices, about material, lining and spacing, make tray cooking more predictable and safer to handle.
For crisp roasting, use a sturdy metal tray and give ingredients space so moisture can escape. For sticky glazes or melted cheese, line the tray so you can lift food cleanly and avoid burnt-on patches. If you want maximum browning underneath, bake directly on the tray or on parchment rather than on a thick silicone mat, which can insulate. A rack set over a tray is useful when you want hot air to circulate all around, such as for crisping skin or draining fat, but it can slow down clean-up. If you do not have a proper baking tray, a shallow roasting tin can stand in, though it may heat differently.
Buttery Dutch cookies with a thick almond paste filling
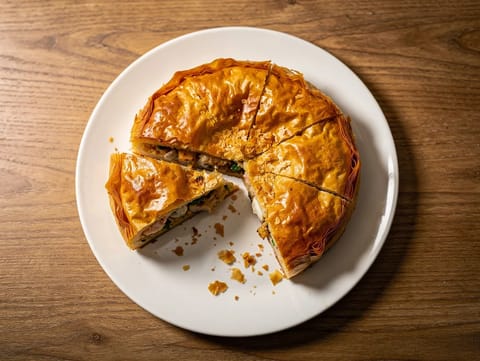
Crisp Moroccan filo pie filled with prawns and white fish
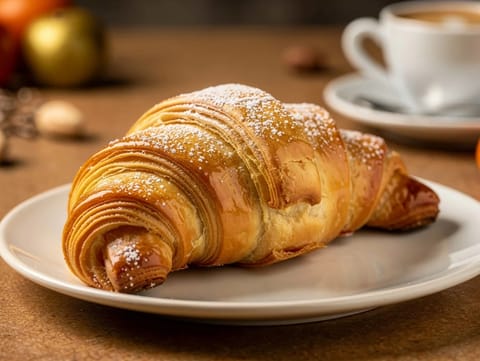
Italian butter cornetti baked golden and finished with icing sugar
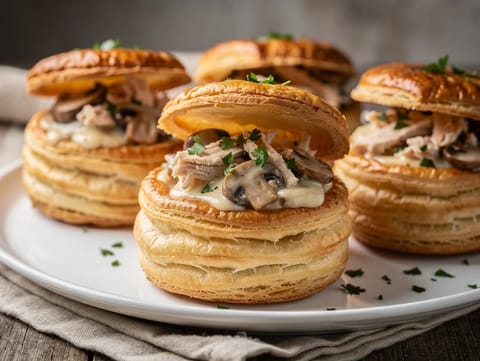
Puff pastry cases filled with creamy chicken and mushrooms
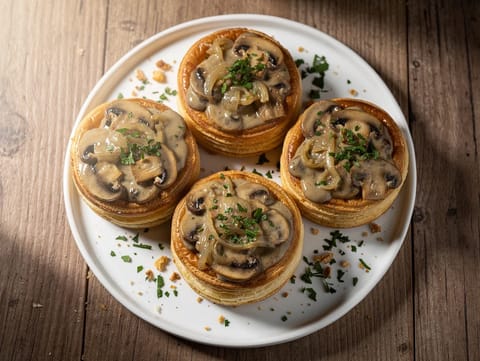
Puff pastry cases filled with creamy mushrooms
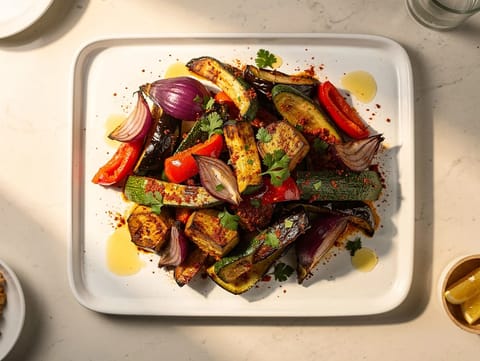
Harissa-roasted vegetables finished with lemon and coriander
Crowding is the main culprit for pale, soft roasting. When ingredients are piled up, the tray becomes a steamer. Another issue is using a tray that is too thin: it can warp with heat, tipping juices to one side and making hot spots. Sticking is often about timing rather than force. Many foods release once they have browned properly, so a short wait can be more effective than scraping. Finally, watch for excess fat smoking on an empty patch of tray; spreading food more evenly or lining can reduce scorching and make handling safer.
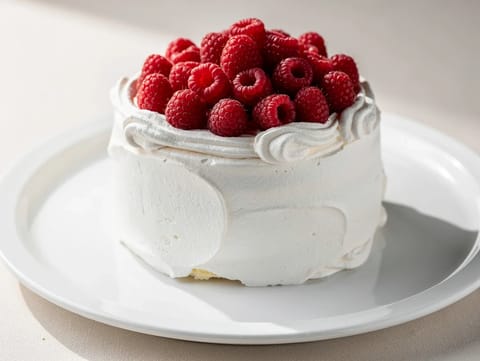
Frozen dessert of meringue, vanilla ice cream and raspberries
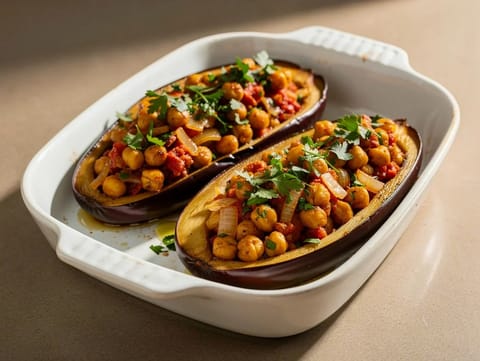
Roasted aubergines stuffed with spiced chickpeas in tomato sauce
Puff pastry cases filled with creamy chicken and mushrooms
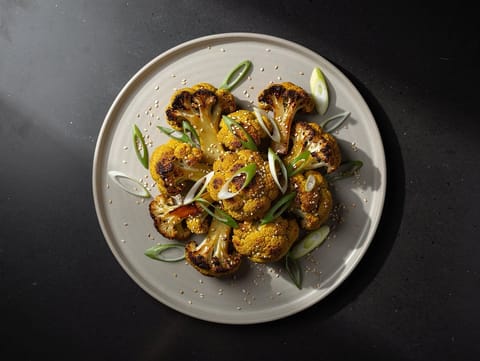
Roasted cauliflower glazed with miso, sesame oil and spring onion
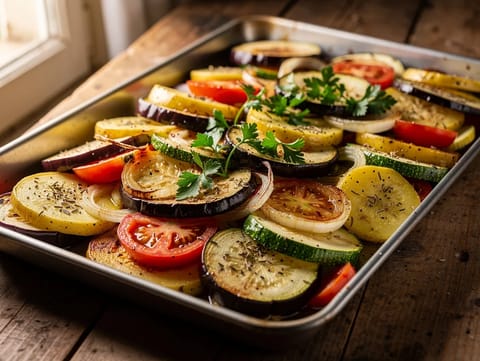
Greek olive oil roasted vegetable traybake
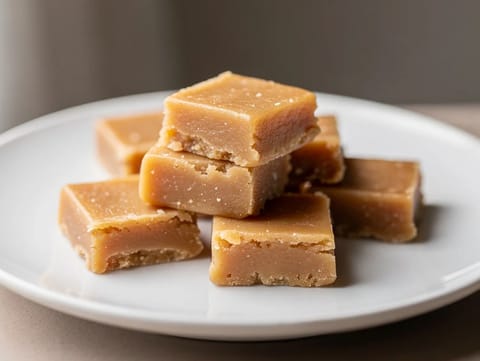
Crumbly Scottish tablet made with butter and condensed milk
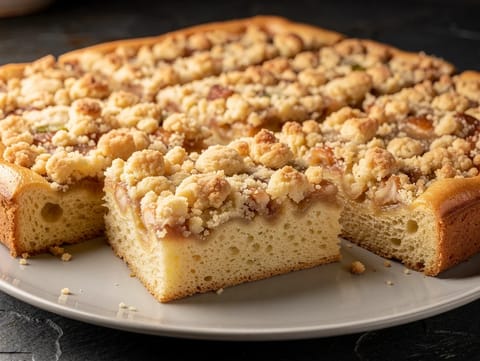
German yeasted crumb cake with a thick buttery streusel topping
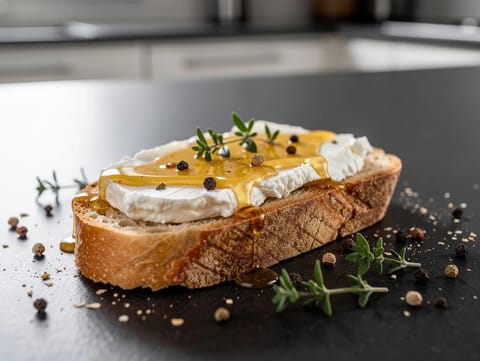
Toasted sourdough tartine with goat’s cheese and honey
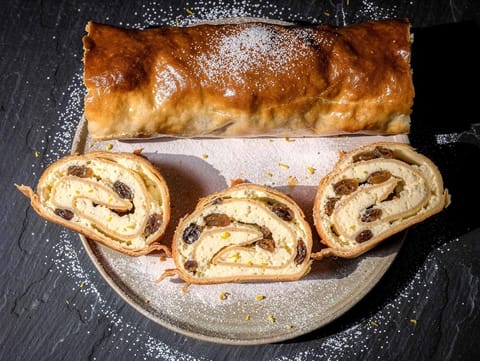
Crisp pastry strudel filled with vanilla quark, lemon and sultanas
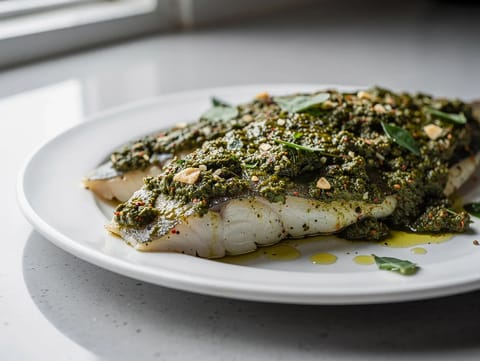
Baked white fish topped with chermoula coriander and spices
Italian butter cornetti baked golden and finished with icing sugar
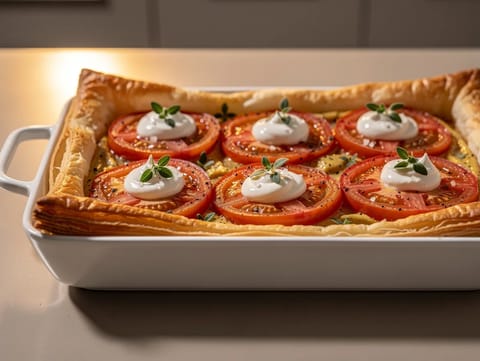
Puff pastry tart with Dijon mustard and baked tomatoes
Baking trays get hot quickly and stay hot longer than they look, especially dark metal. Use dry oven gloves and a stable surface when you pull a tray out, and be cautious of hot fat sloshing if the tray is uneven. If you line a tray with foil or paper, keep the liner flat and within the rim so it cannot catch on oven elements or interfere with airflow. Avoid using damaged non-stick trays at very high heat, as scratched coatings can behave unpredictably and are harder to clean without abrasion.
Cooking method is a useful next step because tray cooking overlaps with roasting, baking and grilling, and the method tells you whether you’re aiming for crisp edges or gentle heat. Difficulty can also help you choose recipes that match your confidence with high-heat timing, turning and judging browning by sight.
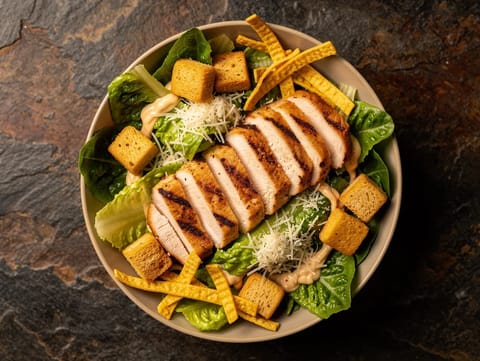
Chicken Caesar salad with smoky lime dressing and tortillas
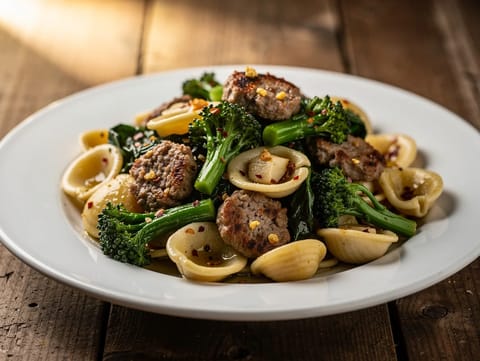
Orecchiette with broccoli rabe, sausage, garlic and chilli
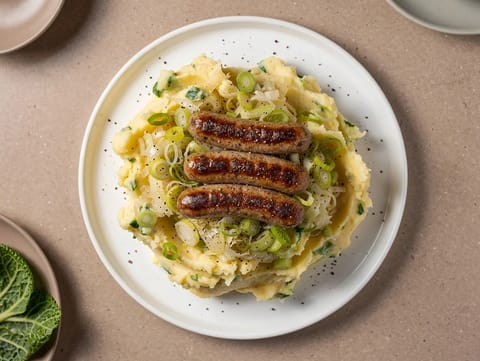
Pork and leek sausages with creamy colcannon
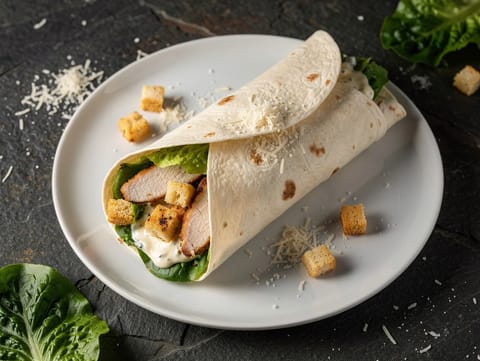
Chicken Caesar wrap with romaine, Parmesan and croutons
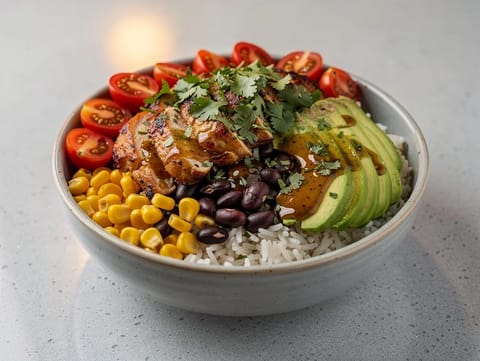
Chicken burrito bowl with rice, black beans, tomatoes and avocado

Punch bowl cocktail with rum, brandy, tea and lemon
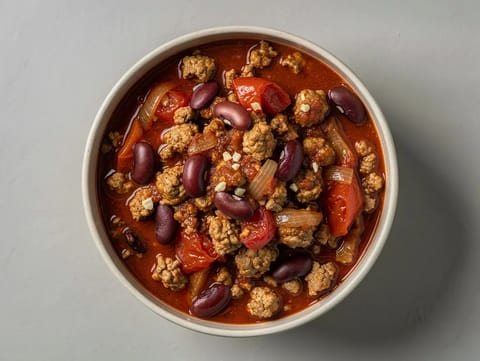
Turkey chilli simmered with kidney beans, tomatoes and spices
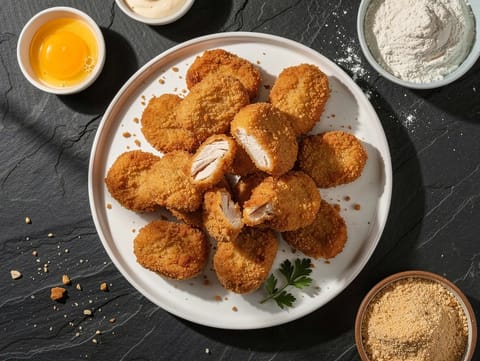
Crisp air fryer chicken nuggets with seasoned breadcrumbs.
A baking tray is usually flatter and designed for airflow and browning. A roasting tin is often deeper and sturdier, built to hold joints and collect drippings.
Usually there’s too much moisture trapped by crowding. Use a larger tray, spread ingredients out, and roast at a heat that drives off moisture rather than simmering it.
Line it when you expect sticking or burnt-on sugars, or when you want easier clean-up. For maximum browning underneath, baking directly on the tray or on parchment can work better than thick liners.
Thin metal expands quickly with heat, especially if part of the tray heats faster than the rest. A heavier-gauge tray is less likely to buckle.
Often, yes, especially for savoury roasting. Parchment is generally better for baking and for reducing sticking without reflecting heat as much.
It depends. Turning helps even browning when one side is in contact with the tray. Some foods brown well without turning if there’s enough airflow and space.
Most baking-tray recipes succeed or fail on two things: how much space you give the food, and how well the tray conducts heat. Choose a sturdy tray, line it when it makes sense, and let browning do the releasing.
