
Air Fryer Crispy Chilli Chicken
Why this recipe works
- Crisp coating: Cornflour creates a light, craggy coating that crisps well in the air fryer without deep-frying.
- Sharp-savoury balance: Rice vinegar cuts through the soy and sesame oil, while sugar rounds out the chilli heat.
- Fast finishing: The sauce reduces in minutes and the chicken is tossed at the end, keeping the cooking process efficient.
Get the most out of this recipe
Adjust the heat
- For less heat: Reduce the chilli flakes and let the garlic, ginger and vinegar carry more of the flavour.
- For extra heat: Add more chilli flakes to the sauce, tasting as it simmers so the heat stays balanced.
- Keep the sauce balanced: If the chilli tastes too sharp, a little extra sweetness can soften the edge without dulling the flavour.
Texture tips
- Start with dry chicken: Pat the chicken well before coating; excess surface moisture makes the cornflour clump and softens the crust.
- Sauce at the last moment: Toss the chicken off the heat and serve immediately so the glossy sauce coats rather than soaks the crust.
- Watch breast meat closely: If using chicken breast, start checking earlier than thighs as it can dry out more quickly.
Common mistakes
- Overfilling the air fryer: Cook in batches if needed; a single layer allows the coating to crisp instead of steam.
- Browning the garlic: Keep the aromatics moving in the sesame oil and add the liquids as soon as they smell fragrant.
- Reducing the sauce too far: Stop once it looks glossy and lightly syrupy; an over-reduced sauce can become too sticky and salty.
Make-ahead tips
- Prep components in advance: Chop the aromatics and cut the chicken ahead, but coat the chicken just before air frying for the best crunch.
- Keep sauce and chicken separate: If preparing ahead, store cooked chicken and sauce separately where possible, then reheat and toss just before serving.
- Best served fresh: Once sauced, the coating softens over time, so this dish is at its crispiest straight after cooking.
Equipment you'll need
Ingredients
Instructions
- Cut the chicken into bite-sized pieces and pat dry. Put the cornflour in a mixing bowl, add the chicken, and toss until every piece is well coated. Preheat the air fryer to 200°C (390°F) for 3 minutes.
- Arrange the coated chicken in the air fryer basket in a single layer (cook in batches if needed). Air fry for 12 to 16 minutes, shaking halfway, until deeply golden and cooked through. Tip onto a plate while you cook any remaining batch.
- Meanwhile, finely chop the garlic and grate the ginger. In a small saucepan over medium heat, warm the sesame oil, then cook the garlic, ginger and chilli flakes for 30 to 60 seconds until fragrant. Stir constantly so the garlic does not brown.
- Add the light soy sauce, rice vinegar and caster sugar, then bring to a lively simmer. Cook for 2 to 4 minutes, stirring, until the sauce looks glossy and lightly syrupy. Take off the heat.
- Add the hot crispy chicken to the saucepan and toss quickly to coat. Serve straight away so the coating stays as crunchy as possible. If you cooked in batches, rewarm the chicken in the air fryer for 1 to 2 minutes before saucing.
Recipe notes
Tips
- For the crunchiest result, keep the coated chicken dry: pat it well, and avoid letting it sit in the cornflour for too long before air frying.
- Do not simmer the chicken in the sauce; toss off the heat and serve immediately to keep the coating crisp.
- Make sure the chicken is fully cooked: it should be opaque throughout with no pink juices.
Substitutions
- Replace Chicken thighs with Chicken breast cut into bite-sized pieces; start checking for doneness 2 minutes earlier to avoid drying out.
- Replace Rice vinegar with White vinegar for a sharper, cleaner tang.
- Replace Caster sugar with Honey for a rounder sweetness (it will make the sauce a touch stickier).
Storage
- Refrigerate up to 2 days
- Best eaten immediately. Refrigerate leftovers in an airtight container and reheat in an air fryer at 190°C (375°F) for 5 to 7 minutes until piping hot; the coating will be less crisp once sauced.
Ratings & reviews
Liked this recipe? Share your feedback to support our cooking community.
Tried this recipe?
Choose 1–5 stars. A comment is optional.
Stay inspired
Discover new recipes, seasonal favourites and cooking inspiration every day. Follow JustRecipes on Pinterest and Spillt.

Recipe overview
- Servings: 3 servings
- Total time: 45min (30min active)
- Difficulty: Medium
- Cuisine: Chinese
-
Allergens:
Sesame Soybeans
Plan your meals and get a complete grocery list automatically.
Add to meal plannerEquipment you'll need
Got ingredients left?
Find recipes using ingredients from this recipe or what you already have at home.
Find recipes with these ingredients →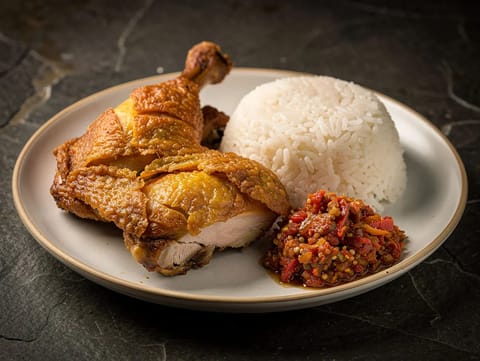
Ayam Penyet (Smashed Fried Chicken with Sambal)
Smashed fried chicken with sambal
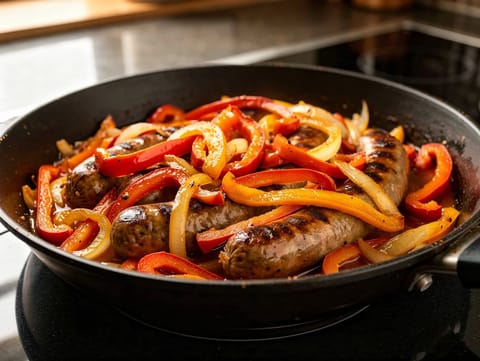
Salsiccia e Peperoni (Italian Sausage with Peppers and Onions)
Italian sausage cooked with peppers, onions and white wine
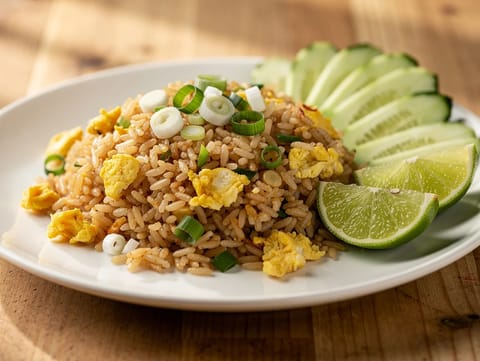
Khao Pad (Thai Fried Rice with Egg)
Thai fried rice with egg, garlic and lime
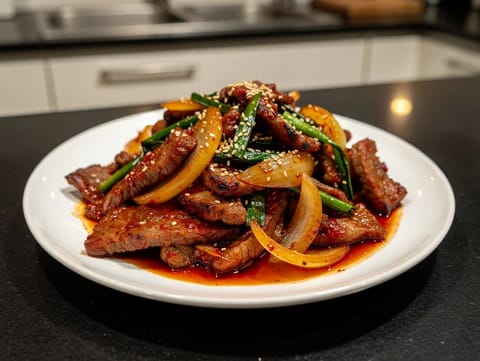
Dwaeji Bulgogi (Korean Spicy Pork Stir-Fry with Onion)
Spicy Korean pork stir-fry with onion and spring onions
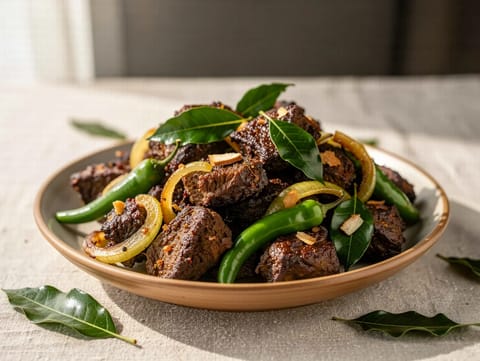
Kerala Beef Fry with Curry Leaves
Dry Kerala beef fry with curry leaves and coconut
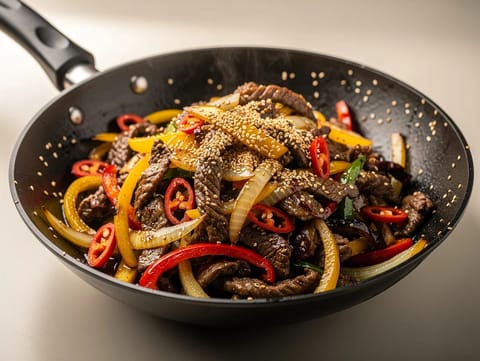
Cumin Lamb Stir-Fry (Xinjiang-Style Spiced Lamb)
Xinjiang-style cumin lamb stir-fry with chillies, onion and peppers
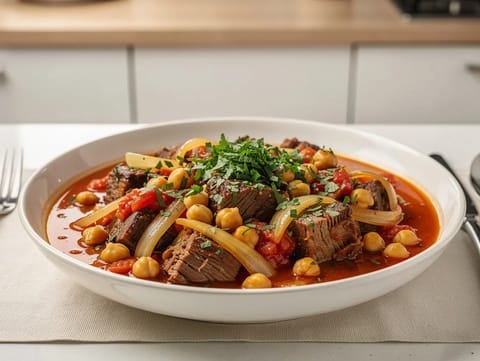
Levant-Style Lamb Stew with Chickpeas, Tomatoes and Lemon
Levant-style lamb stew with chickpeas, tomatoes and lemon
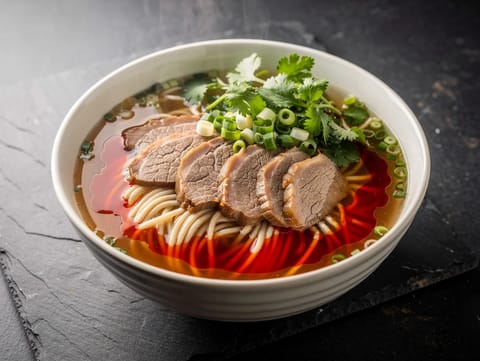
Lanzhou Beef Noodles (Hand-Pulled Noodle Soup)
Lanzhou beef broth with hand-pulled noodles, beef and chilli oil
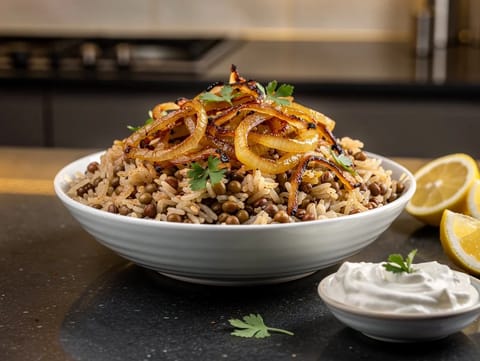
Mujaddara (Lentils and Rice with Caramelised Onions)
Lentils and rice topped with caramelised onions
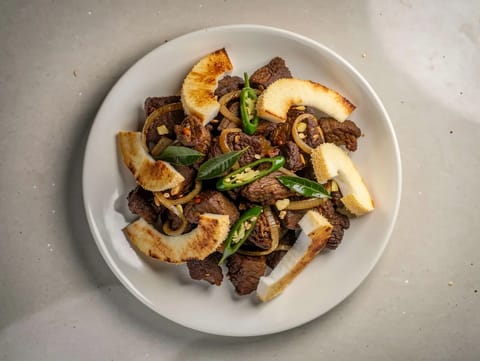
Kerala Beef Fry with Coconut Slices
Dry-style Kerala beef fry with curry leaves and coconut
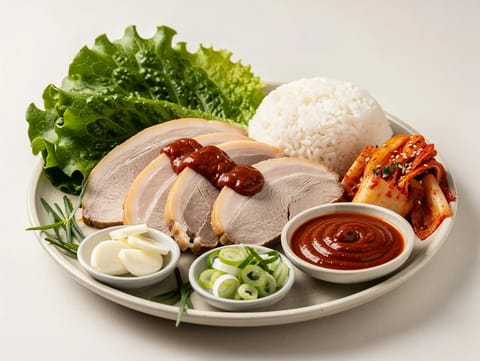
Bossam (Boiled Pork Wraps)
Boiled pork belly lettuce wraps with rice, kimchi and ssamjang
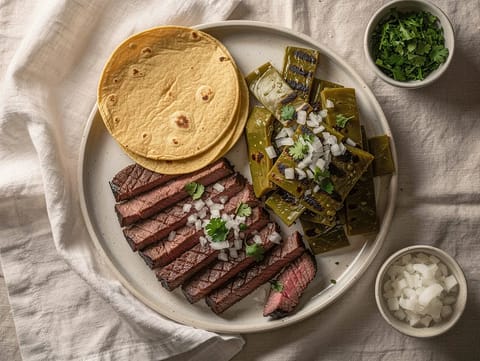
Carne Asada with Grilled Nopales
Grilled skirt steak and nopales served in corn tortillas
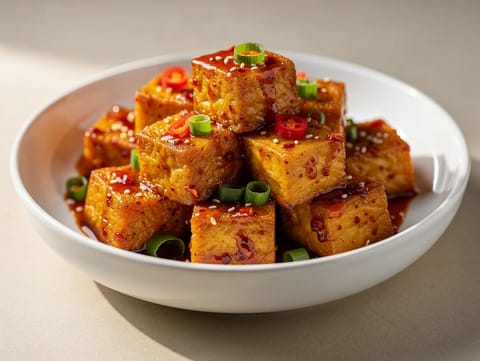
Air Fryer Crispy Chilli Tofu
Crispy air fryer chilli tofu in a sticky sauce.
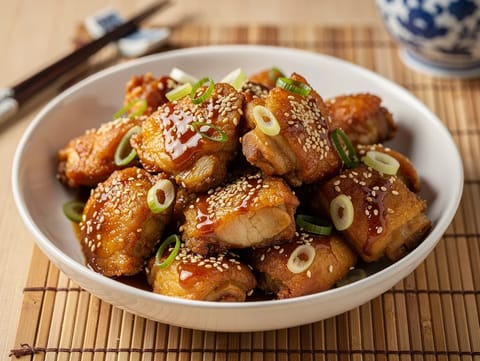
Air Fryer Sesame Chicken
Crispy air-fried chicken in a glossy sesame sauce.
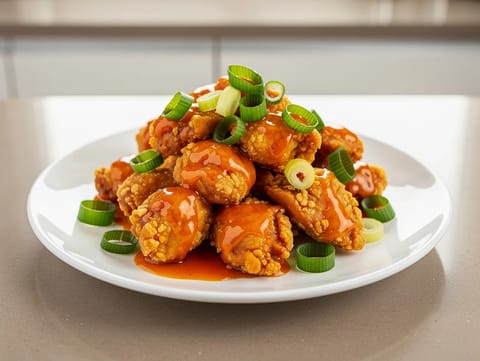
Air Fryer Orange Chicken
Crispy air fryer orange chicken tossed in a sticky sauce.
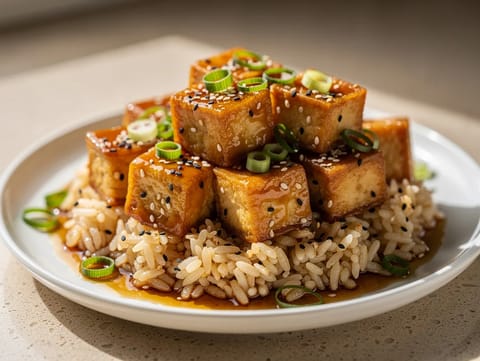
Air Fryer Sesame Tofu
Crispy air-fried tofu in a sesame soy glaze.
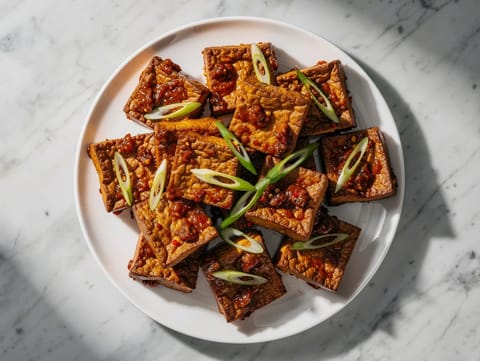
Miso Chilli Crispy Tofu
Crispy baked tofu tossed in miso chilli sauce
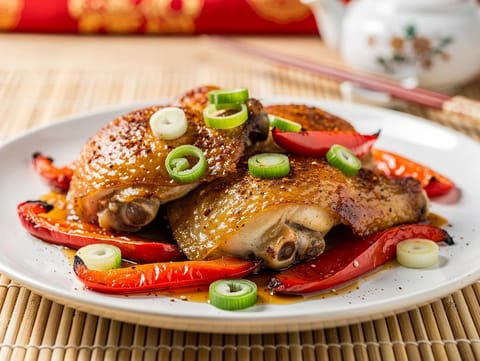
Chinese Five-Spice Chicken Traybake with Soy and Honey
Sticky five-spice chicken traybake with soy, honey and peppers
You might also like
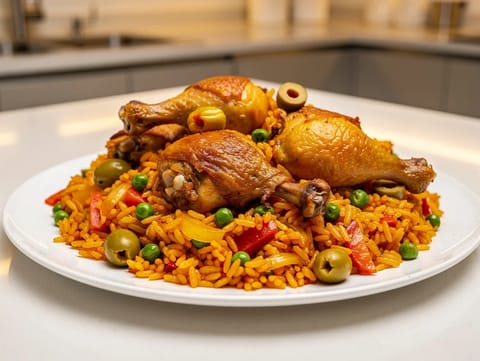
Arroz con Pollo (One-Pot Chicken and Saffron Rice)
One-pot chicken and saffron rice with peas and green olives
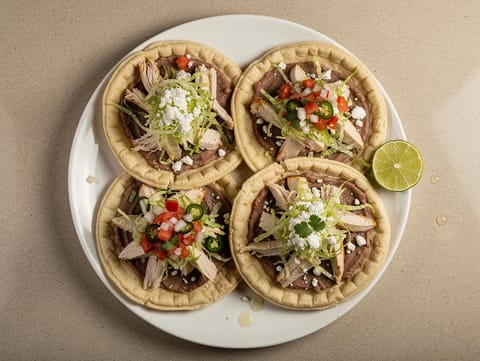
Sopes Caseros (Thick Masa Bases with Beans, Chicken and Toppings)
Thick sopes topped with beans, chicken, lettuce and salsa
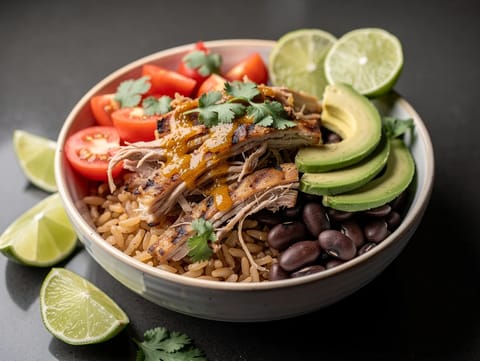
Light Carnitas Bowl
Carnitas bowl with brown rice, black beans, avocado and pico
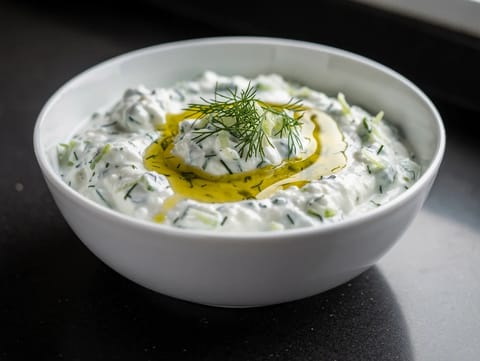
Cacik (Turkish Yoghurt and Cucumber Dip)
Chilled Turkish yoghurt and cucumber dip with dill and garlic
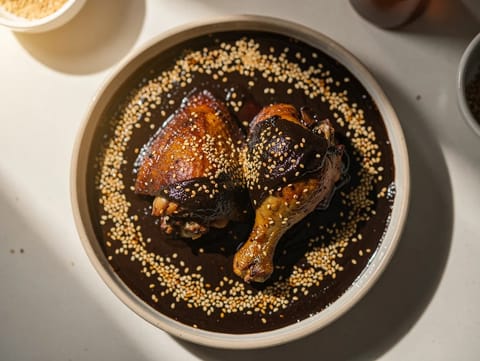
Pollo en Mole Negro Oaxaqueño (Chicken in Oaxacan Black Mole)
Chicken served with Oaxacan mole negro and sesame seeds
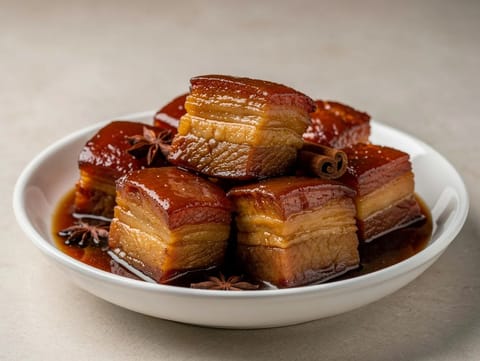
Chinese Red-Braised Pork Belly (Hong Shao Rou)
Tender red-braised pork belly in a glossy soy sauce
Make this recipe easier next time
AdvertisementThese tools help you get better results with less effort.
KitchenAid Stainless Steel Mixing Bowls
- Non-slip base
- Stainless steel
- Not microwave safe
T-fal Specialty Nonstick Handy Pot with Glass Lid 3 Quart
- Easy food release
- Dishwasher safe
- Not induction compatible
OXO Good Grips Stainless Mixing Bowl Set
- Non-slip base
- Comfort grip
- Higher price
WMF Mini Saucepan 16 cm with Lid
- High-quality stainless steel
- Even heat distribution
- Higher price point
Enjoy cooking with JustRecipes?
Add JustRecipes as one of your preferred Google sources to discover our recipes more easily across Google Search.
Add JustRecipes to GoogleEvery recipe on JustRecipes follows the same structured editorial process. Learn how recipes are created, validated, translated, illustrated, and continuously improved across the platform. How we create recipes.
