
Roast Chicken with Sage and Onion Stuffing
Why this recipe works
- Crisp skin, moist meat: Patting the chicken dry and roasting at 200°C (390°F) helps the skin brown while the meat stays juicy.
- Classic stuffing method: Baking the sage and onion stuffing separately gives it a golden top and avoids slowing the chicken’s cooking time.
- Built-in pan sauce: Stock lifts the browned roasting juices from the pan, creating a simple savoury sauce without needing a separate gravy base.
Get the most out of this recipe
Timing notes
- Rest before carving: Let the chicken rest for 15 minutes so the juices settle and the meat carves more cleanly.
- Serve the stuffing hot: The stuffing should be piping hot in the centre when served, especially if it has been baked ahead or reheated.
Texture tips
- For extra-crisp skin: Leave the chicken uncovered in the fridge for up to 12 hours, then season just before roasting.
- Keep the stuffing golden: Bake the stuffing in a separate dish so the top can brown instead of steaming inside the bird.
- Check doneness accurately: Use a thermometer at the thickest part of the thigh and cook to 75°C (170°F) to avoid both undercooking and drying out the bird.
Make-ahead tips
- Prepare the stuffing components: The onion and herbs can be prepared ahead, then combined with the breadcrumbs, egg and stock before baking.
- Store leftovers separately: Keep chicken, stuffing and juices in separate containers where possible so each reheats more evenly.
- Reheat gently: Warm the chicken and stuffing in a 180°C (355°F) oven until piping hot, and reheat the juices separately in a saucepan.
Ingredient notes
- Use fresh herbs if possible: Fresh sage gives the stuffing its distinctive savoury aroma, while parsley keeps the flavour from becoming too heavy.
- Breadcrumb texture matters: Breadcrumbs should be dry enough to absorb the stock and egg but not so fine that the stuffing becomes dense.
- Gluten-free option: Gluten-free breadcrumbs can be used, but check the mixture before baking as they may absorb liquid differently.
Equipment you'll need
Ingredients
Instructions
- Heat the oven to 200°C (390°F). Pat the chicken dry, then season it all over with 1 tsp of the fine sea salt and 1/2 tsp of the black pepper. Put the chicken in a roasting pan and leave at room temperature while you start the stuffing.
- Melt 30 g of the unsalted butter in a saucepan over medium heat. Finely chop the yellow onion and cook for 8 to 10 minutes until soft and lightly golden. Take off the heat.
- Finely chop the fresh sage and fresh parsley. In a mixing bowl, combine the breadcrumbs with the cooked onion, herbs, the remaining 1 tsp fine sea salt and the remaining 1/2 tsp black pepper. Beat in the egg, then mix in 100 ml of the chicken stock to make a moist mixture that holds together when pressed.
- Grease a baking dish with a little of the remaining unsalted butter, then pack in the stuffing and dot the top with the rest of the butter. Bake alongside the chicken for 35 to 40 minutes, until deeply golden on top and piping hot in the centre. If it colours too quickly, loosely cover with foil.
- Roast the chicken for 1 hour 10 minutes to 1 hour 20 minutes, until the skin is crisp and the juices run clear when the thickest part of the thigh is pierced. For accuracy, check that the thickest part of the thigh reaches 75°C (170°F). Rest the chicken on a board for 15 minutes before carving.
- While the chicken rests, carefully pour off most of the fat from the roasting pan, leaving the browned juices behind. Place the pan over medium heat, add the remaining chicken stock and scrape up the sticky bits, simmering for 3 to 5 minutes until slightly reduced. Taste and season with a pinch more fine sea salt and black pepper if needed, then serve with the carved chicken and stuffing.
Recipe notes
Tips
- For extra-crisp skin, keep the chicken uncovered in the fridge for up to 12 hours before roasting, then season just before it goes into the oven.
- If you are serving vulnerable people, make sure the chicken is fully cooked to 75°C (170°F) at the thickest part of the thigh and that the stuffing is piping hot throughout.
Substitutions
- Replace Fresh sage with Fresh thyme for a softer, more floral herb note.
- Replace Fresh parsley with Fresh chives for a gentle oniony finish in the stuffing.
- Replace Breadcrumbs with gluten-free bread crumbs for a gluten-free stuffing.
Storage
- Refrigerate up to 3 days
- Cool leftovers quickly, then refrigerate within 2 hours. Store chicken, stuffing and juices separately if possible; reheat chicken and stuffing in a 180°C (355°F) oven until piping hot, and warm the juices gently in a saucepan. Freeze in airtight containers for up to 2 months and defrost overnight in the fridge before reheating.
Ratings & reviews
Liked this recipe? Share your feedback to support our cooking community.
Tried this recipe?
Choose 1–5 stars. A comment is optional.
Stay inspired
Discover new recipes, seasonal favourites and cooking inspiration every day. Follow JustRecipes on Pinterest and Spillt.
Recipe overview
- Servings: 4 servings
- Total time: 1h 45min (25min active)
- Difficulty: Medium
- Cuisine: British
-
Allergens:
Eggs Gluten Milk Wheat
Plan your meals and get a complete grocery list automatically.
Add to meal plannerEquipment you'll need
Got ingredients left?
Find recipes using ingredients from this recipe or what you already have at home.
Find recipes with these ingredients →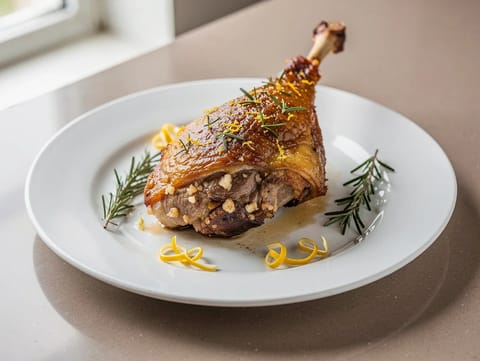
Gigot d’Agneau Rôti à l’Ail
Leg of lamb roasted with garlic and rosemary.
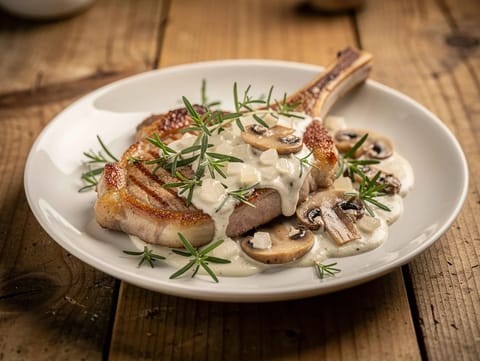
Côte de Veau à la Crème (Veal Chops with Mushroom Cream Sauce)
Veal chops with creamy mushroom sauce
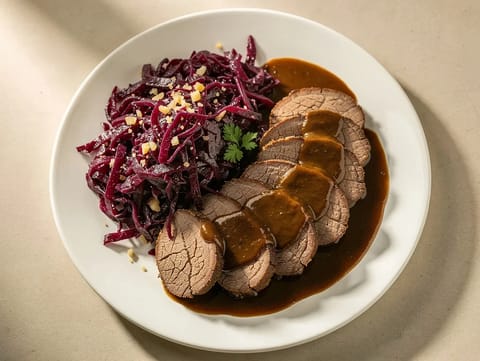
Rheinischer Sauerbraten (German Pot Roast with Red Cabbage)
German pot roast in red wine vinegar with apple red cabbage
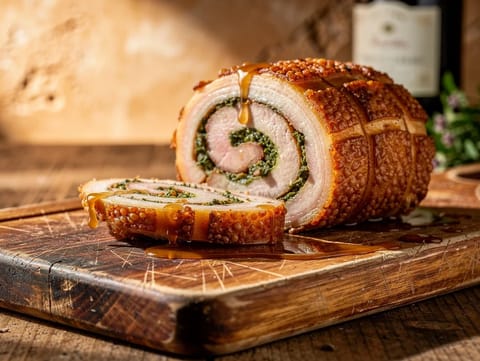
Porchetta Arrosto con Erbe (Herb-Roasted Rolled Pork Belly)
Rolled pork belly roasted with garlic, rosemary and fennel
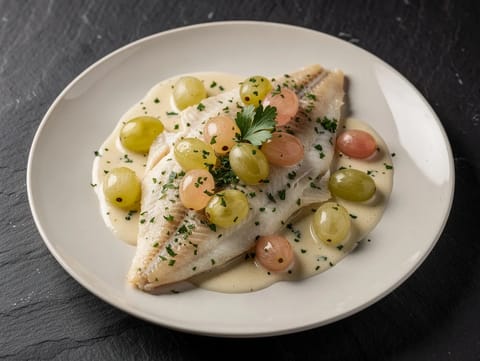
Sole Véronique (Poached Sole with Grapes and Cream Sauce)
Poached sole with grapes in a white wine cream sauce
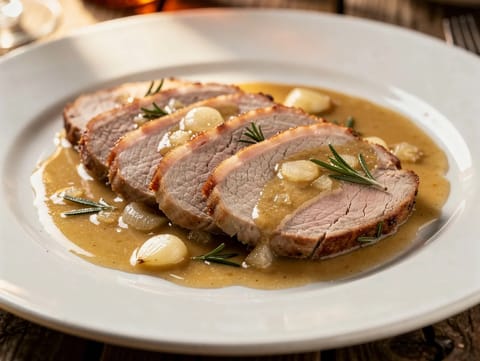
Arrosto di Vitello (Italian Roast Veal with Rosemary and White Wine)
Italian roast veal with rosemary, garlic and white wine
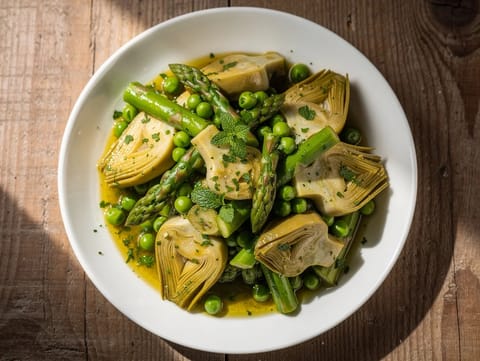
Menestra de Verduras (Spanish Braised Spring Vegetables)
Spanish braised spring vegetables with mint and lemon
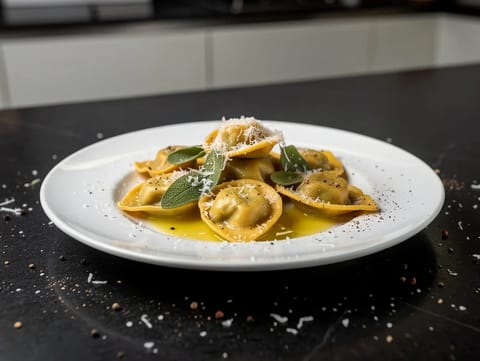
Agnolotti dal Plin al Burro e Salvia (Stuffed Pasta with Butter and Sage)
Stuffed agnolotti tossed in butter, sage and Parmesan
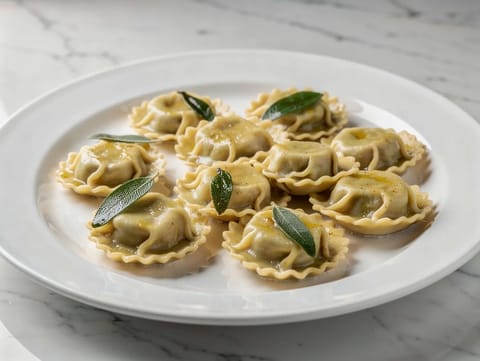
Agnolotti del Plin (Stuffed Pasta with Brown Butter and Sage)
Stuffed pasta with pork, spinach, brown butter and sage
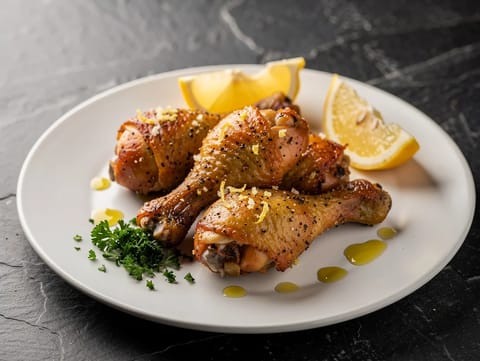
Air Fryer Lemon Pepper Chicken
Crisp air fryer chicken drumsticks with lemon and black pepper.
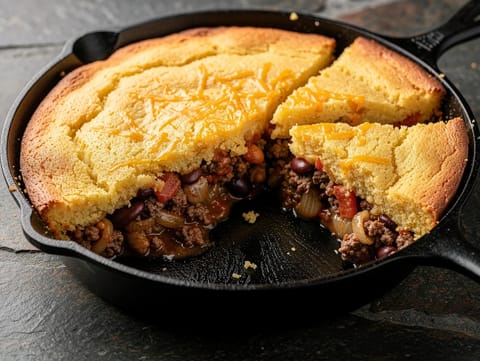
Skillet Cornbread-Topped Tamale Pie
Skillet tamale pie with beef, beans and cornbread topping
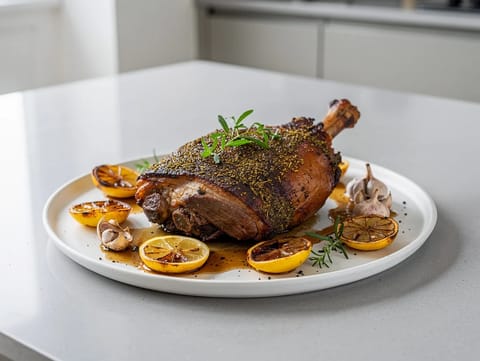
Slow-Roasted Lamb Shoulder with Za’atar and Lemon
Slow-roasted lamb shoulder with za'atar, garlic and lemon
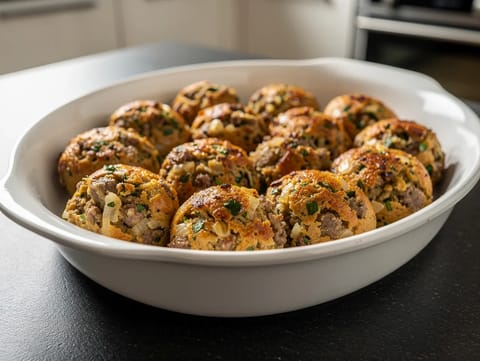
Christmas Sausage Stuffing Balls
Baked sausage stuffing balls with onion, sage and thyme
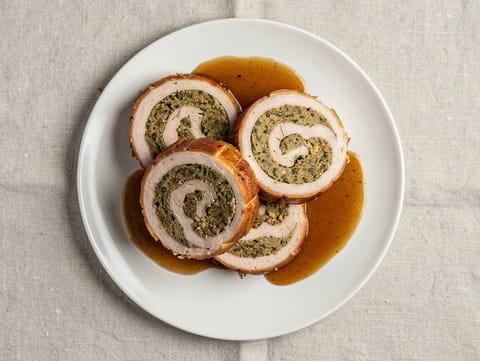
Kalkoenrollade Kerst (Dutch Christmas Turkey Roll)
Turkey roll with herby breadcrumb stuffing and light gravy
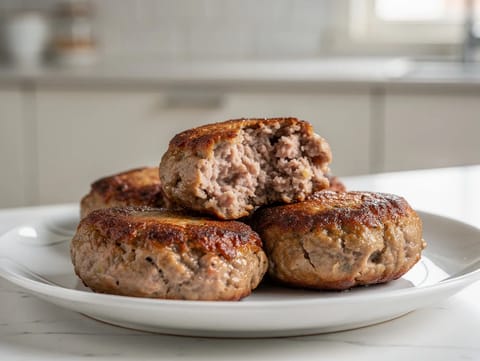
Frikadeller (Danish Pan-Fried Pork Meatballs)
Danish pan-fried pork meatballs with onion and breadcrumbs
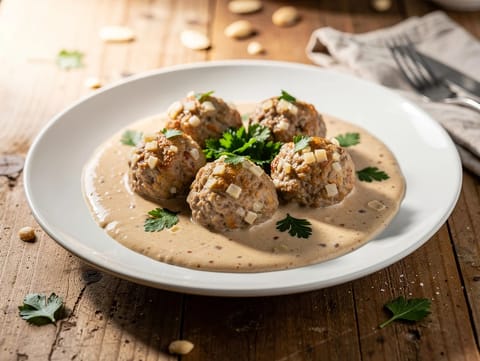
Albóndigas en Salsa de Almendras (Pork Meatballs in Almond Sauce)
Pork meatballs simmered in a smooth almond sauce
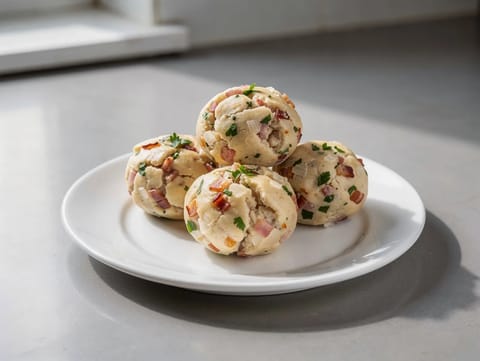
Speckknödel (German Bread Dumplings with Bacon)
German bread dumplings mixed with smoked bacon and simmered until firm
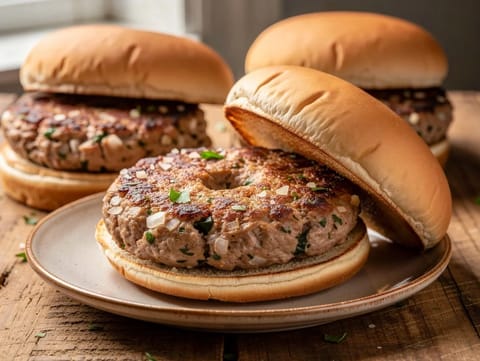
Air Fryer Turkey Burgers
Tender air fryer turkey burgers with onion and herbs.
You might also like
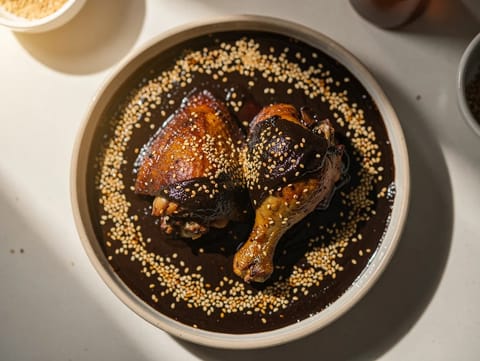
Pollo en Mole Negro Oaxaqueño (Chicken in Oaxacan Black Mole)
Chicken served with Oaxacan mole negro and sesame seeds
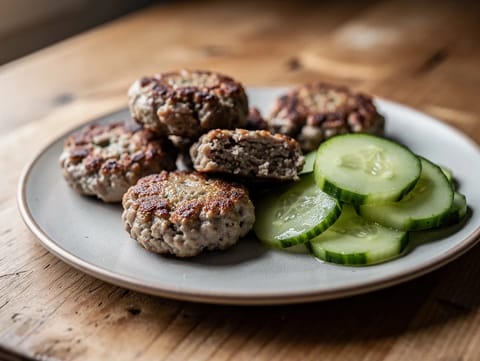
Danish Frikadeller (Pork Patties) with Pickled Cucumber
Pan-fried Danish pork patties with pickled cucumber
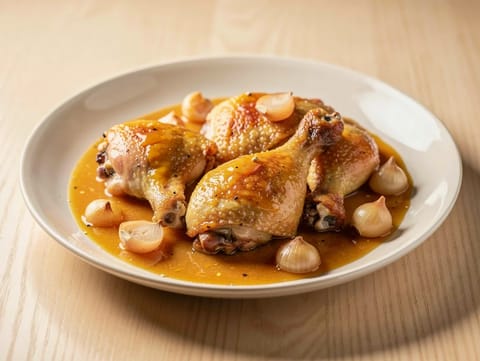
Poulet au Vinaigre (French Chicken in Vinegar Sauce)
Chicken braised with shallots in a tangy vinegar sauce

Classic Reuben Sandwich
Corned beef, sauerkraut and Swiss on rye, toasted until crisp
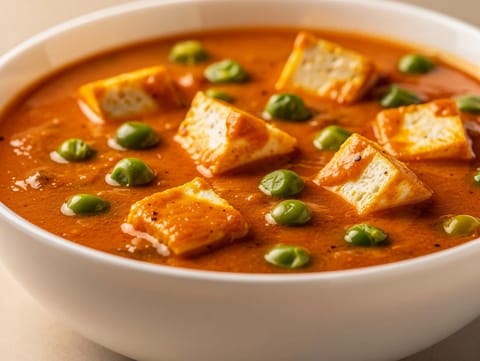
Matar Paneer (Paneer and Pea Curry)
Paneer and peas simmered in a spiced tomato-onion gravy
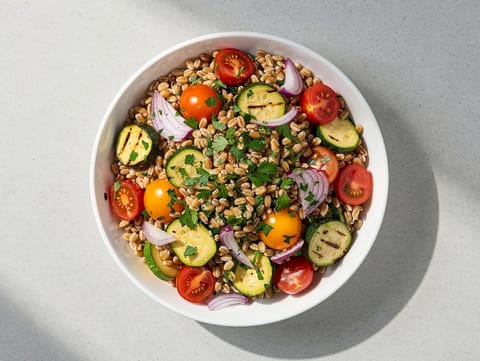
Insalata di Farro con Verdure (Italian Farro Salad with Roasted Vegetables)
Farro salad with roasted courgette, tomatoes and red onion
Make this recipe easier next time
AdvertisementThese tools help you get better results with less effort.
KitchenAid Stainless Steel Mixing Bowls
- Non-slip base
- Stainless steel
- Not microwave safe
T-fal Specialty Nonstick Handy Pot with Glass Lid 3 Quart
- Easy food release
- Dishwasher safe
- Not induction compatible
OXO Good Grips Stainless Mixing Bowl Set
- Non-slip base
- Comfort grip
- Higher price
WMF Mini Saucepan 16 cm with Lid
- High-quality stainless steel
- Even heat distribution
- Higher price point
Enjoy cooking with JustRecipes?
Add JustRecipes as one of your preferred Google sources to discover our recipes more easily across Google Search.
Add JustRecipes to GoogleEvery recipe on JustRecipes follows the same structured editorial process. Learn how recipes are created, validated, translated, illustrated, and continuously improved across the platform. How we create recipes.
