
Biscotti di Prato (Almond Cantuccini)
Why this recipe works
- Classic twice-baked structure: The first bake sets the almond-studded logs, while the second bake dries the slices into the crisp texture associated with cantuccini.
- Clean, snappy bite: Cooling the logs before slicing and returning the biscuits to a lower oven helps them firm up without becoming overly dark.
- Toasted almond flavour: Toasting the almonds before mixing brings out their nuttiness, while vanilla and lemon zest add a clean aromatic finish.
- Keeps well: Because the biscuits are baked until dry, they stay crisp for longer when fully cooled and stored in an airtight tin.
Get the most out of this recipe
Authenticity notes
- Tuscan style: Biscotti di Prato are the Tuscan almond biscuits widely known as cantuccini, recognisable for their whole almonds and firm, dry texture.
- Twice-baked finish: The method relies on baking the dough as logs first, then slicing and baking again to dry the biscuits through.
- Classic serving: They are traditionally served with Vin Santo for dipping, though coffee or espresso also works well.
Timing notes
- Rest before slicing: Let the first-baked logs cool briefly before cutting; this helps the crumb set and gives cleaner slices.
- Cool completely: Do not pack the biscotti while warm, as trapped steam will soften the crisp texture.
- Best once crisp: The biscuits are ready once fully cooled after the second bake, when the texture has firmed and dried.
Common mistakes
- Slicing at the wrong moment: Cutting the logs straight from the oven can compress them, while waiting too long can make them harder to slice cleanly.
- Stopping the second bake too early: If the sliced biscuits are not baked until dry, they will lose the crisp, dunkable texture that defines cantuccini.
- Over-toasting the edges: Watch the second bake closely towards the end; the biscuits should be dry and lightly golden, not deeply browned.
Make-ahead tips
- Bake ahead: These biscuits are well suited to making in advance because their dry texture helps them keep in an airtight tin.
- Freeze after baking: Freeze fully cooled biscotti in an airtight container, then defrost at room temperature before serving.
- Refresh if needed: If the biscuits lose crispness after freezing, refresh them briefly in a 150°C (300°F) oven.
Equipment you'll need
Ingredients
Instructions
- Heat the oven to 170°C (340°F). Line a baking tray with parchment paper.
- Spread the almonds on the tray and toast for 8 to 10 minutes until lightly golden and fragrant. Tip onto a plate and leave to cool.
- In a mixing bowl, whisk together the plain flour, baking powder and fine sea salt. In a second bowl, whisk the caster sugar with the eggs, vanilla extract, and finely grated lemon zest until slightly thickened and pale.
- Stir the dry ingredients into the egg mixture to make a firm, sticky dough. Fold in the toasted almonds until evenly distributed.
- Divide the dough in two and shape into two logs about 30 cm long and 5 cm wide on the lined tray, leaving space between them. Bake for 25 to 30 minutes until set and lightly golden, then cool on the tray for 10 minutes so they are easier to slice.
- Reduce the oven to 150°C (300°F). Using a bread knife, slice the logs on a slight diagonal into 1.5 cm thick biscuits.
- Lay the slices cut-side down on the tray and bake for 10 minutes, then turn and bake for a further 8 to 10 minutes until dry and crisp. Cool completely on a rack before storing.
Recipe notes
Tips
- For clean slices, let the first-bake logs cool for the full 10 minutes, then use a gentle sawing motion with a bread knife.
- If you like a drier, more dunkable biscotti, leave the sliced biscuits in the switched-off oven for 10 minutes after the second bake with the door slightly ajar.
Substitutions
- Replace Vanilla extract with the finely grated zest of the lemon for a more citrus-forward biscotti.
- Replace Lemon with 1 medium Orange for a softer, sweeter citrus aroma.
Storage
- Store completely cooled biscotti in an airtight tin at room temperature for up to 2 weeks. Freeze in an airtight container for up to 2 months; defrost at room temperature, then refresh in a 150°C (300°F) oven for 5 to 7 minutes if needed.
Ratings & reviews
Liked this recipe? Share your feedback to support our cooking community.
Tried this recipe?
Choose 1–5 stars. A comment is optional.
Stay inspired
Discover new recipes, seasonal favourites and cooking inspiration every day. Follow JustRecipes on Pinterest and Spillt.

Recipe overview
- Servings: 16 pieces
- Yield: almond biscotti
- Total time: 1h 25min (25min active)
- Difficulty: Medium
- Cuisine: Italian
-
Allergens:
Eggs Gluten Tree nuts Wheat
Plan your meals and get a complete grocery list automatically.
Add to meal plannerEquipment you'll need
Got ingredients left?
Find recipes using ingredients from this recipe or what you already have at home.
Find recipes with these ingredients →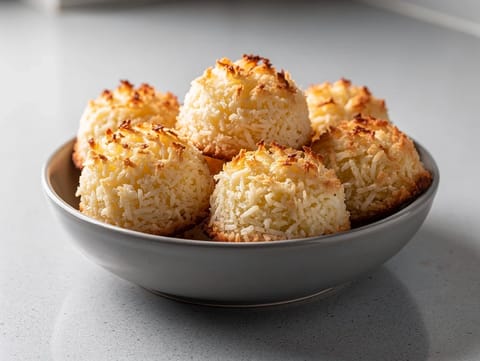
Cocadas (Mexican Coconut Macaroons)
Chewy coconut macaroons baked into small golden mounds

Saint-Nicolas Cookies (Belgian Spiced Biscuits)
Crisp Belgian spiced biscuits with warm baking spices
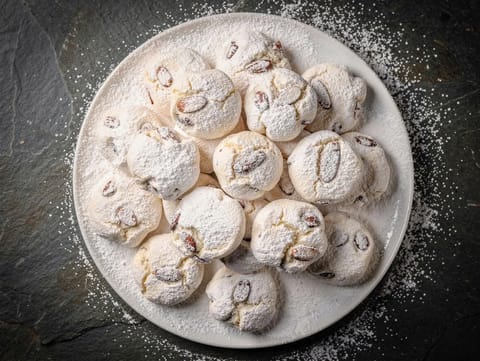
Kourabiedes (Greek Christmas Almond Biscuits)
Greek almond biscuits baked crumbly and dusted with icing sugar
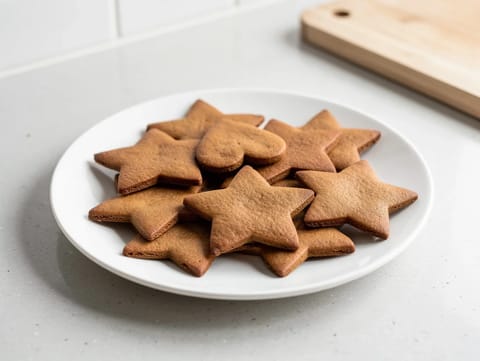
Pepperkaker (Nordic Gingerbread Biscuits with Golden Syrup)
Thin Nordic gingerbread biscuits with warm spices
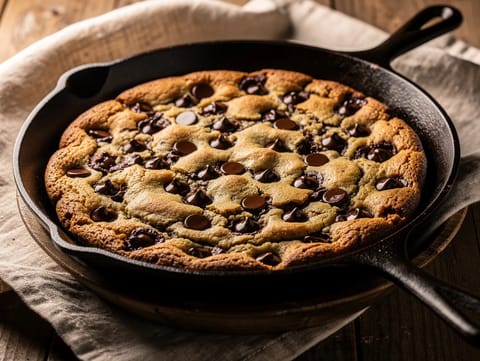
Chocolate Chip Skillet Cookie
Giant skillet cookie with dark chocolate chips and vanilla
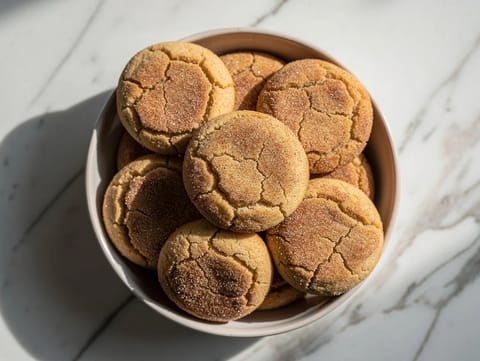
Air Fryer Snickerdoodles
Air fryer snickerdoodles rolled in cinnamon sugar and baked until puffed.
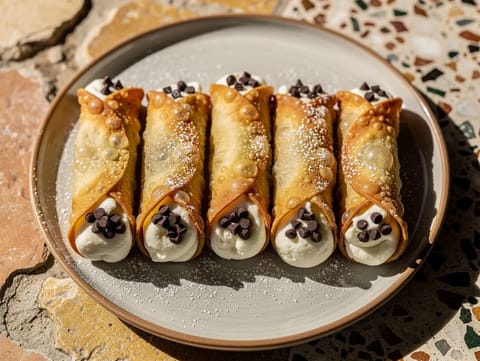
Cannoli
Crisp cannoli shells filled with sweet ricotta and chocolate chips.

Rasgulla (Chenna Balls in Sugar Syrup)
Soft rasgulla chenna balls simmered until spongy in sugar syrup
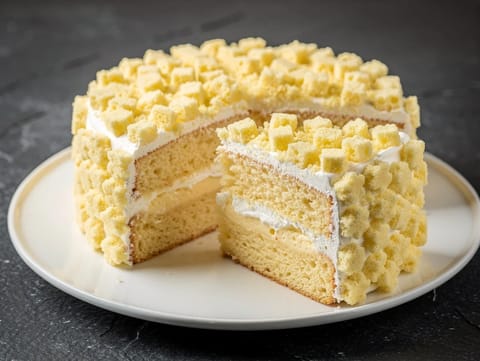
Torta Mimosa (Italian Sponge Cake with Pastry Cream)
Italian sponge cake with pastry cream and whipped cream
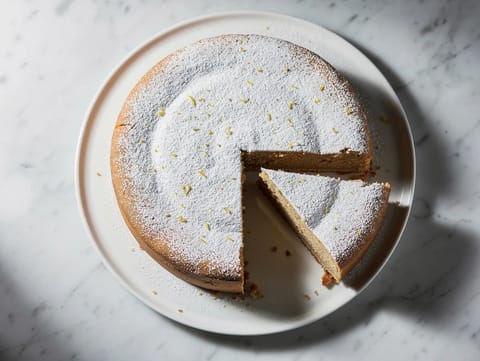
Tarta de Santiago (Spanish Almond Cake)
Spanish almond cake dusted with icing sugar
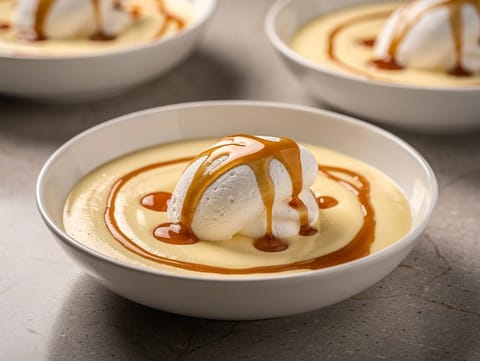
Île Flottante (Floating Island Meringue with Vanilla Custard)
Poached meringue floating on vanilla custard with caramel
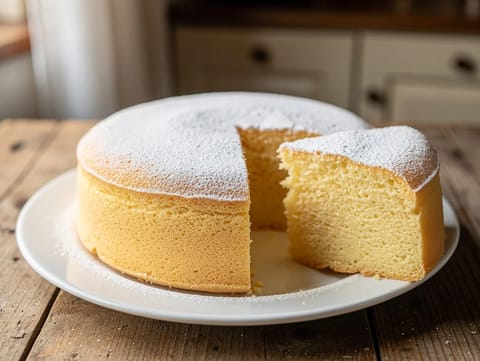
Torta Paradiso (Light Buttery Sponge Cake from Pavia)
Light buttery sponge cake finished with a dusting of icing sugar
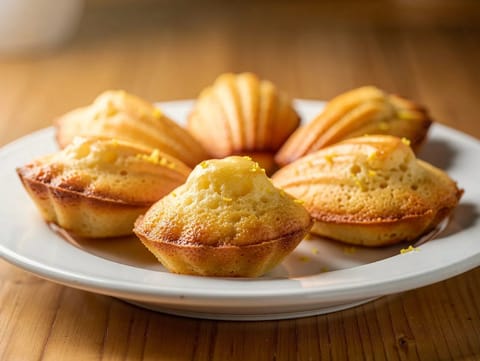
Madeleines (French Shell Cakes with Lemon and Vanilla)
Buttery shell-shaped cakes with lemon zest and vanilla
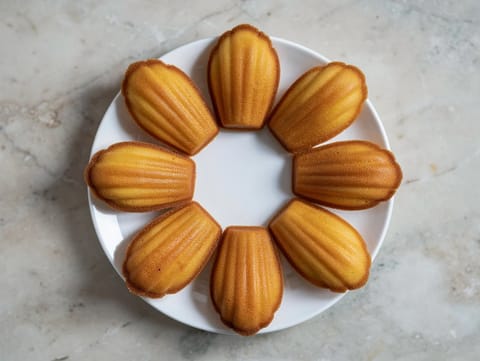
Madeleine Cakes
French shell-shaped sponge cakes with lemon and vanilla
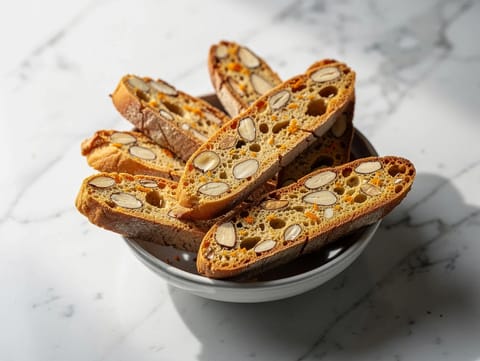
Biscotti di Prato (Twice-Baked Almond Biscuits)
Twice-baked almond biscuits with orange zest
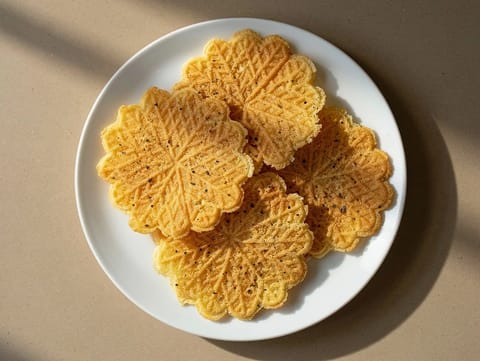
Pizelle (Italian Waffle Biscuits)
Thin Italian waffle biscuits with anise and lemon zest
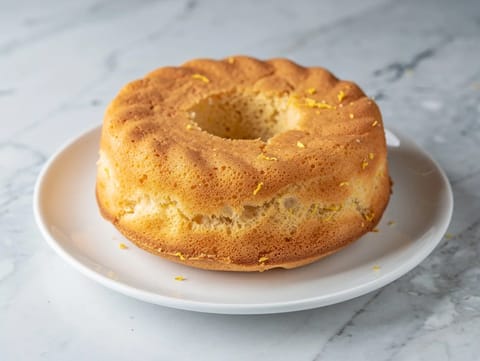
Ciambella al Forno (Italian Breakfast Ring Cake)
Italian breakfast ring cake with lemon zest, mixed in one bowl
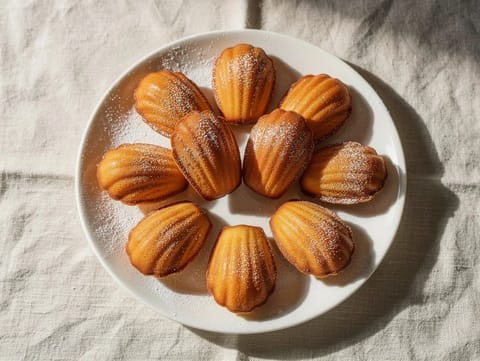
Madeleines de Commercy (French Shell Cakes)
French shell cakes with lemon zest, vanilla and icing sugar
You might also like
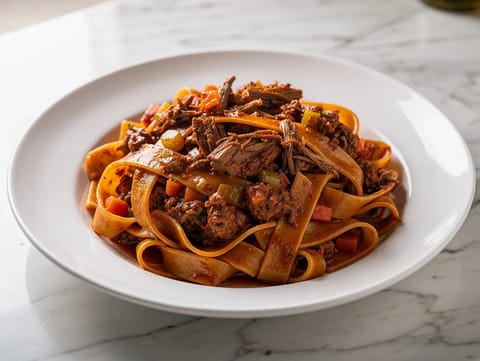
Ragù di Cinghiale (Wild Boar Ragù with Pappardelle)
Wild boar ragù tossed through pappardelle with rosemary and juniper
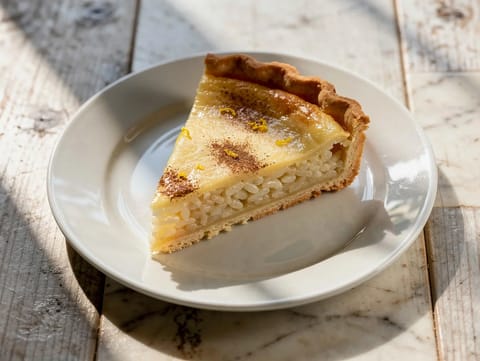
Budino di Riso (Tuscan Rice Pudding Tart)
Tuscan rice pudding tart baked in shortcrust pastry
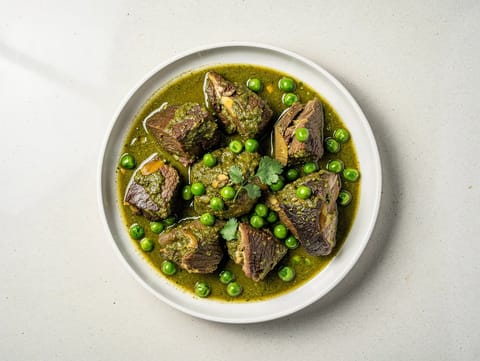
Seco de Cordero (Peruvian Lamb Stew with Coriander)
Peruvian lamb stew with coriander, aji amarillo and peas
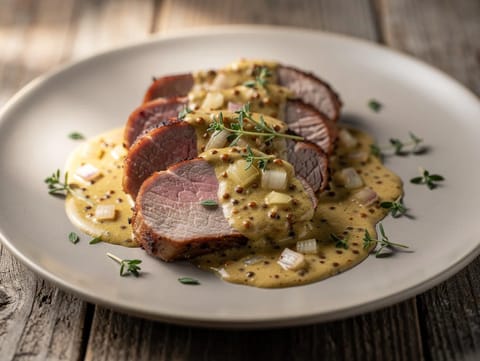
Pork Tenderloin with Dijon Mustard and Cream Sauce
Pan-seared pork in a Dijon mustard and cream sauce
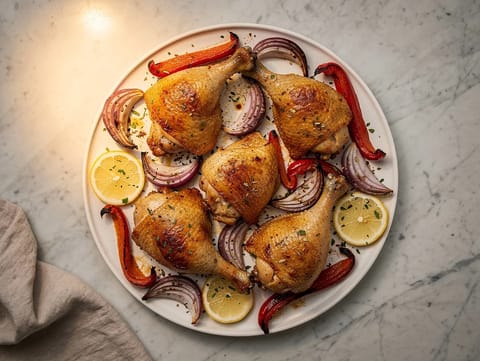
Sheet-Pan Turkish Chicken with Yoghurt, Lemon and Spices
Sheet-pan chicken with yoghurt, lemon, onion and red pepper

Bomboloni alla Crema (Italian Custard Doughnuts)
Sugar-coated doughnuts filled with vanilla pastry cream
Make this recipe easier next time
AdvertisementThese tools help you get better results with less effort.
KitchenAid Stainless Steel Mixing Bowls
- Non-slip base
- Stainless steel
- Not microwave safe
Pyrex Glass Mixing Bowls with Lids
- Microwave safe
- BPA-free lids
- Glass is heavier
OXO Good Grips Stainless Mixing Bowl Set
- Non-slip base
- Comfort grip
- Higher price
Enjoy cooking with JustRecipes?
Add JustRecipes as one of your preferred Google sources to discover our recipes more easily across Google Search.
Add JustRecipes to GoogleEvery recipe on JustRecipes follows the same structured editorial process. Learn how recipes are created, validated, translated, illustrated, and continuously improved across the platform. How we create recipes.
