
Modern Greek Yoghurt Cheesecake
Why this recipe works
- Creamy but not heavy: Greek yoghurt lightens the cream cheese filling while adding a clean tang that balances the sweetness.
- Bright flavour: Lemon zest and juice cut through the richness without making the cheesecake taste sharply citrusy.
- Sets beautifully when chilled: Cooling gradually and chilling fully gives the cheesecake a firm, smooth texture that slices cleanly.
Get the most out of this recipe
Timing notes
- Cool it gradually: Leaving the cheesecake in the switched-off oven helps the filling settle gently and reduces the chance of cracks.
- Chill before slicing: The cheesecake needs time in the fridge to fully firm up; slicing too soon will give a softer, less defined texture.
- Serve cold: For the neatest slices and best texture, keep the cheesecake chilled until shortly before serving.
Texture tips
- Start with softened cream cheese: Room-temperature cream cheese blends more evenly with the sugar and yoghurt, giving a smoother filling.
- Mix gently once the eggs go in: Low-speed mixing limits excess air, helping the cheesecake bake into a dense, creamy texture rather than puffing and cracking.
- Look for a gentle wobble: The edges should be set while the centre still moves slightly; it will continue to firm as it cools and chills.
Ingredient notes
- Use thick Greek yoghurt: A thicker yoghurt helps maintain the cheesecake’s creamy structure and tangy flavour without making the filling loose.
- Adjust the lemon carefully: Lemon should brighten the filling rather than dominate it, so add it with the balance of creaminess in mind.
- Digestive biscuits give a classic base: Their slightly malty flavour and crumbly texture make a firm, buttery crust that contrasts well with the smooth filling.
Make-ahead tips
- Make it the day before: Cheesecake is well suited to advance preparation because the chilled filling becomes firmer and easier to slice.
- Freeze in slices: Wrap chilled slices well before freezing, then defrost overnight in the fridge and serve cold.
- Keep covered in the fridge: Store the cheesecake in an airtight container to protect its texture and prevent it absorbing fridge odours.
Equipment you'll need
Ingredients
Base
Filling
Instructions
- Heat the oven to 160°C (320°F). Lightly grease a 23 cm cake pan and line the base with baking paper, then wrap the outside with foil if you plan to bake in a water bath.
- Melt the butter in a saucepan over low heat until just melted. Tip into a bowl, add the digestive biscuit crumbs and mix until evenly moistened.
- Press the crumb mixture firmly into the base of the pan, using the back of a spoon to compact it. Bake for 10 minutes, then set aside while you make the filling.
- In a large bowl, beat the cream cheese with the caster sugar until smooth and glossy. Beat in the flour just until combined.
- Beat in the eggs one at a time, mixing on low speed and scraping down the bowl so the mixture stays smooth. Stir in the Greek yogurt and vanilla extract until just blended.
- Finely grate in the lemon zest, then squeeze in about 2 tbsp lemon juice and mix briefly. Pour the filling over the warm base and smooth the top.
- Bake for 55 to 65 minutes until the edges are set and the centre still has a gentle wobble. Turn the oven off, crack the door open, and leave the cheesecake inside for 60 minutes to cool gradually.
- Cool to room temperature, then cover and chill for at least 3 hours until fully set. Slice with a warm knife for clean edges.
Recipe notes
Tips
- For the smoothest texture, keep the cream cheese at room temperature and mix on low once the eggs go in to avoid incorporating too much air.
- If you are serving pregnant people, older adults, or anyone immunocompromised, use eggs that are safe for raw and lightly cooked preparations and ensure the cheesecake is baked until fully set.
Substitutions
- Replace Vanilla extract with the finely grated zest of an extra Lemon for a brighter citrus flavour.
- Replace Plain flour with the same amount of Digestive biscuit crumbs for a slightly denser, more biscuit-forward filling.
Storage
- Refrigerate up to 4 days
- Keep chilled in an airtight container. Freeze slices well wrapped; defrost overnight in the fridge and serve cold.
Ratings & reviews
Liked this recipe? Share your feedback to support our cooking community.
Tried this recipe?
Choose 1–5 stars. A comment is optional.
Stay inspired
Discover new recipes, seasonal favourites and cooking inspiration every day. Follow JustRecipes on Pinterest and Spillt.

Recipe overview
- Servings: 10 servings
- Total time: 6h (35min active)
- Difficulty: Medium
- Cuisine: Greek
-
Allergens:
Eggs Gluten Milk Wheat
Plan your meals and get a complete grocery list automatically.
Add to meal plannerGot ingredients left?
Find recipes using ingredients from this recipe or what you already have at home.
Find recipes with these ingredients →
Sernik Królewski (Royal Polish Cheesecake)
Polish cheesecake with quark filling and cocoa pastry

Roze Koeken (Dutch Pink Iced Cakes)
Soft Dutch sponge cakes topped with smooth pink icing
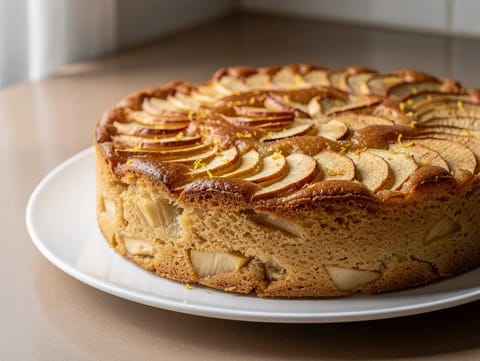
Torta di Mele Rustica (Rustic Italian Apple Cake)
Rustic Italian apple cake with lemon zest and cinnamon
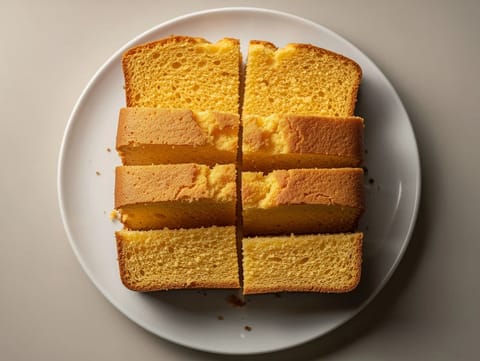
Babka Piaskowa (Polish Sponge Cake)
Polish sponge cake with a fine, tender crumb
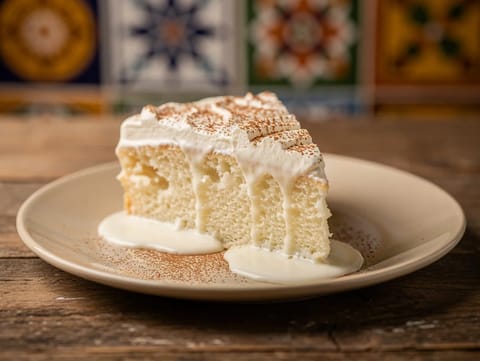
Tres Leches Cake (Sponge Soaked in Three Milks)
Sponge cake soaked in three milks with cinnamon whipped cream
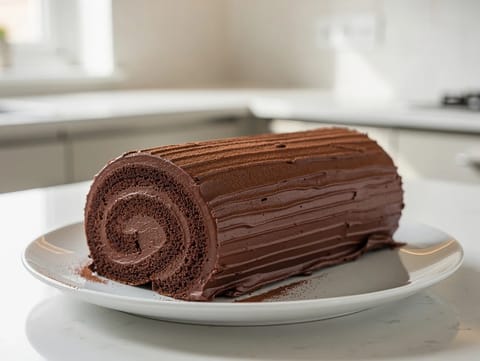
Bûche de Noël (Yule Log Cake) with Chocolate Buttercream
Chocolate sponge roll filled and coated with chocolate buttercream
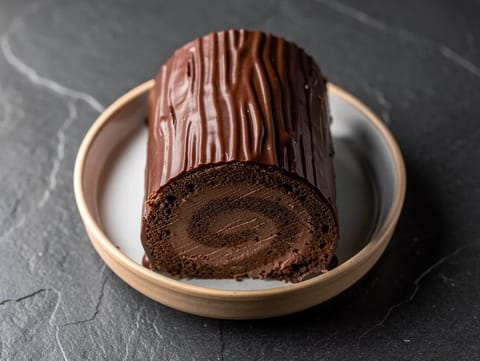
Chocolate Yule Log (Rolled Chocolate Sponge Cake)
Rolled chocolate sponge with chocolate cream and ganache

Paletas de Mango con Chile (Mango Chilli Ice Lollies)
Mango and lime ice lollies with a pinch of chilli
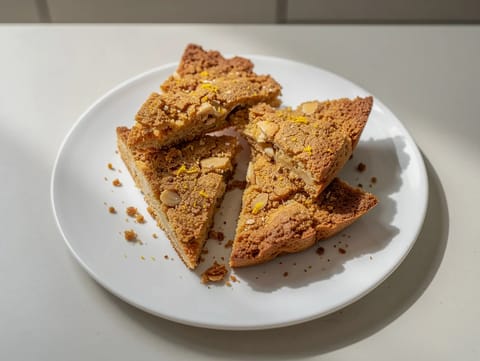
Sbrisolona (Crumbly Almond Cake from Mantua)
Crumbly Mantuan almond cake, baked golden and broken into shards

Multekrem (Norwegian Cloudberry Cream)
Cloudberries folded into lightly sweetened whipped cream
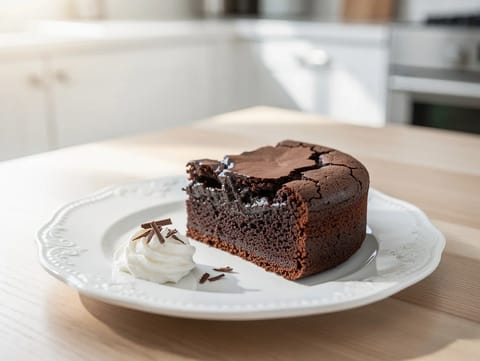
Belgian Chocolate Brownie Torte
Dense chocolate brownie torte with a crisp top
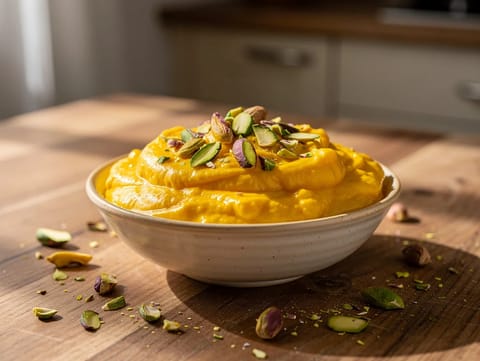
Mango Shrikhand (Indian Yoghurt Dessert)
Chilled mango shrikhand made with thick yoghurt and cardamom
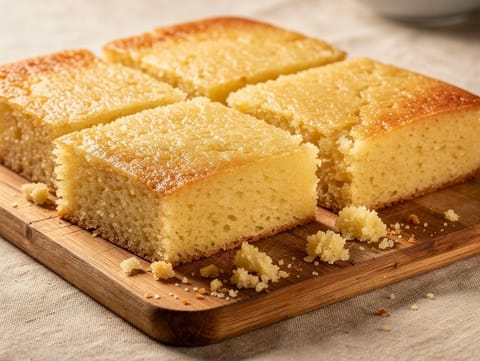
Revani (Greek Semolina Syrup Cake with Lemon)
Greek revani semolina cake soaked in lemon syrup
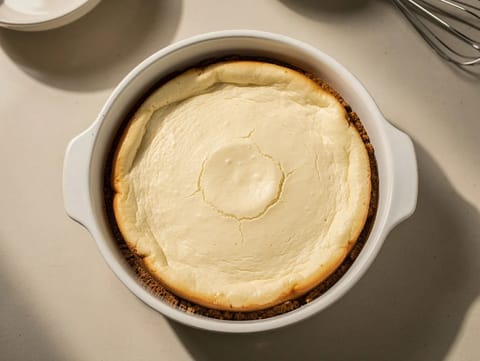
Air Fryer New York Cheesecake
Rich New York-style cheesecake baked in an air fryer.

Madeleines (French Shell Cakes with Lemon and Vanilla)
Buttery shell-shaped cakes with lemon zest and vanilla

Tulumba (Turkish Fried Choux Fritters in Lemon Syrup)
Ridged choux fritters soaked in cooled lemon syrup

Poppy Seed Pancakes with Lemon and Greek Yoghurt
Fluffy lemon poppy seed pancakes with Greek yoghurt and honey

Pão de Ló (Portuguese Sponge Cake)
Light Portuguese sponge cake made with whisked eggs and flour
You might also like

Poulet Vallée d’Auge (Chicken with Calvados and Cream)
Chicken with Calvados, apples and double cream sauce

Modern Kimchi Fried Rice Bowl
Kimchi fried rice topped with a fried egg and sesame
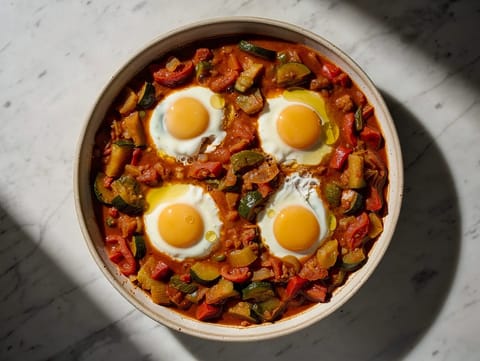
Pisto Manchego con Huevos (La Mancha Vegetable Stew with Fried Eggs)
La Mancha vegetable stew topped with fried eggs
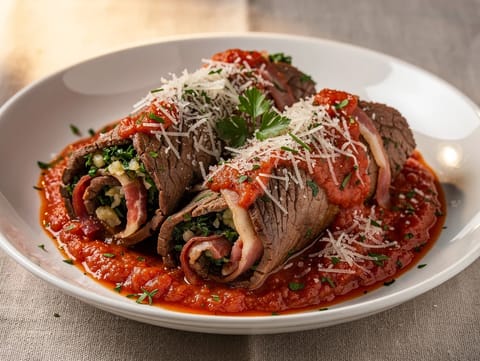
Involtini di Manzo (Stuffed Beef Rolls in Tomato Sauce)
Stuffed beef rolls in tomato sauce
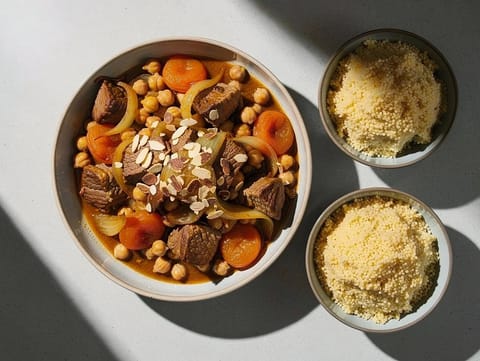
Lamb Tagine with Apricots and Chickpeas
Lamb tagine with apricots, chickpeas and warm spices
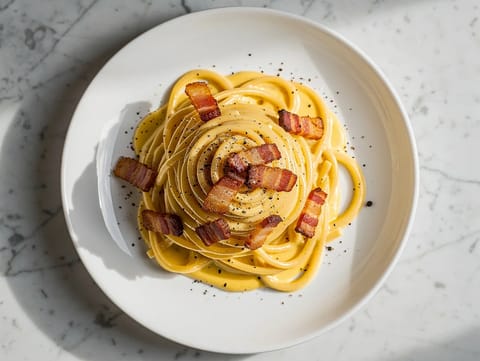
Spaghetti alla Carbonara (Roman Pasta with Guanciale and Pecorino)
Roman spaghetti with guanciale, eggs, Pecorino and black pepper
Make this recipe easier next time
AdvertisementThese tools help you get better results with less effort.
KitchenAid Stainless Steel Mixing Bowls
- Non-slip base
- Stainless steel
- Not microwave safe
T-fal Specialty Nonstick Handy Pot with Glass Lid 3 Quart
- Easy food release
- Dishwasher safe
- Not induction compatible
OXO Good Grips Stainless Mixing Bowl Set
- Non-slip base
- Comfort grip
- Higher price
WMF Mini Saucepan 16 cm with Lid
- High-quality stainless steel
- Even heat distribution
- Higher price point
Enjoy cooking with JustRecipes?
Add JustRecipes as one of your preferred Google sources to discover our recipes more easily across Google Search.
Add JustRecipes to GoogleEvery recipe on JustRecipes follows the same structured editorial process. Learn how recipes are created, validated, translated, illustrated, and continuously improved across the platform. How we create recipes.
