
Tamal de Cazuela (Baked Masa Casserole with Chicken and Red Chilli Sauce)
Why this recipe works
- Tamal flavour, casserole method: Hydrating masa harina with hot chicken stock and lard gives the tender corn body associated with tamales, while baking everything in one dish keeps the method practical.
- Built-in depth: The chicken cooking liquid seasons the masa, while the tomato and guajillo sauce adds colour, gentle heat and savoury acidity between the layers.
- Hearty and sliceable: Baking and resting the masa turns it into a substantial, portionable dish with soft corn texture, shredded chicken and a glossy chilli finish.
Get the most out of this recipe
Authenticity notes
- Casserole-style tamal: The dish keeps the core tamal elements — masa, savoury filling and chilli sauce — but bakes them together rather than steaming individual parcels in husks.
- Family-style serving: It suits relaxed serving from the baking dish: rest it for cleaner slices, or serve it softer and more spoonable straight from the dish.
Ingredient notes
- Use masa harina: Masa harina is essential for the proper tamal-style texture; ordinary cornmeal hydrates differently and will not give the same tender set.
- Lard gives richness: Lard adds the traditional rounded flavour and tender structure to the masa. Vegetable oil can be used, but the finished texture will be lighter.
- Guajillo character: Guajillo brings a brick-red colour and mellow dried-chilli warmth rather than sharp heat. Ancho gives a slightly sweeter, milder sauce.
Timing notes
- Mostly simmering and baking: The active work is in shredding the chicken, making the sauce and assembling the layers; the remaining time is largely hands-off cooking.
- Rest before cutting: Let the baked tamal stand for 10–15 minutes so the masa firms up and the portions cut more cleanly.
- Serve hot: The texture is best once the centre has set but the casserole is still hot, with the sauce glossy and the masa tender.
Make-ahead tips
- Prepare components ahead: The chicken can be poached and shredded in advance, and the sauce can be made ahead. Reheat the reserved stock before mixing it into the masa.
- Reheat gently: Reheat slices in a 180°C (355°F) oven until piping hot, covering loosely if the top is browning too quickly.
- Freeze in portions: Cool completely, wrap portions well and freeze. Defrost overnight in the fridge before reheating until piping hot throughout.
Equipment you'll need
Ingredients
Chicken
Red chilli sauce
Masa and assembly
Instructions
- Put the chicken thighs in a large pot with the onion and 2 garlic cloves. Pour in the chicken stock, add 1 tsp of the fine sea salt, and bring to a gentle simmer. Cook for 30–35 minutes until the chicken is tender and pulling away from the bone.
- Lift the chicken out and leave until cool enough to handle, then shred the meat and discard the skin and bones. Strain the cooking liquid into a jug and keep it hot. You need 750 ml for the masa; keep any extra to loosen the sauce if needed.
- Heat 1 tbsp lard in a saucepan over medium heat. Finely chop the remaining garlic and add it, cooking for 30 seconds until fragrant. Grate the tomatoes into the pan (discarding skins), then stir in the guajillo chili powder, ground cumin, dried oregano, and the remaining 1 tsp fine sea salt.
- Simmer the sauce over low heat for 10–12 minutes, stirring often, until thickened and glossy. If it becomes too thick, loosen with a splash of the reserved hot stock. Take off the heat.
- Heat the oven to 180°C (355°F). In a mixing bowl, whisk the masa harina with 750 ml hot reserved stock until smooth, then whisk in 90 g lard until fully incorporated. The mixture should be thick but spreadable; if it feels stiff, whisk in a little more hot stock.
- Spread half the masa into a baking dish, smoothing the top. Spoon over half the shredded chicken, then drizzle over half the red chilli sauce. Repeat with the remaining masa, chicken, and sauce, then gently swirl the top with the back of a spoon.
- Bake for 35–40 minutes until the casserole is set, the edges are lightly golden, and a knife inserted into the centre comes out mostly clean. Rest for 10 minutes so it slices neatly. Cut into portions and serve hot.
Recipe notes
Tips
- For clean slices, let the tamal rest for 10–15 minutes after baking, then cut with a sharp knife wiped between cuts.
- If you prefer a softer, more spoonable texture, bake until just set in the centre and serve straight from the dish rather than slicing.
- If serving vulnerable groups, ensure the chicken is cooked until piping hot throughout with no pink remaining.
Substitutions
- Replace Chicken thighs with Chicken breast for a leaner filling; simmer until just cooked through, then shred.
- Replace Lard with Vegetable oil for a lighter flavour, though the texture will be less traditional.
- Replace Guajillo chili powder with Ancho chili powder for a slightly sweeter, milder red chilli sauce.
Storage
- Refrigerate up to 3 days
- Cool completely, then cover and refrigerate. Reheat slices in a 180°C (355°F) oven for 15–20 minutes until piping hot, or microwave in short bursts. Freeze portions well wrapped for up to 2 months; defrost overnight in the fridge before reheating.
Ratings & reviews
Liked this recipe? Share your feedback to support our cooking community.
Tried this recipe?
Choose 1–5 stars. A comment is optional.
Stay inspired
Discover new recipes, seasonal favourites and cooking inspiration every day. Follow JustRecipes on Pinterest and Spillt.
Recipe overview
- Servings: 4 servings
- Total time: 1h 35min (40min active)
- Difficulty: Medium
- Cuisine: Mexican
Plan your meals and get a complete grocery list automatically.
Add to meal plannerEquipment you'll need
Got ingredients left?
Find recipes using ingredients from this recipe or what you already have at home.
Find recipes with these ingredients →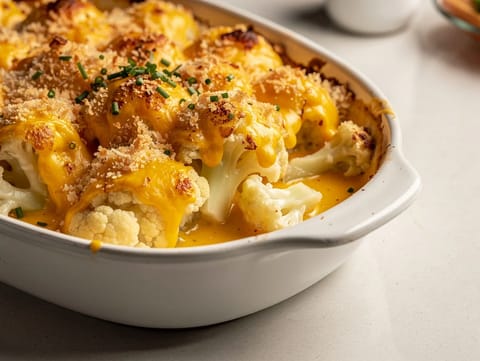
Cauliflower Cheese Bake
Cauliflower baked in Cheddar and mustard sauce with breadcrumbs
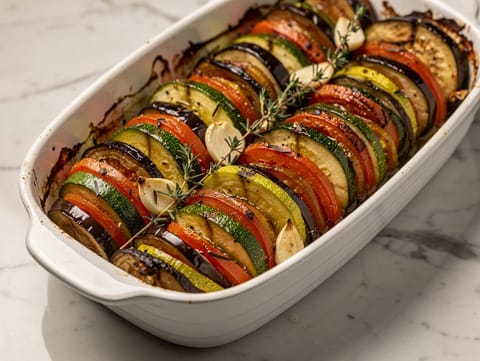
Tian Provençal (Baked Aubergine, Courgette and Tomato)
Baked aubergine, courgette and tomato with garlic and thyme
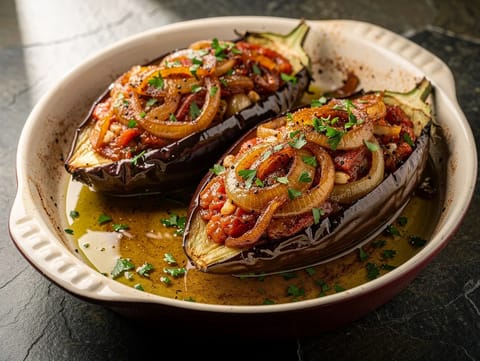
Imam Baildi (Greek Stuffed Aubergines with Tomato and Onion)
Baked aubergines stuffed with tomato, onion and garlic
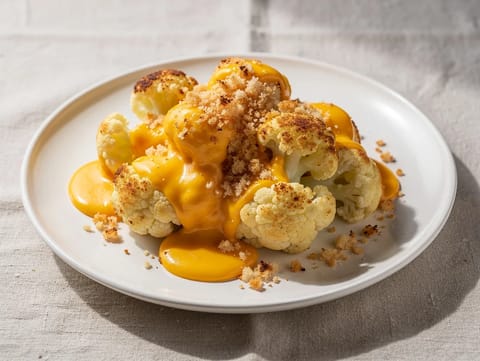
Cauliflower Cheese with Crispy Breadcrumbs
Cauliflower baked in cheddar sauce with a crispy breadcrumb topping
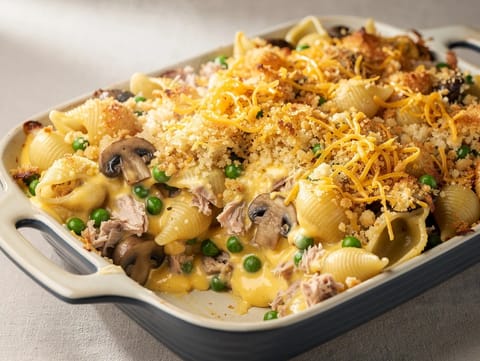
Tuna Casserole (Baked Pasta with Mushrooms and Breadcrumbs)
Baked tuna pasta casserole with mushrooms and crisp breadcrumbs
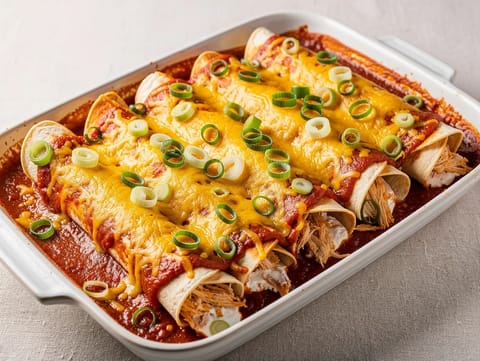
Buffalo Chicken Enchiladas
Baked buffalo chicken enchiladas with cheddar and tomato topping
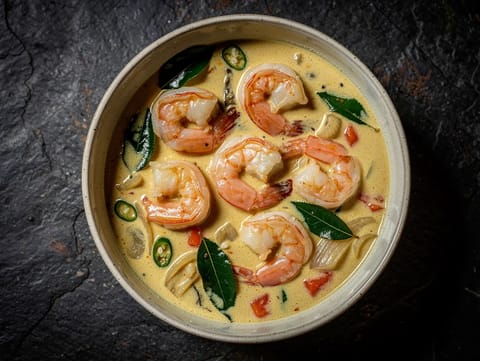
Prawn Moilee (Kerala Coconut Milk Prawn Curry)
Kerala prawn curry simmered in coconut milk
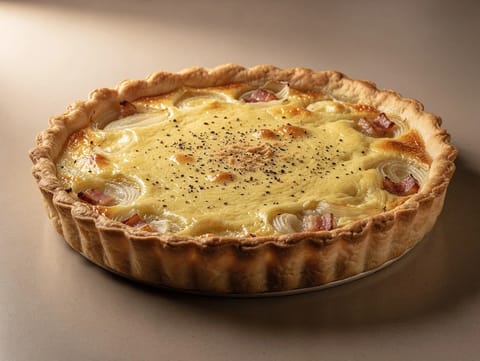
Tarte à l’Oignon Alsacienne (Alsatian Onion Tart with Bacon)
Alsatian onion tart with bacon and crème fraîche custard
Air Fryer Garlic Butter Chicken Wings
Crispy wings tossed in garlic butter with lemon and parsley.
Air Fryer Swedish Meatballs
Air fryer Swedish meatballs with cream gravy and lingonberry jam.
Air Fryer Marinated Chicken Breast
Air-fried chicken breast marinated with soy, lemon, garlic and honey.
Geschnetzeltes (Creamy Veal Strips with Mushrooms)
Creamy veal strips with mushrooms in a white wine sauce
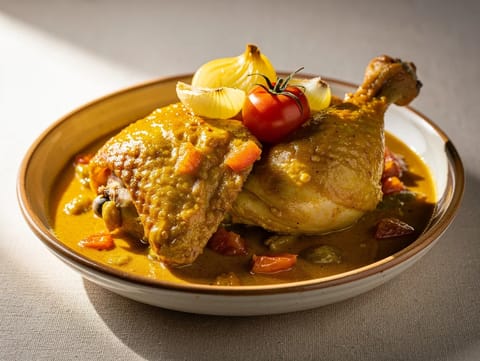
Pollo en Mole Amarillo Oaxaqueño (Chicken in Yellow Mole)
Chicken in smooth mole amarillo thickened with masa harina
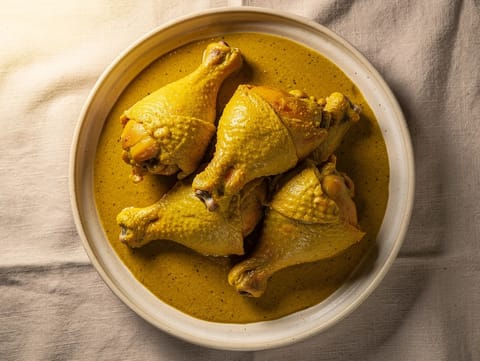
Pollo en Mole Amarillo (Chicken in Yellow Mole Sauce)
Chicken simmered in smooth yellow mole sauce with toasted spices
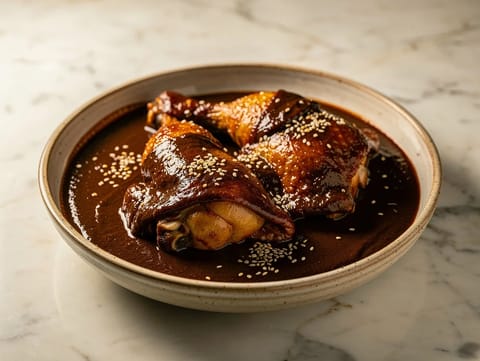
Chicken Mole Poblano
Chicken simmered in mole poblano with chocolate and sesame
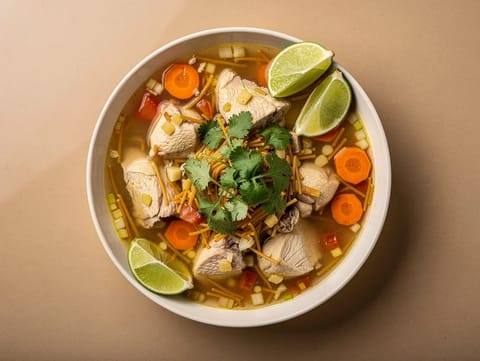
Sopa de Pollo con Fideos (Mexican Chicken Noodle Soup)
Mexican chicken noodle soup with tomato broth and fideo noodles
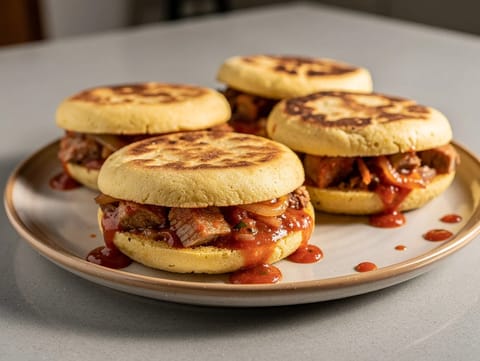
Gorditas de Chicharrón (Stuffed Thick Corn Cakes)
Griddled gorditas filled with chicharrón in tomato chilli sauce
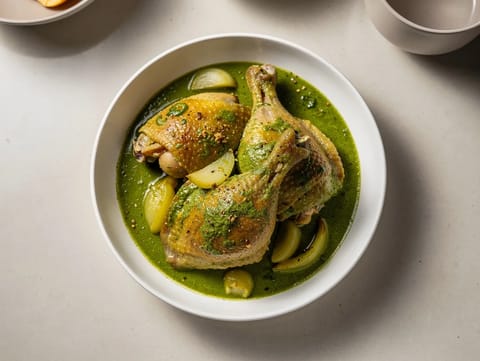
Seco de Pollo (Peruvian Coriander Chicken Stew)
Peruvian coriander chicken stew with a bright green gravy
You might also like
Tuna Casserole (Baked Pasta with Mushrooms and Breadcrumbs)
Baked tuna pasta casserole with mushrooms and crisp breadcrumbs
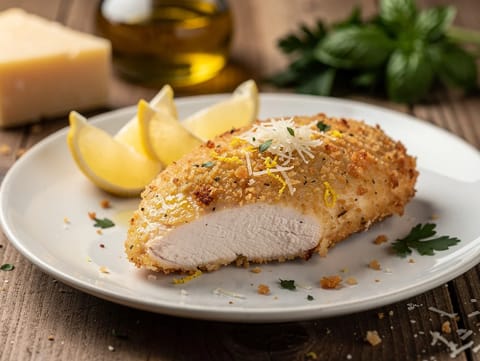
Air Fryer Parmesan Crusted Chicken Breast
Parmesan-crusted chicken breast cooked crisp in the air fryer.
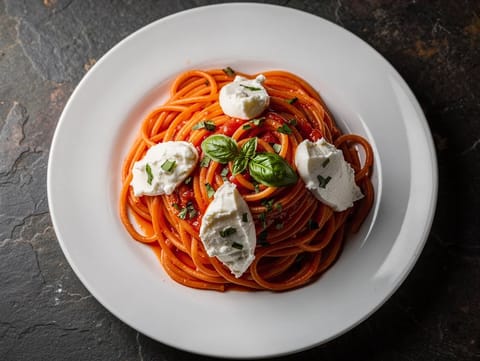
Pasta Amalfitana (Tomato and Mozzarella Pasta)
Italian pasta with tomato, basil and softened mozzarella
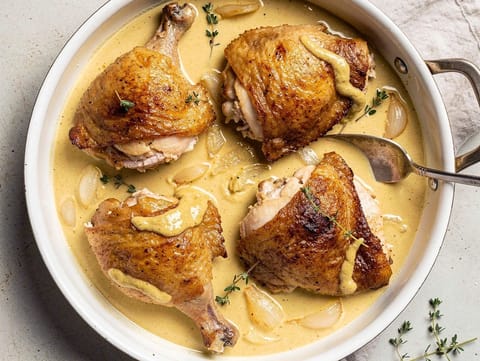
Poulet Moutarde (French Mustard Chicken)
Chicken simmered in a Dijon mustard and white wine sauce
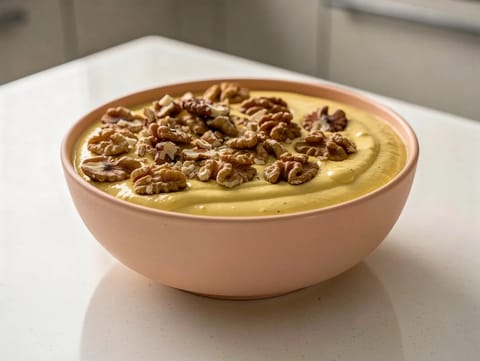
Banana Bread Smoothie Bowl
Banana bread smoothie bowl with yoghurt, oats, cinnamon and walnuts.
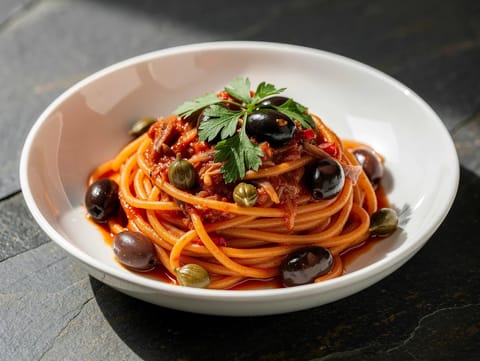
Spaghetti alla Puttanesca (Tomato, Olive and Anchovy Pasta)
Spaghetti in tomato sauce with olives, anchovies and capers
Make this recipe easier next time
AdvertisementThese tools help you get better results with less effort.
KitchenAid Stainless Steel Mixing Bowls
- Non-slip base
- Stainless steel
- Not microwave safe
T-fal Specialty Nonstick Handy Pot with Glass Lid 3 Quart
- Easy food release
- Dishwasher safe
- Not induction compatible
OXO Good Grips Stainless Mixing Bowl Set
- Non-slip base
- Comfort grip
- Higher price
WMF Mini Saucepan 16 cm with Lid
- High-quality stainless steel
- Even heat distribution
- Higher price point
Enjoy cooking with JustRecipes?
Add JustRecipes as one of your preferred Google sources to discover our recipes more easily across Google Search.
Add JustRecipes to GoogleEvery recipe on JustRecipes follows the same structured editorial process. Learn how recipes are created, validated, translated, illustrated, and continuously improved across the platform. How we create recipes.
