
Crispy Kimchi Pancake (Kimchi Jeon)
Why this recipe works
- Crisp edges: A fairly thin pancake and generous pan-frying help the outside turn deeply golden while the middle stays tender.
- Tangy balance: Fermented kimchi gives the batter acidity and savoury depth, while the soy-vinegar dip keeps each bite bright.
- Fast to cook: The batter comes together quickly and cooks in one pan, making it practical for a snack, starter or light meal.
Get the most out of this recipe
Texture tips
- Keep it thin: Spread the batter into an even, shallow layer so the pancake crisps before the centre becomes heavy or doughy.
- Let it brown properly: Avoid moving the pancake too soon; a well-browned underside will release more easily and give a cleaner flip.
- Manage juicy kimchi: If the kimchi is very wet, squeeze it lightly before adding it to the batter so the pancake stays crisp rather than soft.
Ingredient notes
- Use well-fermented kimchi: Older, tangier kimchi gives kimchi jeon its characteristic depth and acidity; very fresh kimchi can taste flatter once cooked.
- Cornflour helps the crust: The cornflour lightens the batter and encourages a crisper finish than plain flour alone.
- Boost the dipping sauce: A little kimchi liquid can be stirred into the soy-vinegar sauce for extra sharpness and fermented flavour.
Common mistakes
- Cooking too gently: Too low a heat can leave the pancake oily and pale; medium-high heat helps it brown while the batter cooks through.
- Flipping too early: Wait until the edges look crisp and the underside is deeply golden before turning, otherwise the pancake may tear.
- Making it too thick: A thick pancake is harder to crisp and can become stodgy in the centre, so spread the batter evenly in the pan.
Authenticity notes
- Korean home-style pancake: Kimchi jeon is a familiar Korean savoury pancake, commonly served cut into wedges or torn into pieces for sharing.
- Serve with a sharp dip: A simple soy sauce and vinegar dip is a classic match for the rich, fried edges and tangy kimchi filling.
Equipment you'll need
Ingredients
Instructions
- Roughly chop the kimchi and thinly slice the spring onions. In a small bowl, stir together the light soy sauce, rice vinegar and caster sugar until the sugar dissolves.
- In a mixing bowl, whisk the plain flour, cornflour and fine sea salt. Whisk in the water to make a smooth, pourable batter, then fold in the kimchi and spring onions.
- Heat 2 tbsp of the vegetable oil in a large frying pan over medium-high heat. Pour in the batter and spread it into a round about 1 cm thick; cook for 4 to 6 minutes until the underside is deeply golden and the edges look crisp.
- Drizzle 1 tbsp of the vegetable oil around the edge of the pancake, then flip. Cook for 4 to 6 minutes until deeply golden, then drizzle in the remaining 1 tbsp oil and cook for 1 minute more to crisp the edges.
Recipe notes
Tips
- For the crispest result, keep the pancake fairly thin and let it cook undisturbed until the underside is properly browned before flipping.
- If your kimchi is very juicy, squeeze it lightly and add a splash of the kimchi liquid to the dipping sauce for extra punch.
Substitutions
- Replace Rice vinegar with White vinegar for a sharper dipping sauce.
- Replace Caster sugar with Honey for a rounder sweetness in the dipping sauce.
Storage
- Refrigerate up to 2 days
- Best eaten straight away. Cool leftovers, cover and refrigerate; reheat in a dry frying pan over medium heat for 2 to 4 minutes per side until hot and re-crisped.
Ratings & reviews
Liked this recipe? Share your feedback to support our cooking community.
Tried this recipe?
Choose 1–5 stars. A comment is optional.
Stay inspired
Discover new recipes, seasonal favourites and cooking inspiration every day. Follow JustRecipes on Pinterest and Spillt.
Recipe overview
- Servings: 3 servings
- Total time: 25min (25min active)
- Difficulty: Easy
- Cuisine: Korean
-
Allergens:
Gluten Soybeans Wheat
Plan your meals and get a complete grocery list automatically.
Add to meal plannerEquipment you'll need
Got ingredients left?
Find recipes using ingredients from this recipe or what you already have at home.
Find recipes with these ingredients →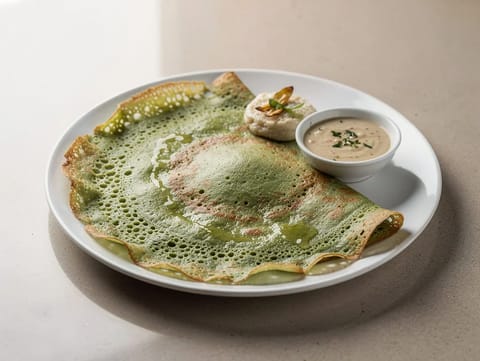
Pesarattu (Green Gram Dosa)
Crisp green gram dosa served with ginger chutney
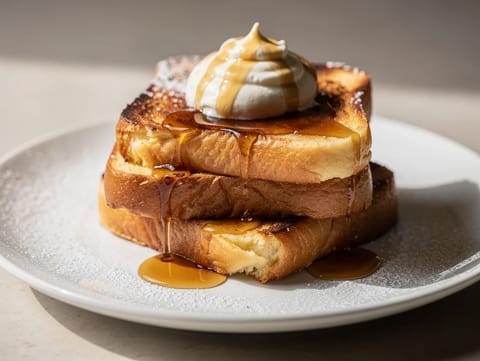
Brioche Perdue (French Toast with Crème Fraîche and Maple Syrup)
Custard-soaked brioche French toast with crème fraîche and maple syrup
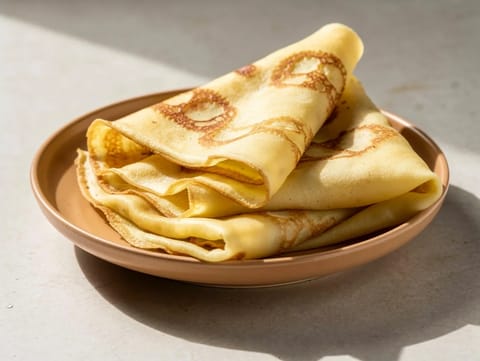
Filloas (Galician Crepes with Honey)
Thin Galician crepes served warm with honey
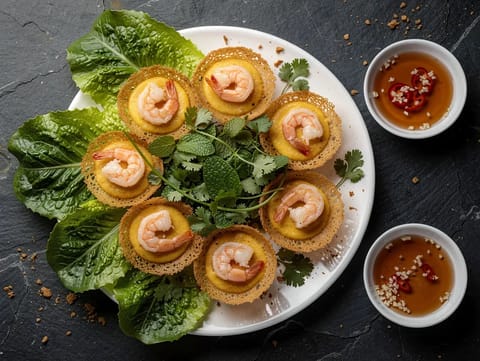
Banh Khot (Mini Savoury Pancakes with Prawns)
Crisp mini pancakes with prawns, coconut milk, turmeric and herbs

Klatkager (Danish Pancakes with Strawberry Jam)
Small Danish pancakes served warm with strawberry jam
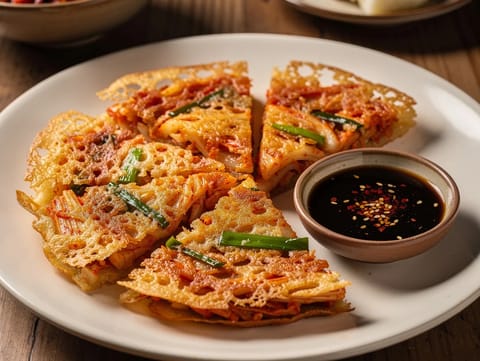
Kimchi Jeon (Kimchi and Spring Onion Pancake)
Kimchi and spring onion pancake with soy vinegar dipping sauce
Air Fryer Wontons
Crispy air fryer wontons with pork and spring onion.
Śledź w Śmietanie (Polish Herring in Sour Cream Sauce)
Polish herring in sour cream with apple and onion
Peruvian Causa Cups (Potato with Tuna and Avocado Filling)
Causa cups with lime potato, tuna mayonnaise and avocado
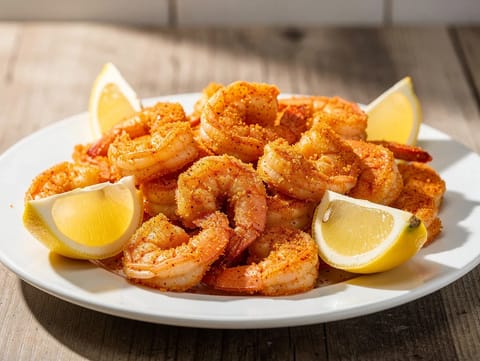
Air Fryer Breaded Shrimp
Crisp air fryer breaded shrimp with a light paprika coating.
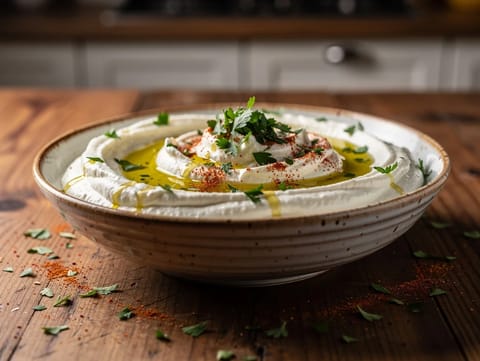
Turkish Aubergine Dip with Yoghurt, Garlic and Lemon
Roasted aubergine dip mixed with yoghurt, garlic and lemon
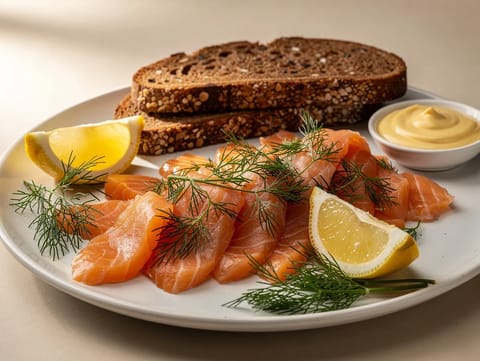
Gravlax Platter with Dill, Rye Bread and Mustard Sauce
Dill-cured salmon served with rye bread and mustard sauce
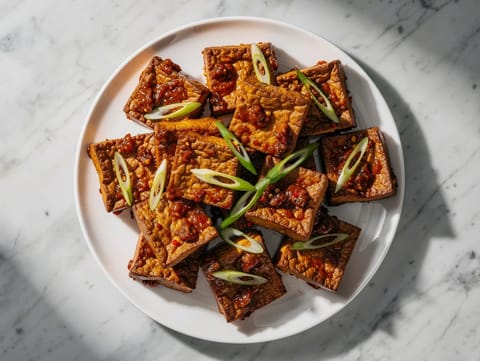
Miso Chilli Crispy Tofu
Crispy baked tofu tossed in miso chilli sauce
Kimchi Jeon (Kimchi and Spring Onion Pancake)
Kimchi and spring onion pancake with soy vinegar dipping sauce
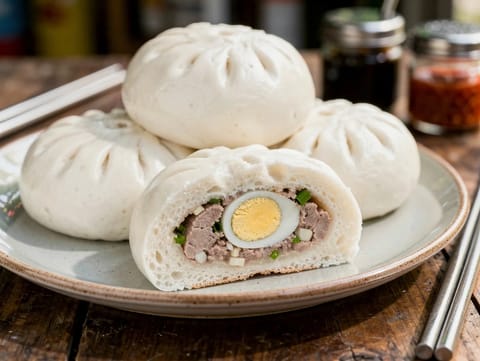
Bánh Bao (Vietnamese Steamed Pork Buns)
Fluffy steamed buns filled with minced pork and hard-boiled egg
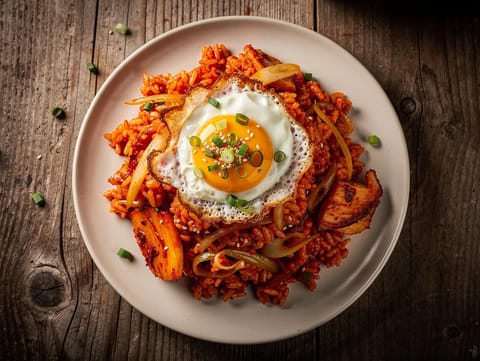
Kimchi Bokkeumbap (Korean Kimchi Fried Rice)
Kimchi fried rice with gochujang, fried egg and gim
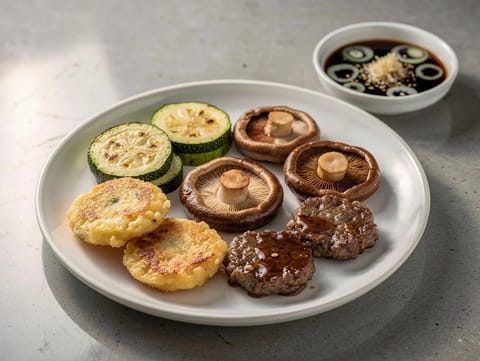
Holiday Jeon (Assorted Korean Pancakes)
Assorted Korean pan-fried pancakes with a soy vinegar dipping sauce
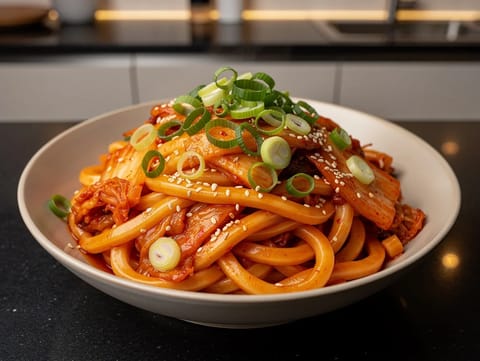
Kimchi Udon Stir-Fry (Modern Fusion)
Kimchi and gochujang udon stir-fry with sesame and spring onions
You might also like
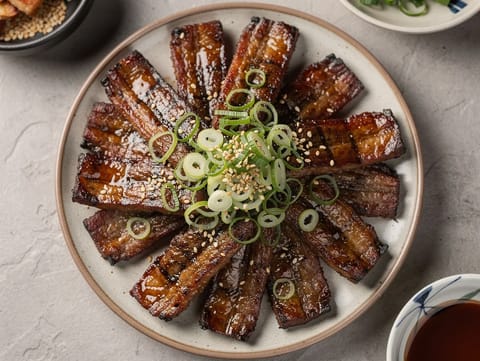
Galbi (Korean BBQ Short Ribs)
Marinated Korean short ribs grilled or seared until caramelised
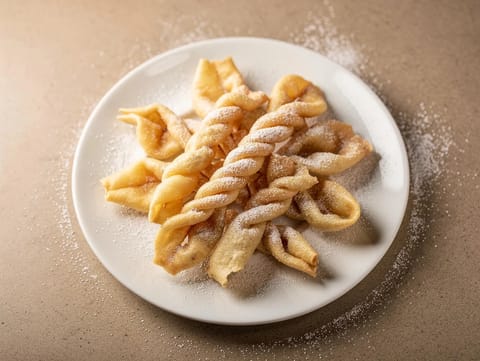
Klenät (Nordic Fried Christmas Pastries with Cardamom)
Twisted Nordic fried pastries dusted with icing sugar
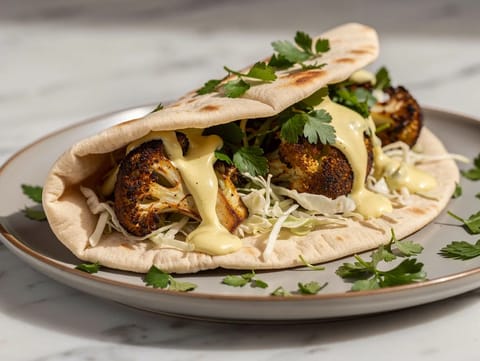
Vegan Cauliflower Shawarma with Cabbage and Tahini Sauce
Cauliflower shawarma in pita with cabbage and lemon tahini sauce
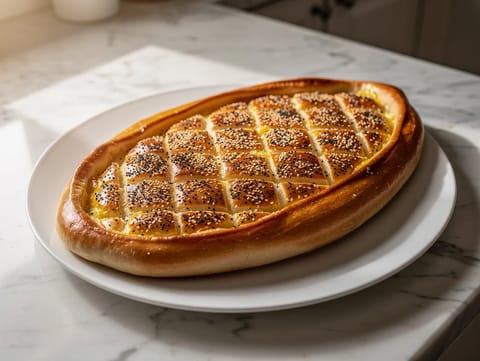
Ramadan Pide (Turkish Iftar Flatbread)
Soft Turkish flatbread topped with sesame and nigella
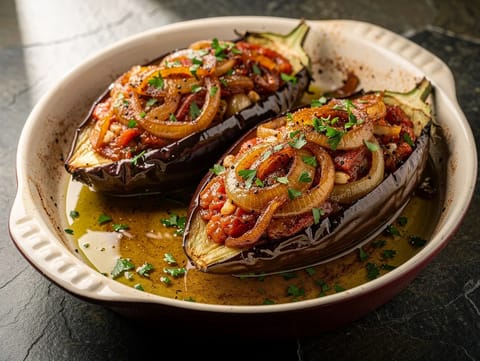
Imam Baildi (Greek Stuffed Aubergines with Tomato and Onion)
Baked aubergines stuffed with tomato, onion and garlic
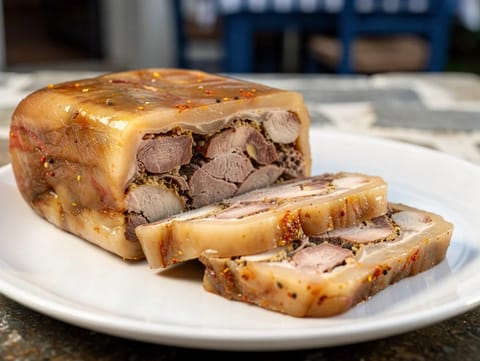
Kavourmas (Greek Cured Pork)
Greek cured pork set under its own fat
Make this recipe easier next time
AdvertisementThese tools help you get better results with less effort.
Misen Carbon Steel Nonstick Frying Pan 12 Inch
- Works on all stovetops
- Naturally nonstick when seasoned
- Requires seasoning and maintenance
Pyrex Glass Mixing Bowls with Lids
- Microwave safe
- BPA-free lids
- Glass is heavier
All-Clad HA1 Hard Anodized Nonstick Fry Pan 12 Inch
- Top-tier build quality
- Excellent heat distribution
- Expensive
KitchenAid Stainless Steel Mixing Bowls
- Non-slip base
- Stainless steel
- Not microwave safe
Enjoy cooking with JustRecipes?
Add JustRecipes as one of your preferred Google sources to discover our recipes more easily across Google Search.
Add JustRecipes to GoogleEvery recipe on JustRecipes follows the same structured editorial process. Learn how recipes are created, validated, translated, illustrated, and continuously improved across the platform. How we create recipes.
