
Nisse Cookies (Nordic Holiday Biscuits with Vanilla and Cardamom)
Why this recipe works
- Snappy texture: Chilling the dough makes it easier to roll thinly and evenly, helping the biscuits bake into a crisp finish.
- Simple Nordic aromatics: Vanilla softens the buttery base while cardamom adds a warm, distinctive spice note.
- Good for planning ahead: The dough can be chilled before rolling or frozen for later, making it useful for holiday baking in stages.
Get the most out of this recipe
Timing notes
- Chill until firm: The dough should feel firm enough to roll without sticking or smearing; if it softens, chill it again briefly before cutting.
- Let the biscuits set: They will be delicate straight from the oven and become snappy only once fully cooled on a rack.
Ingredient notes
- Use fragrant cardamom: Cardamom is the defining flavour here, so use ground cardamom that still smells bright and warm.
- Start with softened butter: Butter that is soft but not melted creams more evenly with the sugar, giving the dough a lighter texture.
Common mistakes
- Do not overwork the flour: Once the flour is added, mix only until the dough comes together to keep the biscuits crisp rather than tough.
- Watch the edges: Remove the biscuits when the edges are lightly golden and the centres look set; they will continue to firm as they cool.
Make-ahead tips
- Freeze the dough: Wrap the dough well and freeze it before rolling, then thaw it in the fridge overnight before baking.
- Pack once fully cool: For tins or gifting, store the biscuits only after they are completely cool so they keep their crisp texture.
Equipment you'll need
Ingredients
Instructions
- Beat the butter and caster sugar together until pale and fluffy. Beat in the egg, then mix in the vanilla extract.
- Stir in the ground cardamom and fine sea salt. Add the plain flour and mix just until a smooth dough forms, scraping down the bowl as needed.
- Shape the dough into a flat disc, cover, and chill until firm enough to roll cleanly. This should take about 45 minutes.
- Heat the oven to 175°C (350°F) and line a baking tray. Roll the dough out to about 4 mm thick, cut into shapes, and place them on the tray with a little space between.
- Bake for 10 to 12 minutes until the edges are lightly golden and the centres look set. Cool on the tray for 2 minutes, then transfer to a cooling rack to cool completely and turn snappy.
Recipe notes
Tips
- For the cleanest cut-outs, roll the dough between two sheets of parchment paper and chill it briefly if it starts to soften.
- Bake one tray at a time in the centre of the oven for the most even colour, rotating the tray halfway through if your oven has hot spots.
- Food safety: if serving to pregnant people, young children, older adults, or anyone immunocompromised, use a pasteurised egg.
Substitutions
- Replace vanilla extract with vanilla bean paste for a more pronounced vanilla flavour.
- Replace caster sugar with granulated sugar for a slightly coarser, more rustic biscuit texture.
Storage
- Refrigerate up to 5 days
- Store the baked cookies in an airtight tin at room temperature for up to 7 days for best snap. The dough can be frozen well wrapped for up to 2 months; thaw in the fridge overnight, then roll and bake as directed.
Ratings & reviews
Liked this recipe? Share your feedback to support our cooking community.
Tried this recipe?
Choose 1–5 stars. A comment is optional.
Stay inspired
Discover new recipes, seasonal favourites and cooking inspiration every day. Follow JustRecipes on Pinterest and Spillt.

Recipe overview
- Servings: 18 pieces
- Yield: nisse cookies
- Total time: 1h 15min (20min active)
- Difficulty: Easy
- Cuisine: Nordic
-
Allergens:
Eggs Gluten Milk Wheat
Plan your meals and get a complete grocery list automatically.
Add to meal plannerEquipment you'll need
Got ingredients left?
Find recipes using ingredients from this recipe or what you already have at home.
Find recipes with these ingredients →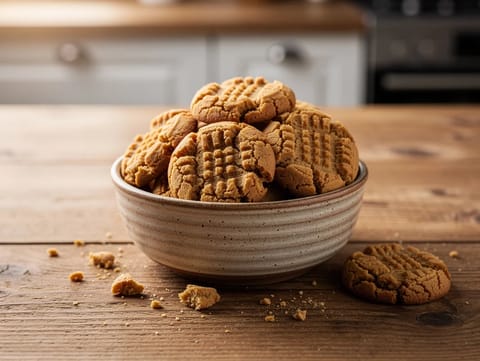
Air Fryer Peanut Butter Cookies
Air fryer peanut butter cookies with tender centres and set edges.
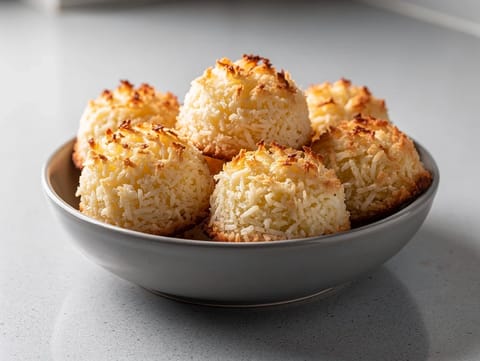
Cocadas (Mexican Coconut Macaroons)
Chewy coconut macaroons baked into small golden mounds
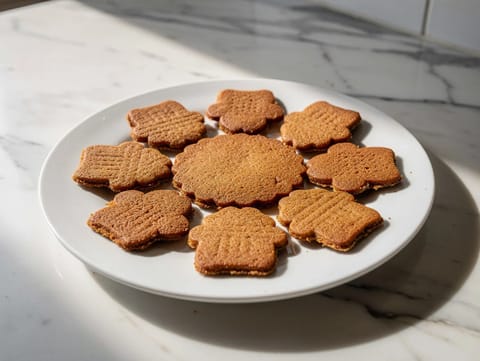
Speculaasjes (Dutch Spiced Biscuits)
Crisp Dutch spiced biscuits with cinnamon and mixed spice
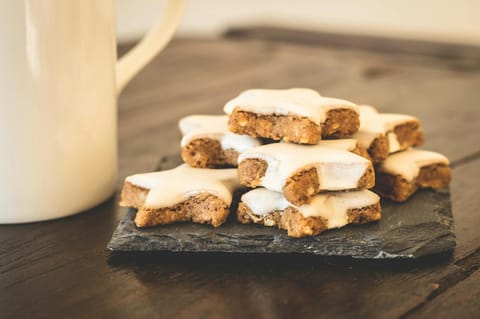
Zimtsterne (German Cinnamon Star Biscuits with Almonds)
Almond and cinnamon star biscuits topped with sweet meringue glaze
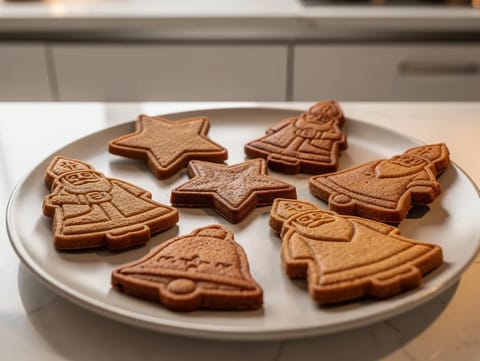
Saint-Nicolas Cookies (Belgian Spiced Biscuits)
Crisp Belgian spiced biscuits with warm baking spices
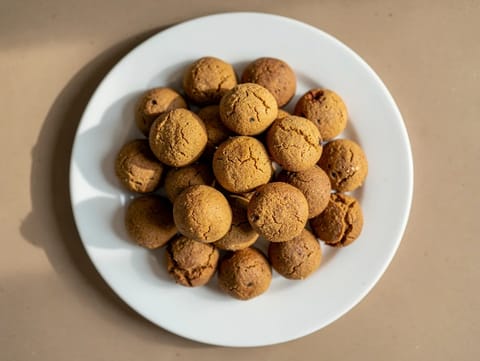
Pepernoten (Dutch Spiced Cookies)
Small Dutch spiced cookies baked until crisp
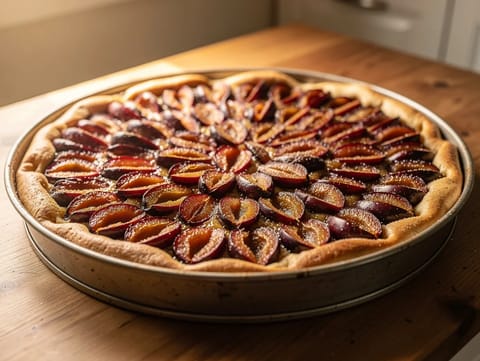
Zwetschgenkuchen (German Plum Cake with Yeasted Base)
German plum cake with yeasted base and cinnamon sugar
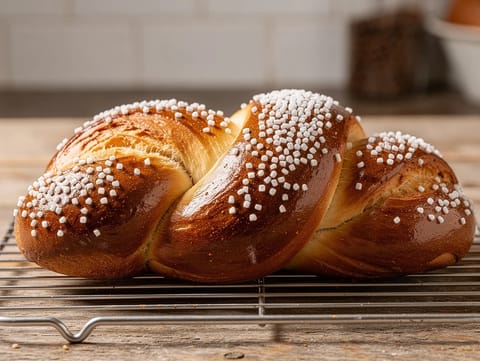
Cougnou (Belgian Christmas Sweet Bread)
Belgian Christmas sweet bread topped with pearl sugar

Cannoli Siciliani (Fried Pastry Tubes Filled with Ricotta)
Fried cannoli filled with sweet ricotta and finished with pistachios
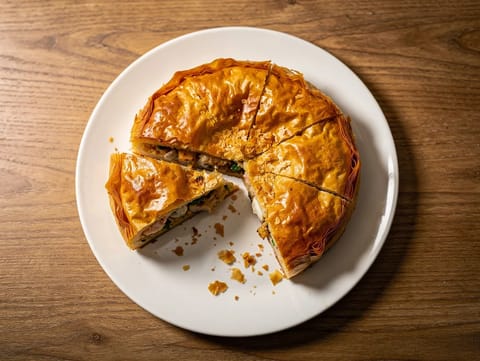
Seafood Pastilla (Moroccan Filo Pie with Prawns and White Fish)
Crisp Moroccan filo pie filled with prawns and white fish
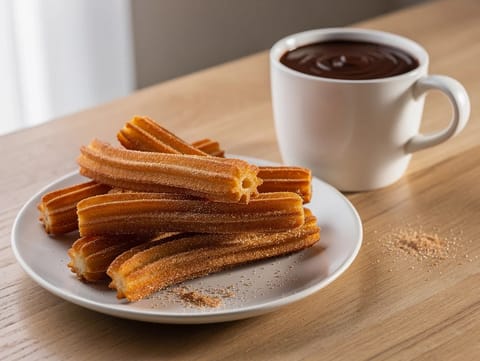
Churros con Chocolate (Fried Dough with Hot Chocolate)
Crisp cinnamon sugar churros with thick dark hot chocolate
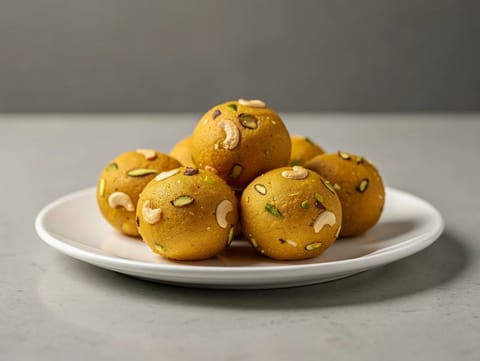
Besan Ladoo (Chickpea Flour Sweet Balls)
Roasted chickpea flour sweet balls with ghee and cardamom
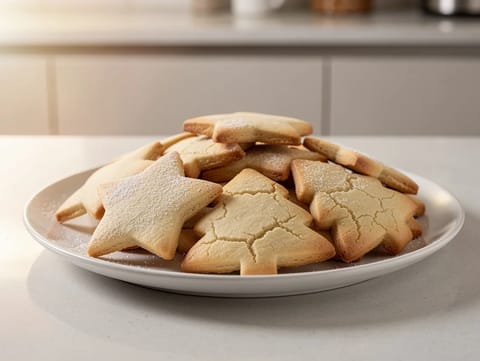
Christmas Sugar Cookies with Vanilla Butter Dough
Buttery vanilla sugar cookies cut into festive shapes
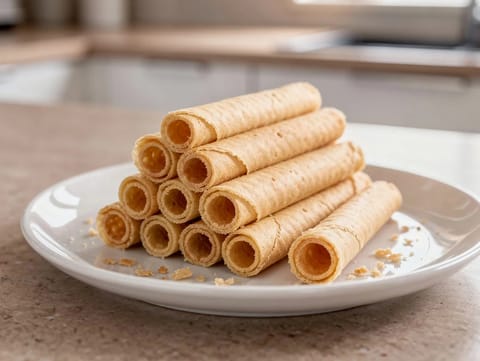
Nieuwjaarsrolletjes (Dutch New Year’s Wafer Rolls)
Crisp Dutch wafer rolls flavoured with butter and vanilla
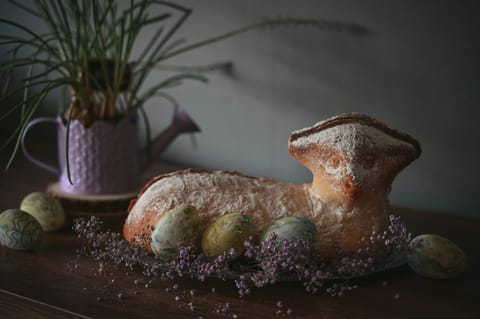
Gâteau Agneau de Pâques (Belgian Easter Lamb Sponge Cake)
Belgian Easter sponge cake finished with icing sugar
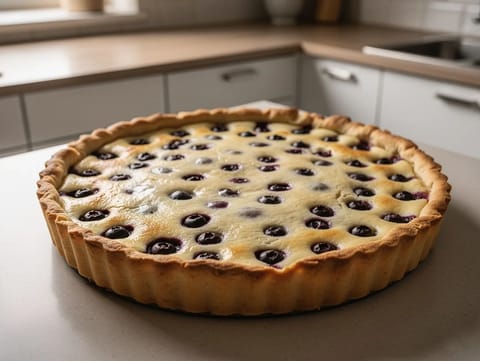
Mustikkapiirakka (Finnish Blueberry Pie with Sour Cream Filling)
Finnish blueberry pie with sour cream filling
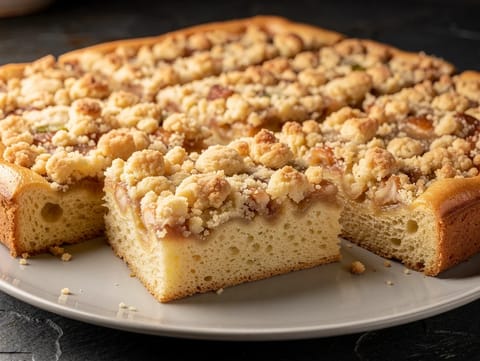
Streuselkuchen (German Yeasted Crumb Cake)
German yeasted crumb cake with a thick buttery streusel topping
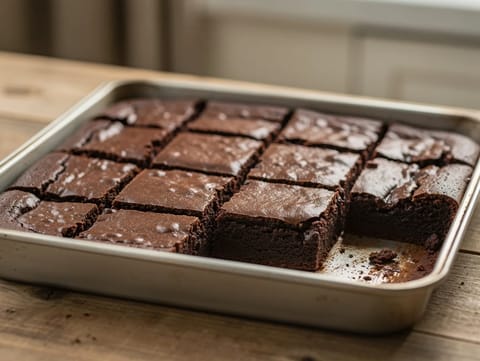
Classic Fudgy Brownies
Fudgy brownies with dark chocolate, cocoa and vanilla
You might also like
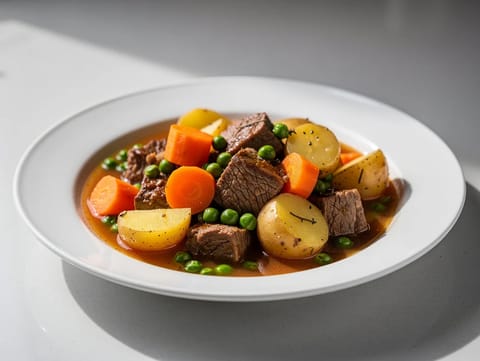
Navarin d’Agneau (Spring Lamb Stew)
Spring lamb stew with carrots, new potatoes and peas
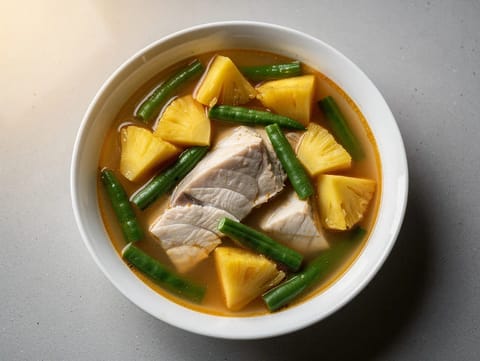
Gaeng Som (Thai Sour Orange Curry with Fish)
Sour orange Thai fish curry with tamarind and pineapple
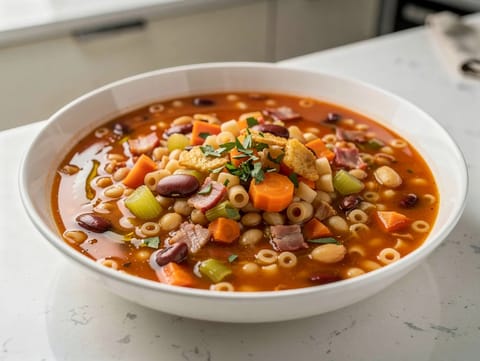
Pasta e Fagioli (Italian Pasta and Bean Soup)
Hearty pasta and bean soup with pancetta and tomato
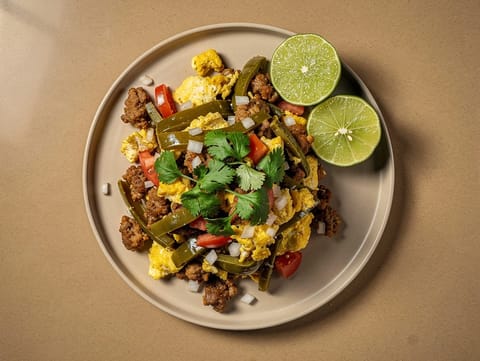
Nopales con Chorizo y Huevo (Cactus, Chorizo and Eggs)
Nopales sautéed with chorizo and folded into scrambled eggs
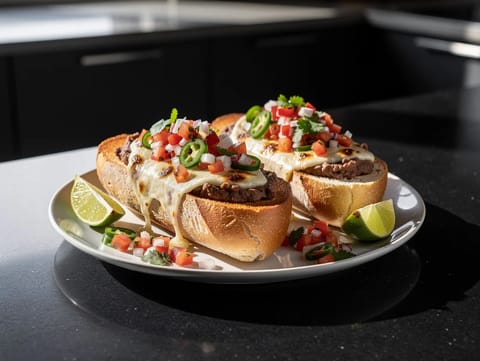
Molletes with Refried Beans and Pico de Gallo
Toasted bread with refried beans, melted Oaxaca cheese and pico de gallo

Air Fryer Thai Shrimp
Air-fried Thai shrimp with fish sauce, lime, and garlic.
Make this recipe easier next time
AdvertisementThese tools help you get better results with less effort.
KitchenAid Stainless Steel Mixing Bowls
- Non-slip base
- Stainless steel
- Not microwave safe
Pyrex Glass Mixing Bowls with Lids
- Microwave safe
- BPA-free lids
- Glass is heavier
OXO Good Grips Stainless Mixing Bowl Set
- Non-slip base
- Comfort grip
- Higher price
Enjoy cooking with JustRecipes?
Add JustRecipes as one of your preferred Google sources to discover our recipes more easily across Google Search.
Add JustRecipes to GoogleEvery recipe on JustRecipes follows the same structured editorial process. Learn how recipes are created, validated, translated, illustrated, and continuously improved across the platform. How we create recipes.
