
Skillet Sausage Gravy with Buttermilk Biscuits
Why this recipe works
- Deep savoury base: Browning the pork sausage before adding the flour builds the gravy’s meaty, well-seasoned flavour.
- Smooth, thick gravy: Stirring flour into the sausage fat before adding milk helps the sauce thicken evenly without tasting raw.
- Fast comfort food: Using ready-made buttermilk biscuits keeps the recipe practical while the gravy comes together in one pan.
Get the most out of this recipe
Texture tips
- Add the milk gradually: Pouring in the milk a little at a time and whisking as you go helps prevent lumps and gives the gravy a smoother finish.
- Loosen before serving: If the gravy thickens too much, whisk in a splash more milk over low heat until it returns to a spoonable consistency.
Common mistakes
- Avoid high heat after adding milk: A gentle simmer keeps the dairy smooth and gives the flour time to thicken the gravy evenly.
- Do not stop too early: The gravy should coat the back of a spoon before serving; if it still runs thin, simmer briefly while stirring.
Make-ahead tips
- Reheat gently: Warm leftover gravy over low heat, whisking in a little milk to loosen it, and heat the biscuits separately for the best texture.
- Best served straight away: The gravy is at its smoothest when freshly made, and the biscuits are best while warm and light.
Authenticity notes
- Home-style preparation: This version follows the classic skillet method: sausage browned in the pan, flour stirred into the fat, then milk simmered in to form the gravy.
- Classic pairing: Buttermilk biscuits are the traditional partner, offering a tender, slightly tangy base for the creamy sausage gravy.
Equipment you'll need
Ingredients
Instructions
- Warm the American style buttermilk biscuits according to the packet directions, or split and toast them until hot. Keep them warm while you make the gravy.
- Set a large frying pan over medium heat and melt the unsalted butter. Add the pork sausage and break it up with a wooden spoon, cooking for 6 to 8 minutes until well browned and no longer pink.
- Sprinkle over the plain flour and stir constantly for 1 minute so the flour coats the sausage and turns slightly toasty. This helps the gravy thicken smoothly.
- Pour in the whole milk a little at a time, whisking as you go to prevent lumps. Bring to a gentle simmer, then cook for 4 to 6 minutes, stirring often, until thick enough to coat the back of a spoon.
- Season with the fine sea salt and black pepper, then taste and adjust if needed. Spoon the hot sausage gravy over the warm biscuits and serve straight away.
Recipe notes
Tips
- For the smoothest gravy, keep the heat at a gentle simmer once the milk is in and whisk well as you add it.
- If the gravy thickens too much before serving, whisk in a splash more whole milk over low heat until it loosens.
Substitutions
- Replace unsalted butter with salted butter, then reduce the fine sea salt to taste.
- Replace black pepper with white pepper for a milder peppery finish.
Storage
- Refrigerate up to 2 days
- Cool the sausage gravy quickly, then refrigerate in a sealed container for up to 2 days. Reheat gently in a frying pan over low heat, whisking in a little whole milk to loosen, until piping hot; warm the biscuits separately.
Ratings & reviews
Liked this recipe? Share your feedback to support our cooking community.
Tried this recipe?
Choose 1–5 stars. A comment is optional.
Stay inspired
Discover new recipes, seasonal favourites and cooking inspiration every day. Follow JustRecipes on Pinterest and Spillt.

Recipe overview
- Servings: 4 servings
- Total time: 25min (20min active)
- Difficulty: Easy
- Cuisine: American
-
Allergens:
Gluten Milk Wheat
Plan your meals and get a complete grocery list automatically.
Add to meal plannerEquipment you'll need
Got ingredients left?
Find recipes using ingredients from this recipe or what you already have at home.
Find recipes with these ingredients →
Stamppot Boerenkool (Dutch Mashed Potatoes with Kale and Smoked Sausage)
Dutch kale and potato mash served with smoked sausage
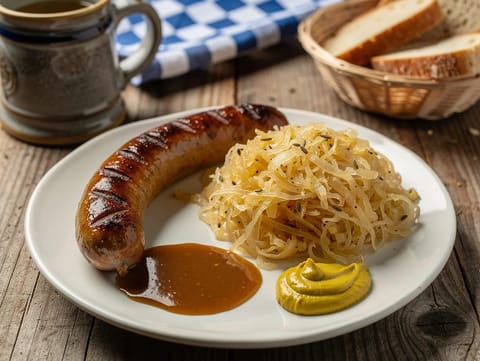
Bratwurst mit Sauerkraut (Bratwurst with Sauerkraut and Onion)
Bratwurst simmered with sauerkraut, onion and caraway
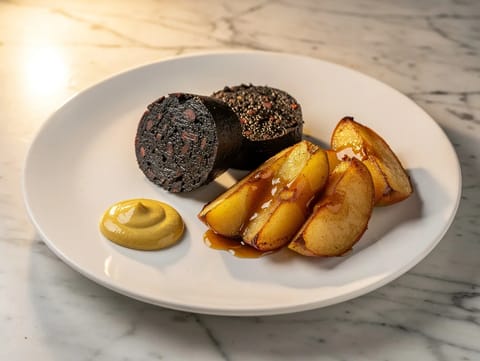
Bloedworst met Appel (Blood Sausage with Apple)
Crisp pan-fried blood sausage served with caramelised apples
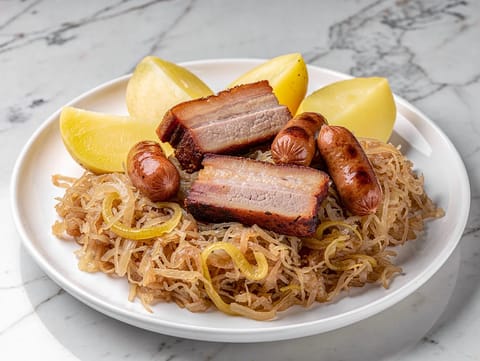
Choucroute Garnie (Alsatian Braised Sauerkraut with Pork and Sausages)
Braised sauerkraut with pork belly, sausages, potatoes and mustard

Arroz con Pollo a la Mexicana (One-Pot Chicken and Rice)
One-pot chicken and rice with tomato, peas and sweetcorn

Creole Red Beans and Rice with Andouille
Creamy red beans with andouille sausage served over rice
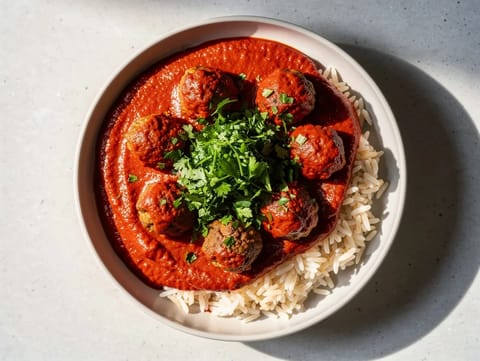
Daoud Basha (Lebanese Meatballs in Tamarind Tomato Sauce)
Beef meatballs simmered in tamarind tomato sauce
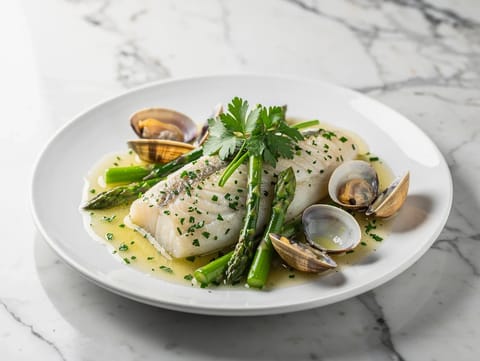
Merluza a la Vasca (Basque-Style Hake with Parsley Sauce)
Poached hake with parsley sauce, clams and asparagus

Pan-Seared Dover Sole with Caper Butter
Pan-seared Dover sole with lemony caper butter

Palestinian Musakhan (Roasted Chicken with Sumac and Onions)
Roast chicken on flatbread with sumac onions and pine nuts
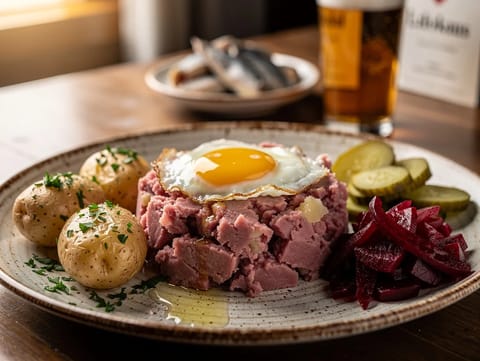
Labskaus (Beetroot and Corned Beef Hash)
Northern German potato hash with corned beef and beetroot

Egg Curry with Tomato and Onion Masala
Egg curry in tomato and onion masala with basmati rice

Biscuits and Gravy
Warm biscuits topped with creamy pork sausage gravy
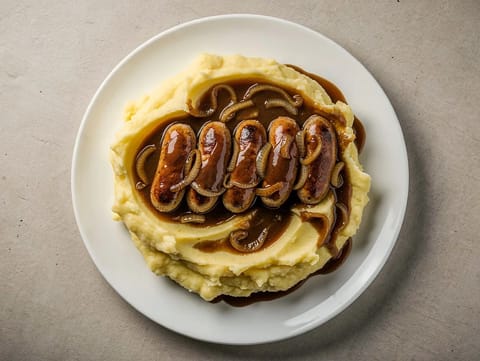
Bangers and Mash
Pork sausages over creamy mash with onion gravy

Saucisson Brioché (Sausage Baked in Brioche Dough)
Pork sausage baked inside soft brioche
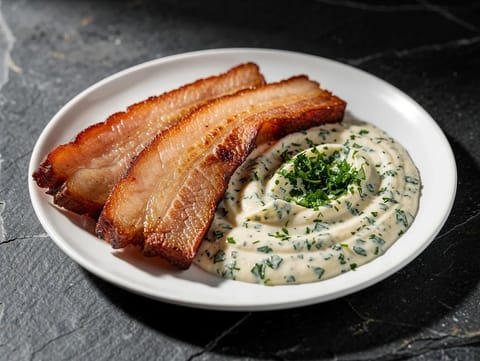
Stegt Flæsk (Crispy Pork Belly with Parsley Sauce)
Crispy pork belly with warm parsley sauce

Filloas (Galician Crepes with Honey)
Thin Galician crepes served warm with honey
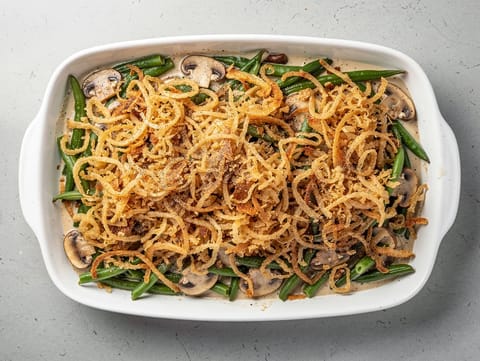
Green Bean Casserole with Creamy Mushroom Sauce and Crispy Onions
Green bean casserole with creamy mushroom sauce and crispy onions
You might also like

Vegan Jackfruit Carnitas Tacos
Crispy jackfruit carnitas in warm corn tortillas
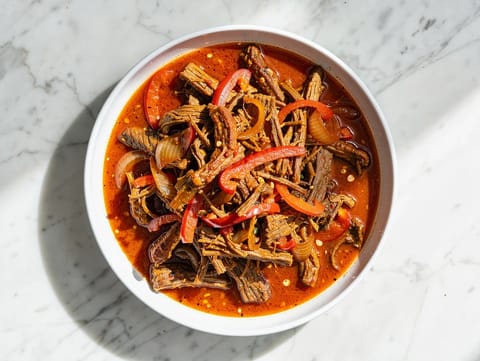
Ropa Vieja (Shredded Beef in Tomato and Pepper Sauce)
Shredded beef brisket simmered in tomato, pepper and cumin sauce

Salsiccia e Peperoni (Italian Sausage with Peppers and Onions)
Italian sausage cooked with peppers, onions and white wine
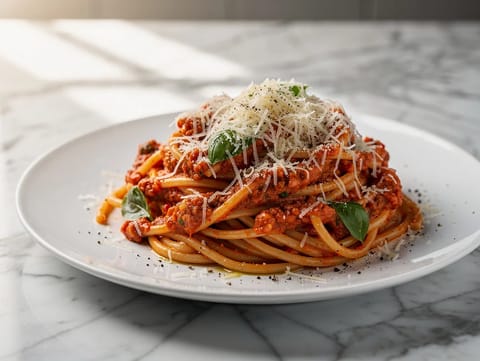
Pasta al Pesto Trapanese (Sicilian Almond Pesto Pasta)
Sicilian pasta with tomato, basil and almond pesto

Veal Milanese with Rocket and Tomato
Crisp breadcrumbed veal with rocket and tomato salad

Creamy Chicken Skillet with Sun-Dried Tomatoes and Spinach
Seared chicken in creamy sauce with sun-dried tomatoes and spinach
Make this recipe easier next time
AdvertisementThese tools help you get better results with less effort.
Misen Carbon Steel Nonstick Frying Pan 12 Inch
- Works on all stovetops
- Naturally nonstick when seasoned
- Requires seasoning and maintenance
T-fal Ultimate Hard Anodized Nonstick Fry Pan 12 Inch
- Excellent price-performance
- Thermo-Spot heat indicator
- Not induction compatible
All-Clad HA1 Hard Anodized Nonstick Fry Pan 12 Inch
- Top-tier build quality
- Excellent heat distribution
- Expensive
Enjoy cooking with JustRecipes?
Add JustRecipes as one of your preferred Google sources to discover our recipes more easily across Google Search.
Add JustRecipes to GoogleEvery recipe on JustRecipes follows the same structured editorial process. Learn how recipes are created, validated, translated, illustrated, and continuously improved across the platform. How we create recipes.
