
Smothered Chicken with Onion Gravy
Why this recipe works
- Deep savoury base: Browning the chicken first leaves flavourful pan drippings that enrich the onions and stock.
- Rich onion gravy: Softened onions, butter, flour, and chicken stock create a glossy gravy that clings well to the chicken.
- Efficient cooking: The chicken browns, simmers, and finishes in the same pan, keeping the method straightforward and the washing-up limited.
Get the most out of this recipe
Ingredient notes
- Use bone-in thighs if possible: Bone-in, skin-on thighs suit this style of cooking because they stay moist during the simmer and add richness to the gravy.
- Slice the onions thinly: Thin half-moons soften evenly and melt into the gravy rather than staying chunky.
- Season at the end: Chicken stock varies in saltiness, so taste the finished gravy before adding any final seasoning.
Texture tips
- Dry the chicken well: Patting the skin dry before browning helps it colour deeply instead of steaming in the pan.
- Cook the flour briefly: Letting the flour absorb the fat before adding stock helps the gravy thicken smoothly without a raw flour taste.
- Loosen if needed: If the gravy becomes too thick, add a little more stock and warm gently until it turns glossy again.
Common mistakes
- Do not rush the onions: Cooking the onions over steady medium heat gives them time to soften and sweeten without catching.
- Add the stock gradually: Whisking in the stock slowly helps the flour blend into the gravy without lumps.
- Adjust for leaner cuts: If using chicken breast cutlets, shorten the final simmer so the meat stays juicy.
Make-ahead tips
- Good for leftovers: The cooked chicken and gravy can be cooled and refrigerated in a sealed container for up to 3 days.
- Reheat gently: Warm in a covered pan over low heat with a little stock until piping hot, stirring the gravy as it loosens.
- Freezer-friendly: Freeze after cooking for up to 2 months, then defrost overnight in the fridge before reheating.
Equipment you'll need
Ingredients
Instructions
- Pat the chicken thighs dry, then season all over with the fine sea salt and black pepper. Slice the yellow onion into thin half-moons.
- Heat the vegetable oil in a large frying pan over medium-high heat. Add the chicken thighs skin-side down and cook for 6 to 8 minutes until deeply golden, then turn and brown the other side for 3 to 4 minutes. Transfer to a plate.
- Reduce the heat to medium and add the unsalted butter to the pan. Stir in the onion with a pinch of the remaining pepper and cook for 8 to 10 minutes, stirring often, until softened and lightly golden.
- Sprinkle over the plain flour and cook for 1 minute, stirring so it coats the onions and absorbs the fat. Slowly whisk in the chicken stock, scraping up any browned bits, until smooth and starting to thicken.
- Return the chicken thighs to the pan, nestling them into the gravy, and bring to a gentle simmer. Cover and cook for 15 minutes, then uncover and simmer for 5 to 8 minutes until the chicken is cooked through and the gravy is thick enough to coat the back of a spoon.
- Finely chop the fresh parsley and stir most of it into the gravy. Spoon plenty of onion gravy over the chicken to serve, and finish with the remaining parsley.
Recipe notes
Tips
- For the best browning, make sure the chicken skin is very dry before it goes into the hot pan and avoid moving it until it releases easily.
- If the gravy thickens too much, loosen it with a splash of chicken stock and warm gently until glossy.
- Food safety: make sure the chicken is piping hot all the way through before serving.
Substitutions
- Replace Chicken thighs with Chicken breast cutlets; reduce the final simmer to 8 to 10 minutes so the chicken stays juicy.
- Replace Unsalted butter with Salted butter, then reduce the Fine sea salt to 1 tsp and season to taste at the end.
- Replace Fresh parsley with Fresh thyme for a more herby finish.
Storage
- Refrigerate up to 3 days
- Cool, then refrigerate in a sealed container for up to 3 days. Reheat gently in a covered pan over low heat with a splash of chicken stock until piping hot; the gravy will loosen as it warms. Freeze for up to 2 months and defrost overnight in the fridge before reheating.
Ratings & reviews
Liked this recipe? Share your feedback to support our cooking community.
Tried this recipe?
Choose 1–5 stars. A comment is optional.
Stay inspired
Discover new recipes, seasonal favourites and cooking inspiration every day. Follow JustRecipes on Pinterest and Spillt.
Recipe overview
- Servings: 4 servings
- Total time: 45min (20min active)
- Difficulty: Easy
- Cuisine: American
-
Allergens:
Gluten Milk Wheat
Plan your meals and get a complete grocery list automatically.
Add to meal plannerEquipment you'll need
Got ingredients left?
Find recipes using ingredients from this recipe or what you already have at home.
Find recipes with these ingredients →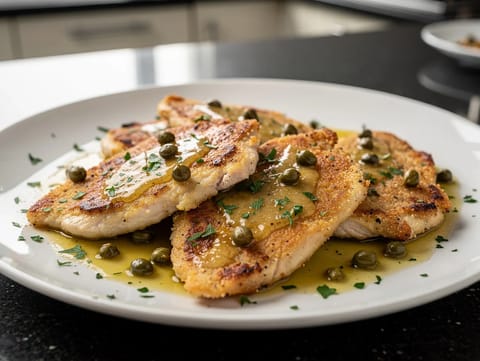
American-Style Chicken Piccata
Pan-fried chicken in a lemon, caper and butter sauce
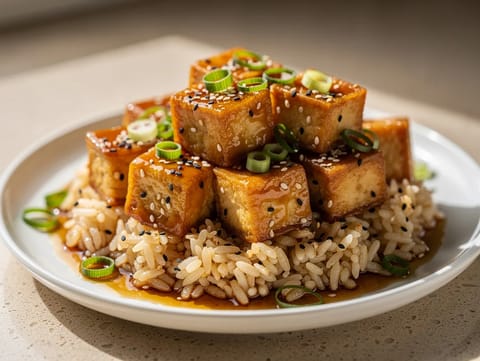
Air Fryer Sesame Tofu
Crispy air-fried tofu in a sesame soy glaze.
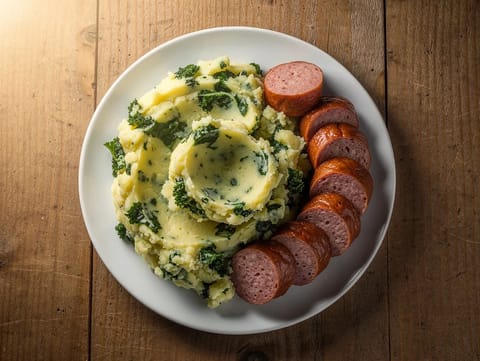
Stamppot Boerenkool (Dutch Mashed Potatoes with Kale and Smoked Sausage)
Dutch kale and potato mash served with smoked sausage
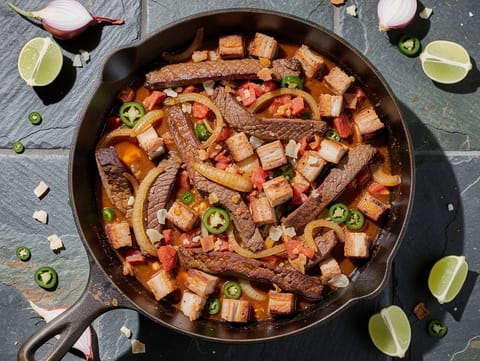
Discada Norteña (Northern Mexican Mixed Meat Skillet)
Mixed meat skillet with bacon, beef, pork and beer
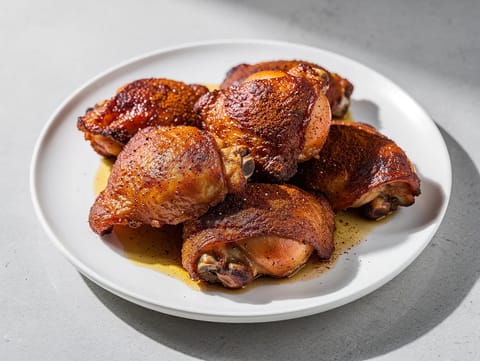
Air Fryer BBQ Chicken Thighs
Sticky BBQ chicken thighs finished in the air fryer.
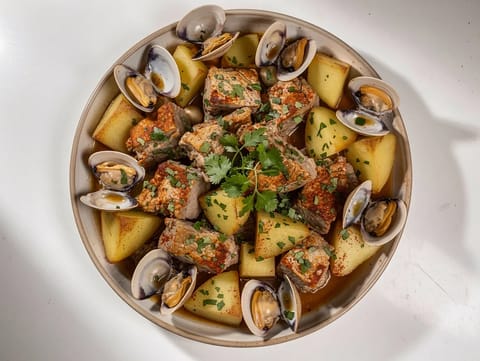
Carne de Porco à Alentejana (Portuguese Pork with Clams)
Portuguese pork with clams, garlic, white wine and fried potatoes
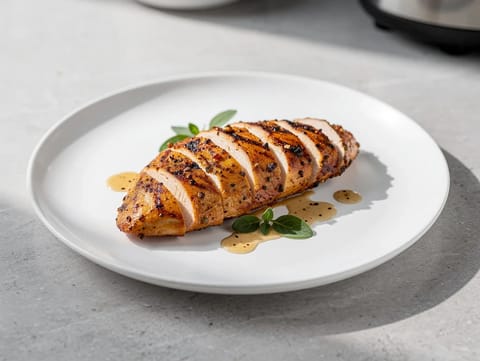
Air Fryer Marinated Chicken Breast
Air-fried chicken breast marinated with soy, lemon, garlic and honey.
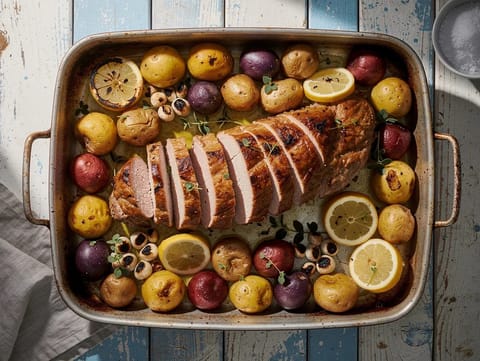
Greek-Style Christmas Pork Roast with Lemon, Garlic and Potatoes
Greek-style pork roast with lemon, oregano and tray potatoes
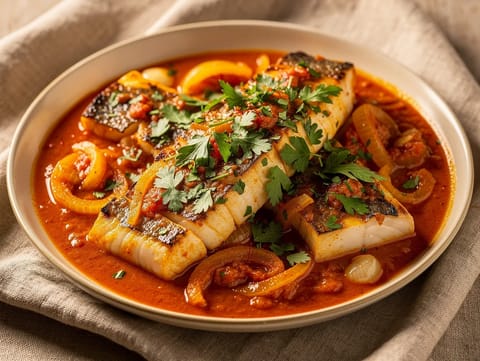
Rape a la Marinera (Spanish Monkfish in Tomato and Saffron Sauce)
Spanish monkfish simmered in tomato, white wine and saffron sauce
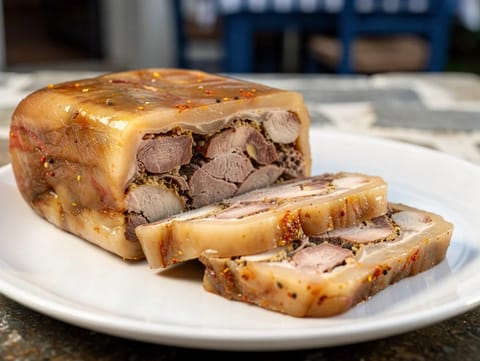
Kavourmas (Greek Cured Pork)
Greek cured pork set under its own fat
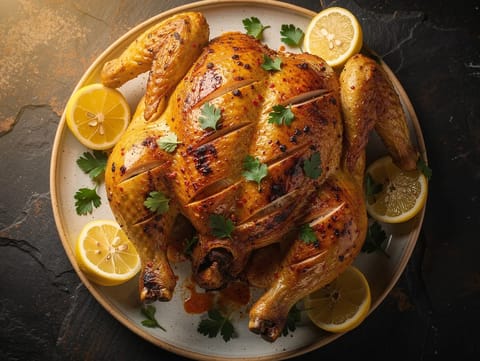
Portuguese Peri-Peri Chicken
Roast peri-peri chicken with chilli, garlic and lemon
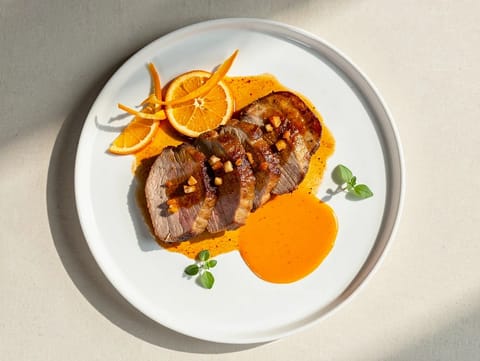
Lomo de Cerdo a la Naranja (Pork Loin with Orange Sauce)
Seared pork loin simmered in a glossy orange sauce
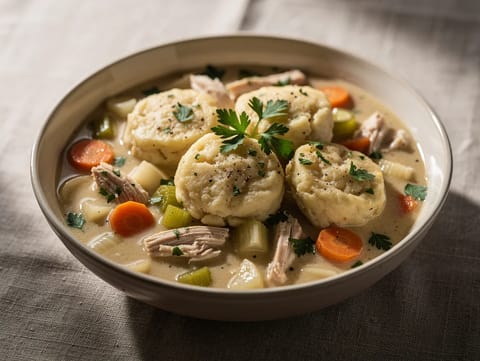
Chicken and Dumplings
Chicken stew topped with soft steamed dumplings
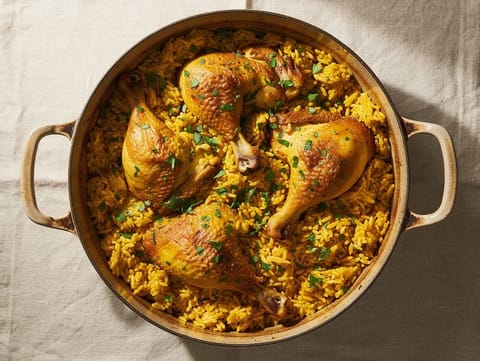
Brazilian Galinhada (One-Pot Chicken and Rice)
One-pot chicken and rice with turmeric, onion, garlic and parsley
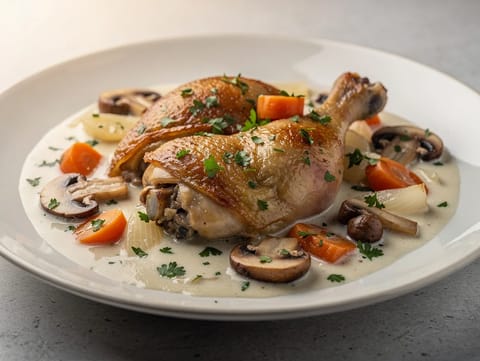
Chicken Fricassée (Creamy Chicken Stew with Mushrooms and White Wine)
French chicken stew with mushrooms in a creamy white wine sauce
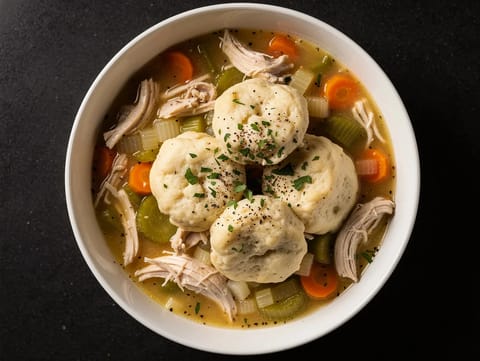
Chicken and Dumplings (Classic Southern)
Chicken stew topped with fluffy buttermilk dumplings
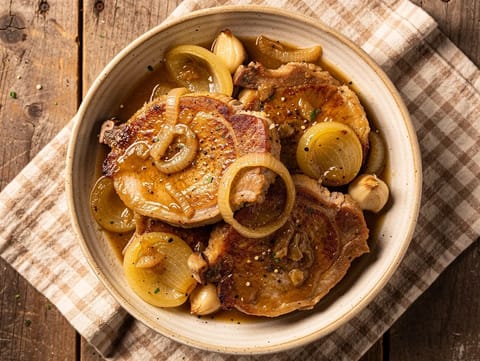
Smothered Pork Chops with Onion Gravy
Pan-seared pork chops simmered in rich onion gravy
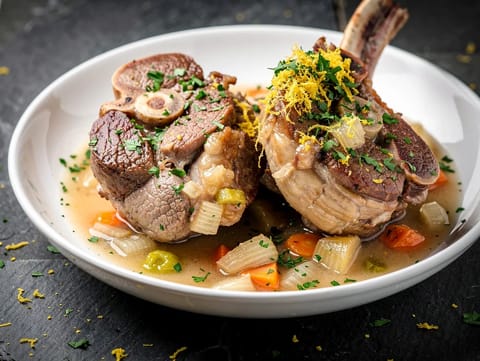
Ossobuco Bianco (White Braised Veal Shanks)
White-braised veal shanks finished with parsley and lemon zest gremolata
You might also like
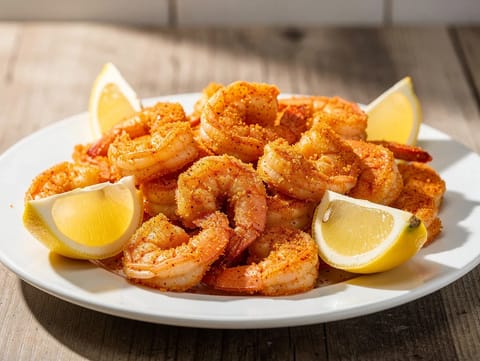
Air Fryer Breaded Shrimp
Crisp air fryer breaded shrimp with a light paprika coating.
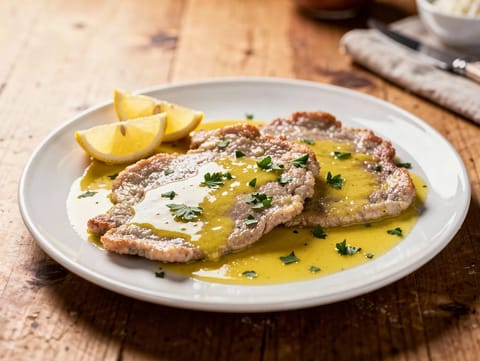
Scaloppine al Limone (Veal Cutlets with Lemon Sauce)
Pan-fried veal cutlets finished in a lemon butter sauce
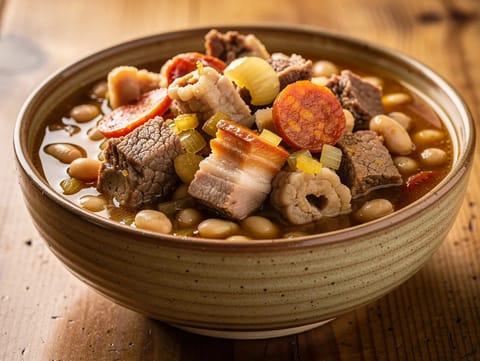
Tripas à Moda do Porto (Porto-Style Tripe Stew)
Porto-style tripe stew with pork, chorizo and white beans
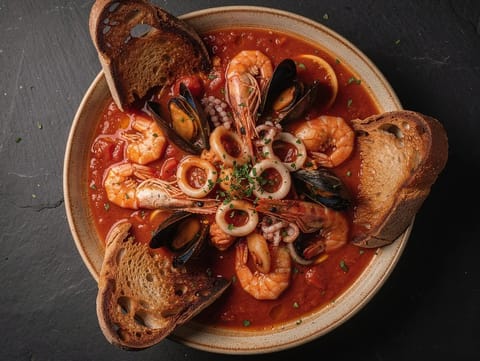
Cacciucco Livornese (Livorno-Style Fish and Seafood Stew)
Tuscan fish and seafood stew served over toasted bread

Zumo de Naranja (Fresh Orange Juice)
Freshly squeezed orange juice served straight away
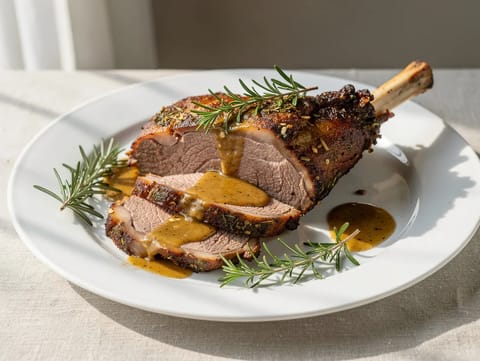
Cordero Asado (Spanish-Style Roast Lamb with Garlic and Rosemary)
Roast lamb with garlic, rosemary, lemon and white wine
Make this recipe easier next time
AdvertisementThese tools help you get better results with less effort.
Misen Carbon Steel Nonstick Frying Pan 12 Inch
- Works on all stovetops
- Naturally nonstick when seasoned
- Requires seasoning and maintenance
T-fal Ultimate Hard Anodized Nonstick Fry Pan 12 Inch
- Excellent price-performance
- Thermo-Spot heat indicator
- Not induction compatible
All-Clad HA1 Hard Anodized Nonstick Fry Pan 12 Inch
- Top-tier build quality
- Excellent heat distribution
- Expensive
Enjoy cooking with JustRecipes?
Add JustRecipes as one of your preferred Google sources to discover our recipes more easily across Google Search.
Add JustRecipes to GoogleEvery recipe on JustRecipes follows the same structured editorial process. Learn how recipes are created, validated, translated, illustrated, and continuously improved across the platform. How we create recipes.
