
Lasagne al Forno (Baked Lasagne with Beef Ragù and Béchamel)
Why this recipe works
- Deep ragù flavour: Soffritto, browned beef, white wine and tomatoes give the sauce savoury depth before it is baked into the pasta.
- Creamy, sliceable layers: Béchamel keeps the lasagne moist and smooth, while Parmesan adds richness and helps the top bake to a golden finish.
- Built for sharing: It bakes as one generous dish, rests before slicing and reheats well, making it practical for family dinners or leftovers.
Get the most out of this recipe
Authenticity notes
- Northern Italian style: Using béchamel with meat ragù reflects the style associated with lasagne al forno in northern Italy, rather than ricotta-led versions.
- Sauce before assembly: The ragù is cooked until thick and concentrated so it can support the pasta layers without making the finished dish watery.
Timing notes
- Mostly hands-off cooking: The active work is in chopping, sauce-making and assembly; much of the total time is the ragù simmering and the lasagne baking.
- Rest before slicing: Letting the lasagne stand briefly after baking allows the béchamel, ragù and pasta layers to settle for cleaner portions.
Common mistakes
- Leaving the ragù too loose: A watery ragù can make the layers slide apart, so reduce it until it is rich, thick and spoonable before assembling.
- Rushing the béchamel: Whisk the milk in gradually to keep the sauce smooth; adding it too quickly can make the béchamel harder to bring together.
- Letting the sauces catch: Keep both the ragù and béchamel over controlled heat and stir regularly, especially once they start to thicken.
Make-ahead tips
- Assemble in advance: The lasagne can be assembled ahead, covered and refrigerated before baking; allow a little extra time if baking from chilled.
- Freeze cooked portions: Cool completely, wrap portions well and freeze for up to 2 months for easy future meals.
- Reheat thoroughly: Defrost overnight in the fridge, then reheat in a 180°C (355°F) oven until piping hot all the way through.
Equipment you'll need
Ingredients
Ragù
Béchamel and assembly
Instructions
- Heat the olive oil in a large pot over medium heat. Finely chop the onion, carrot and celery, then cook with 1 tsp of the fine sea salt for 8 to 10 minutes until softened and sweet.
- Add the minced beef and cook for 8 to 10 minutes, breaking it up, until browned and any liquid has evaporated. Crush in the garlic and cook for 1 minute until fragrant.
- Pour in the dry white wine and simmer for 2 to 3 minutes until reduced by about half. Add the canned tomatoes, crushing them with a spoon, then stir in the remaining 1 tsp fine sea salt and the black pepper, if using.
- Bring to a gentle simmer, then cook uncovered on low heat for 35 to 40 minutes, stirring occasionally, until thick and rich. Take off the heat while you make the béchamel.
- Heat the oven to 200°C (390°F). In a saucepan, melt the unsalted butter over medium heat, then stir in the plain flour and cook for 1 to 2 minutes until it smells biscuity but has not coloured.
- Gradually whisk in the whole milk until smooth, then simmer gently for 6 to 8 minutes, whisking often, until thick enough to coat the back of a spoon. Season with a pinch of ground nutmeg, if using, and stir in about a third of the parmesan.
- Spread a thin layer of ragù in the base of a baking dish. Add a layer of lasagna noodles, then spoon over more ragù and béchamel; repeat for 3 to 4 layers, finishing with béchamel and the remaining parmesan on top.
- Bake for 30 to 35 minutes until bubbling at the edges and golden on top. Rest for 10 minutes before slicing so the layers set neatly.
Recipe notes
Serving suggestions
This recipe pairs well with:
Tips
- Keep the ragù at a gentle simmer rather than a rapid boil so it reduces without drying out or catching on the base of the pot.
- For a smoother béchamel, warm the whole milk slightly before whisking it into the butter and flour mixture.
- If serving to pregnant people, young children, older adults, or anyone immunocompromised, ensure the lasagne is piping hot all the way through before serving.
Substitutions
- Replace Dry White Wine with the same amount of water for an alcohol-free ragù; simmer for an extra 5 minutes to concentrate the flavour.
- Replace Parmesan with Pecorino Romano cheese for a saltier, sharper finish.
Storage
- Refrigerate up to 3 days
- Cool completely, then cover and refrigerate for up to 3 days. Freeze portions well wrapped for up to 2 months; defrost overnight in the fridge and reheat in a 180°C (355°F) oven until piping hot.
Ratings & reviews
Liked this recipe? Share your feedback to support our cooking community.
Tried this recipe?
Choose 1–5 stars. A comment is optional.
Stay inspired
Discover new recipes, seasonal favourites and cooking inspiration every day. Follow JustRecipes on Pinterest and Spillt.

Recipe overview
- Servings: 4 servings
- Total time: 2h (40min active)
- Difficulty: Medium
- Cuisine: Italian
-
Allergens:
Gluten Milk Wheat
Plan your meals and get a complete grocery list automatically.
Add to meal plannerEquipment you'll need
Got ingredients left?
Find recipes using ingredients from this recipe or what you already have at home.
Find recipes with these ingredients →
Cauliflower Cheese with Crispy Breadcrumbs
Cauliflower baked in cheddar sauce with a crispy breadcrumb topping

Gratin Dauphinois Traditionnel (Creamy Potato Gratin)
Creamy French potato gratin with garlic and nutmeg

Enchiladas Verdes (Green Chicken Enchiladas)
Baked chicken enchiladas with tomatillo salsa verde and queso fresco
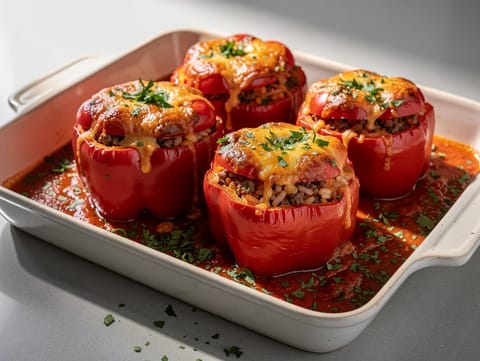
Stuffed Peppers with Rice and Minced Beef (Peperoni Ripieni)
Baked peppers filled with minced beef, rice and tomato

Enchiladas Verdes con Pollo (Chicken Enchiladas in Green Sauce)
Chicken enchiladas baked in tomatillo and green chilli sauce
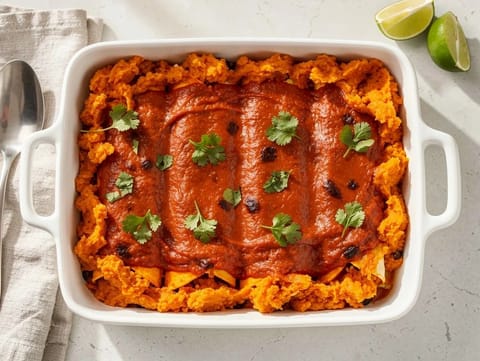
Gluten-Free Black Bean and Sweet Potato Enchiladas
Baked enchiladas with black beans, sweet potato and chipotle
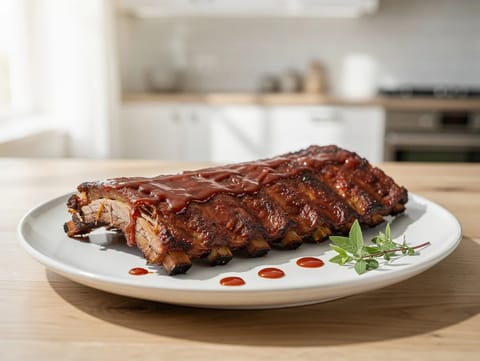
Slow-Cooked Baby Back Ribs with BBQ Sauce
Tender baby back ribs caramelised with barbecue sauce

Magret de Canard aux Cerises (Duck Breast with Cherry Sauce)
Pan-seared duck breast served with cherry and red wine sauce

Salsiccia e Friarielli (Italian Sausages with Broccoli Rabe)
Italian sausages served over garlicky broccoli rabe with lemon
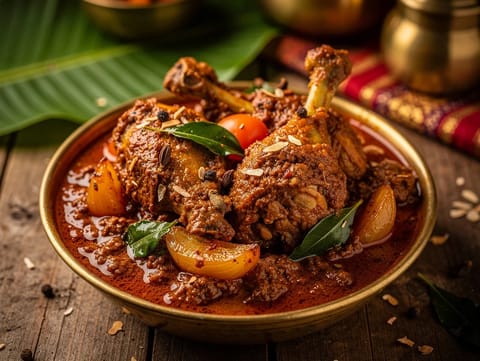
Chettinad Chicken Curry
Peppery Chettinad chicken curry with coconut, tomato and curry leaves
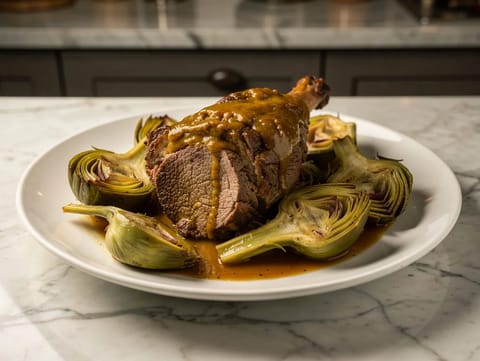
Agnello alla Romana con Carciofi (Roman Lamb Stew with Artichokes)
Roman lamb stew with artichokes, white wine and rosemary

Roast Rib of Beef with Yorkshire Pudding
Roast rib of beef with Yorkshire puddings and gravy
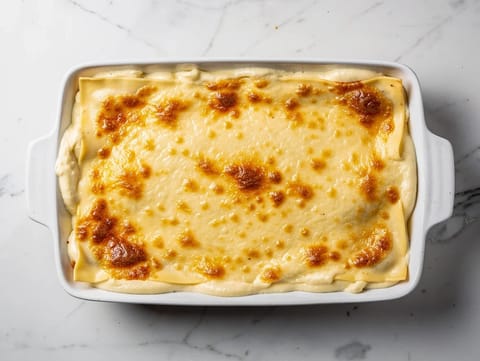
Lasagna Bianca delle Feste (White Lasagne with Pork and Porcini)
White lasagne with béchamel, minced pork and porcini mushrooms
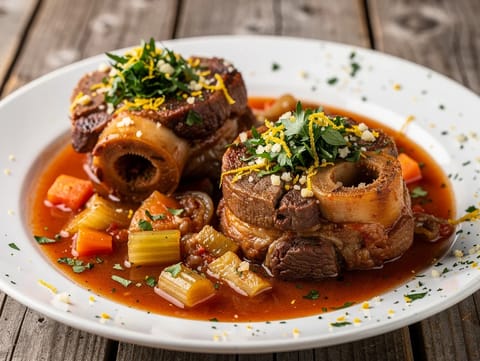
Ossobuco (Braised Veal Shanks)
Veal shanks braised with tomatoes, white wine and gremolata
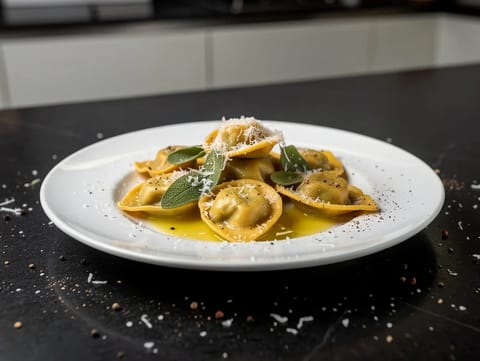
Agnolotti dal Plin al Burro e Salvia (Stuffed Pasta with Butter and Sage)
Stuffed agnolotti tossed in butter, sage and Parmesan
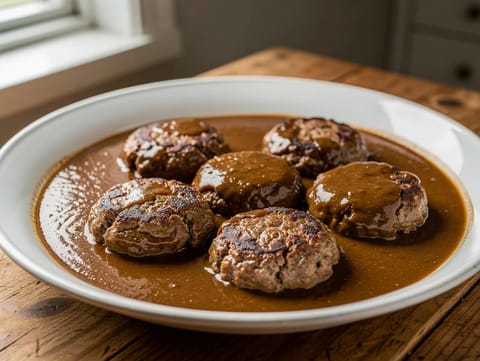
Kjøttkaker (Norwegian Beef Meatballs with Brown Gravy)
Norwegian beef meatballs served with creamy brown gravy

Chicken and Dumplings
Chicken stew topped with soft steamed dumplings
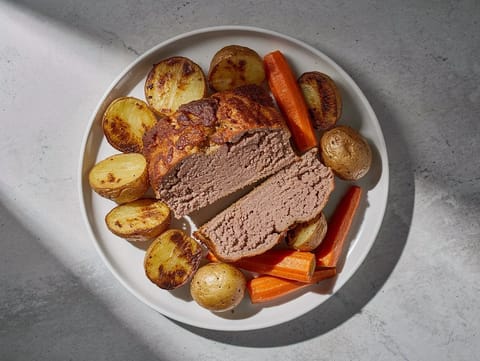
Sheet-Pan Meatloaf with Potatoes and Carrots
Sheet-pan meatloaf with roasted potatoes and carrots
You might also like

Tostones con Carne Molida (Fried Plantains with Spiced Minced Beef)
Twice-fried plantains topped with spiced minced beef
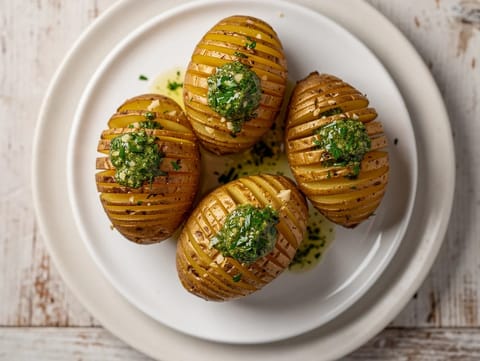
Swedish Hasselback Potatoes with Herb Butter
Crisp hasselback potatoes with garlic and parsley butter

Cannoli Siciliani (Crisp Shells with Sweet Ricotta Filling)
Crisp cannoli filled with sweet ricotta, pistachios and chocolate
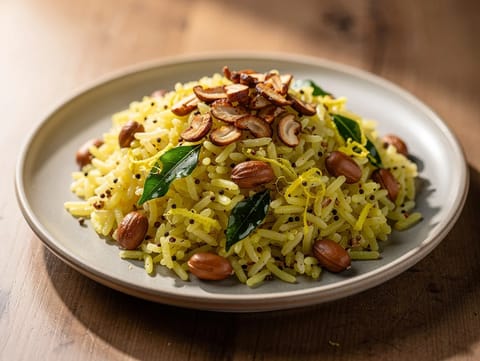
Lemon Rice with Roasted Peanuts
Lemon rice with mustard seeds, curry leaves and roasted peanuts

Zuccotto (Florentine Dome Cake)
Florentine dome cake with cocoa sponge and ricotta filling
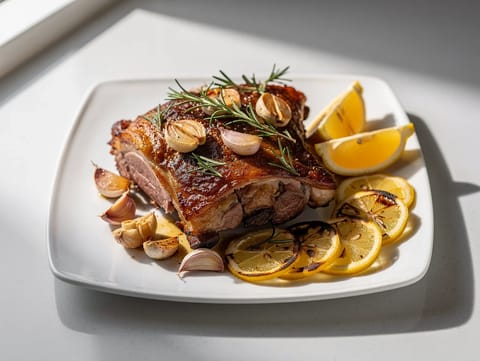
Slow-Roasted Shoulder of Lamb with Rosemary
Slow-roasted lamb shoulder with rosemary, garlic and pan juices
Make this recipe easier next time
AdvertisementThese tools help you get better results with less effort.
WMF Mini Saucepan 16 cm with Lid
- High-quality stainless steel
- Even heat distribution
- Higher price point
T-fal Specialty Nonstick Handy Pot with Glass Lid 3 Quart
- Easy food release
- Dishwasher safe
- Not induction compatible
All-Clad Tri-Ply Stainless Steel Saucepan
- Excellent heat control
- Premium build quality
- Expensive
Enjoy cooking with JustRecipes?
Add JustRecipes as one of your preferred Google sources to discover our recipes more easily across Google Search.
Add JustRecipes to GoogleEvery recipe on JustRecipes follows the same structured editorial process. Learn how recipes are created, validated, translated, illustrated, and continuously improved across the platform. How we create recipes.
