
Air Fryer Cherry Pie
Why this recipe works
- Balanced fruit filling: Lemon juice sharpens the sweetness of the cherries, while vanilla and almond extract add depth without overwhelming the fruit.
- Golden pastry finish: Egg-washed shortcrust pastry browns well in the air fryer, giving the pie a crisp, buttery top.
- Easy to prepare in stages: The filling can be cooked and cooled before assembly, which also helps prevent the pastry from softening.
Get the most out of this recipe
Timing notes
- Cool the filling before assembling: Let the cherry filling cool until barely warm before adding it to the pastry case; hot filling can soften the pastry and make sealing difficult.
- Rest before slicing: Leave the baked pie to stand for at least 10 minutes so the thickened cherry juices settle rather than running out immediately.
- Best served warm or room temperature: The pie slices more neatly once slightly cooled, but still keeps its freshly baked character when served warm.
Texture tips
- Keep the base crisp: Chilling the lined pie dish while rolling the lid helps the pastry hold its shape before the filling is added.
- Look for a glossy filling: The cherry mixture should be thick enough to coat the back of a spoon before it comes off the heat.
- Vent the pastry lid: Small slits in the top allow steam to escape, helping the pastry bake evenly while the filling bubbles.
Ingredient notes
- Use pitted sweet cherries: Sweet cherries give the filling its rounded fruit flavour; make sure they are fully pitted before cooking.
- Lemon keeps the filling bright: The lemon juice prevents the filling from tasting flat and balances the sugar in the cherry mixture.
- Almond extract is potent: Almond extract gives cherry pie its familiar bakery-style aroma, but it can dominate if used too heavily.
Make-ahead tips
- Cook the filling in advance: The cherry filling can be prepared ahead and chilled, then brought close to room temperature before assembling the pie.
- Reheat gently: Reheat slices in the air fryer at 160°C (320°F) until piping hot, which helps revive the pastry without over-browning it.
- Freeze baked slices: Cool the pie completely, wrap slices well and freeze for later; reheat from frozen at 160°C (320°F) until hot throughout.
Equipment you'll need
Ingredients
Instructions
- Put the cherries, caster sugar and the juice of the lemon into a saucepan and bring to a gentle simmer over medium heat. Cook for 6 to 8 minutes, stirring occasionally, until the cherries have released their juices and are just tender.
- In a small bowl, mix the cornflour with 2 tbsp cold water from the tap to make a smooth slurry. Stir it into the cherries and cook for 1 to 2 minutes until glossy and thick enough to coat the back of a spoon. Take off the heat and stir in the vanilla extract, almond extract and unsalted butter, then cool until barely warm.
- Roll out about two thirds of the shortcrust pastry between sheets of parchment paper. Peel away the paper and use the pastry to line an 18 to 20 cm pie dish that fits in your air fryer basket. Press it into the corners and leave a small overhang. Chill the lined dish in the refrigerator while you roll out the lid.
- Roll out the remaining pastry for the lid. Spoon the cooled cherry filling into the pastry case. Brush the rim with a little beaten egg, lay on the pastry lid, press to seal, then trim and crimp the edges.
- Cut 3 to 4 small slits in the top for steam to escape, then brush the top with the remaining beaten egg. Air-fry at 180°C (355°F) for 18 to 22 minutes until deep golden and the filling is bubbling through the vents. If the top browns too quickly, loosely cover with foil for the final minutes.
- Leave the pie to cool in the dish for at least 10 minutes so the filling thickens before slicing. Serve warm or at room temperature.
Recipe notes
Tips
- Cool the cherry filling until barely warm before assembling, otherwise it can soften the pastry and make sealing harder.
- Bake until the pastry and egg wash are fully cooked; do not serve patches of raw egg wash. When serving anyone especially vulnerable to foodborne illness, use pasteurized egg for the glaze as an extra precaution.
Substitutions
- Replace Vanilla extract with Almond extract for a more pronounced almond aroma (use 1 tsp Almond extract total).
- Replace Almond extract with Vanilla extract for a purely vanilla-scented filling (use 1.5 tsp Vanilla extract total).
Storage
- Refrigerate up to 3 days
- Cool completely, then cover and refrigerate. Reheat slices in the air fryer at 160°C (320°F) for 4 to 6 minutes until piping hot. Freeze wrapped slices for up to 2 months and reheat from frozen at 160°C (320°F) until hot throughout.
Ratings & reviews
Liked this recipe? Share your feedback to support our cooking community.
Tried this recipe?
Choose 1–5 stars. A comment is optional.
Stay inspired
Discover new recipes, seasonal favourites and cooking inspiration every day. Follow JustRecipes on Pinterest and Spillt.

Recipe overview
- Servings: 4 servings
- Total time: 55min (25min active)
- Difficulty: Medium
- Cuisine: American
-
Allergens:
Eggs Gluten Milk Wheat
Plan your meals and get a complete grocery list automatically.
Add to meal plannerEquipment you'll need
Got ingredients left?
Find recipes using ingredients from this recipe or what you already have at home.
Find recipes with these ingredients →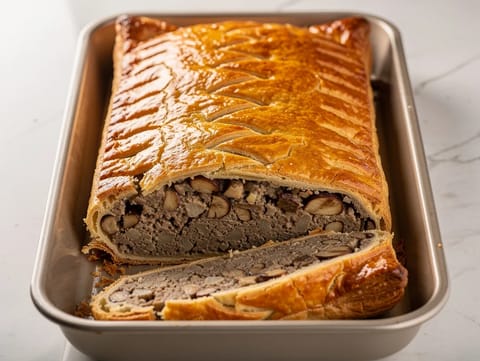
Mushroom and Chestnut Wellington (Vegetarian)
Mushroom and chestnut Wellington baked in crisp puff pastry
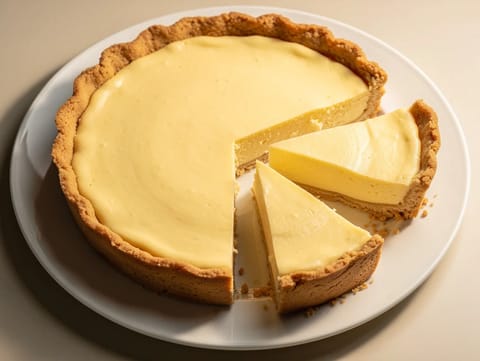
Lemon Icebox Pie
No-bake lemon pie with a crisp biscuit crumb base

Air Fryer Mini Apple Pies
Mini apple pies air-fried with cinnamon and lemon.
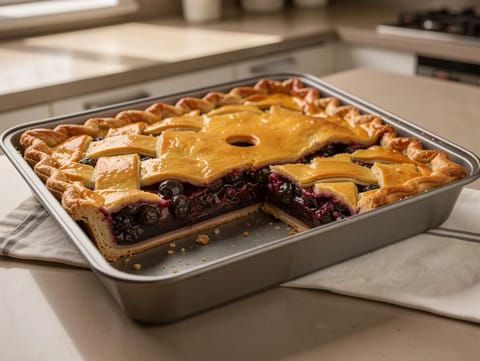
Air Fryer Blueberry Pie
Air fryer blueberry pie with lemon and cornflour-thickened filling.
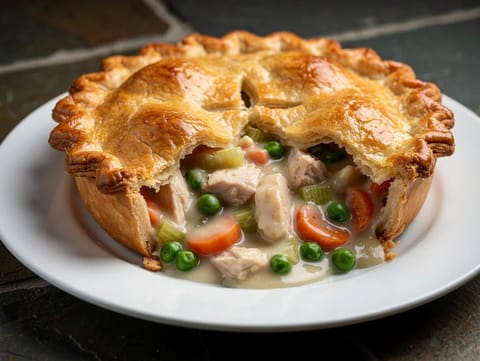
Classic Chicken Pot Pie
Chicken and vegetable pie with shortcrust pastry
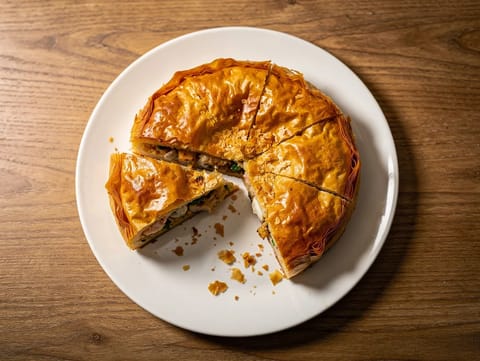
Seafood Pastilla (Moroccan Filo Pie with Prawns and White Fish)
Crisp Moroccan filo pie filled with prawns and white fish
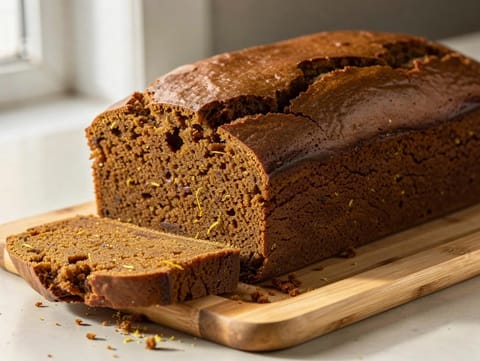
Pain d’Épices (French Honey and Rye Gingerbread Loaf)
French honey and rye gingerbread loaf with warming spices
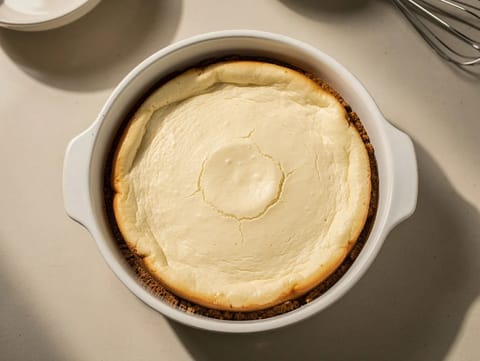
Air Fryer New York Cheesecake
Rich New York-style cheesecake baked in an air fryer.
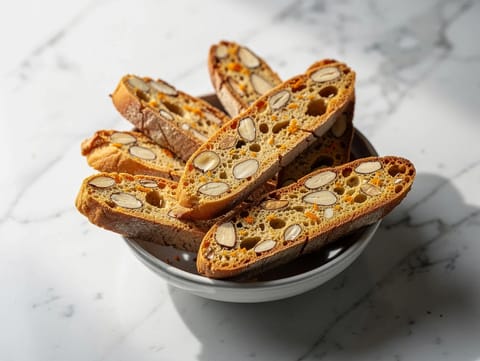
Biscotti di Prato (Twice-Baked Almond Biscuits)
Twice-baked almond biscuits with orange zest
Scottish Tablet (Crumbly Butter Sweets)
Crumbly Scottish tablet made with butter and condensed milk
Tết Sweet Soups (Vietnamese Chè with Coconut Milk)
Sweet coconut soup with mung beans and tapioca pearls

Gâteau Agneau de Pâques (Belgian Easter Lamb Sponge Cake)
Belgian Easter sponge cake finished with icing sugar
Air Fryer Blueberry Pie
Air fryer blueberry pie with lemon and cornflour-thickened filling.
Torta Mimosa (Italian Sponge Cake with Pastry Cream)
Italian sponge cake with pastry cream and whipped cream
Air Fryer Mini Apple Pies
Mini apple pies air-fried with cinnamon and lemon.
Bomboloni (Italian Filled Doughnuts)
Sugar-coated Italian doughnuts filled with vanilla pastry cream
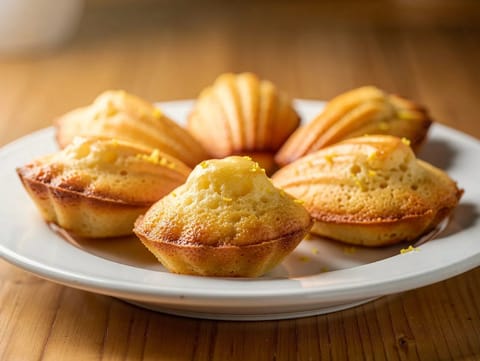
Madeleines (French Shell Cakes with Lemon and Vanilla)
Buttery shell-shaped cakes with lemon zest and vanilla
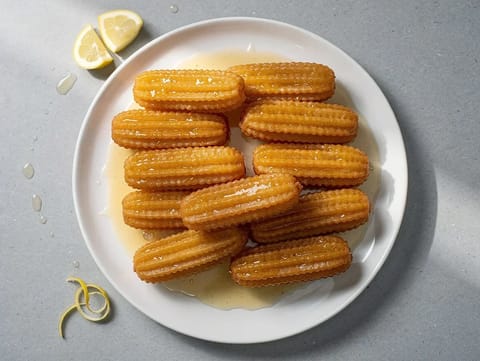
Tulumba (Turkish Fried Choux Fritters in Lemon Syrup)
Ridged choux fritters soaked in cooled lemon syrup
You might also like
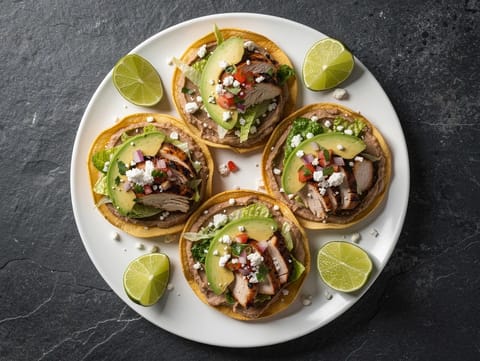
Chicken Tostadas with Refried Beans and Pico de Gallo
Crisp tostadas topped with spiced chicken, beans and pico de gallo
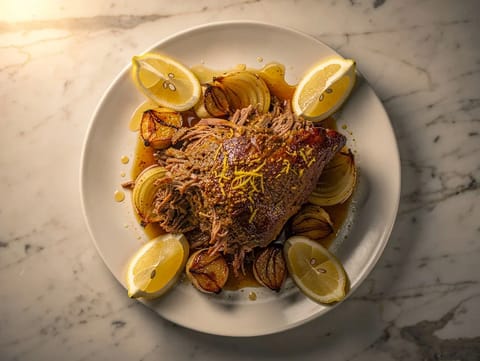
Slow-Cooked Lamb Shoulder with Ras el Hanout
Slow-cooked lamb shoulder with ras el hanout and lemon
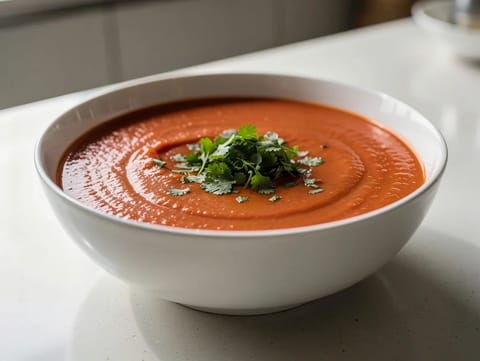
Light Moroccan Tomato Soup
Light tomato soup blended smooth with spices, lemon and coriander
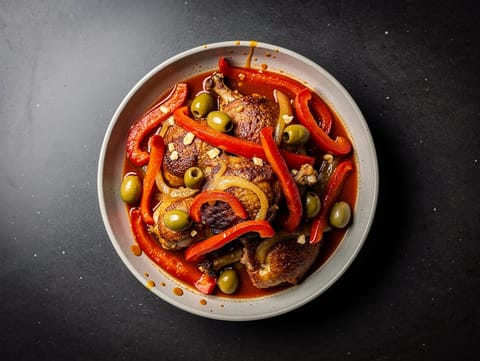
Chicken Cacciatore with Red Peppers
Chicken thighs braised with tomatoes, red peppers, herbs and olives
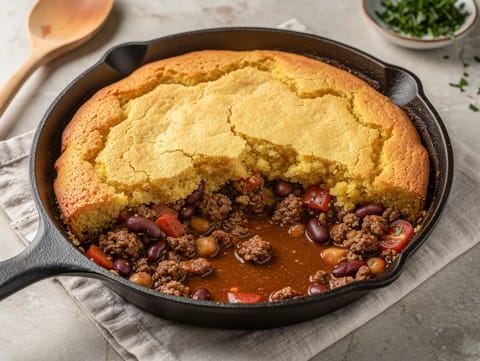
Cast-Iron Skillet Cornbread Chilli
Beef and bean chilli baked under a golden cornbread topping
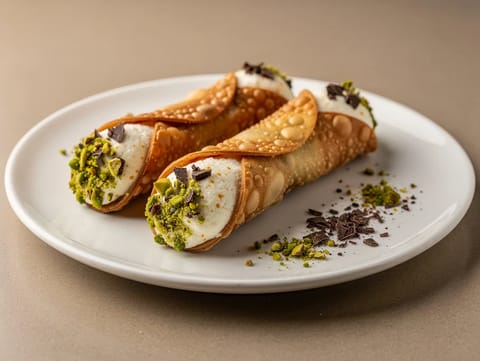
Cannoli Siciliani (Crisp Shells with Sweet Ricotta Filling)
Crisp cannoli filled with sweet ricotta, pistachios and chocolate
Make this recipe easier next time
AdvertisementThese tools help you get better results with less effort.
KitchenAid Stainless Steel Mixing Bowls
- Non-slip base
- Stainless steel
- Not microwave safe
T-fal Specialty Nonstick Handy Pot with Glass Lid 3 Quart
- Easy food release
- Dishwasher safe
- Not induction compatible
OXO Good Grips Stainless Mixing Bowl Set
- Non-slip base
- Comfort grip
- Higher price
WMF Mini Saucepan 16 cm with Lid
- High-quality stainless steel
- Even heat distribution
- Higher price point
Enjoy cooking with JustRecipes?
Add JustRecipes as one of your preferred Google sources to discover our recipes more easily across Google Search.
Add JustRecipes to GoogleEvery recipe on JustRecipes follows the same structured editorial process. Learn how recipes are created, validated, translated, illustrated, and continuously improved across the platform. How we create recipes.
