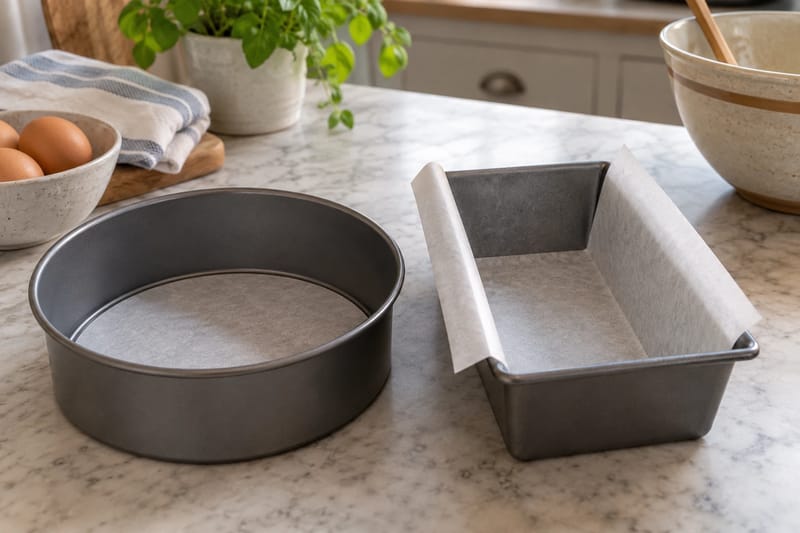
A fitted baking-paper liner helps release cakes and traybakes without leaving large folds in their sides. Check the recipe first: some cakes need greased sides, while others rely on an ungreased tin to climb as they rise.
Step by step
Check the tin and paper
Use the size and type of tin in the recipe and oven-safe baking paper within its temperature limit. Waxed paper is not an interchangeable oven liner. Grease only the areas the recipe specifies.
Fit a round base
Trace around the tin’s base onto the paper and cut the circle, placing any pencil marks away from the batter. Trim until it lies flat. Add a strip around the sides only when the recipe requires it.
Fit a rectangular tin
Cut a strip to cover the base and opposite sides. A modest overhang can form lifting handles where appropriate. Add a crossing strip if the recipe needs the other sides lined, and crease the corners so paper does not bunch into the batter.
Check before filling
If the recipe allows it, use a little butter or oil underneath to hold the paper in place. Make sure it lies flat and cannot touch a heating element. Add batter gently, then level without dragging the liner out of place.
Wrinkles and special cake tins
Cut or fold excess paper rather than leaving bulky corner bunches. Do not assume every tube cake or angel food cake should be greased and lined; follow its specific pan preparation. Let the bake set and cool for the prescribed time before lifting it with paper handles, supporting the base if it is heavy.