
Air Fryer Brownies
Why this recipe works
- Short active time: The batter comes together quickly, with most of the time spent cooking and cooling.
- Simple chocolate base: Dark chocolate, cocoa powder and butter create depth without needing extra flavourings.
- Clear doneness cues: The skewer test and set-top visual cue help prevent underbaking or drying out the centre.
Get the most out of this recipe
Timing notes
- Cool before slicing: The centre firms as it cools, so cutting too early can make the brownies look under-set and ragged.
- Serve at room temperature: Room temperature gives the fudgiest texture; chilling makes the slices firmer and cleaner to cut.
Texture tips
- Keep the centre fudgy: Stop cooking when the skewer shows moist crumbs rather than wet batter; the brownies continue to settle as they cool.
- Fold gently: Once the flour and cocoa go in, mix only until no dry patches remain to avoid a tougher texture.
- For sharper squares: Chill the cooled brownies before slicing if you want especially neat edges.
Ingredient notes
- Use baking chocolate: Dark baking chocolate melts smoothly and gives a more consistent result than eating chocolate.
- Room-temperature egg: A room-temperature egg blends more easily into the warm chocolate mixture and helps the batter look glossy.
- Vanilla options: Vanilla bean paste can replace vanilla extract for a slightly fuller flavour without changing the method.
Make-ahead tips
- Bake in advance: These brownies keep well in an airtight container, making them useful for preparing ahead of serving.
- Freeze portions: Freeze well-wrapped portions, then thaw at room temperature before serving.
- Texture improves after resting: The chocolate flavour and fudgy texture become more settled once the brownies have fully cooled and rested.
Equipment you'll need
Ingredients
Instructions
- Grease and line a small cake tin that fits your air fryer basket, leaving a little overhang to help lift the brownies out later. Preheat the air fryer to 160°C (320°F) for 3 minutes.
- Melt the unsalted butter and dark baking chocolate together in a saucepan over low heat, stirring until smooth. Tip into a mixing bowl and let it cool for 2 minutes so it is warm, not hot.
- Whisk in the caster sugar, then whisk in the eggs one at a time until the mixture looks glossy. Whisk in the vanilla extract.
- Sift in the cocoa powder, plain flour and fine sea salt, then fold just until no dry patches remain. Pour into the prepared tin and level the top.
- Air fry at 160°C (320°F) for 18 to 22 minutes, until the top looks set and a skewer inserted near the centre comes out with a few moist crumbs. If the top darkens too quickly, loosely cover the tin with foil and continue cooking.
- Cool in the tin for 10 minutes, then lift out and cool completely before slicing into squares for the neatest edges. The centre will firm up as it cools.
Recipe notes
Tips
- Use a tin that comfortably fits in your air fryer basket; a snug fit helps the brownies bake evenly without scorching at the edges.
- For the fudgiest texture, stop cooking as soon as the centre is just set and a skewer shows moist crumbs rather than wet batter.
- If you are serving to pregnant people, young children, older people, or anyone immunocompromised, use pasteurised eggs.
Substitutions
- Replace Vanilla extract with Vanilla bean paste for a slightly fuller vanilla flavour.
Storage
- Refrigerate up to 4 days
- Store in an airtight container. For a fudgy bite, eat at room temperature; for a firmer, brownie-like slice, chill then cut. Freeze portions well wrapped, then thaw at room temperature.
Ratings & reviews
Liked this recipe? Share your feedback to support our cooking community.
Tried this recipe?
Choose 1–5 stars. A comment is optional.
Stay inspired
Discover new recipes, seasonal favourites and cooking inspiration every day. Follow JustRecipes on Pinterest and Spillt.
Recipe overview
- Servings: 4 servings
- Total time: 55min (15min active)
- Difficulty: Easy
- Cuisine: American
-
Allergens:
Eggs Gluten Milk Wheat
Plan your meals and get a complete grocery list automatically.
Add to meal plannerEquipment you'll need
Got ingredients left?
Find recipes using ingredients from this recipe or what you already have at home.
Find recipes with these ingredients →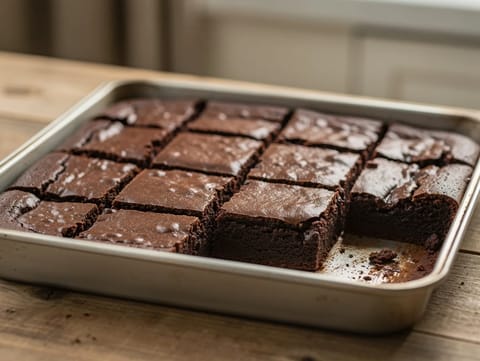
Classic Fudgy Brownies
Fudgy brownies with dark chocolate, cocoa and vanilla
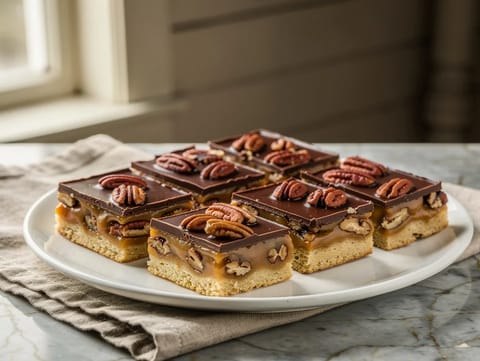
Caramel Pecan Turtle Bars
Shortbread bars topped with pecans, caramel and dark chocolate
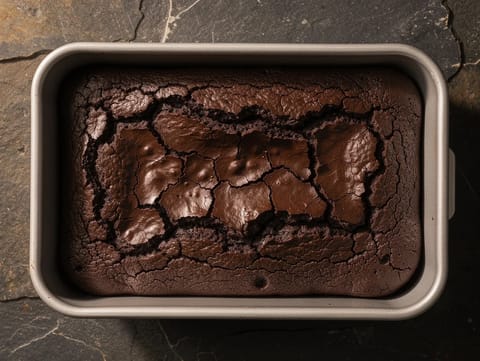
Air Fryer Chocolate Brownie Bites
Fudgy air fryer brownie bites with cocoa and dark chocolate.
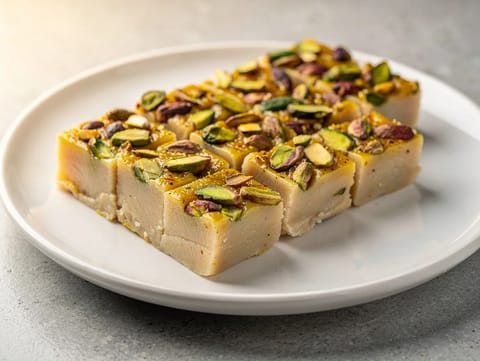
Barfi (Milk Sweet Bars)
Fudgy barfi made from reduced milk, cardamom and pistachios
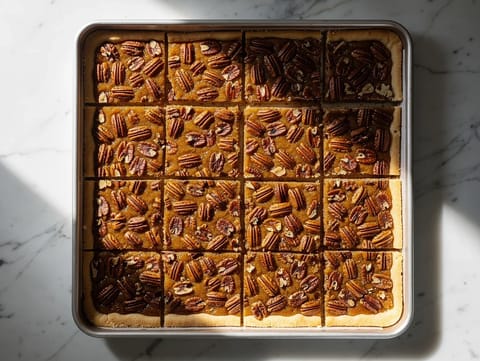
Pecan Pie Bars
Shortbread bars topped with maple and brown sugar pecans
Air Fryer Fudge Brownies
Air fryer fudge brownies with dark chocolate, cocoa powder and butter, cooled before slicing.
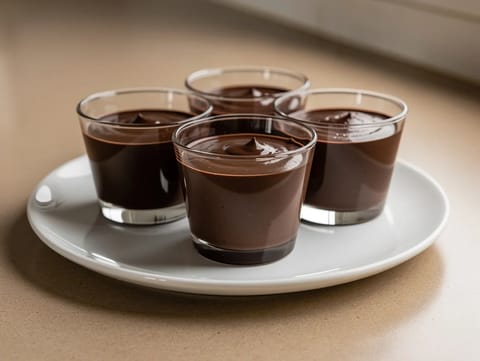
Mousse al Cioccolato Fondente (Dark Chocolate Mousse)
Chilled dark chocolate mousse folded with cream and egg whites
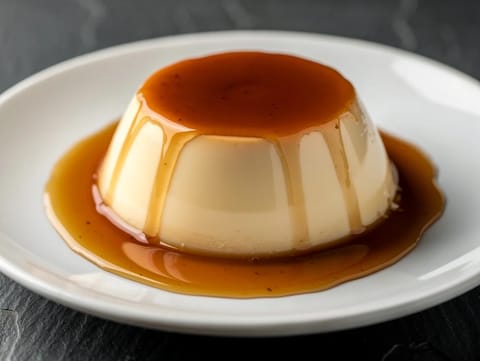
Flan (Baked Caramel Custard)
Silky baked caramel custard turned out with caramel sauce
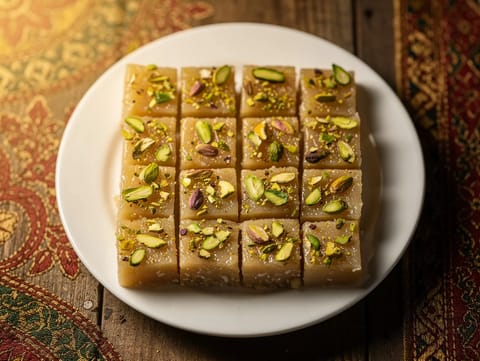
Coconut Barfi (Indian Coconut Fudge Squares)
Coconut barfi squares made with condensed milk
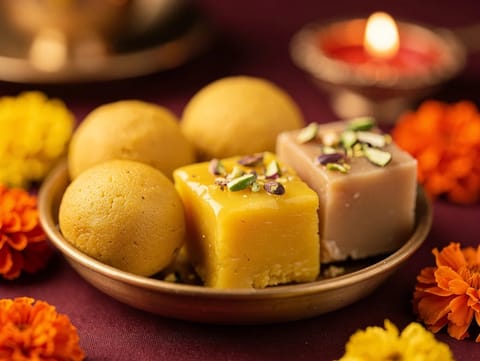
Diwali Mixed Sweets Platter (Besan Ladoo, Coconut Barfi and Cashew Fudge)
Diwali sweets platter with besan ladoo, coconut barfi and cashew fudge
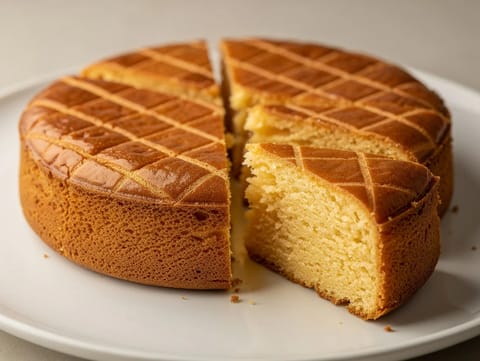
Gâteau Breton (Breton Butter Cake)
Dense Breton butter cake with vanilla and egg yolks
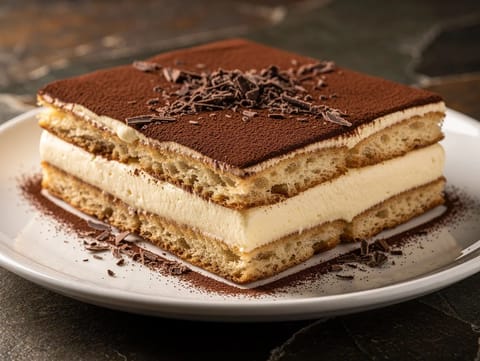
Tiramisù (Italian Coffee and Mascarpone Dessert)
Coffee-soaked biscuit dessert with mascarpone and cocoa
Classic Fudgy Brownies
Fudgy brownies with dark chocolate, cocoa and vanilla
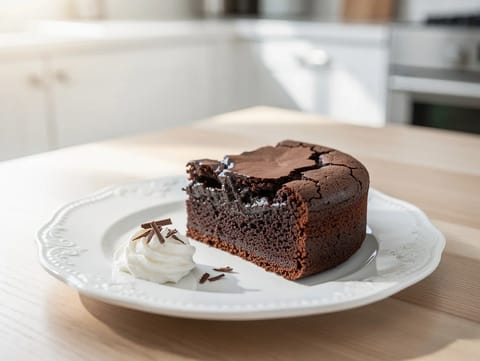
Belgian Chocolate Brownie Torte
Dense chocolate brownie torte with a crisp top
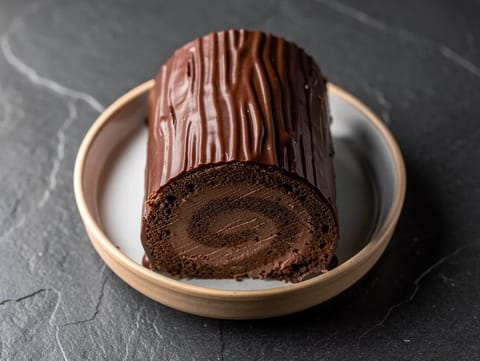
Chocolate Yule Log (Rolled Chocolate Sponge Cake)
Rolled chocolate sponge with chocolate cream and ganache
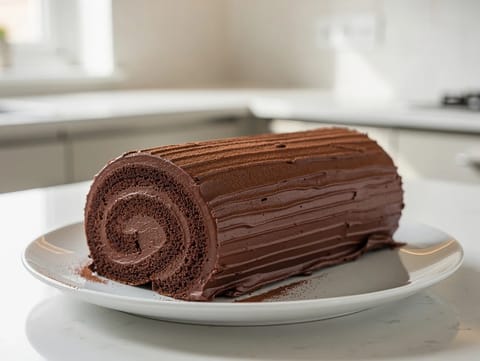
Bûche de Noël (Yule Log Cake) with Chocolate Buttercream
Chocolate sponge roll filled and coated with chocolate buttercream
Air Fryer Chocolate Brownie Bites
Fudgy air fryer brownie bites with cocoa and dark chocolate.
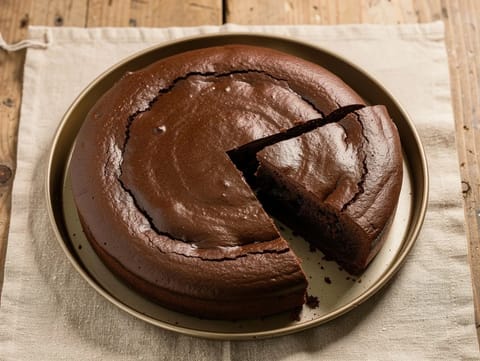
Gluten-Free Flourless Chocolate Cake
Fudgy flourless chocolate cake with cocoa
You might also like
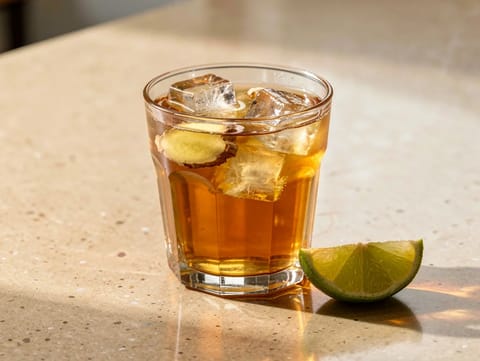
Thai-Style Ginger Lime Tea
Ginger lime tea sweetened with honey
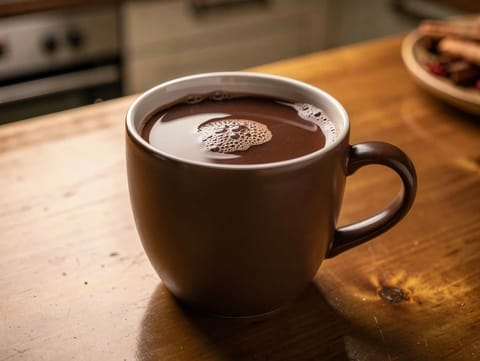
Latin Hot Chocolate (Spiced Cocoa Drink)
Spiced hot chocolate with cinnamon and a pinch of chilli
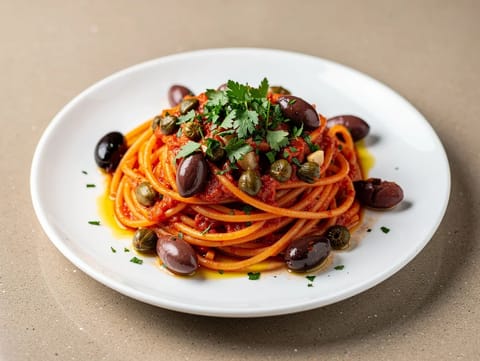
Pasta alla Puttanesca (Spaghetti with Tomato, Anchovies and Olives)
Spaghetti with anchovies, capers and olives
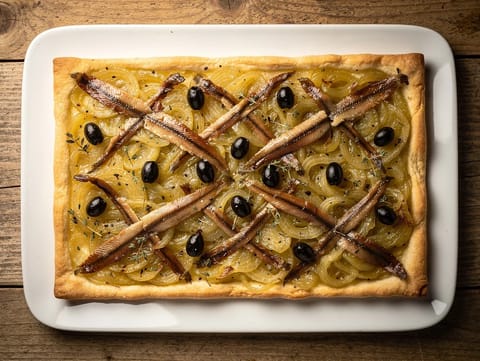
Pissaladière (Provençal Onion Tart with Anchovies and Olives)
Onion tart with anchovy fillets and black olives
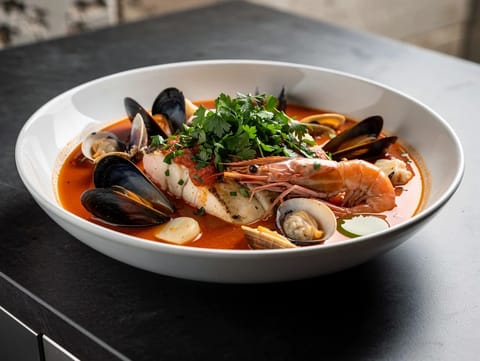
Zuppa di Pesce alla Pugliese (Puglian Tomato Fish Soup)
Tomato fish soup with mixed seafood, white wine and parsley
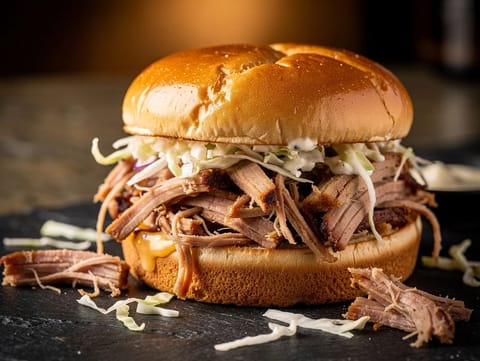
Slow Cooker Pulled Pork Sandwiches
Slow cooked pulled pork in soft rolls with barbecue sauce
Make this recipe easier next time
AdvertisementThese tools help you get better results with less effort.
KitchenAid Stainless Steel Mixing Bowls
- Non-slip base
- Stainless steel
- Not microwave safe
T-fal Specialty Nonstick Handy Pot with Glass Lid 3 Quart
- Easy food release
- Dishwasher safe
- Not induction compatible
OXO Good Grips Stainless Mixing Bowl Set
- Non-slip base
- Comfort grip
- Higher price
WMF Mini Saucepan 16 cm with Lid
- High-quality stainless steel
- Even heat distribution
- Higher price point
Enjoy cooking with JustRecipes?
Add JustRecipes as one of your preferred Google sources to discover our recipes more easily across Google Search.
Add JustRecipes to GoogleEvery recipe on JustRecipes follows the same structured editorial process. Learn how recipes are created, validated, translated, illustrated, and continuously improved across the platform. How we create recipes.
