
Air Fryer Crispy Chicken Thighs
Why this recipe works
- Crisp skin: Baking powder and thorough drying help the chicken skin brown, dehydrate and crisp in the circulating heat.
- Efficient cooking: The air fryer renders the fat and colours the skin quickly without needing a full oven.
- Reliable doneness: Checking the thickest part reaches 75°C (165°F) makes it easier to avoid undercooking or drying out the meat.
Get the most out of this recipe
Texture tips
- Dry the skin thoroughly: Moisture is the main barrier to crisp skin, so pat the chicken very dry before adding the seasoning.
- Keep space around each thigh: Arrange the pieces in a single layer so hot air can circulate properly; cook in batches rather than stacking.
- Rest before serving: A short rest helps the juices settle, keeping the meat tender while the skin stays crisp.
Ingredient notes
- Use skin-on thighs: Bone-in, skin-on thighs are best here because the skin protects the meat and the rendered fat adds flavour.
- Do not swap in baking soda: Baking powder supports crisping without the soapy flavour baking soda can leave behind.
- Adjust the paprika: Smoked paprika gives a deeper, savoury note; sweet paprika keeps the flavour milder and less smoky.
Common mistakes
- Overfilling the basket: Crowding traps steam, which softens the skin and slows browning.
- Relying only on colour: Deep golden skin is a good sign, but the safest guide is an internal temperature of 75°C (165°F).
- Letting the skin darken too fast: If the skin is colouring before the meat is cooked through, lower the air fryer to 190°C (375°F) for the final minutes.
Make-ahead tips
- Reheat for crispness: Reheat leftovers in the air fryer at 180°C (355°F) until piping hot and the skin has crisped again.
- Freeze cooked portions: Cool completely, freeze in a sealed container, then defrost overnight in the fridge before reheating.
- Use leftovers flexibly: Leftover thigh meat works well sliced into salads, grain bowls or wraps, with the skin reheated separately if you want it crisp.
Equipment you'll need
Ingredients
Instructions
- Pat the chicken thighs very dry, focusing on the skin. In a mixing bowl, combine the baking powder, fine sea salt, black pepper, smoked paprika and ground garlic. Add the chicken and toss well to coat evenly.
- Arrange the thighs skin side up in the air fryer basket in a single layer; cook in batches if needed. Air-fry at 200°C (390°F) for 18 minutes. The skin should look dry and start to colour.
- Turn the thighs and air-fry for 10 to 14 minutes more, until deeply golden and the fat has rendered. Check the thickest part reaches 75°C (165°F). If the skin is browning too quickly, reduce to 190°C (375°F) for the final few minutes.
- Rest the chicken for 5 minutes before serving to keep the meat juicy. Serve hot, with the crispiest pieces first.
Recipe notes
Tips
- Baking powder helps the skin crisp, but only if the chicken is very dry before seasoning.
- For best results, avoid stacking the thighs; air needs to circulate around them for the skin to turn properly crisp.
Substitutions
- Replace Smoked paprika with Sweet paprika for a milder, less smoky flavour.
- Replace Ground garlic with Garlic for a fresher garlic flavour; finely grate it and rub it onto the thighs before adding the dry seasoning.
Storage
- Refrigerate up to 3 days
- Cool completely, then refrigerate in a sealed container for up to 3 days. Reheat in the air fryer at 180°C (355°F) for 6 to 10 minutes until piping hot and the skin is crisp again; freeze for up to 2 months and defrost overnight in the fridge before reheating.
Ratings & reviews
Liked this recipe? Share your feedback to support our cooking community.
Tried this recipe?
Choose 1–5 stars. A comment is optional.
Stay inspired
Discover new recipes, seasonal favourites and cooking inspiration every day. Follow JustRecipes on Pinterest and Spillt.
Recipe overview
- Servings: 4 servings
- Total time: 45min (12min active)
- Difficulty: Easy
- Cuisine: American
-
Allergens:
Wheat
Plan your meals and get a complete grocery list automatically.
Add to meal plannerEquipment you'll need
Got ingredients left?
Find recipes using ingredients from this recipe or what you already have at home.
Find recipes with these ingredients →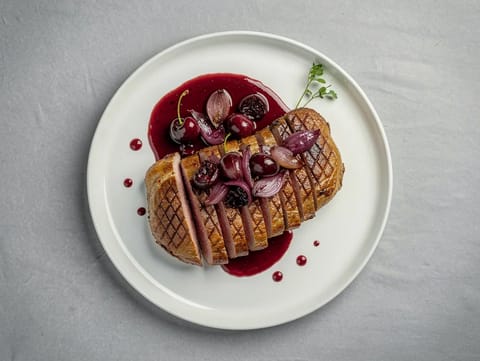
Magret de Canard (Duck Breast with Cherry Sauce)
Pan-seared duck breast with a cherry and red wine sauce
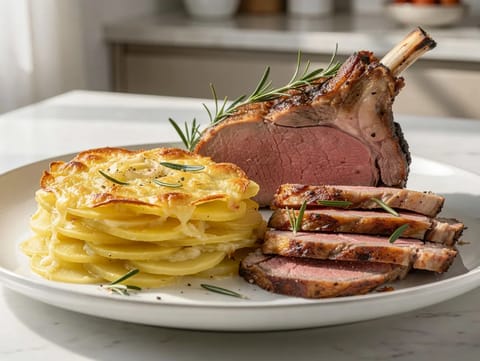
Gratin Dauphinois with Roast Lamb
Creamy potato gratin served with rosemary roast lamb
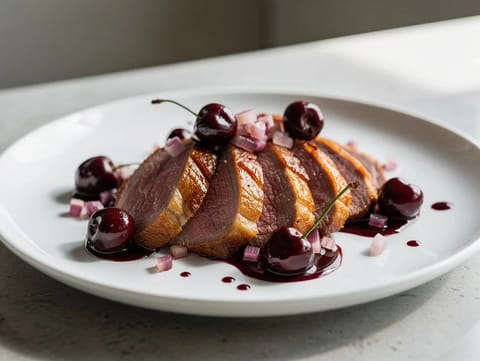
Magret de Canard aux Cerises (Duck Breast with Cherry Sauce)
Pan-seared duck breast served with cherry and red wine sauce
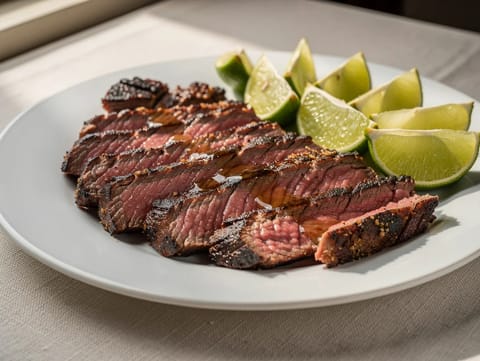
Churrasco (High-Heat Grilled Beef with Coarse Salt and Lime)
High-heat grilled beef with coarse salt and lime
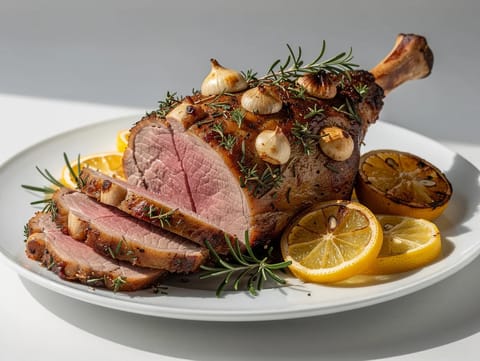
Gigot d’Agneau Rôti aux Herbes (Roast Leg of Lamb with Herbs)
Roast leg of lamb with garlic, herbs and lemon
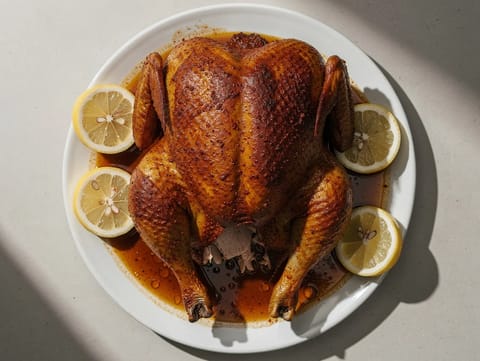
Frango Assado à Portuguesa (Portuguese-Style Roast Chicken)
Portuguese-style roast chicken with garlic, paprika, lemon and olive oil
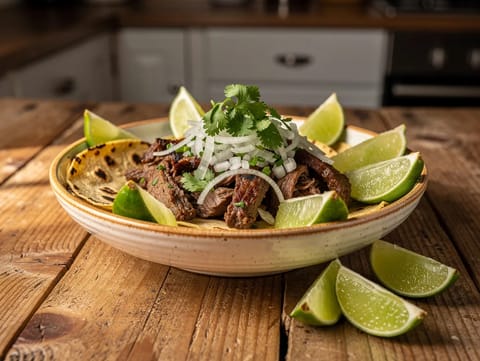
Tacos de Suadero with Onion and Coriander
Brisket tacos with onion, coriander, lime and salsa verde
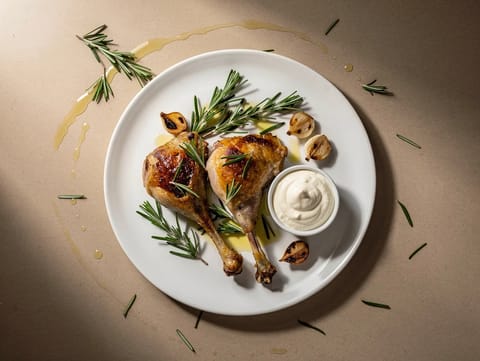
Conejo al Romero con Alioli (Rosemary Rabbit with Alioli)
Rosemary rabbit served with homemade garlic alioli
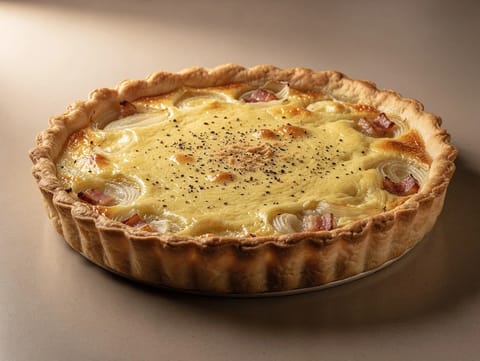
Tarte à l’Oignon Alsacienne (Alsatian Onion Tart with Bacon)
Alsatian onion tart with bacon and crème fraîche custard
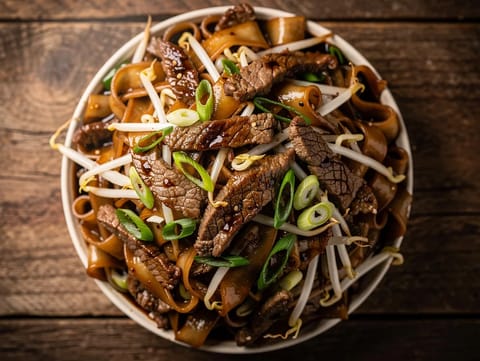
Beef Chow Fun (Cantonese Stir-Fried Rice Noodles)
Cantonese beef stir-fried rice noodles with beansprouts
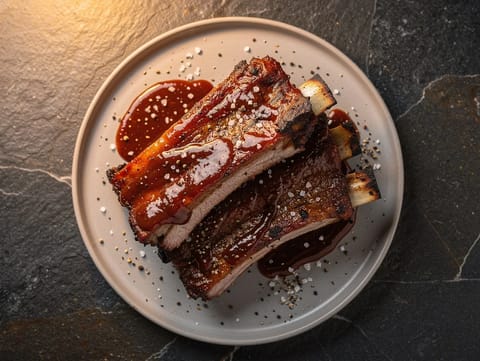
Pork Spare Ribs with Smoky BBQ Sauce
Oven-baked spare ribs glazed with smoky BBQ sauce
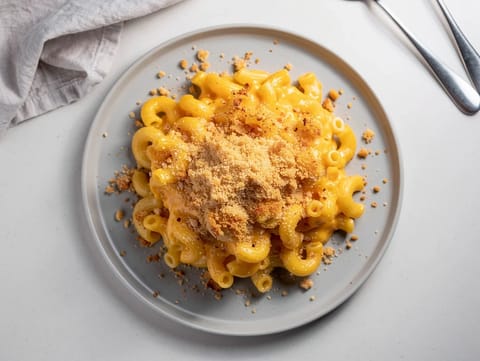
Classic Baked Mac and Cheese
Baked macaroni in creamy cheddar sauce with a breadcrumb topping
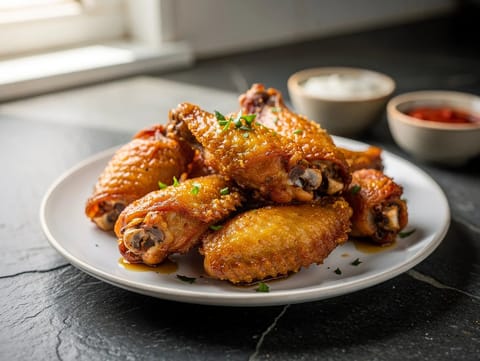
Air Fryer Extra Crispy Chicken Wings
Extra crispy air fryer chicken wings with a simple spice coating.
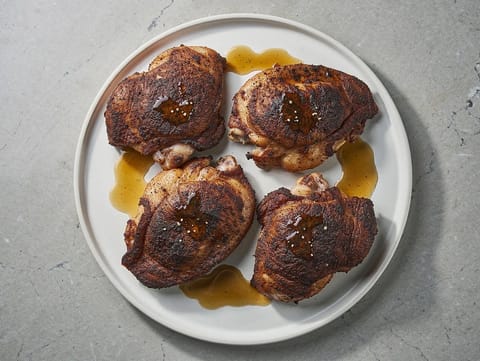
Cajun Blackened Chicken Thighs
Blackened Cajun chicken thighs finished with lemon
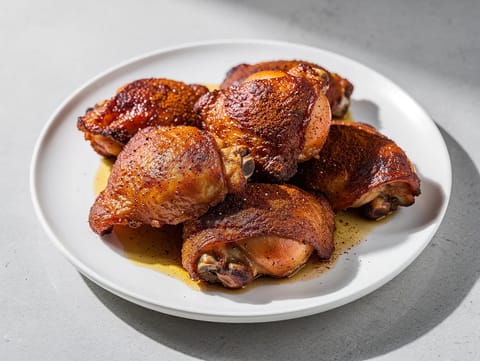
Air Fryer BBQ Chicken Thighs
Sticky BBQ chicken thighs finished in the air fryer.
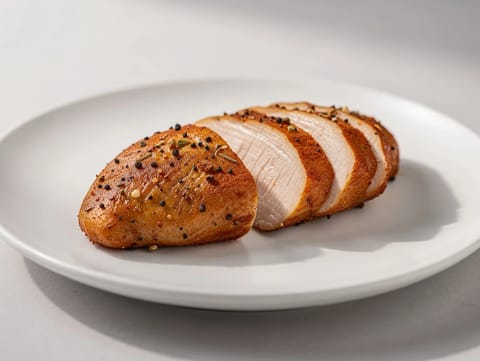
Air Fryer Chicken Breast
Juicy air fryer chicken breast with smoky paprika seasoning.
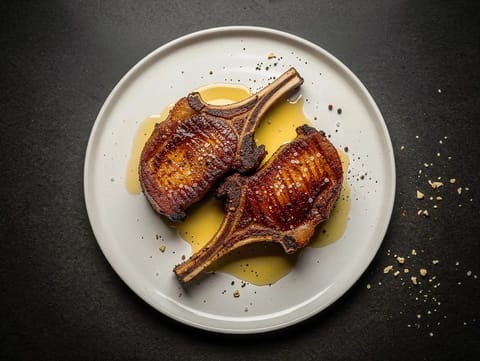
Air Fryer BBQ Pork Chops
BBQ pork chops glazed and cooked in the air fryer.
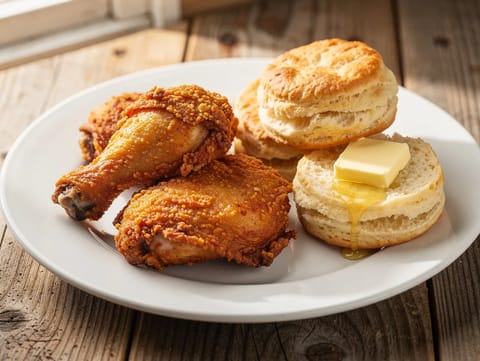
Southern Fried Chicken with Buttermilk Biscuits
Crisp fried chicken served with warm, fluffy buttermilk biscuits
You might also like
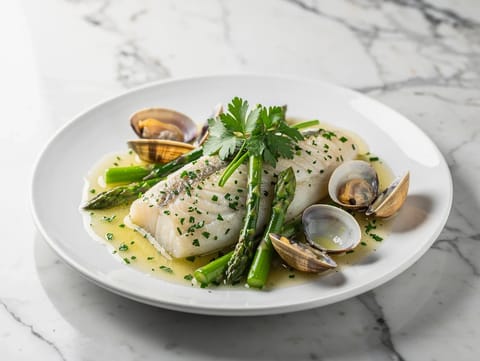
Merluza a la Vasca (Basque-Style Hake with Parsley Sauce)
Poached hake with parsley sauce, clams and asparagus
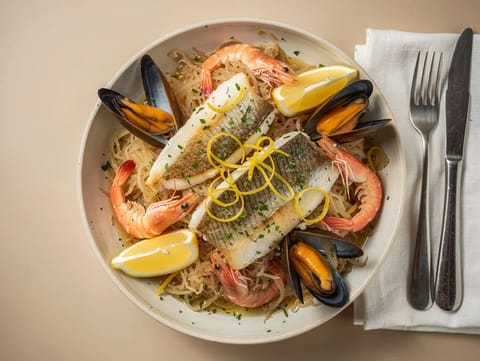
Choucroute de la Mer (Seafood Sauerkraut)
Sauerkraut warmed with white wine, then steamed with seafood
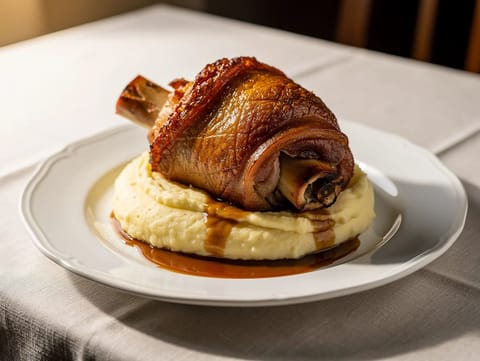
Schweinshaxe (Roasted Pork Knuckle)
Roasted pork knuckle with crisp crackling and simple beer gravy
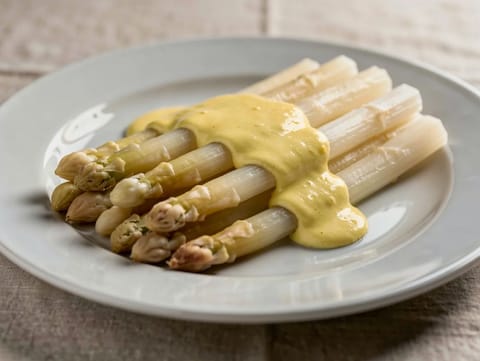
Spargel mit Hollandaise (White Asparagus with Hollandaise Sauce)
Boiled white asparagus served with classic lemony hollandaise sauce
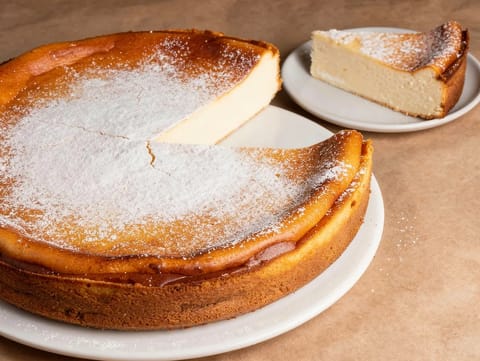
Sernik (Polish Baked Cheesecake with Quark)
Polish baked cheesecake made with quark and vanilla
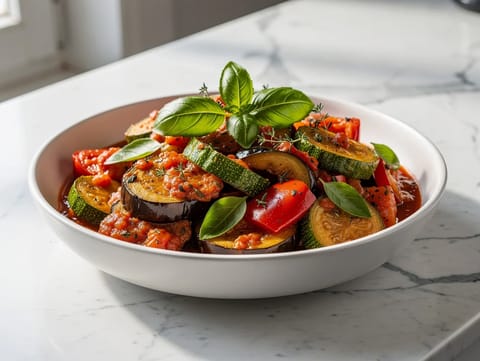
Ratatouille Provençale (French Vegetable Stew)
Provençal ratatouille stew with aubergine, courgette, peppers and tomato
Make this recipe easier next time
AdvertisementThese tools help you get better results with less effort.
KitchenAid Stainless Steel Mixing Bowls
- Non-slip base
- Stainless steel
- Not microwave safe
Pyrex Glass Mixing Bowls with Lids
- Microwave safe
- BPA-free lids
- Glass is heavier
OXO Good Grips Stainless Mixing Bowl Set
- Non-slip base
- Comfort grip
- Higher price
Enjoy cooking with JustRecipes?
Add JustRecipes as one of your preferred Google sources to discover our recipes more easily across Google Search.
Add JustRecipes to GoogleEvery recipe on JustRecipes follows the same structured editorial process. Learn how recipes are created, validated, translated, illustrated, and continuously improved across the platform. How we create recipes.
