
Air Fryer Double Coated Chicken Tenders
Why this recipe works
- Extra-crisp coating: The flour-and-buttermilk double coating creates structure, while panko gives the outside a light, crunchy finish.
- Well-seasoned crust: Paprika, garlic, pepper and cayenne season the coating directly, so the flavour sits in every bite rather than only on the surface.
- Fast air-fryer cooking: The air fryer browns the crumb coating quickly and evenly, making the tenders practical for a weeknight dinner.
Get the most out of this recipe
Texture tips
- Let the coating settle: After breading, let the tenders stand briefly so the flour, buttermilk and crumbs hydrate and cling more securely.
- Cook in a single layer: Leave space around each tender so hot air can circulate; stacking will steam the coating instead of crisping it.
- Turn gently: Use tongs to turn the chicken halfway through without scraping off the crust or drying out the meat.
Adjust the heat
- Make it milder: Replace the cayenne with extra sweet paprika for colour and warmth without noticeable chilli heat.
- Add more heat: Increase the chilli element in the seasoned flour or serve with a hot dipping sauce for a sharper finish.
Timing notes
- Rest before serving: A short rest after cooking helps the crust firm up, making the tenders easier to pick up and dip.
- Best served immediately: The coating is at its crispest straight from the air fryer, especially once the final batch is cooked.
Common mistakes
- Crowding the basket: Too many tenders in the basket will reduce airflow and give a softer, less even crust.
- Skipping the preheat: Starting in a cold air fryer can make the coating absorb moisture before it has a chance to crisp.
- Loose coating: Press the panko firmly onto the chicken so the crumb layer adheres before cooking.
Equipment you'll need
Ingredients
Instructions
- Heat the air fryer to 200°C (390°F) for 3 minutes. Whisk the buttermilk and egg together in a bowl.
- In a second bowl, mix the flour with the paprika, ground garlic, salt, pepper and cayenne. In a third bowl, mix the panko breadcrumbs with the olive oil until the crumbs look evenly coated.
- Dip the chicken tenders into the flour mixture, then into the buttermilk mixture, then back into the flour mixture for a second coating. Return to the buttermilk mixture, then press into the panko to fully cover.
- Arrange in the basket in a single layer, cooking in batches if needed. Air-fry for 12 to 14 minutes, turning halfway, until golden and cooked through.
- Rest for 2 minutes to help the crust set, then serve immediately. If cooking in batches, keep the first batch warm in the air fryer at 80°C (175°F) while the second batch cooks.
Recipe notes
Tips
- Double coating works best if you let the breaded tenders stand for 5 to 10 minutes before air-frying so the layers hydrate and cling.
- For even browning, avoid stacking and turn the tenders carefully with tongs so you do not knock off the coating.
Substitutions
- Replace Buttermilk with Kefir for a similar tang and tenderising effect.
- Replace Cayenne pepper with Sweet paprika for a milder version.
Storage
- Refrigerate up to 2 days
- Cool completely, then refrigerate in a covered container. Reheat in the air fryer at 190°C (375°F) for 5 to 7 minutes until piping hot and crisp.
Ratings & reviews
Liked this recipe? Share your feedback to support our cooking community.
Tried this recipe?
Choose 1–5 stars. A comment is optional.
Stay inspired
Discover new recipes, seasonal favourites and cooking inspiration every day. Follow JustRecipes on Pinterest and Spillt.
Recipe overview
- Servings: 2 servings
- Total time: 40min (25min active)
- Difficulty: Medium
- Cuisine: American
-
Allergens:
Eggs Gluten Milk Wheat
Plan your meals and get a complete grocery list automatically.
Add to meal plannerEquipment you'll need
Got ingredients left?
Find recipes using ingredients from this recipe or what you already have at home.
Find recipes with these ingredients →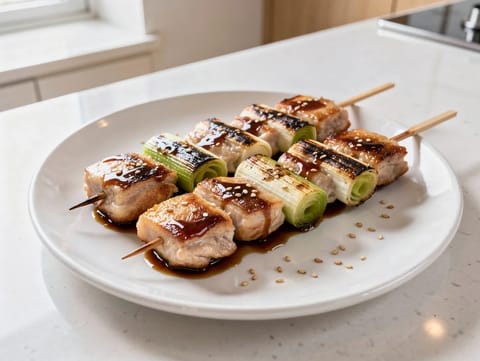
Air Fryer Yakitori
Chicken yakitori skewers with a soy and mirin glaze.
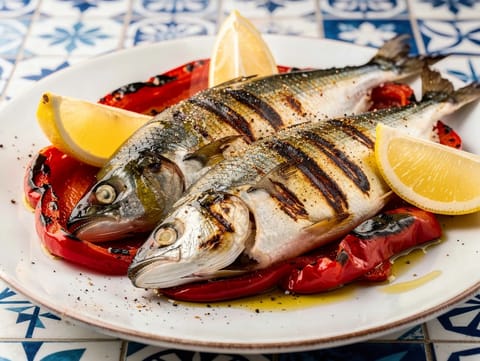
Sardinhas Assadas (Portuguese Grilled Sardines with Lemon)
Grilled sardines served with lemon, olive oil and peppers
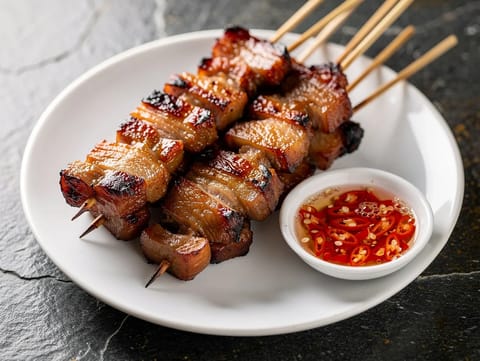
Moo Ping (Thai Grilled Pork Skewers)
Thai grilled pork skewers marinated with coconut milk and fish sauce
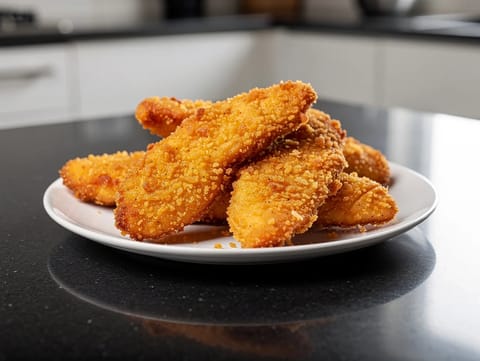
Air Fryer Chicken Tenders
Golden air-fried chicken tenders with a seasoned breadcrumb coating.
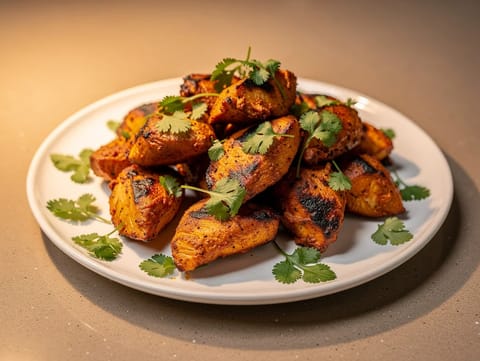
Air Fryer Chicken Tikka
Air-fryer chicken tikka marinated in yoghurt, lemon and spices.
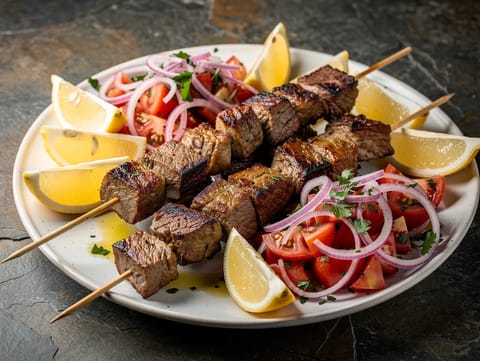
Moroccan Lamb Skewer Platter (Lamb Brochettes)
Grilled Moroccan lamb skewers with tomato and red onion salad
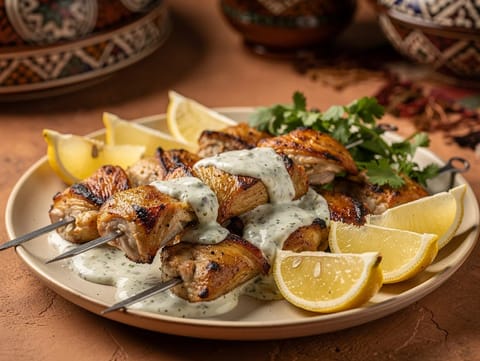
Moroccan Chicken Skewers with Yoghurt, Garlic and Cumin
Yoghurt-marinated chicken skewers grilled with cumin and paprika
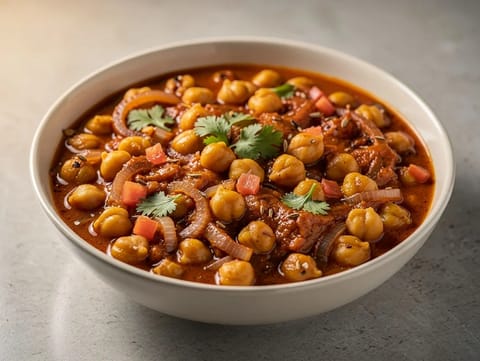
Vegan Chana Masala (Chickpea Curry)
Vegan chickpea curry in spiced tomato and onion gravy
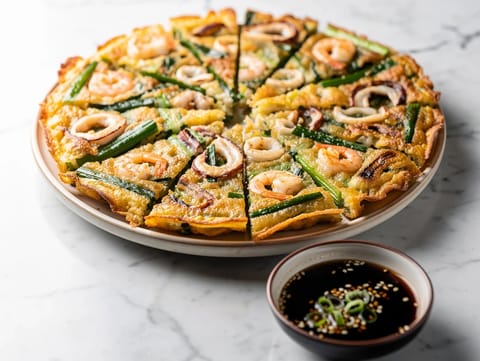
Haemul Pajeon (Seafood and Spring Onion Pancake)
Seafood and spring onion pancake with soy vinegar dipping sauce
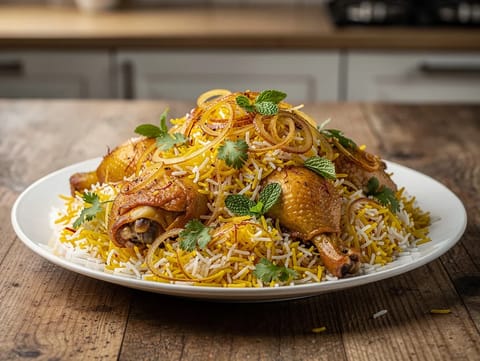
Hyderabadi Dum Biryani with Saffron and Rose Water
Layered Hyderabadi dum biryani with saffron, rose water and fried onions
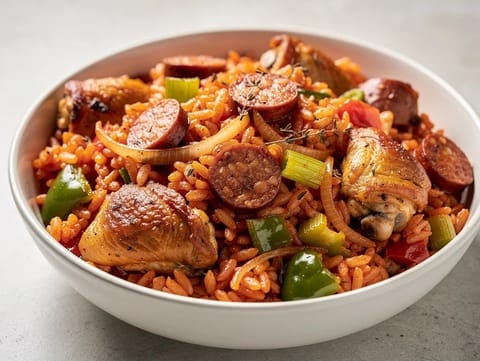
New Orleans Jambalaya (One-Pot Chicken, Sausage and Rice)
One-pot jambalaya with chicken, andouille sausage and rice
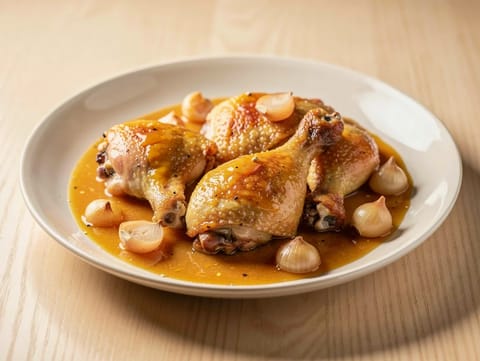
Poulet au Vinaigre (French Chicken in Vinegar Sauce)
Chicken braised with shallots in a tangy vinegar sauce
Air Fryer Chicken Tenders
Golden air-fried chicken tenders with a seasoned breadcrumb coating.
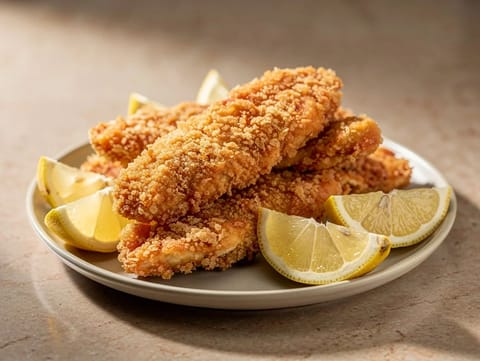
Air Fryer Extra Crispy Chicken Tenders
Panko-coated chicken tenders air fried until extra crispy.
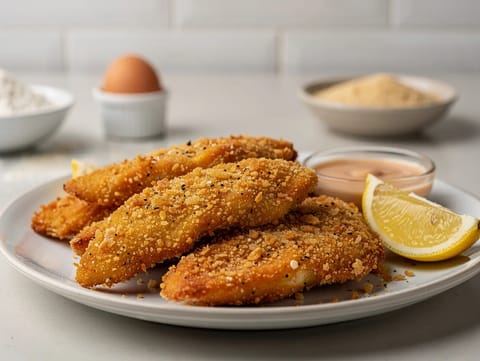
Air Fryer Panko Chicken Tenders
Crispy panko chicken tenders cooked quickly in the air fryer.
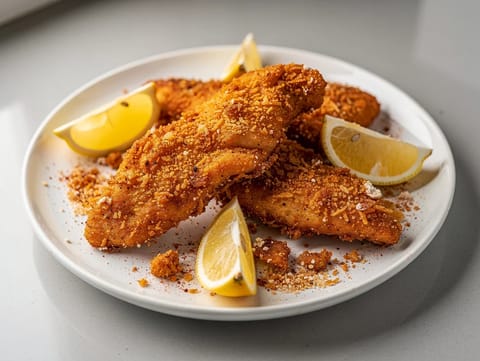
Air Fryer Cajun Chicken Tenders
Cajun-spiced chicken tenders cooked crisp in the air fryer.
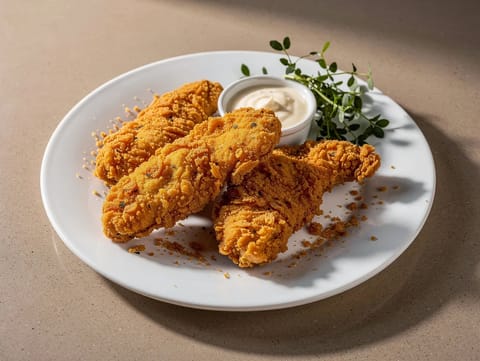
Air Fryer Buttermilk Chicken Tenders
Buttermilk-marinated chicken tenders cooked crisp in the air fryer.
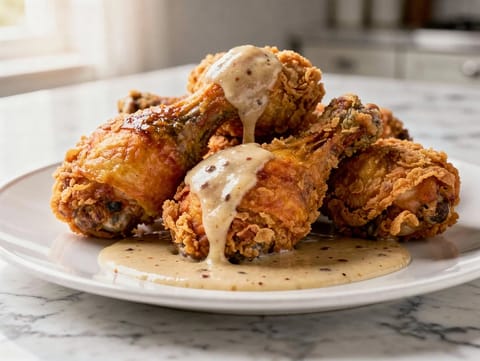
Southern Fried Chicken with Buttermilk Gravy
Crisp fried chicken drumsticks with peppery buttermilk gravy
You might also like
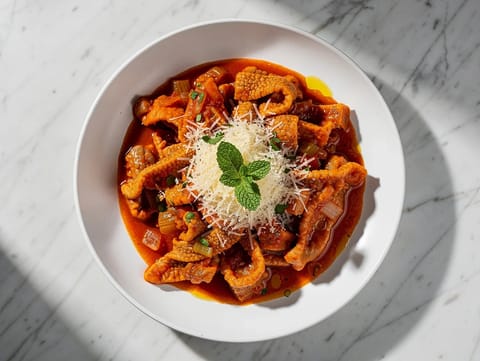
Trippa alla Romana (Tripe in Tomato and Mint Sauce)
Honeycomb tripe simmered in tomato with mint and pecorino
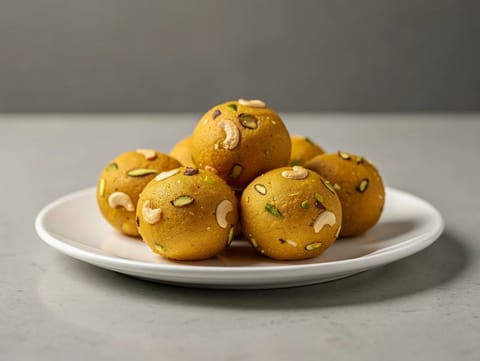
Besan Ladoo (Chickpea Flour Sweet Balls)
Roasted chickpea flour sweet balls with ghee and cardamom
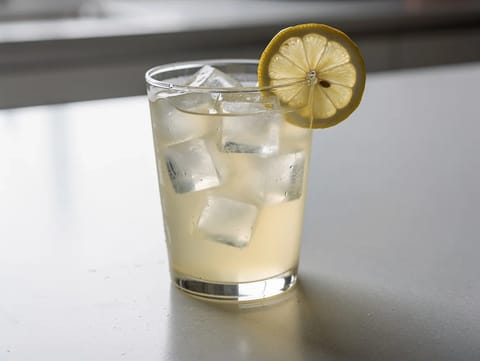
Citron Pressé (Fresh Lemonade with Sugar Syrup)
Fresh lemon juice drink mixed with sugar syrup and cold water
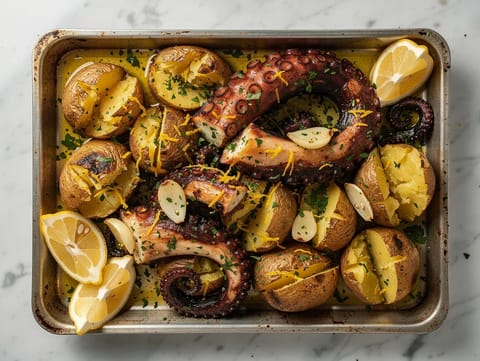
Polvo à Lagareiro Tradicional (Roasted Octopus with Olive Oil)
Roasted octopus with garlic olive oil and smashed roast potatoes
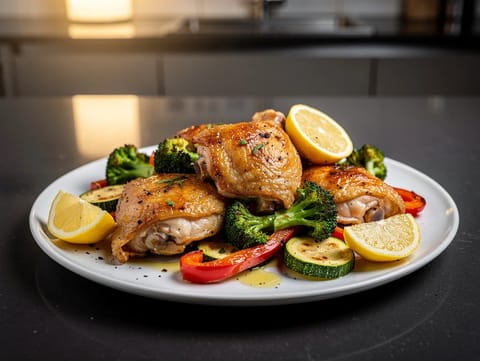
Air Fryer Chicken and Vegetable Traybake
Air-fried chicken thighs with vegetables, paprika and lemon.
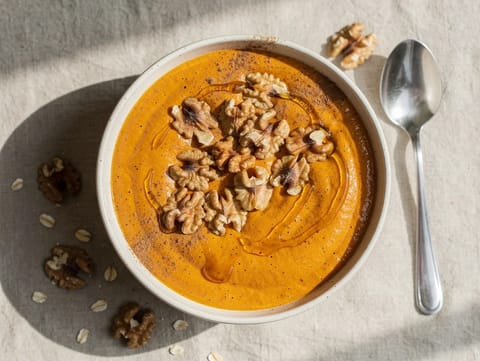
Carrot Cake Smoothie Bowl
Carrot cake smoothie bowl with banana, yoghurt, oats and spice.
Make this recipe easier next time
AdvertisementThese tools help you get better results with less effort.
KitchenAid Stainless Steel Mixing Bowls
- Non-slip base
- Stainless steel
- Not microwave safe
Pyrex Glass Mixing Bowls with Lids
- Microwave safe
- BPA-free lids
- Glass is heavier
OXO Good Grips Stainless Mixing Bowl Set
- Non-slip base
- Comfort grip
- Higher price
Enjoy cooking with JustRecipes?
Add JustRecipes as one of your preferred Google sources to discover our recipes more easily across Google Search.
Add JustRecipes to GoogleEvery recipe on JustRecipes follows the same structured editorial process. Learn how recipes are created, validated, translated, illustrated, and continuously improved across the platform. How we create recipes.
