
Southern Fried Chicken with Buttermilk Gravy
Why this recipe works
- Buttermilk soak: Marinating the drumsticks in seasoned buttermilk helps tenderise the meat and seasons it before frying.
- Crisp, well-clinging crust: Pressing the chicken into seasoned flour and letting the coating hydrate briefly helps create a craggy, golden crust.
- Gravy with depth: The buttermilk gravy is built from browned drippings and seasoned flour, giving it a savoury, peppery finish.
Get the most out of this recipe
Timing notes
- Marinate properly: Give the chicken at least 2 hours in the buttermilk; overnight marinating gives the seasoning more time to penetrate.
- Rest after dredging: Letting the coated chicken sit briefly on a rack before frying helps the flour hydrate and stay attached.
- Serve while hot: Fried chicken is at its crispest soon after cooking; keep the gravy separate until serving if you want to preserve the crust.
Texture tips
- For a crisper coating: Drain the fried chicken on a rack rather than a flat plate so steam can escape from underneath.
- Keep the meat juicy: Cook until the thickest part reaches 75°C (170°F), then remove from the oil promptly to avoid drying out the drumsticks.
- Avoid a softened crust: Spoon the gravy over the chicken just before eating, or serve it on the side for dipping.
Common mistakes
- Letting the oil drift: If the oil falls below 165°C (330°F), the crust can absorb excess oil; above 180°C (355°F), it may brown before the chicken cooks through.
- Frying too much at once: Cook in batches so the oil temperature stays steady and the pieces have room to brown evenly.
- Lumpy gravy: Whisk the buttermilk into the roux gradually and keep the heat gentle so the gravy thickens smoothly.
Adjust the heat
- For less heat: Replace the cayenne with extra sweet paprika for a warmer, milder crust.
- For more kick: Increase the cayenne slightly or add more black pepper to the seasoned flour.
- Keep it balanced: Let paprika and garlic carry the savoury flavour, then use cayenne as a background warmth rather than the dominant seasoning.
Equipment you'll need
Ingredients
Instructions
- Put the chicken drumsticks in a bowl and pour over the buttermilk. Add 1 tsp of the fine sea salt and 1 tsp of the black pepper, turn to coat, then cover and chill for at least 2 hours (or up to overnight).
- In a wide bowl, mix the plain flour with the sweet paprika, ground garlic, cayenne pepper, and the remaining 1 tsp fine sea salt and 1 tsp black pepper. Lift the chicken from the buttermilk, letting the excess drip back into the bowl, then dredge each piece thoroughly in the seasoned flour, pressing so it clings.
- Pour the vegetable oil into a large, heavy pot to a depth of about 3 to 4 cm and heat to 170°C (340°F). Fry the chicken in batches for 12 to 15 minutes, turning occasionally, until deep golden and cooked through (the thickest part should reach 75°C (170°F)). Transfer to a rack to drain while you cook the remaining pieces.
- Carefully pour off most of the oil, leaving about 3 tbsp of hot fat and the browned bits in the pot; keep the heat low. Whisk in 3 tbsp of the seasoned flour from the dredging bowl and cook for 1 minute until it smells toasty but not dark.
- Whisk in 250 ml of the buttermilk a little at a time until smooth, then simmer gently for 2 to 4 minutes until thick enough to coat the back of a spoon. Taste and adjust with a pinch more fine sea salt and black pepper if needed, then serve the chicken hot with the gravy spooned over.
Recipe notes
Tips
- For the crispest coating, let the dredged chicken sit on a rack for 10 minutes before frying so the flour hydrates and clings better.
- Keep the oil temperature steady: if it drops below 165°C (330°F), the coating can turn greasy; if it rises above 180°C (355°F), it may brown before the chicken is cooked through.
- If serving anyone who is pregnant, elderly, or immunocompromised, use pasteurised buttermilk and ensure the chicken reaches 75°C (170°F) in the thickest part.
Substitutions
- Replace cayenne pepper with extra sweet paprika for a milder heat.
- Replace sweet paprika with smoked paprika for a smokier flavour.
- Replace ground garlic with 2 tsp of black pepper for a more pepper-forward crust.
Storage
- Refrigerate up to 2 days
- Cool the chicken and gravy quickly, then refrigerate separately in sealed containers. Reheat the chicken on a baking tray in a 200°C (390°F) oven until piping hot, and warm the gravy gently in a saucepan, whisking to loosen.
Ratings & reviews
Liked this recipe? Share your feedback to support our cooking community.
Tried this recipe?
Choose 1–5 stars. A comment is optional.
Stay inspired
Discover new recipes, seasonal favourites and cooking inspiration every day. Follow JustRecipes on Pinterest and Spillt.

Recipe overview
- Servings: 4 servings
- Total time: 2h 35min (45min active)
- Difficulty: Medium
- Cuisine: American
-
Allergens:
Gluten Milk Wheat
Plan your meals and get a complete grocery list automatically.
Add to meal plannerEquipment you'll need
Got ingredients left?
Find recipes using ingredients from this recipe or what you already have at home.
Find recipes with these ingredients →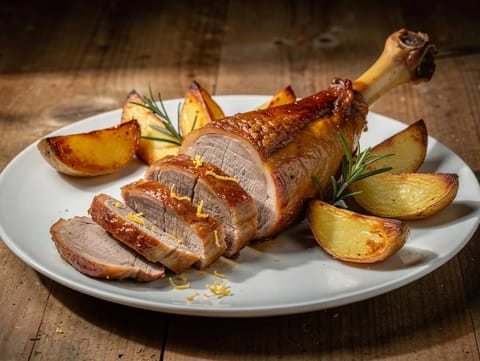
Cordero Asado a la Castellana (Castilian Roast Lamb)
Roast lamb over potatoes with garlic, rosemary and white wine
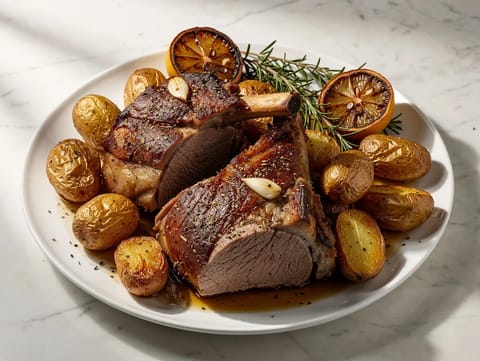
Greek Christmas Lamb Roast with Lemon, Garlic and Potatoes
Greek-style roast lamb with lemon, garlic and tray potatoes
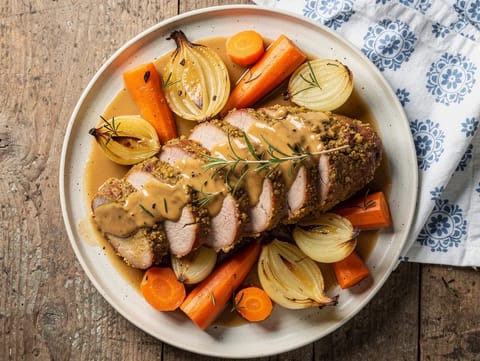
Paasbraadstuk uit de Oven (Dutch Easter Pork Roast)
Oven-roasted pork with mustard, garlic, herbs and gravy
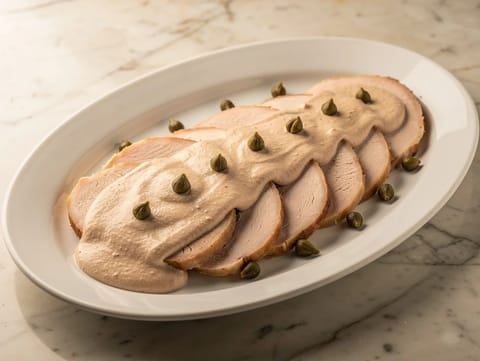
Tacchino Tonnato (Cold Turkey with Tuna and Caper Sauce)
Cold roast turkey topped with a creamy tuna, caper and lemon sauce
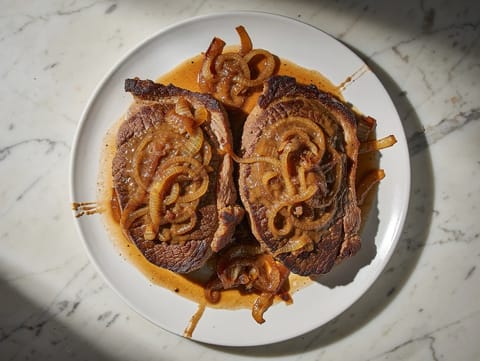
Badischer Zwiebelrostbraten (Baden-Style Beef Steaks with Onion Gravy)
Pan-seared beef steaks with rich onion gravy
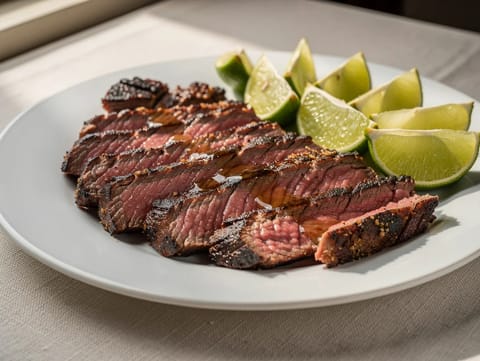
Churrasco (High-Heat Grilled Beef with Coarse Salt and Lime)
High-heat grilled beef with coarse salt and lime
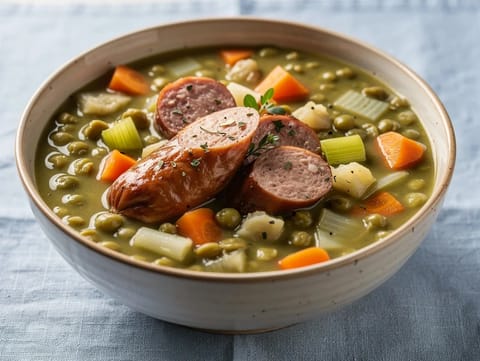
Erbsensuppe mit Würstchen (German Split Pea Soup with Smoked Sausage)
German split pea soup with smoked sausage and root vegetables
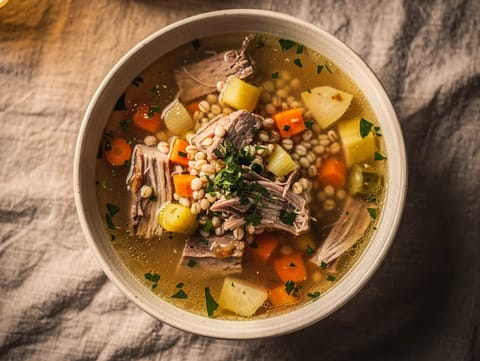
Krupnik (Polish Pearl Barley Soup with Pork Ribs)
Polish pearl barley soup with pork ribs and vegetables
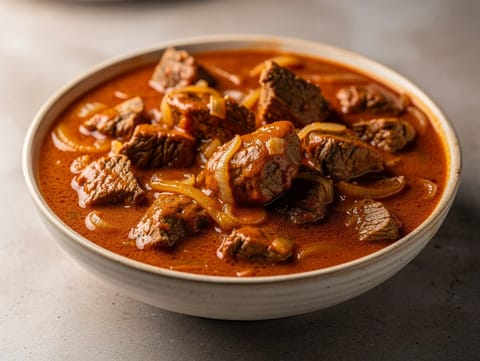
Gulasz Wołowy (Polish Beef Goulash)
Polish beef goulash with paprika, tomato and marjoram
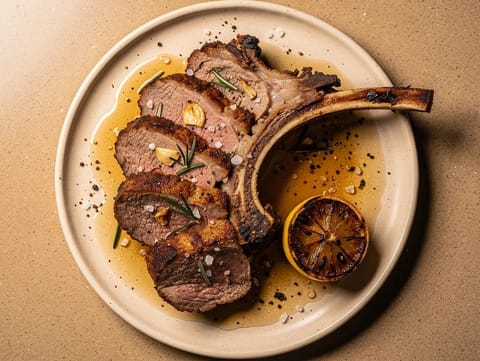
Cordero Asado (Spanish Roast Lamb with Garlic and Rosemary)
Spanish roast lamb with garlic, rosemary, white wine and lemon
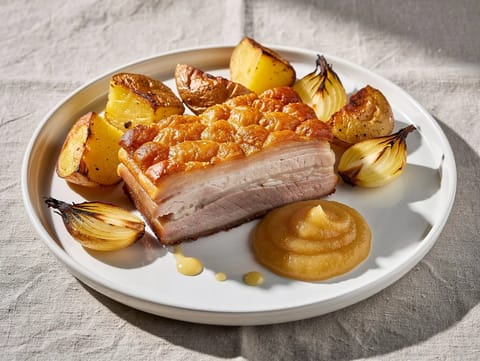
Roast Pork Belly with Crackling, Potatoes and Apple Sauce
Roast pork belly with crisp crackling, potatoes and apple sauce
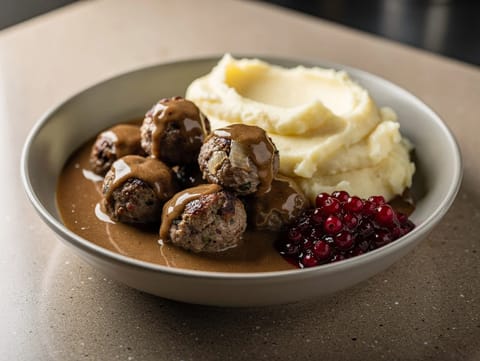
Lihapyörykät (Finnish Meatballs with Allspice Gravy)
Finnish meatballs simmered in allspice gravy
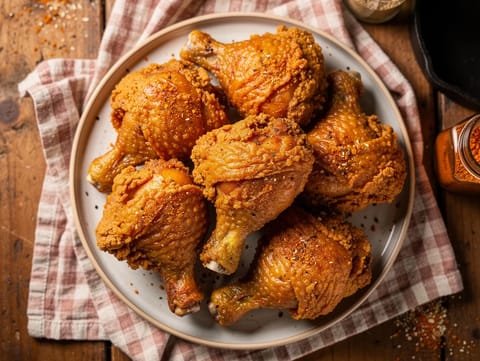
Crispy Fried Chicken with Buttermilk and Spiced Flour
Buttermilk fried chicken with a crisp spiced coating
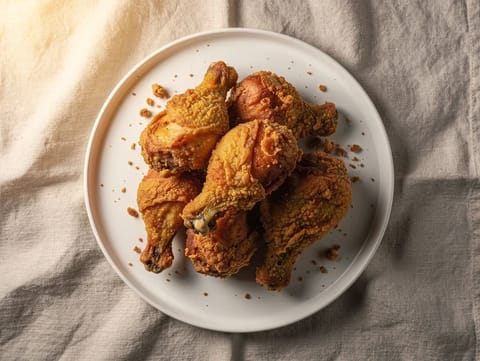
Air Fryer Buttermilk Fried Chicken
Buttermilk-marinated chicken turns crisp and golden in the air fryer.
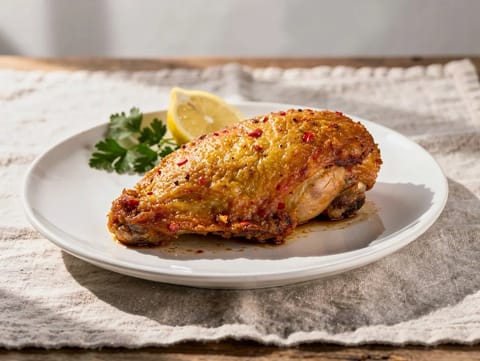
Air Fryer Spicy Fried Chicken
Spiced, hot-sauce chicken turns crisp and tender in the air fryer.
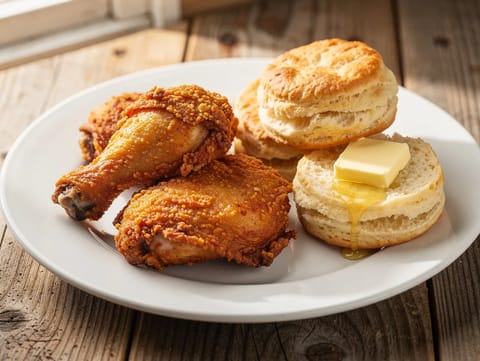
Southern Fried Chicken with Buttermilk Biscuits
Crisp fried chicken served with warm, fluffy buttermilk biscuits
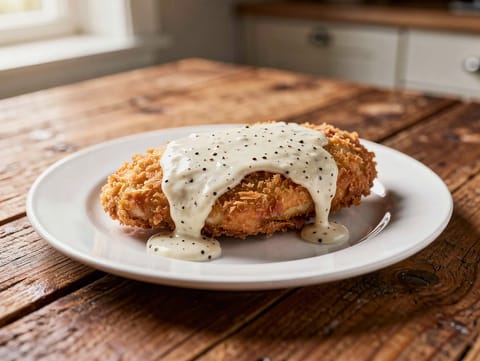
Chicken Fried Chicken with White Gravy
Crispy buttermilk chicken with peppery white milk gravy
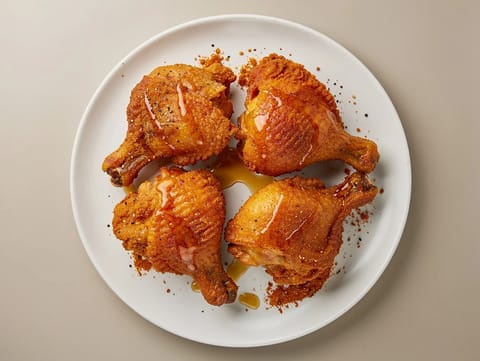
Buttermilk Fried Chicken with Honey
Crispy buttermilk fried chicken finished with honey
You might also like
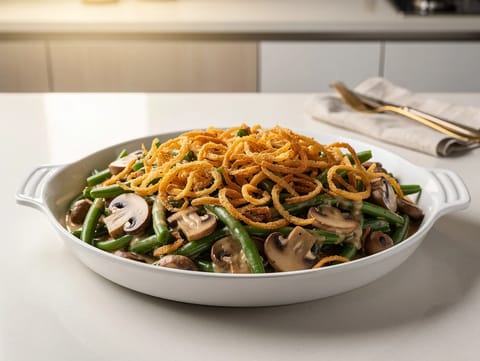
Green Bean Casserole with Creamy Mushroom Sauce and Fried Onions
Green beans baked in mushroom sauce with fried onion topping
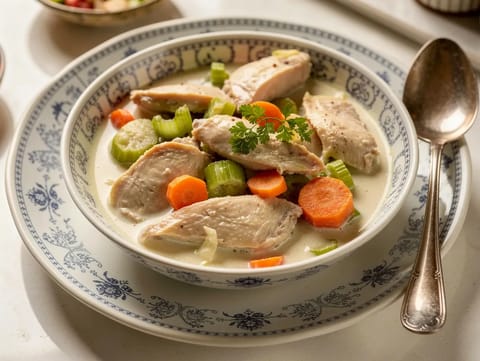
Waterzooi (Belgian Creamy Chicken Stew)
Creamy Belgian chicken stew finished with egg yolks and cream
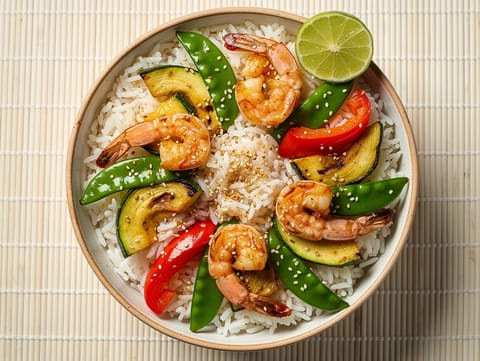
Air Fryer Shrimp and Vegetables
Air-fried prawns and vegetables served with jasmine rice.
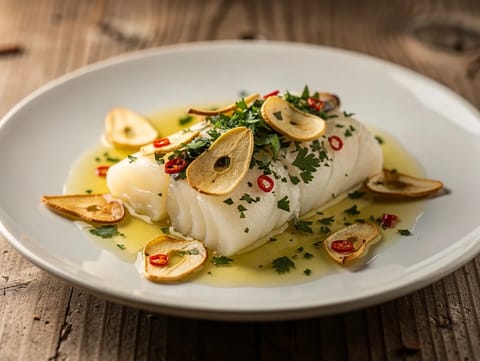
Bacalao al Pil Pil (Salt Cod with Garlic and Chilli Oil)
Salt cod in olive oil with garlic and chilli pil pil sauce
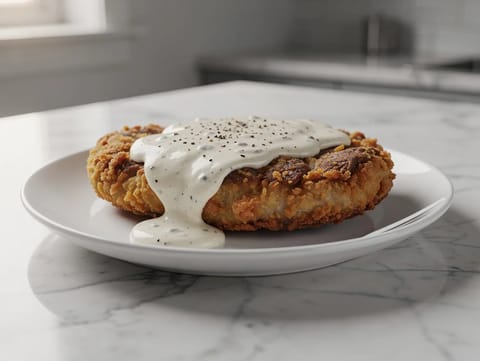
Chicken Fried Steak with Creamy White Gravy
Crispy chicken fried steak with creamy white pepper gravy
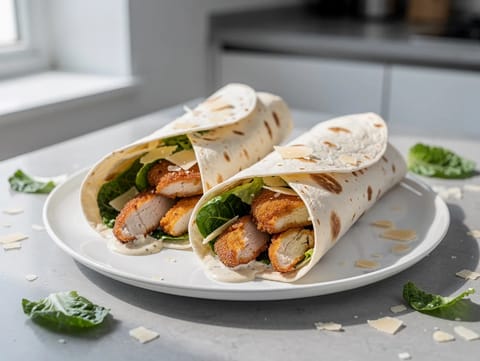
Air Fryer Chicken Caesar Wrap
Air-fried chicken Caesar wrap with romaine and parmesan.
Make this recipe easier next time
AdvertisementThese tools help you get better results with less effort.
KitchenAid Stainless Steel Mixing Bowls
- Non-slip base
- Stainless steel
- Not microwave safe
Pyrex Glass Mixing Bowls with Lids
- Microwave safe
- BPA-free lids
- Glass is heavier
OXO Good Grips Stainless Mixing Bowl Set
- Non-slip base
- Comfort grip
- Higher price
Enjoy cooking with JustRecipes?
Add JustRecipes as one of your preferred Google sources to discover our recipes more easily across Google Search.
Add JustRecipes to GoogleEvery recipe on JustRecipes follows the same structured editorial process. Learn how recipes are created, validated, translated, illustrated, and continuously improved across the platform. How we create recipes.
