
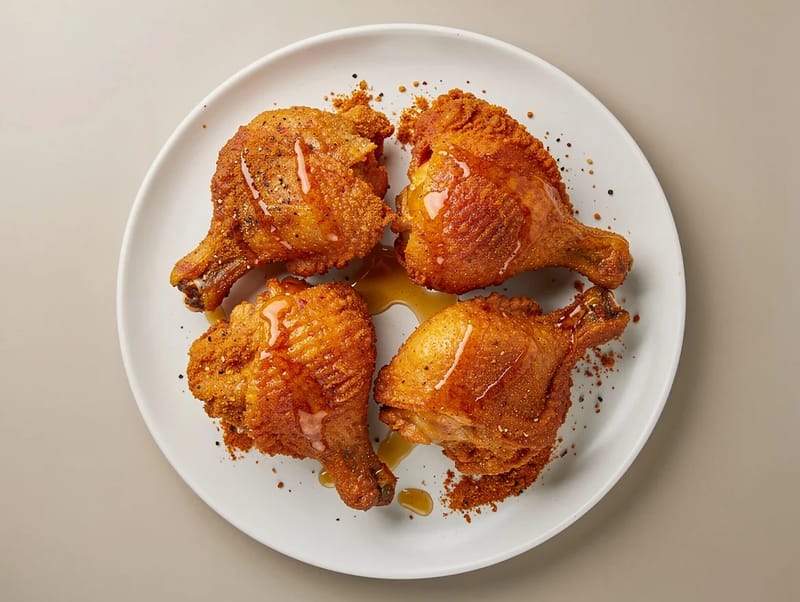
Buttermilk Fried Chicken with Honey
Why this recipe works
- Crisp, well-set crust: Resting the floured chicken before frying lets the coating hydrate and cling more securely, giving a crunchier finish.
- Seasoning in every bite: Paprika, garlic, black pepper and cayenne season the flour directly, so the crust carries the main flavour rather than relying only on the drizzle.
- Sweet-savoury contrast: Honey added at the end sticks to the hot crust without softening it too early, balancing the salty, peppery coating.
Get the most out of this recipe
Timing notes
- Buttermilk soak: A short chill gives the chicken tang and tenderness, while an overnight soak develops a deeper flavour if you want to prepare ahead.
- Rest before and after frying: The first rest helps the coating set; the final rest lets steam settle so the crust stays crisp rather than turning damp.
- Best served hot: Drizzle with honey just before serving, when the crust is still hot and crunchy.
Adjust the heat
- Make it milder: Replace the cayenne with extra paprika for warmth and colour without noticeable chilli heat.
- Add more heat: Increase the cayenne slightly or add a pinch of chilli powder to the flour mixture.
- Keep the heat rounded: The honey softens the peppery edge, so add it after frying rather than mixing sweetness into the coating.
Common mistakes
- Letting the oil drift: Keep the oil close to 170°C (340°F). Too cool and the coating absorbs oil; too hot and the crust can darken before the chicken cooks through.
- Frying too many pieces at once: Work in batches so the oil temperature recovers quickly and each thigh has room to crisp evenly.
- Relying only on colour: Deep golden crust is not enough; check that the thickest part of the chicken reaches 75°C (165°F), especially near the bone.
Serving ideas
- Fresh sides: Serve with sharp slaw, pickles or a simple green salad to cut through the richness.
- Comfort-style sides: Mashed potatoes, cornbread, biscuits or buttered corn all suit the sweet-savoury fried chicken.
- Finish just before serving: A final light drizzle of honey gives gloss and sweetness without weighing down the crust.
Equipment you'll need
Ingredients
Instructions
- Put the chicken thighs in a bowl and pour over the buttermilk, turning to coat. Cover and chill for 45 minutes (or up to overnight for deeper flavour).
- In a wide bowl, whisk together the plain flour, ground paprika, ground garlic, fine sea salt, black pepper and cayenne pepper. Lift the chicken from the buttermilk, letting the excess drip back into the bowl.
- Dredge each piece of chicken in the seasoned flour, pressing firmly so the coating clings, then set on a rack for 10 minutes to hydrate and set. This helps the crust stay put during frying.
- Pour the vegetable oil into a large pot to a depth of about 4 to 5 cm and heat to 170°C (340°F). Fry the chicken in batches, turning occasionally, for 12 to 15 minutes until deep golden and the thickest part is cooked through (75°C (170°F) at the bone).
- Lift the chicken back onto the rack and rest for 5 minutes so the crust stays crisp. Drizzle with the honey and serve straight away while hot and crunchy.
Recipe notes
Tips
- Keep the oil temperature steady: if it drops below 165°C (330°F), the coating can turn greasy; if it rises above 180°C (355°F), the crust can darken before the chicken is cooked through.
- For the crunchiest finish, let the coated chicken sit on the rack before frying so the flour absorbs a little buttermilk and forms a paste-like layer.
- If serving to pregnant people, young children, older adults, or anyone immunocompromised, ensure the chicken reaches 75°C (170°F) in the thickest part and avoid cross-contamination from the raw buttermilk.
Substitutions
- Replace Chicken thighs with Chicken drumsticks for a slightly leaner bite; keep the same method and cook until 75°C (170°F) at the thickest part.
- Replace Honey with Maple syrup for a different sweet finish that still clings well to the hot crust.
- Replace Cayenne pepper with Ground paprika for a milder heat level while keeping the same overall seasoning.
Storage
- Refrigerate up to 2 days
- Cool completely, then refrigerate in a sealed container. Reheat on a rack in a 200°C (390°F) oven for 12 to 15 minutes until piping hot and crisp; drizzle with honey after reheating for the best crunch.
Ratings & reviews
Liked this recipe? Share your feedback to support our cooking community.
Tried this recipe?
Choose 1–5 stars. A comment is optional.
Stay inspired
Discover new recipes, seasonal favourites and cooking inspiration every day. Follow JustRecipes on Pinterest and Spillt.
Recipe overview
- Servings: 4 servings
- Total time: 1h 30min (35min active)
- Difficulty: Advanced
- Cuisine: American
-
Allergens:
Gluten Milk Wheat
Plan your meals and get a complete grocery list automatically.
Add to meal plannerEquipment you'll need
Got ingredients left?
Find recipes using ingredients from this recipe or what you already have at home.
Find recipes with these ingredients →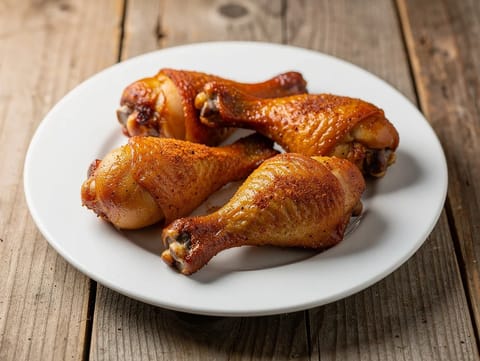
Air Fryer Chicken Drumsticks
Chicken drumsticks air-fried with garlic and paprika until juicy.
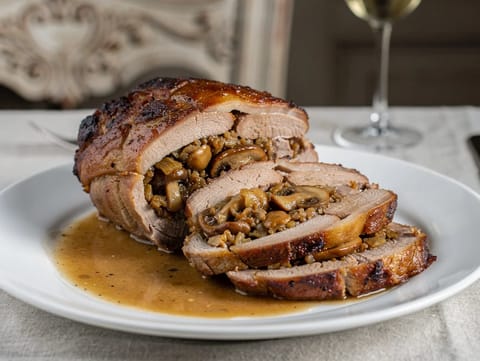
Veau Orloff (Roasted Veal with Mushroom and Onion Stuffing)
Roast veal layered with mushroom and onion stuffing
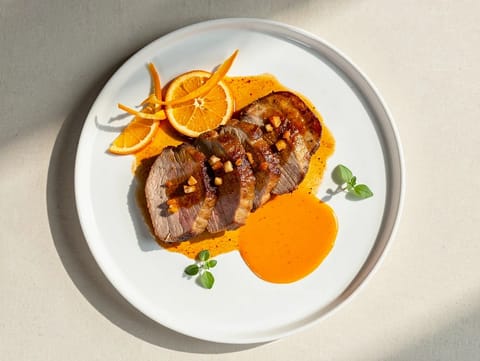
Lomo de Cerdo a la Naranja (Pork Loin with Orange Sauce)
Seared pork loin simmered in a glossy orange sauce
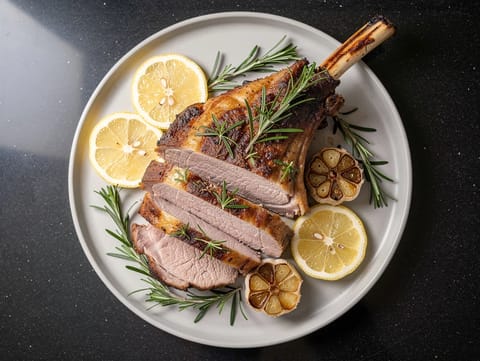
Agnello al Forno con Rosmarino (Roast Lamb with Rosemary, Garlic and Lemon)
Roast lamb with rosemary, garlic and lemon
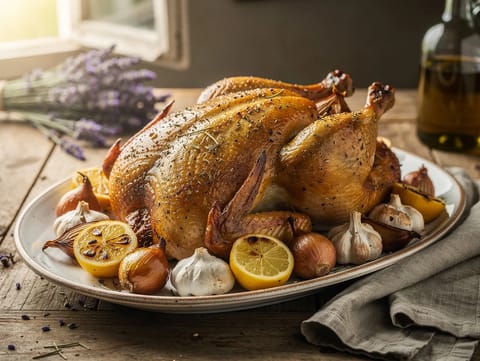
Poulet Rôti with Herbes de Provence (French Roast Chicken)
French roast chicken with herbs and lemon
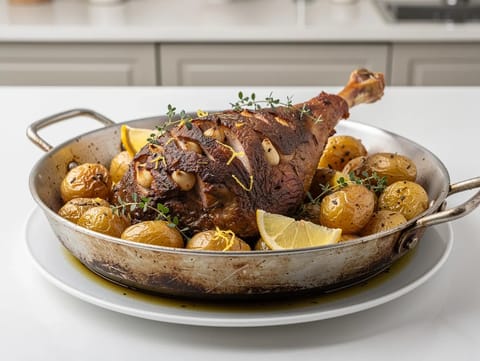
Lamb Kleftiko (Slow-Roasted Lamb with Garlic, Lemon and Potatoes)
Slow-roasted Greek lamb with garlic, lemon and potatoes
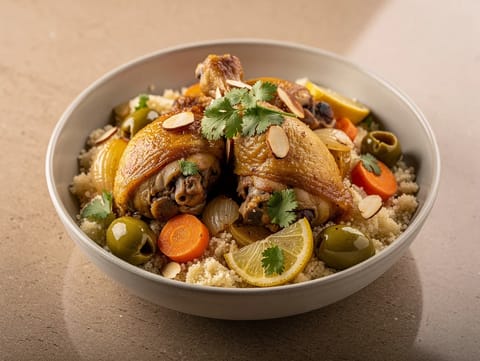
Moroccan Chicken Tagine with Couscous, Olives and Preserved Lemon
Chicken tagine with preserved lemon and olives over couscous
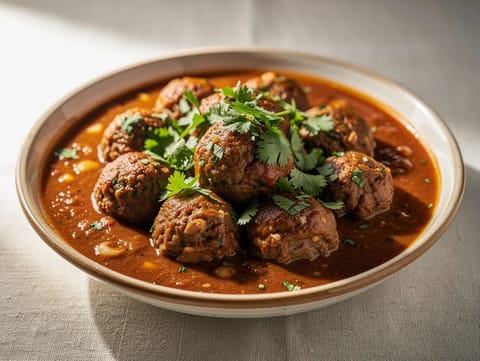
Albóndigas en Chipotle (Beef Meatballs in Chipotle Tomato Sauce)
Beef meatballs simmered in smoky chipotle tomato sauce
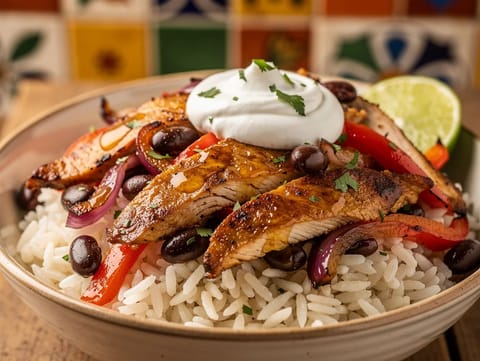
Chicken Fajita Bowl
Chicken fajita bowl with rice, peppers, black beans and lime
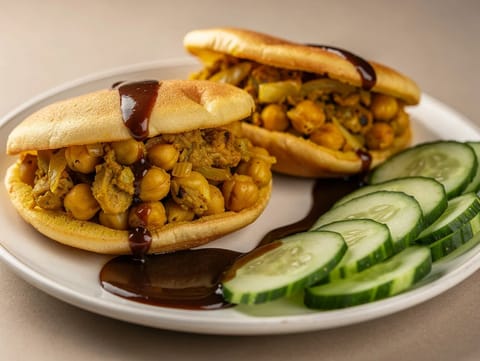
Carnival Doubles Platter (Fried Bara with Curried Chickpeas)
Soft fried bara filled with fragrant curried chickpeas
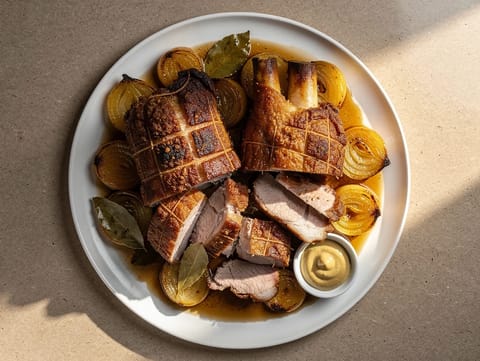
Golonka Pieczona (Polish Roasted Pork Knuckle)
Polish roasted pork knuckle with marjoram, caraway and mustard
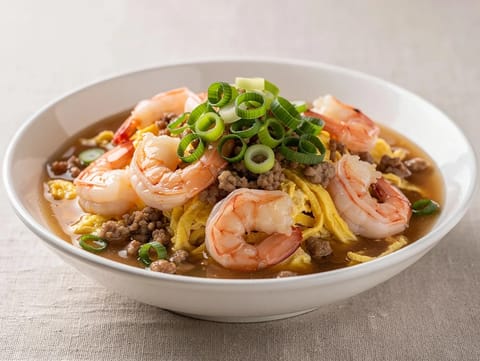
Shrimp with Lobster Sauce (Cantonese Prawns in Savoury Sauce)
Prawns in silky lobster sauce with minced pork and egg ribbons
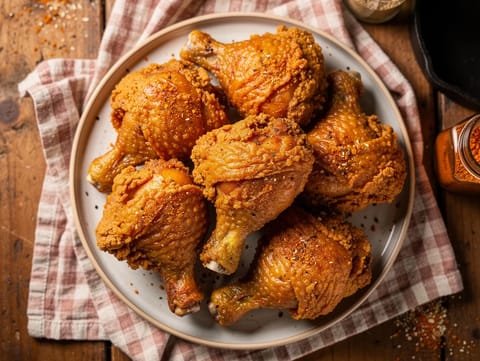
Crispy Fried Chicken with Buttermilk and Spiced Flour
Buttermilk fried chicken with a crisp spiced coating
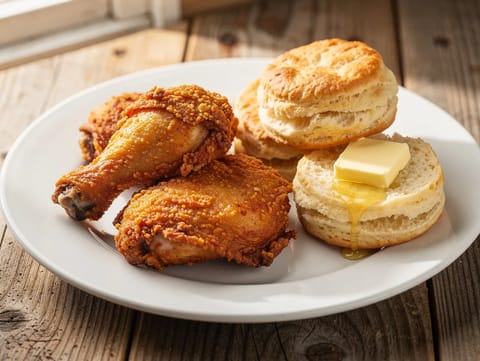
Southern Fried Chicken with Buttermilk Biscuits
Crisp fried chicken served with warm, fluffy buttermilk biscuits
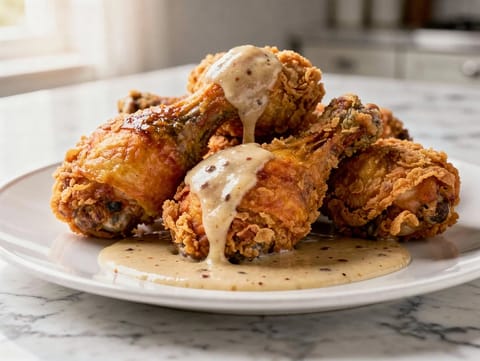
Southern Fried Chicken with Buttermilk Gravy
Crisp fried chicken drumsticks with peppery buttermilk gravy
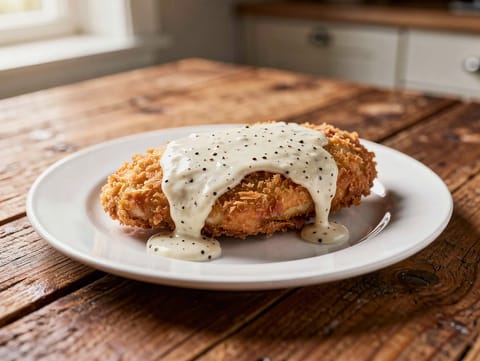
Chicken Fried Chicken with White Gravy
Crispy buttermilk chicken with peppery white milk gravy
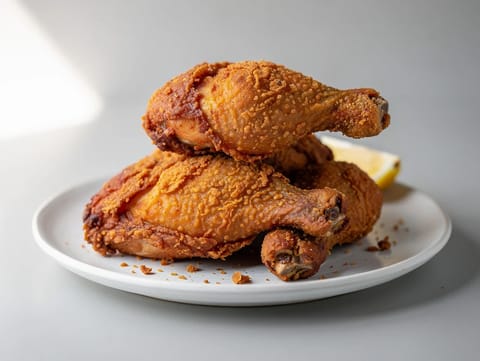
Southern Fried Chicken with Buttermilk Brine
Buttermilk-brined fried chicken with a crisp seasoned coating
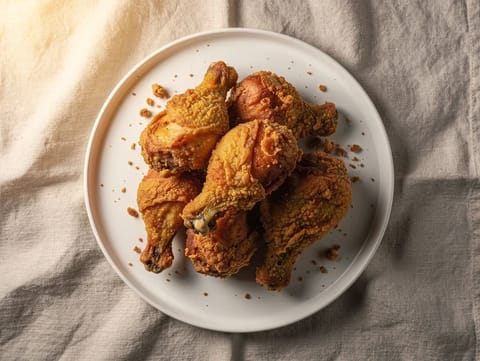
Air Fryer Buttermilk Fried Chicken
Buttermilk-marinated chicken turns crisp and golden in the air fryer.
You might also like
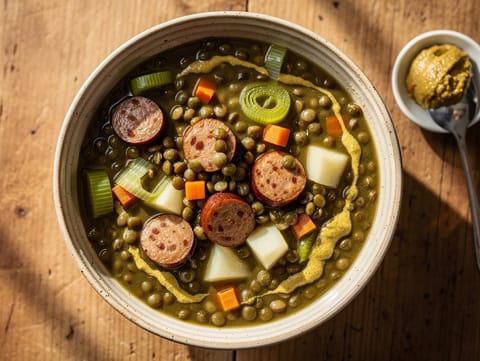
Hollandse Linzenstoof (Dutch Lentil Stew) with Smoked Sausage
Dutch lentil stew with smoked sausage and vegetables
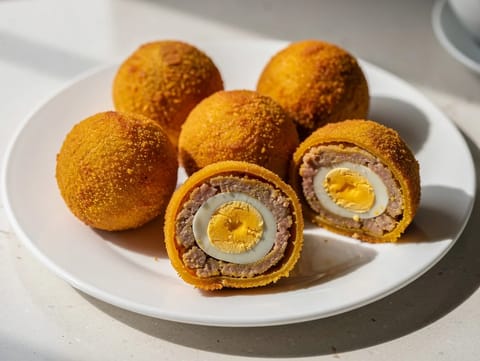
Scotch Eggs
Boiled eggs wrapped in pork, breadcrumbed and fried
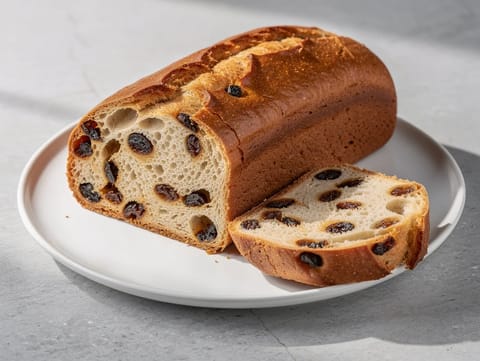
Stafidopsomo (Greek Raisin Bread)
Greek raisin bread with olive oil and cinnamon
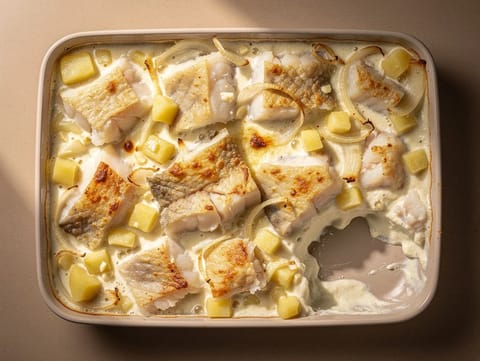
Bacalhau com Natas (Creamy Salt Cod and Potato Casserole)
Creamy baked salt cod and potato casserole
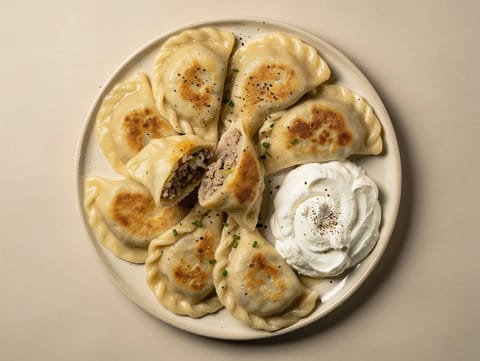
Pierogi z Mięsem (Polish Meat-Filled Dumplings)
Polish meat-filled dumplings boiled then lightly fried in butter
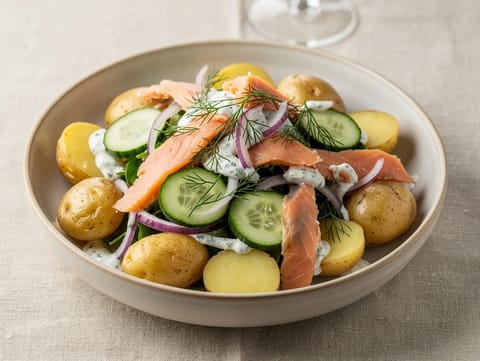
Smoked Trout Salad with Potatoes and Horseradish Dressing
Smoked trout salad with baby potatoes and horseradish dressing
Make this recipe easier next time
AdvertisementThese tools help you get better results with less effort.
KitchenAid Stainless Steel Mixing Bowls
- Non-slip base
- Stainless steel
- Not microwave safe
Pyrex Glass Mixing Bowls with Lids
- Microwave safe
- BPA-free lids
- Glass is heavier
OXO Good Grips Stainless Mixing Bowl Set
- Non-slip base
- Comfort grip
- Higher price
Enjoy cooking with JustRecipes?
Add JustRecipes as one of your preferred Google sources to discover our recipes more easily across Google Search.
Add JustRecipes to GoogleEvery recipe on JustRecipes follows the same structured editorial process. Learn how recipes are created, validated, translated, illustrated, and continuously improved across the platform. How we create recipes.
