
Pierogi z Mięsem (Polish Meat-Filled Dumplings)
Why this recipe works
- Boiled, then fried: Boiling cooks the dough gently, while a final fry in butter gives the pierogi their golden edges and richer flavour.
- Deep savoury filling: Slowly softened onion, garlic and browned pork create a compact, well-seasoned filling that stands up to the mild dough.
- Good for batching: The shaped dumplings can be cooked in batches and freeze well, making them practical for preparing ahead.
- Hearty finish: Butter-fried dough, warm meat filling and cool sour cream give the dish its satisfying, homely character.
Get the most out of this recipe
Timing notes
- Rest the dough before rolling: A short rest helps the dough relax, making it easier to roll thinly without springing back.
- Let the filling cool: Use the filling when it is just warm or cool, as hot filling can soften the dough and make sealing harder.
- Serve after frying: Pierogi are at their best straight from the pan, when the edges are lightly crisp and the filling is hot.
Texture tips
- Keep the dough supple: Cover unused dough and shaped pierogi while you work so the surface does not dry out or crack.
- Drain before frying: Let the boiled pierogi drain well before they go into the butter, otherwise they will steam rather than brown.
- Fry in a single layer: Give each dumpling contact with the pan so the butter can brown the surface evenly.
Common mistakes
- Rolling the dough too thick: Thick dough can make pierogi heavy, so roll it thin enough to fold easily around the filling.
- Overfilling the rounds: Too much filling makes the edges difficult to seal and increases the chance of bursting during boiling.
- Boiling too aggressively: Use a gentle boil rather than a rolling one to avoid knocking the pierogi open as they cook.
Make-ahead tips
- Freeze shaped pierogi: Freeze them in a single layer until firm, then transfer to a bag or container so they do not stick together.
- Reheat in a pan: For the best texture, reheat cooked pierogi in a little butter over medium-low heat until piping hot.
- Cook in batches: Boil and fry only as many as fit comfortably, keeping the rest covered until needed.
Equipment you'll need
Ingredients
Dough
Filling and finishing
Instructions
- Make the dough: put the plain flour and fine sea salt in a mixing bowl and make a well. Add the egg and warm water, then mix to a shaggy dough and knead for 6 to 8 minutes until smooth and elastic.
- Cover the dough and let it rest at room temperature so it relaxes and rolls easily. Use this time to start the filling.
- Melt half the unsalted butter in a frying pan over medium heat. Finely chop the yellow onion, add it to the pan with a pinch of fine sea salt, and cook for 8 to 10 minutes until soft and lightly golden.
- Crush the garlic and stir it into the onion for 30 seconds until fragrant. Add the minced pork and cook for 6 to 8 minutes, breaking it up, until no longer pink and any liquid has cooked off.
- Season the filling with the black pepper and a little more fine sea salt to taste. Tip into a bowl and leave to cool until just warm, so it does not soften the dough when filling.
- Roll and fill: divide the dough into two pieces and keep one covered while you work. Roll the other piece on a lightly floured surface to about 2 mm thick, then cut rounds about 7 to 8 cm across.
- Place a small spoonful of filling in the centre of each round, fold over, and pinch firmly to seal, pressing out any air. Repeat with the remaining dough and filling, keeping the shaped pierogi covered as you go.
- Boil: bring a large pot of well-salted water to a gentle boil. Cook the pierogi in batches for 3 to 4 minutes, or until they float and the dough looks slightly translucent; lift out with a slotted spoon and drain in a colander.
- Fry to finish: melt the remaining unsalted butter in the frying pan over medium heat. Add the boiled pierogi in a single layer and fry for 2 to 3 minutes per side until golden, working in batches if needed.
- Serve hot with sour cream and a final grind of black pepper. If you like, add a small pinch of fine sea salt to the sour cream to sharpen it.
Recipe notes
Tips
- Keep the dough covered whenever you are not rolling it, as it dries quickly and becomes harder to seal.
- Seal firmly: if the edges feel floury, dab them with a little water, then pinch again to prevent the pierogi opening during boiling.
- Cook a single test pieróg first; if it bursts, the seal needs to be tighter or the filling portion slightly smaller.
Substitutions
- Replace sour cream with crème fraîche for a slightly richer, less tangy topping.
- Replace unsalted butter with salted butter, then reduce the fine sea salt in the filling to taste.
- Replace black pepper with a smaller amount of white pepper for a gentler peppery heat.
Storage
- Refrigerate up to 3 days
- Cool completely, then refrigerate in a sealed container. Reheat by pan-frying in a little unsalted butter over medium-low heat until piping hot, or freeze in a single layer then bag; cook from frozen by boiling until they float plus 1 minute, then fry.
Ratings & reviews
Liked this recipe? Share your feedback to support our cooking community.
Tried this recipe?
Choose 1–5 stars. A comment is optional.
Stay inspired
Discover new recipes, seasonal favourites and cooking inspiration every day. Follow JustRecipes on Pinterest and Spillt.

Recipe overview
- Servings: 4 servings
- Total time: 1h 55min (1h 5min active)
- Difficulty: Advanced
- Cuisine: Polish
-
Allergens:
Eggs Gluten Milk Wheat
Plan your meals and get a complete grocery list automatically.
Add to meal plannerEquipment you'll need
Got ingredients left?
Find recipes using ingredients from this recipe or what you already have at home.
Find recipes with these ingredients →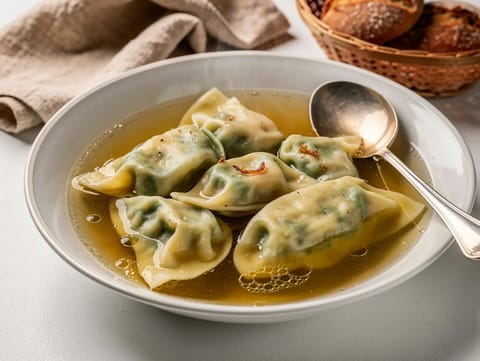
Maultaschen (Swabian Dumplings)
Swabian pasta dumplings filled with beef and spinach in broth
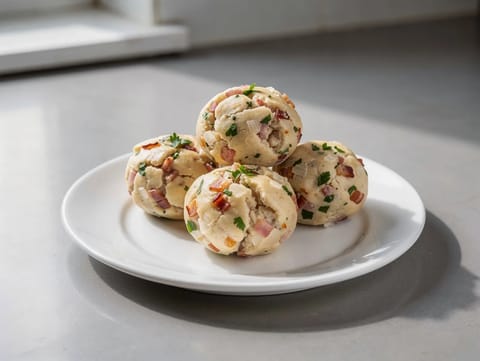
Speckknödel (German Bread Dumplings with Bacon)
German bread dumplings mixed with smoked bacon and simmered until firm

Air Fryer Dumplings
Crispy air fryer dumplings with pork and cabbage filling.
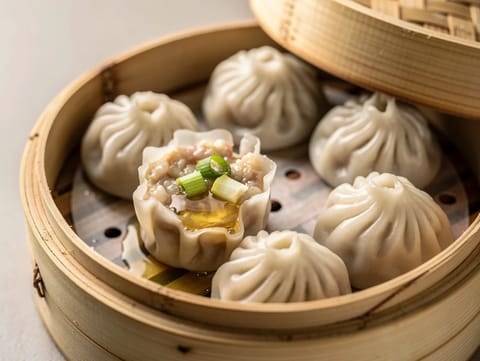
Xiao Long Bao (Chinese Soup Dumplings)
Steamed soup dumplings with pork filling and hot broth

Air Fryer Spring Rolls
Crispy air-fryer spring rolls with a savoury vegetable filling.
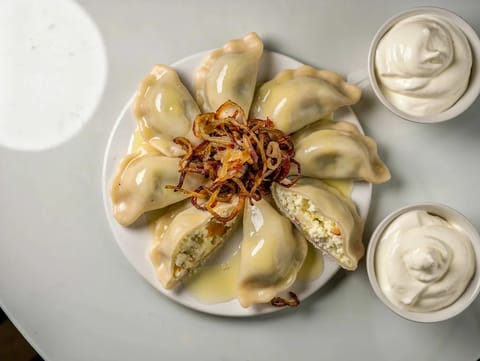
Pierogi Ruskie (Potato and Cheese Dumplings)
Polish dumplings filled with potato, cheese and onion
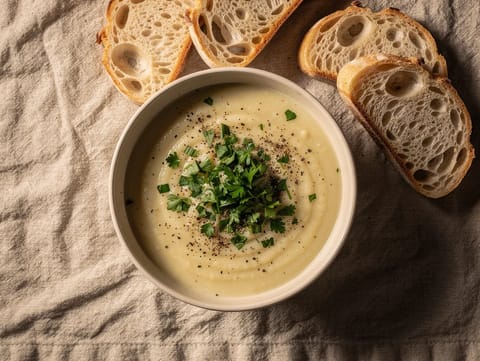
Leek and Potato Soup with Crusty Bread
Smooth leek and potato soup finished with double cream

Tarte Tatin aux Oignons (Savoury Onion Tarte Tatin)
Upside-down puff pastry tart topped with caramelised onions
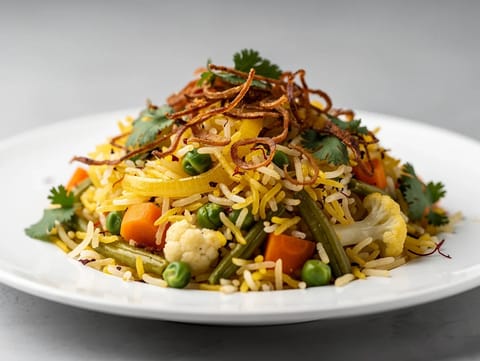
Vegetable Biryani with Saffron and Fried Onions
Layered vegetable biryani with saffron milk and fried onions
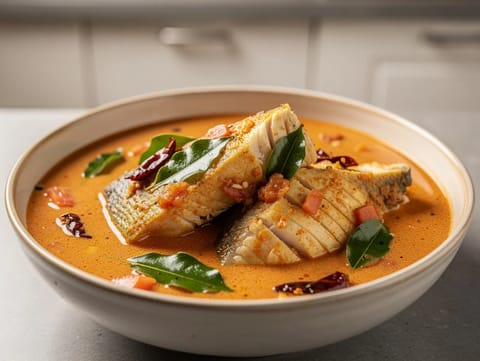
Goan Fish Curry (Xitti Kodi)
Goan coconut fish curry with tamarind and curry leaves
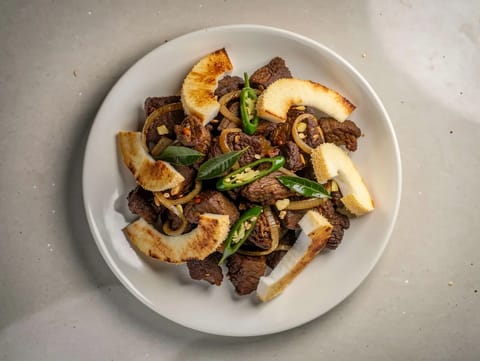
Kerala Beef Fry with Coconut Slices
Dry-style Kerala beef fry with curry leaves and coconut
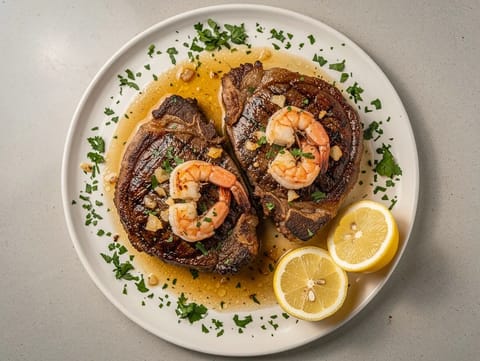
Surf and Turf (Steak and Prawns)
Seared sirloin steak with garlic butter prawns and lemon
Pierogi Ruskie (Potato and Cheese Dumplings)
Polish dumplings filled with potato, cheese and onion
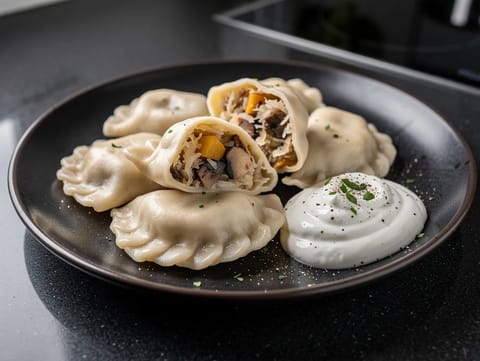
Pierogi z Kapustą i Grzybami (Sauerkraut and Mushroom Dumplings)
Polish pierogi filled with sauerkraut and mushrooms
Spätzle Mushroom Bowl with Creamy Mushroom Sauce
Spätzle with creamy mushroom sauce, onion, garlic and parsley
Pannenkoeken (Dutch Savoury Pancakes with Bacon and Onion)
Thin savoury pancakes topped with bacon and onion
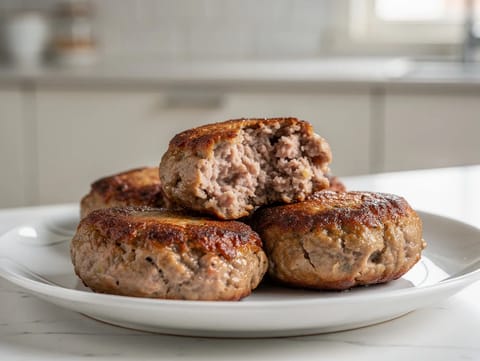
Frikadeller (Danish Pan-Fried Pork Meatballs)
Danish pan-fried pork meatballs with onion and breadcrumbs
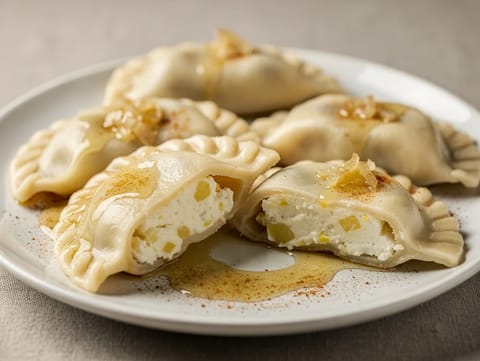
Pierogi Ruskie (Potato and Cheese Dumplings)
Polish dumplings with potato, quark and fried onion
You might also like
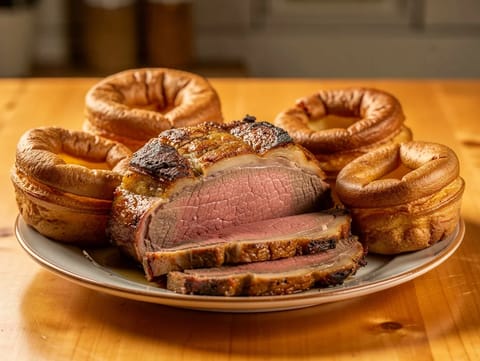
Roast Rib of Beef with Yorkshire Pudding
Roast rib of beef with Yorkshire puddings and gravy
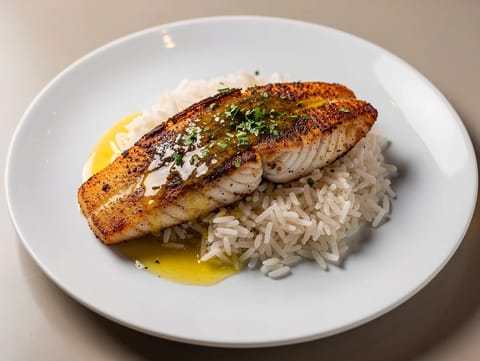
Blackened Catfish with Lemon Butter
Blackened fish with lemon butter and steamed rice
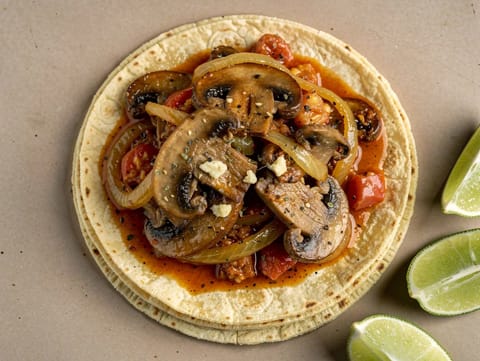
Tinga de Setas (Mexican Mushroom and Chipotle Tacos)
Smoky chipotle tomato mushroom filling served in corn tortillas
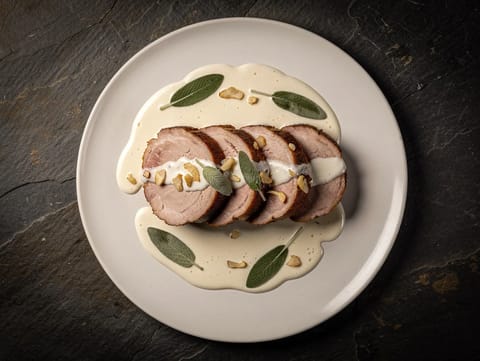
Arista di Maiale al Latte (Pork Loin Cooked in Milk)
Pork loin simmered in milk with garlic and sage

Fish Tacos with Cabbage Slaw
Fish tacos with lime mayo cabbage slaw
Kerala Beef Fry with Coconut Slices
Dry-style Kerala beef fry with curry leaves and coconut
Make this recipe easier next time
AdvertisementThese tools help you get better results with less effort.
KitchenAid Stainless Steel Mixing Bowls
- Non-slip base
- Stainless steel
- Not microwave safe
Pyrex Glass Mixing Bowls with Lids
- Microwave safe
- BPA-free lids
- Glass is heavier
OXO Good Grips Stainless Mixing Bowl Set
- Non-slip base
- Comfort grip
- Higher price
Enjoy cooking with JustRecipes?
Add JustRecipes as one of your preferred Google sources to discover our recipes more easily across Google Search.
Add JustRecipes to GoogleEvery recipe on JustRecipes follows the same structured editorial process. Learn how recipes are created, validated, translated, illustrated, and continuously improved across the platform. How we create recipes.
