
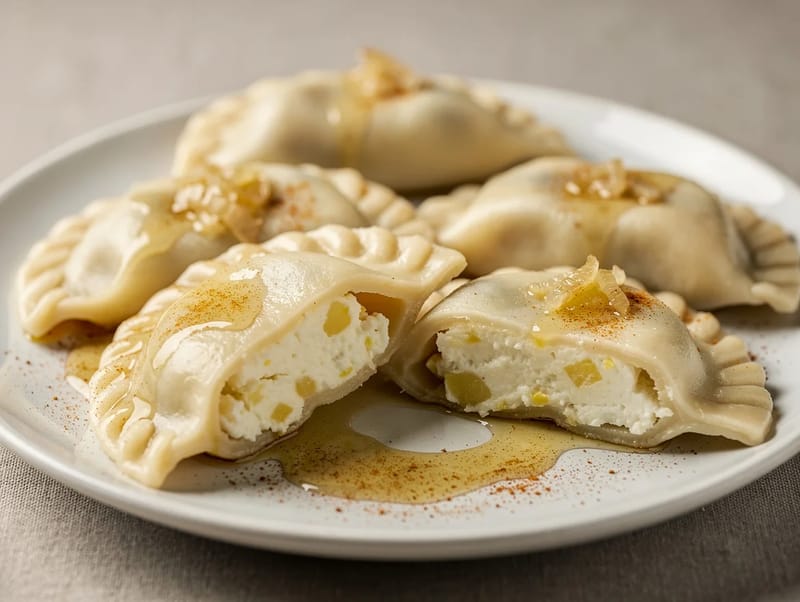
Pierogi Ruskie (Potato and Cheese Dumplings)
Why this recipe works
- Classic dumpling method: A rested, elastic dough rolls thinly and seals well around the potato and cheese filling.
- Rich, savoury filling: Mashed potato, quark and fried onion create a soft, hearty centre with gentle tang and sweetness.
- Browned butter finish: Tossing the boiled pierogi in nutty butter adds depth and coats the dumplings without needing a separate sauce.
Get the most out of this recipe
Timing notes
- Rest the dough: The dough needs its resting time so it becomes easier to roll thinly and less likely to spring back.
- Shaping takes the longest: Most of the work is rolling, filling and sealing the dumplings; the boiling stage is brief once they are assembled.
- Serve after buttering: Pierogi are at their best hot from the pan, once the browned butter has coated the dough.
Texture tips
- Keep the dough covered: Dough dries quickly once rolled, which makes the edges harder to seal and can toughen the cooked pierogi.
- Dry the potatoes well: Letting the drained potatoes steam briefly helps keep the filling firm rather than wet.
- Use a firm filling: A filling that holds its shape is easier to spoon, seal and boil without leaking.
Ingredient notes
- Quark gives the right tang: Quark brings a mild acidity and creamy texture close to the fresh cheese traditionally used in this style of pierogi.
- Ricotta makes a softer filling: Ricotta can be used instead, but it gives a slightly sweeter, milder result and may make the filling looser.
- Choose buttery potatoes: Yukon Gold potatoes mash smoothly and give the filling a naturally rich, cohesive texture.
Make-ahead tips
- Freeze in a single layer: Arrange cooled pierogi in one layer before bagging so they do not stick together.
- Reheat gently: Warm refrigerated pierogi in a frying pan with a little butter over medium-low heat until piping hot.
- Cook in batches: Boiling the dumplings in batches gives them space to move and helps prevent tearing or sticking.
Equipment you'll need
Ingredients
Dough
Filling and finish
Instructions
- Peel the potatoes, cut into even chunks, and put into a large pot with cold water and a generous pinch of the salt. Bring to the boil, then simmer for 12 to 15 minutes until very tender. Drain well and let the steam evaporate for 2 minutes.
- While the potatoes cook, make the dough: put the flour and remaining salt in a mixing bowl and make a well. Add the egg and warm water, then mix and knead for 6 to 8 minutes until smooth and elastic. Cover and rest for 30 minutes.
- Finely dice the onion. Melt 30 g of the butter in a frying pan over medium heat, add the onion and cook for 10 to 12 minutes until soft and golden. Take off the heat and cool for 5 minutes.
- Mash the potatoes until smooth, then mix in the quark, the fried onion (reserve the pan), the black pepper, and a pinch of salt to taste. The filling should be savoury and fairly firm. Set aside while you roll the dough.
- Divide the dough into two pieces and keep one covered. Roll the other out on a lightly floured surface to about 2 mm thick, then cut rounds about 7 to 8 cm wide. Spoon a small mound of filling into each round, fold over, and pinch firmly to seal; repeat with the remaining dough and filling.
- Bring a large pot of well-salted water to a gentle boil. Cook the pierogi in batches, stirring once to prevent sticking, for 2 to 3 minutes after they float to the surface. Lift out with a slotted spoon and drain briefly.
- Wipe out the frying pan, then melt the remaining 60 g butter over medium heat until it smells nutty and turns light golden, 3 to 5 minutes. Add the drained pierogi and toss gently to coat, warming them through for 1 to 2 minutes. Serve hot with the browned butter spooned over the top.
Recipe notes
Tips
- Keep the dough covered whenever you are not rolling it, as it dries quickly and becomes harder to seal.
- Seal each pieróg firmly, then press the edge again with the tines of a fork if you want extra security before boiling.
- If serving to pregnant people, young children, older adults, or anyone immunocompromised, use eggs that are produced under a recognised food safety scheme.
Substitutions
- Replace Quark cheese with Ricotta for a milder, slightly sweeter filling.
- Replace Unsalted butter with Salted butter, then reduce the Fine sea salt in the dough and filling to taste.
Storage
- Refrigerate up to 3 days
- Cool completely, then refrigerate in a sealed container. Reheat in a frying pan with a little Unsalted butter over medium-low heat until piping hot, or freeze in a single layer then bag; boil from frozen until they float plus 2 to 3 minutes.
Ratings & reviews
Liked this recipe? Share your feedback to support our cooking community.
Tried this recipe?
Choose 1–5 stars. A comment is optional.
Stay inspired
Discover new recipes, seasonal favourites and cooking inspiration every day. Follow JustRecipes on Pinterest and Spillt.
Recipe overview
- Servings: 4 servings
- Total time: 2h (1h 15min active)
- Difficulty: Medium
- Cuisine: Polish
-
Allergens:
Eggs Gluten Milk Wheat
Plan your meals and get a complete grocery list automatically.
Add to meal plannerEquipment you'll need
Got ingredients left?
Find recipes using ingredients from this recipe or what you already have at home.
Find recipes with these ingredients →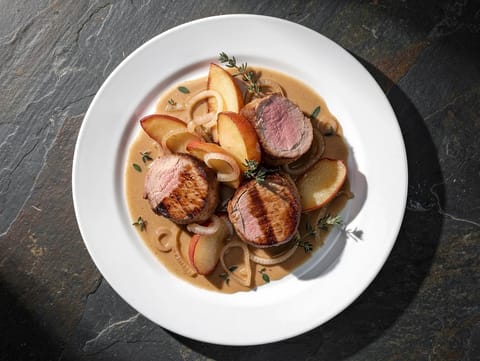
Pork Tenderloin with Apple and Calvados Sauce
Seared pork tenderloin with apples in a creamy Calvados sauce
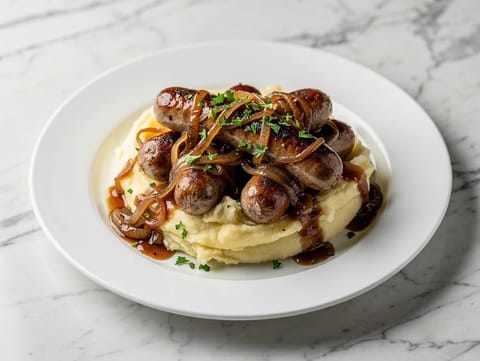
Gluten-Free Bangers and Mash with Onion Gravy
Gluten-free sausages with mash and onion gravy
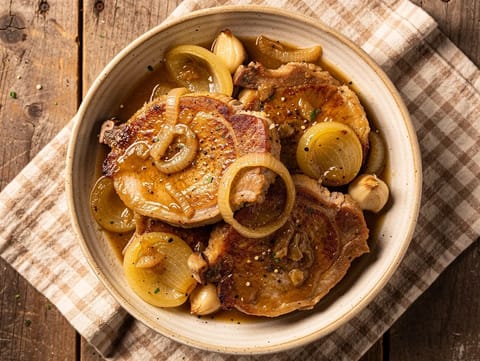
Smothered Pork Chops with Onion Gravy
Pan-seared pork chops simmered in rich onion gravy
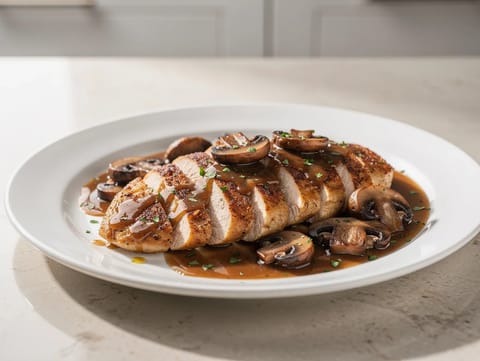
Chicken Marsala with Mushrooms
Chicken Marsala with mushrooms in a glossy sauce

Tilapia en Salsa Verde (Tilapia in Tomatillo Green Sauce)
Tilapia simmered in tomatillo salsa verde with coriander and lime
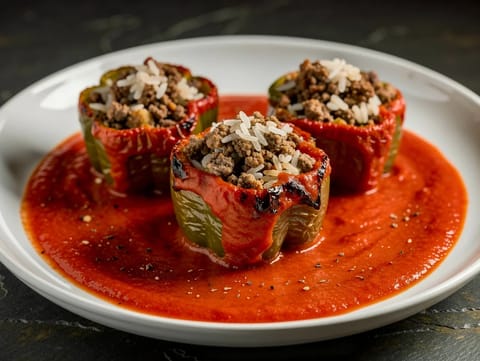
Gefüllte Paprika in Tomatensoße (Stuffed Peppers in Tomato Sauce)
Stuffed green peppers simmered in tomato sauce
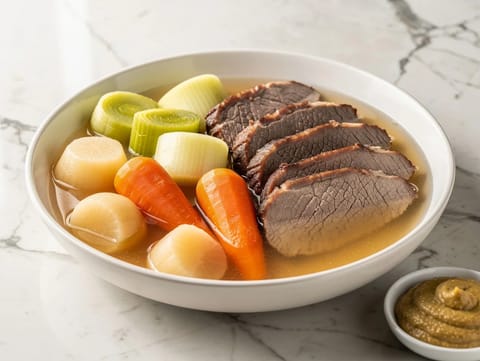
Pot-au-Feu (French Beef Stew)
French beef stew with brisket, vegetables and clear broth
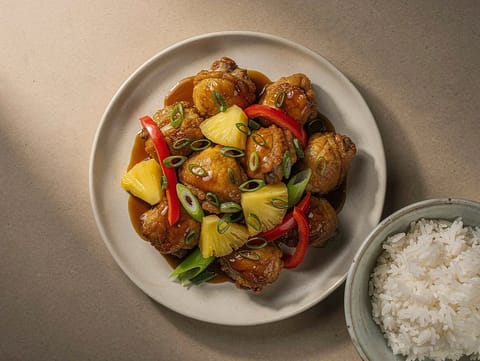
Air Fryer Sweet and Sour Chicken
Crispy chicken tossed in a sweet and sour sauce.
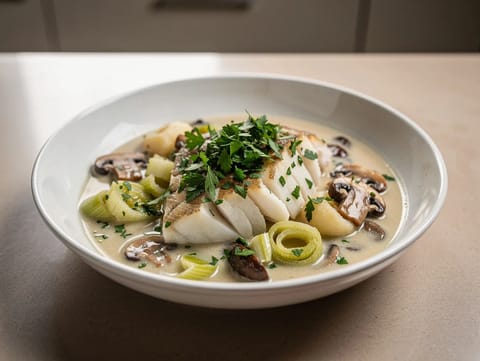
Matelote Normande (Normandy Fish Stew with Cider)
Fish stew simmered with cider, leeks and mushrooms
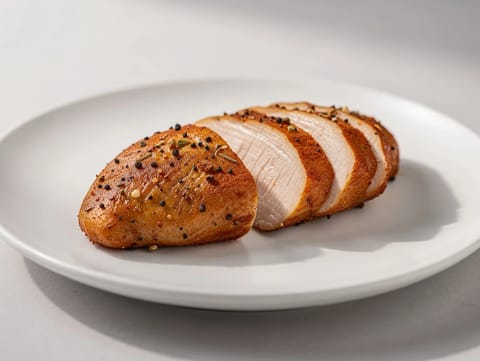
Air Fryer Chicken Breast
Juicy air fryer chicken breast with smoky paprika seasoning.
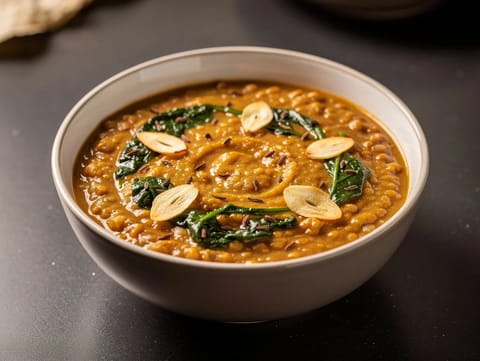
Palak Dal (Spinach and Lentil Curry)
Creamy palak dal with spinach and a cumin, garlic and chilli tarka
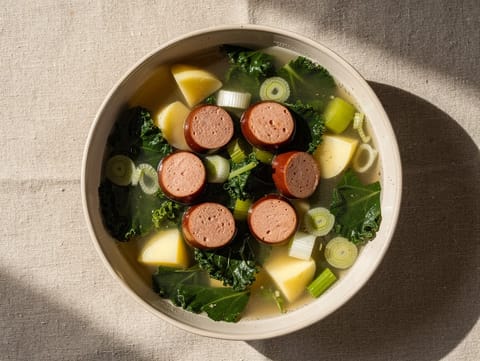
Boerenkoolsoep with Smoked Sausage (Dutch Kale Soup)
Dutch kale and potato soup served with smoked sausage
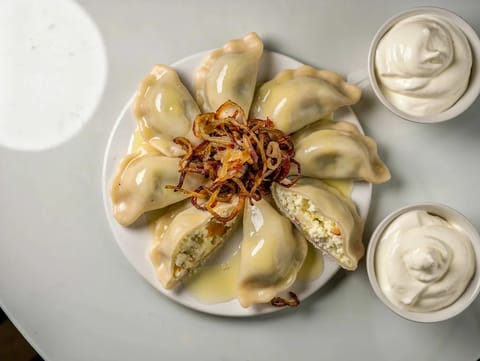
Pierogi Ruskie (Potato and Cheese Dumplings)
Polish dumplings filled with potato, cheese and onion
Kartoffelknödel (German Potato Dumplings)
German potato dumplings gently simmered until tender
Kartoffelpuffer (German Potato Pancakes)
Crisp German potato pancakes with onion, egg and flour
Pannenkoeken (Dutch Savoury Pancakes with Bacon and Onion)
Thin savoury pancakes topped with bacon and onion
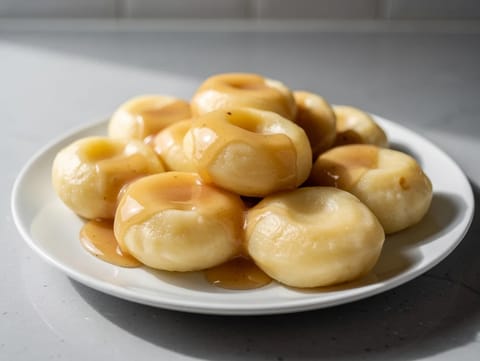
Kluski Śląskie (Silesian Potato Dumplings with Gravy)
Silesian potato dumplings served with a simple pan gravy
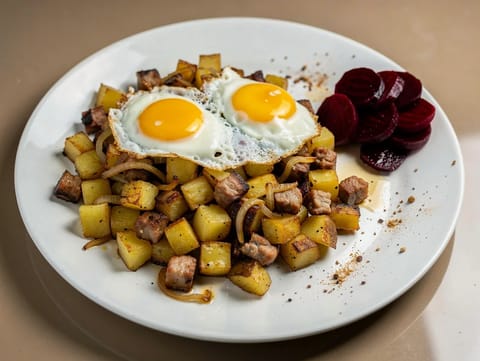
Danish Biksemad (Pork and Potato Fry-Up with Fried Eggs)
Danish pork and potato fry-up topped with fried eggs
You might also like
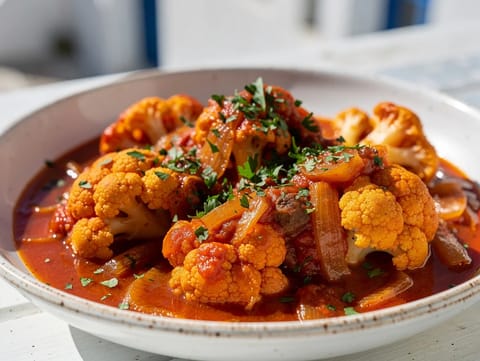
Kounoupidi Kapama (Greek Braised Cauliflower in Tomato Sauce)
Greek braised cauliflower in tomato and cinnamon sauce

Cozido à Portuguesa (Portuguese Boiled Dinner)
Portuguese boiled dinner with meats, sausages and vegetables

Enchiladas Verdes (Green Chicken Enchiladas)
Baked chicken enchiladas with tomatillo salsa verde and queso fresco
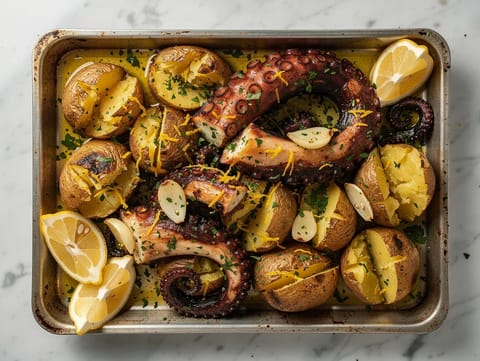
Polvo à Lagareiro Tradicional (Roasted Octopus with Olive Oil)
Roasted octopus with garlic olive oil and smashed roast potatoes
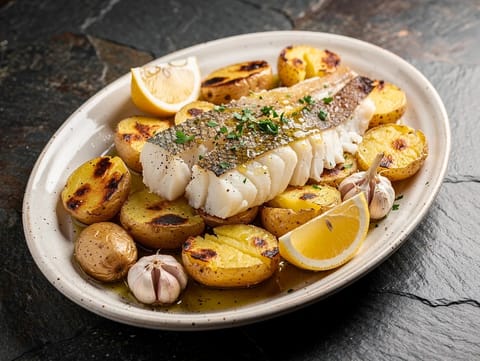
Bacalhau à Lagareiro (Roasted Salt Cod with Garlic and Olive Oil)
Roasted salt cod with garlic, olive oil and potatoes

Moo Ping (Thai Grilled Pork Skewers)
Thai grilled pork skewers marinated with coconut milk and fish sauce
Make this recipe easier next time
AdvertisementThese tools help you get better results with less effort.
KitchenAid Stainless Steel Mixing Bowls
- Non-slip base
- Stainless steel
- Not microwave safe
Pyrex Glass Mixing Bowls with Lids
- Microwave safe
- BPA-free lids
- Glass is heavier
OXO Good Grips Stainless Mixing Bowl Set
- Non-slip base
- Comfort grip
- Higher price
Enjoy cooking with JustRecipes?
Add JustRecipes as one of your preferred Google sources to discover our recipes more easily across Google Search.
Add JustRecipes to GoogleEvery recipe on JustRecipes follows the same structured editorial process. Learn how recipes are created, validated, translated, illustrated, and continuously improved across the platform. How we create recipes.
