
New York Cheesecake with Digestive Biscuit Base
Why this recipe works
- Dense, creamy filling: Cream cheese, sour cream and cornflour create a smooth filling that sets gently without becoming loose.
- Balanced richness: Lemon and sour cream cut through the sweetness and dairy richness, giving the cheesecake its characteristic tang.
- Crisp base, soft centre: The baked digestive biscuit base provides a firm, buttery contrast to the creamy filling.
- Better after chilling: A long chill allows the filling to set fully, making the cheesecake easier to slice neatly.
Get the most out of this recipe
Timing notes
- Cool gradually: Leaving the cheesecake in the switched-off oven helps the filling settle gently and reduces the risk of cracking.
- Chill until fully set: The cheesecake needs at least several hours in the fridge before slicing, as the centre firms as it chills.
- Best chilled overnight: An overnight rest gives the cleanest texture and makes portioning much easier.
Ingredient notes
- Use room-temperature dairy: Room-temperature cream cheese and eggs blend more smoothly, helping to prevent lumps in the batter.
- Choose rich dairy: Fuller-fat cream cheese and sour cream give the classic dense, creamy texture associated with baked cheesecake.
- Keep the tang: Lemon juice and sour cream are important for balance, stopping the filling from tasting overly sweet or heavy.
Common mistakes
- Avoid adding too much air: Once the eggs go in, mix only until incorporated; excess air can make the cheesecake rise too much and crack as it cools.
- Do not bake until completely firm: The edges should be set while the centre still has a gentle wobble, as it continues to firm during cooling and chilling.
- Slice only when fully chilled: Cutting too soon can give a soft, untidy slice even if the cheesecake is properly baked.
Make-ahead tips
- Bake the day before: This cheesecake is well suited to making in advance, as the flavour and texture improve after a full chill.
- Freeze in slices: Freeze firm slices, then wrap well and defrost overnight in the fridge before serving.
- Keep it cold for travel: Transport the cheesecake chilled and covered, then slice just before serving for the neatest result.
Equipment you'll need
Ingredients
Instructions
- Heat the oven to 160°C (320°F). Melt the butter in a small saucepan over low heat, then take off the heat.
- Mix the digestive biscuit crumbs with the melted butter and a pinch of salt until evenly moistened. Press firmly into the base of a 23 cm springform cake tin, pushing a little up the sides. Bake for 10 minutes, then cool while you make the filling.
- Keep the oven at 160°C (320°F). In a large bowl, beat the cream cheese with the caster sugar until smooth, then beat in the cornflour. Finely zest the lemon into the bowl, then add 2 tbsp lemon juice and the vanilla extract.
- Beat in the eggs one at a time, mixing just until each is incorporated. Whisk in the sour cream until the batter is smooth and thick, scraping down the bowl as needed. Tap the bowl on the worktop to pop any large air bubbles.
- Pour the filling over the cooled base and level the top. Bake for 55 to 70 minutes until the edges are set and the centre still has a gentle wobble. Turn the oven off, crack the door open, and leave the cheesecake inside for 60 minutes to cool gradually.
- Remove from the oven and cool completely at room temperature. Cover and chill for at least 4 hours, ideally overnight, until fully set. Slice with a warm, dry knife for clean portions.
Recipe notes
Tips
- For the smoothest filling, make sure the cream cheese and eggs are at room temperature before you start, and mix on low speed once the eggs go in to avoid adding too much air.
- If you are serving anyone who is pregnant, elderly, or immunocompromised, use eggs that are safe to eat lightly cooked and ensure the cheesecake is baked until properly set.
Substitutions
- Replace Vanilla extract with Vanilla bean paste for a more pronounced vanilla flavour.
- Replace Cornflour with Arrowroot starch for a similar thickening effect.
Storage
- Refrigerate up to 4 days
- Keep covered in the fridge to prevent it picking up odours. Freeze slices on a tray until firm, then wrap well; defrost overnight in the fridge before serving.
Ratings & reviews
Liked this recipe? Share your feedback to support our cooking community.
Tried this recipe?
Choose 1–5 stars. A comment is optional.
Stay inspired
Discover new recipes, seasonal favourites and cooking inspiration every day. Follow JustRecipes on Pinterest and Spillt.
Recipe overview
- Servings: 10 servings
- Total time: 7h (35min active)
- Difficulty: Medium
- Cuisine: American
-
Allergens:
Eggs Gluten Milk Wheat
Plan your meals and get a complete grocery list automatically.
Add to meal plannerEquipment you'll need
Got ingredients left?
Find recipes using ingredients from this recipe or what you already have at home.
Find recipes with these ingredients →
Zuccotto (Florentine Dome Cake)
Florentine dome cake with cocoa sponge and ricotta filling
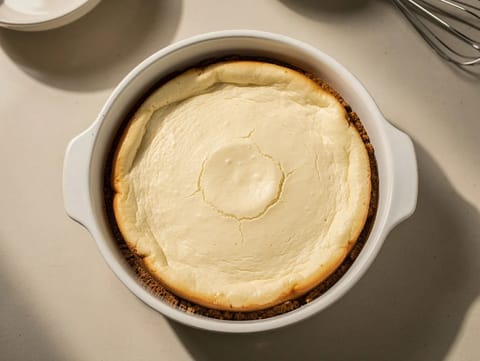
Air Fryer New York Cheesecake
Rich New York-style cheesecake baked in an air fryer.
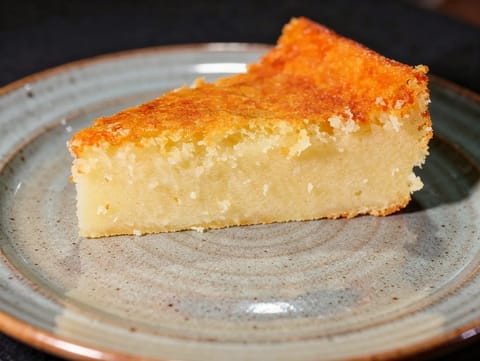
Toucinho do Céu (Portuguese Almond Cake)
Dense Portuguese almond cake finished with icing sugar
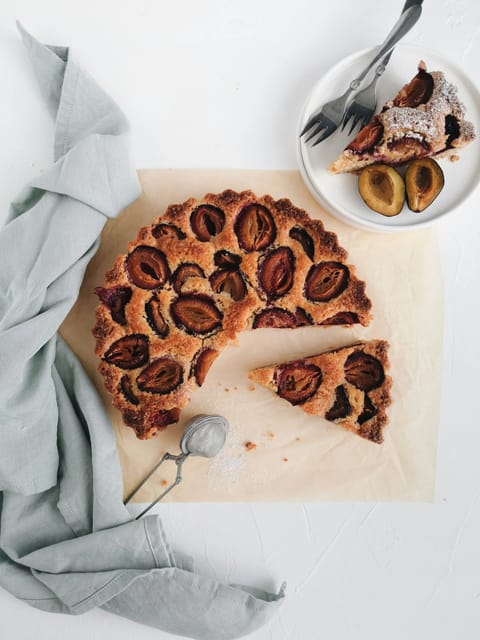
Pflaumenkuchen (German Yeast Plum Cake)
German yeast plum cake topped with fresh plums and cinnamon sugar
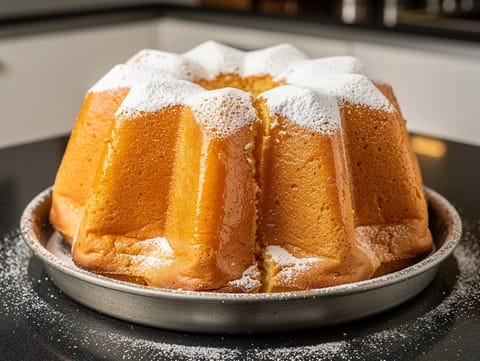
Pandoro (Italian Golden Christmas Cake)
Buttery Italian Christmas cake dusted with icing sugar
Gluten-Free Torta di Mandorle (Italian Almond Cake)
Gluten-free almond cake with lemon zest and icing sugar
Gelato al Cioccolato Fondente (Dark Chocolate Gelato)
Dense dark chocolate gelato made with milk and double cream
Air Fryer New York Cheesecake
Rich New York-style cheesecake baked in an air fryer.
Pancake Bites
Baked pancake bites with vanilla batter and blueberries.
American Banana Bread
Moist banana bread loaf with vanilla
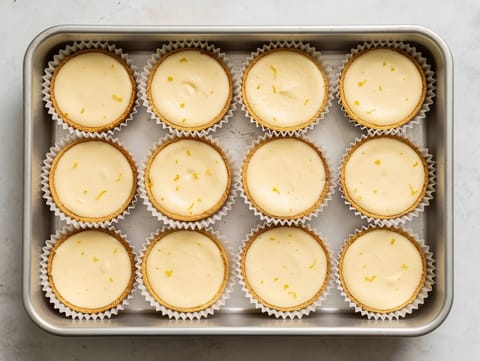
Air Fryer Mini Cheesecakes
Mini cheesecakes baked in an air fryer, then chilled.

Air Fryer Mini Apple Pies
Mini apple pies air-fried with cinnamon and lemon.
Air Fryer Mini Cheesecakes
Mini cheesecakes baked in an air fryer, then chilled.
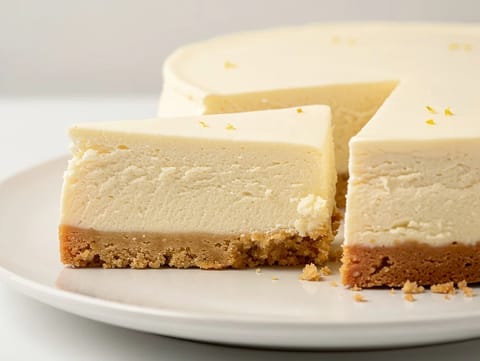
Modern Greek Yoghurt Cheesecake
Baked Greek yoghurt cheesecake with a digestive biscuit base
Air Fryer New York Cheesecake
Rich New York-style cheesecake baked in an air fryer.
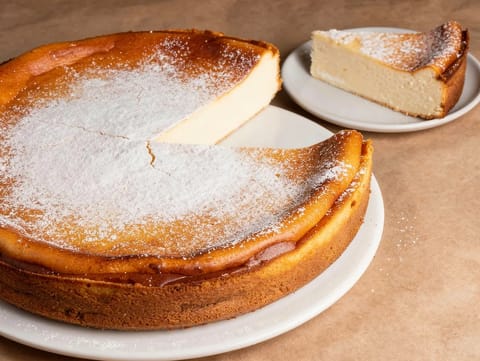
Sernik (Polish Baked Cheesecake with Quark)
Polish baked cheesecake made with quark and vanilla
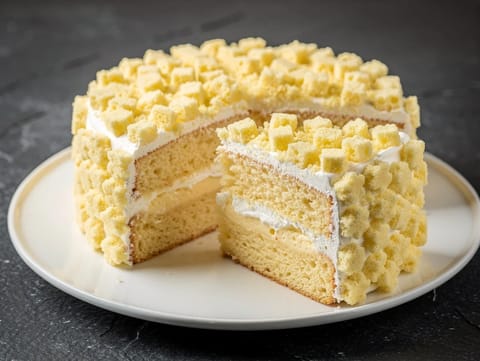
Torta Mimosa (Italian Sponge Cake with Pastry Cream)
Italian sponge cake with pastry cream and whipped cream
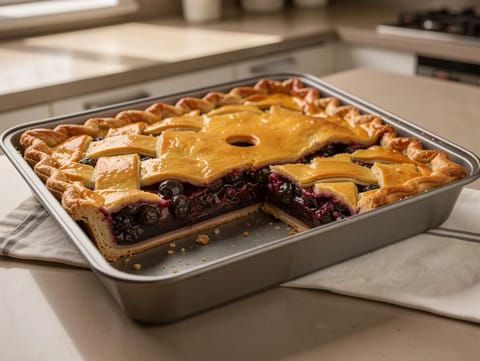
Air Fryer Blueberry Pie
Air fryer blueberry pie with lemon and cornflour-thickened filling.
You might also like

Parihuela (Peruvian Seafood Soup with Tomato and Chilli)
Seafood soup with tomato, chilli, lime and coriander

Moroccan Carrot Salad with Cumin, Lemon and Coriander
Tender carrots dressed with lemon, cumin and fresh coriander
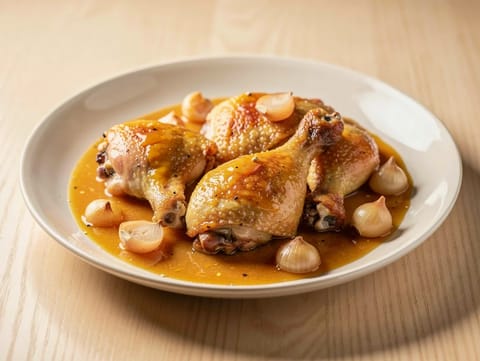
Poulet au Vinaigre (French Chicken in Vinegar Sauce)
Chicken braised with shallots in a tangy vinegar sauce
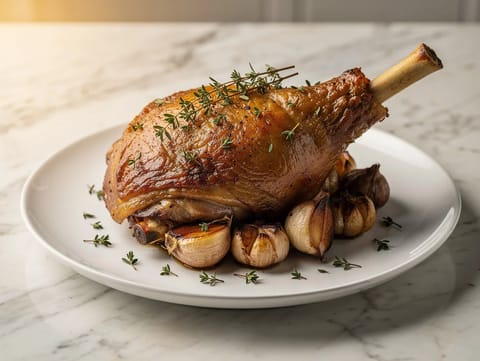
Gigot d’Agneau Rôti à l’Ail et au Thym (Roast Leg of Lamb with Garlic and Thyme)
Roast leg of lamb with garlic, thyme and white wine gravy

Chinese Cabbage and Shiitake Rice Bowl
Jasmine rice with Chinese cabbage and shiitake mushrooms

Veal Milanese with Rocket and Tomato
Crisp breadcrumbed veal with rocket and tomato salad
Make this recipe easier next time
AdvertisementThese tools help you get better results with less effort.
KitchenAid Stainless Steel Mixing Bowls
- Non-slip base
- Stainless steel
- Not microwave safe
T-fal Specialty Nonstick Handy Pot with Glass Lid 3 Quart
- Easy food release
- Dishwasher safe
- Not induction compatible
OXO Good Grips Stainless Mixing Bowl Set
- Non-slip base
- Comfort grip
- Higher price
WMF Mini Saucepan 16 cm with Lid
- High-quality stainless steel
- Even heat distribution
- Higher price point
Enjoy cooking with JustRecipes?
Add JustRecipes as one of your preferred Google sources to discover our recipes more easily across Google Search.
Add JustRecipes to GoogleEvery recipe on JustRecipes follows the same structured editorial process. Learn how recipes are created, validated, translated, illustrated, and continuously improved across the platform. How we create recipes.
