
Onigiri (Rice Balls)
Why this recipe works
- Reliable shaping: Warm, lightly seasoned rice is shaped with damp hands so it holds together without becoming heavy or crushed.
- Good texture contrast: Soft rice, flaky salmon and crisp nori give each rice ball a balanced bite when the seaweed is added at the last moment.
- Easy to pack: Onigiri can be eaten warm or at room temperature, making them practical for snacks, lunchboxes and simple packed meals.
Get the most out of this recipe
Timing notes
- Let the rice steam: Keeping the rice covered after cooking helps the grains finish steaming evenly and improves the final texture.
- Wrap just before eating: Add the nori at the last moment so it stays crisp rather than softening against the rice.
- If chilled: Bring refrigerated onigiri back towards room temperature before serving for a softer, more pleasant rice texture.
Texture tips
- Shape firmly, not forcefully: Press the rice enough to hold its shape, but avoid compressing it so much that the grains lose their definition.
- Keep the nori separate: For packed onigiri, store the nori apart from the rice balls and wrap only when ready to eat.
- Cook the salmon gently: Stop cooking once the salmon is opaque and flakes easily to keep the filling moist rather than dry.
Ingredient notes
- Use short-grain rice: Sushi rice or Japanese short-grain rice has the stickiness needed to form neat, stable onigiri.
- Rinse the rice well: Rinsing until the water is almost clear removes excess surface starch and helps the cooked grains feel glossy rather than gluey.
- Be careful with vinegar swaps: White wine vinegar can replace rice vinegar, but it tastes sharper, so the seasoning may need a more cautious hand.
Ingredient swaps
- Use canned salmon: Drained canned salmon makes a quicker filling; flake it well before shaping so it sits neatly inside the rice.
- Try another mild vinegar: If rice vinegar is unavailable, a mild white wine vinegar can work, though the flavour will be slightly more assertive.
Equipment you'll need
Ingredients
Instructions
- Rinse the sushi rice in a bowl of cold water, swishing gently, then drain; repeat until the water runs almost clear. Tip into a saucepan and add 180 ml water. Bring to the boil, cover, then cook on the lowest heat for 12 minutes.
- Turn off the heat and leave the rice, still covered, for 10 minutes to steam. Meanwhile, cook the salmon in a dry nonstick pan over medium heat for 3 to 4 minutes per side, until opaque and just cooked through. Flake the salmon into small pieces and season it with a pinch of the fine sea salt.
- Transfer the hot rice to a mixing bowl and sprinkle over the rice vinegar and the remaining fine sea salt. Fold gently with a spatula until the rice is glossy and evenly seasoned, taking care not to mash the grains. Let the rice cool for 5 minutes so it is warm but comfortable to handle.
- Cut the nori sheet into 2 rectangles for wrapping. With damp hands, divide the rice into 2 portions and flatten one portion in your palm. Place half the salmon in the centre, then bring the rice up and around the filling and press into a firm triangle or ball; repeat with the remaining rice and salmon.
- Wrap each onigiri with a strip of nori just before eating so it stays crisp. Serve warm or at room temperature. If packing for later, keep the nori separate and wrap at the last moment.
Recipe notes
Tips
- Keep a small bowl of water nearby to dampen your hands; it stops the rice sticking and helps you shape the onigiri firmly.
- Press the rice firmly enough that it holds together, but avoid crushing the grains, which can make the texture heavy.
- If serving to anyone who is pregnant, elderly, or immunocompromised, make sure the salmon is cooked through and the rice is cooled and stored safely.
Substitutions
- Replace the salmon fillet with canned salmon for a quicker filling; drain well and flake before shaping.
- Replace rice vinegar with white wine vinegar for a slightly sharper seasoning.
Storage
- Refrigerate up to 1 days
- Onigiri are best eaten the day they are made. If refrigerating, store the rice balls and nori separately in an airtight container; bring the rice balls back to room temperature before eating and wrap with nori just before serving.
Ratings & reviews
Liked this recipe? Share your feedback to support our cooking community.
Tried this recipe?
Choose 1–5 stars. A comment is optional.
Stay inspired
Discover new recipes, seasonal favourites and cooking inspiration every day. Follow JustRecipes on Pinterest and Spillt.

Recipe overview
- Servings: 1 servings
- Total time: 45min (25min active)
- Difficulty: Easy
- Cuisine: Japanese
-
Allergens:
Fish
Plan your meals and get a complete grocery list automatically.
Add to meal plannerEquipment you'll need
Got ingredients left?
Find recipes using ingredients from this recipe or what you already have at home.
Find recipes with these ingredients →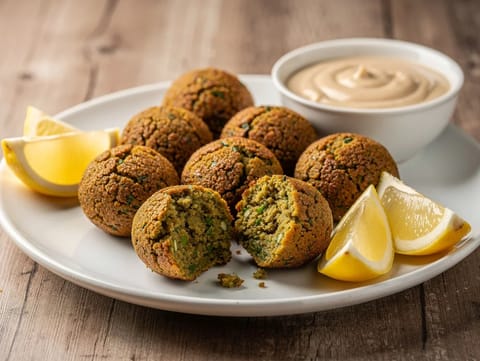
Air Fryer Herb Falafel
Crisp air fryer falafel with chickpeas, herbs and spices.
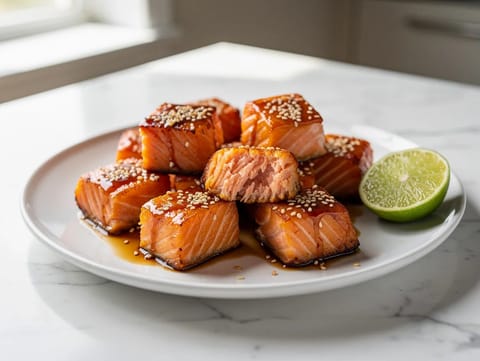
Air Fryer Salmon Bites
Glazed air-fried salmon bites with soy, sesame and lime.
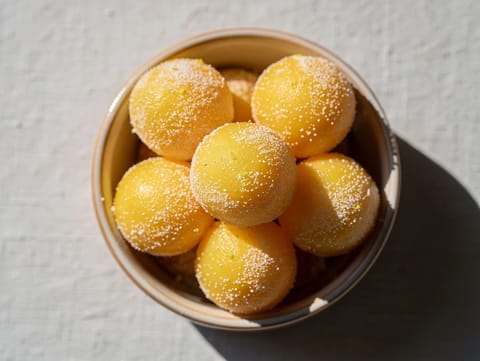
Yemas de Santa Teresa (Egg Yolk Sweets)
Egg yolk sweets shaped into balls and rolled in sugar
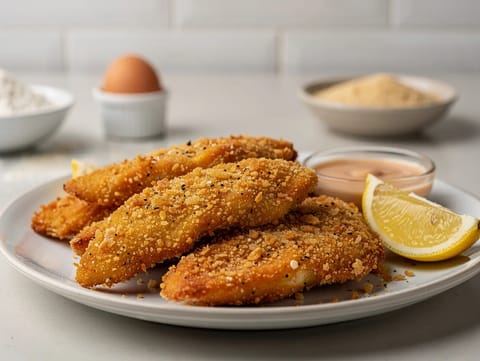
Air Fryer Panko Chicken Tenders
Crispy panko chicken tenders cooked quickly in the air fryer.
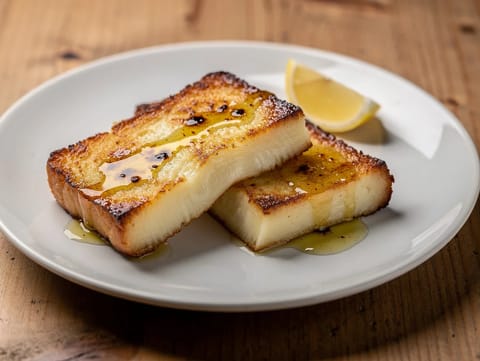
Saganaki (Greek Fried Cheese with Lemon)
Greek fried cheese finished with a squeeze of lemon

Bubble and Squeak (Fried Potato and Cabbage Patties)
Pan-fried patties made with potato and cabbage
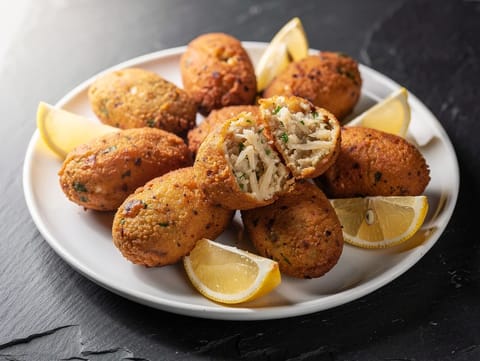
Bolinhos de Bacalhau (Salt Cod and Potato Fritters)
Crisp salt cod and potato fritters with parsley and lemon
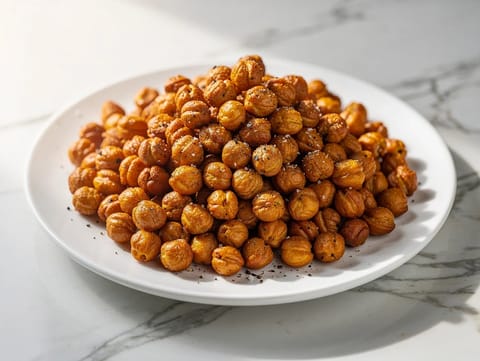
Air Fryer Roasted Chickpeas
Crunchy air fryer chickpeas with olive oil and sea salt.
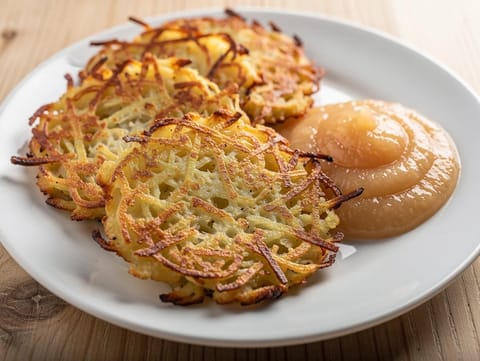
Reibekuchen (German Grated Potato Cakes)
Crisp German grated potato cakes served with apple sauce
Air Fryer Avocado Fries
Crispy air-fried avocado fries with lime yoghurt dip.
Buffalo Wings with Blue Cheese Dip
Crisp baked wings tossed in hot sauce and butter

Makouda (Moroccan Potato Fritters)
Moroccan potato fritters with cumin, herbs and lemon
Sushi Burrito with Salmon, Avocado and Cucumber
Nori-wrapped sushi burrito with salmon, avocado and cucumber
Poke Bowl with Sushi Rice
Sushi rice poke bowl with salmon, avocado and cucumber.
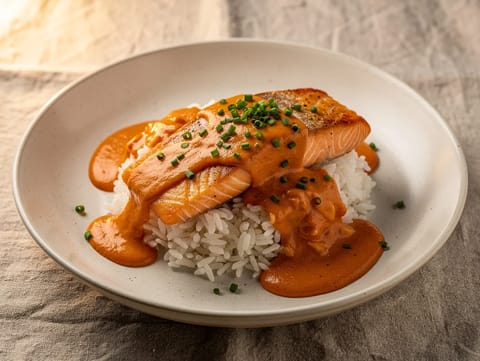
Kimchi Beurre Blanc Salmon with Steamed Rice
Pan-seared salmon with kimchi beurre blanc
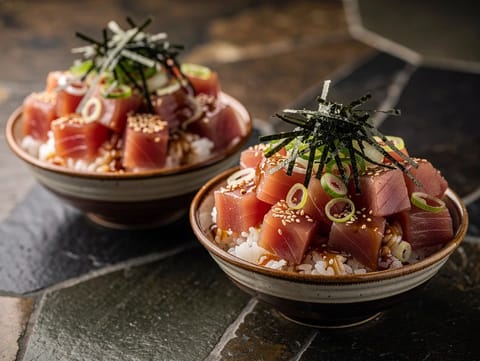
Tuna Sesame Poke Bowl
Tuna sesame poke bowl with sushi rice and soy dressing.
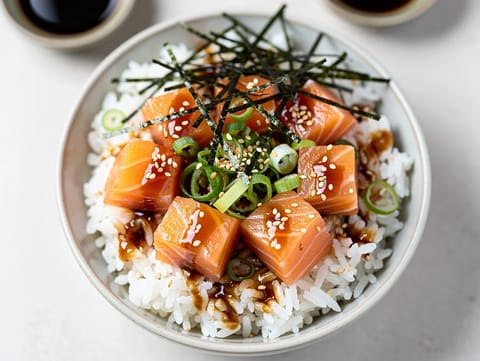
Salmon Sesame Poke Bowl
Salmon sesame poke bowl with sushi rice and soy dressing.
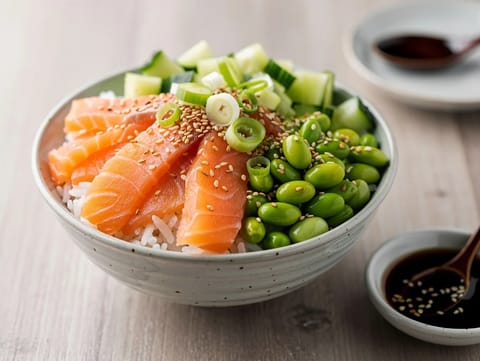
Poke Bowl Meal Prep
Meal-prep poke bowls with cooked salmon, rice and edamame.
You might also like

Salade Lyonnaise (Frisée Salad with Poached Egg and Lardons)
Warm frisée salad with lardons, poached egg and mustard dressing
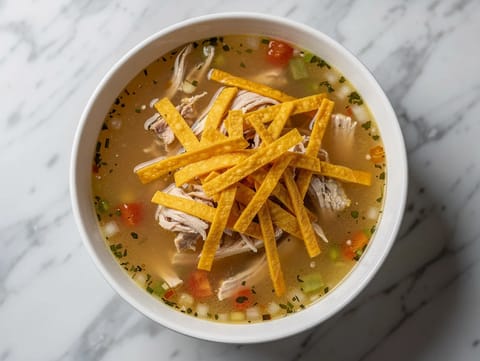
Sopa de Lima (Yucatecan Lime and Chicken Soup)
Yucatecan chicken and lime soup finished with tortilla strips
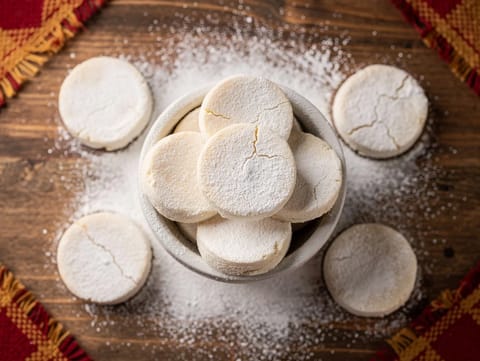
Polvorones (Spanish Shortbread Biscuits)
Crumbly Spanish shortbread biscuits with almonds and icing sugar
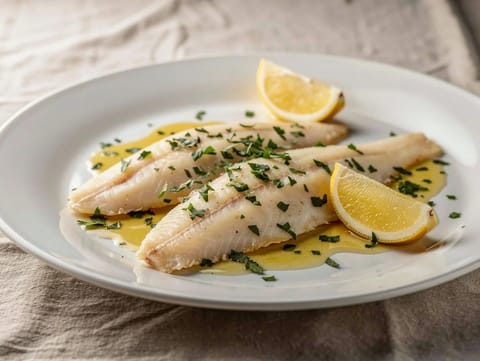
Sole Meunière (Butter-Fried Sole with Lemon and Parsley)
Butter-fried sole with lemon and parsley sauce
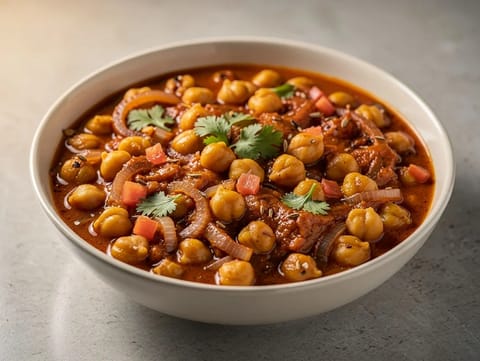
Vegan Chana Masala (Chickpea Curry)
Vegan chickpea curry in spiced tomato and onion gravy

Lemon Icebox Pie
No-bake lemon pie with a crisp biscuit crumb base
Make this recipe easier next time
AdvertisementThese tools help you get better results with less effort.
KitchenAid Stainless Steel Mixing Bowls
- Non-slip base
- Stainless steel
- Not microwave safe
T-fal Specialty Nonstick Handy Pot with Glass Lid 3 Quart
- Easy food release
- Dishwasher safe
- Not induction compatible
OXO Good Grips Stainless Mixing Bowl Set
- Non-slip base
- Comfort grip
- Higher price
WMF Mini Saucepan 16 cm with Lid
- High-quality stainless steel
- Even heat distribution
- Higher price point
Enjoy cooking with JustRecipes?
Add JustRecipes as one of your preferred Google sources to discover our recipes more easily across Google Search.
Add JustRecipes to GoogleEvery recipe on JustRecipes follows the same structured editorial process. Learn how recipes are created, validated, translated, illustrated, and continuously improved across the platform. How we create recipes.
