
Nieuwjaarsrolletjes (Dutch New Year’s Wafer Rolls)
Why this recipe works
- Delicate crispness: Cooking the wafers thinly and leaving them to cool on a rack helps them set with a light, brittle snap.
- Rolled while warm: The wafers are shaped immediately after baking, while still flexible, which creates the classic hollow tube.
- Simple batter: Butter, sugar, egg, milk and flour create a clean, lightly sweet biscuit without complicated preparation.
Get the most out of this recipe
Timing notes
- Rest the batter: A short rest lets the flour hydrate, giving the wafers a more even colour and texture.
- Cool before storing: Let the rolls cool completely before packing them away, otherwise trapped steam can soften the crisp texture.
Texture tips
- Keep them pale: Aim for pale golden wafers; they continue to firm as they cool and should stay delicate rather than toasted.
- Use a rack: Cooling the rolls on a rack allows steam to escape, helping the biscuits stay crisp.
Common mistakes
- Rolling too late: Once a wafer cools, it hardens quickly. Roll each one straight from the iron while it is still pliable.
- Browning too deeply: Dark wafers can taste over-toasted and become more brittle, so remove them once evenly pale golden.
Authenticity notes
- New Year association: Nieuwjaarsrolletjes are Dutch wafer rolls linked with New Year, valued for their crisp texture and simple buttery sweetness.
- Wafer iron method: The recognisable thin shape comes from cooking the batter in a hot wafer iron, then rolling each biscuit before it sets.
Equipment you'll need
Ingredients
Instructions
- Melt the butter and set it aside to cool until just warm. Meanwhile, warm the wafer iron and have a cooling rack ready, plus a clean tea towel to help you handle the hot wafers.
- In a mixing bowl, whisk the sugar, eggs, vanilla and salt until smooth and slightly thickened. Whisk in the milk, then whisk in the melted butter.
- Add the flour and whisk just until you have a smooth, pourable batter. Let the batter rest for 10 minutes so the flour hydrates, which helps the wafers bake evenly.
- Spoon a small amount of batter onto the hot wafer iron and close it. Bake for 45 to 75 seconds, until pale golden and evenly coloured, adjusting the amount of batter as needed for thin wafers.
- Working quickly, lift off the wafer and roll it into a tight tube while it is still warm and flexible. Place seam-side down on the rack to cool and crisp, then repeat with the remaining batter.
Recipe notes
Tips
- Keep the wafers pale golden rather than deeply browned; they will crisp as they cool and stay delicate.
- If a wafer hardens before you can roll it, return it to the closed wafer iron for 5 to 10 seconds to soften, then roll straight away.
- Food safety note: this recipe contains egg; serve fully baked wafers and avoid offering them to anyone who should not eat undercooked egg.
Substitutions
- Replace Vanilla extract with vanilla bean paste for a more pronounced vanilla flavour.
- Replace Whole milk with milk-and-cream for a slightly richer, more tender wafer.
Storage
- Store completely cooled rolls in an airtight container at room temperature for up to 5 days. If they soften, refresh in a low oven at 140°C (285°F) for 3 to 5 minutes, then cool on a rack to re-crisp.
Ratings & reviews
Liked this recipe? Share your feedback to support our cooking community.
Tried this recipe?
Choose 1–5 stars. A comment is optional.
Stay inspired
Discover new recipes, seasonal favourites and cooking inspiration every day. Follow JustRecipes on Pinterest and Spillt.

Recipe overview
- Servings: 18 pieces
- Yield: wafer rolls
- Total time: 55min (40min active)
- Difficulty: Medium
- Cuisine: Dutch
-
Allergens:
Eggs Gluten Milk Wheat
Plan your meals and get a complete grocery list automatically.
Add to meal plannerEquipment you'll need
Got ingredients left?
Find recipes using ingredients from this recipe or what you already have at home.
Find recipes with these ingredients →
Mantecados (Spanish Holiday Shortbread Biscuits)
Tender shortbread biscuits with cinnamon, vanilla and icing sugar

Nisse Cookies (Nordic Holiday Biscuits with Vanilla and Cardamom)
Crisp Nordic biscuits with vanilla and cardamom

Gingerbread Cookies with Treacle and Warm Spices
Treacle gingerbread cookies with warm spices and crisp edges
Chocolate Chip Skillet Cookie
Giant skillet cookie with dark chocolate chips and vanilla
Air Fryer Peanut Butter Cookies
Air fryer peanut butter cookies with tender centres and set edges.
Cocadas (Mexican Coconut Macaroons)
Chewy coconut macaroons baked into small golden mounds
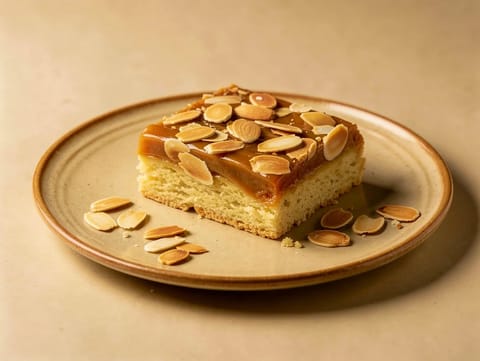
Mazurek (Polish Easter Shortcrust Tart)
Polish shortcrust tart topped with caramel and toasted almonds
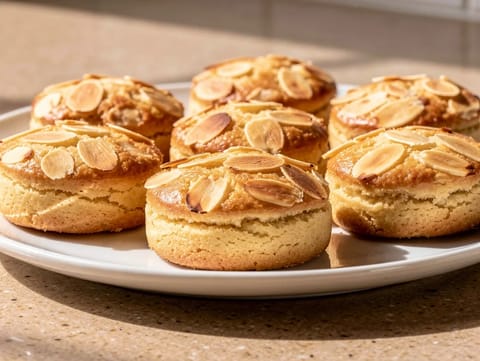
Gevulde Koek (Dutch Almond-Filled Cookie)
Buttery Dutch cookies with a thick almond paste filling
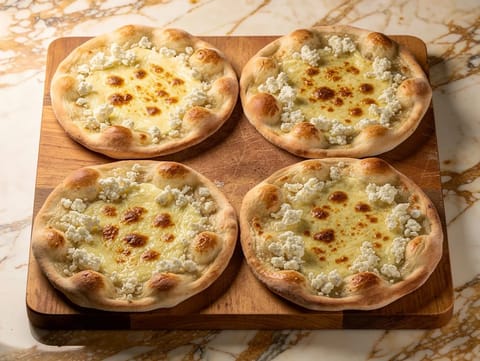
Manakish Cheese (Middle Eastern Flatbread)
Yeasted flatbreads topped with mozzarella and feta

Krapfen (Italian-Style Jam Doughnuts)
Yeast doughnuts filled with apricot jam and sugar
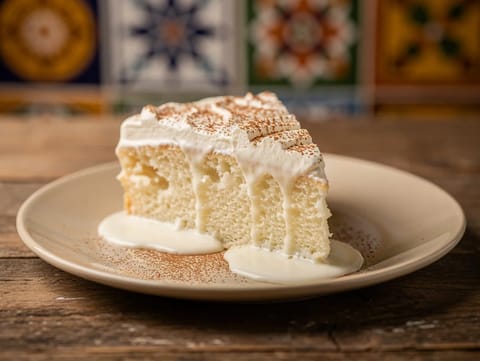
Tres Leches Cake (Sponge Soaked in Three Milks)
Sponge cake soaked in three milks with cinnamon whipped cream
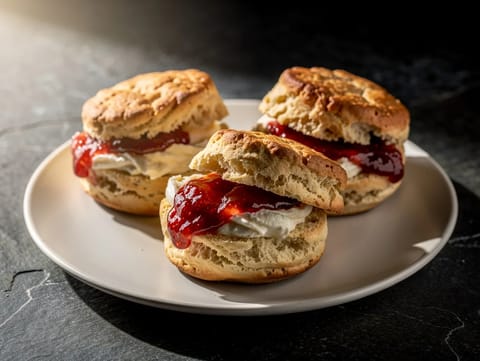
Air Fryer Scones
Classic air fryer scones served with clotted cream and jam.
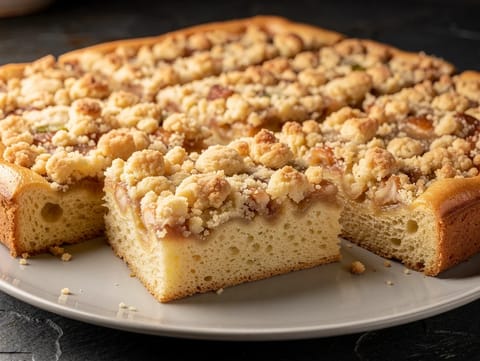
Streuselkuchen (German Yeasted Crumb Cake)
German yeasted crumb cake with a thick buttery streusel topping
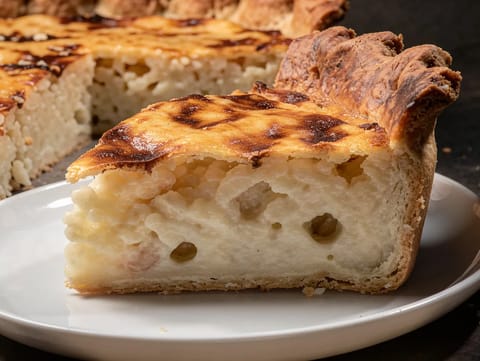
Tarte au Riz (Belgian Rice Pudding Tart)
Belgian rice pudding tart in a shortcrust case
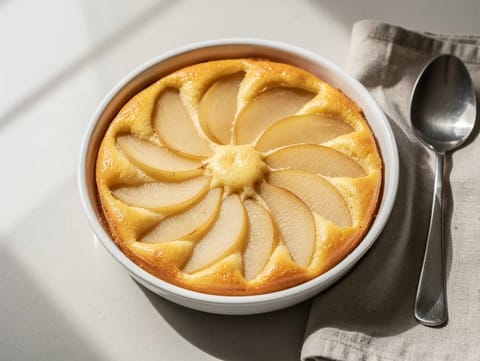
Pear Clafoutis
Pear clafoutis baked in a vanilla custard batter
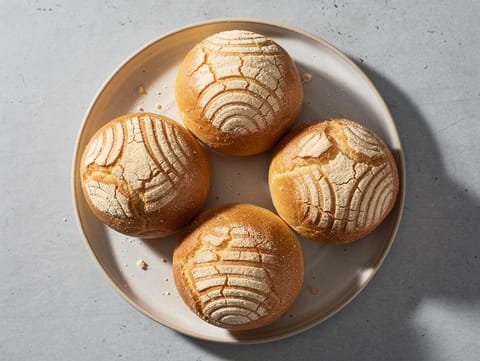
Conchas (Mexican Sweet Bread Rolls)
Soft conchas with a crackly vanilla sugar topping

Bignè alla Crema Pasticcera (Italian Choux Buns with Custard)
Crisp choux buns filled with smooth crema pasticcera
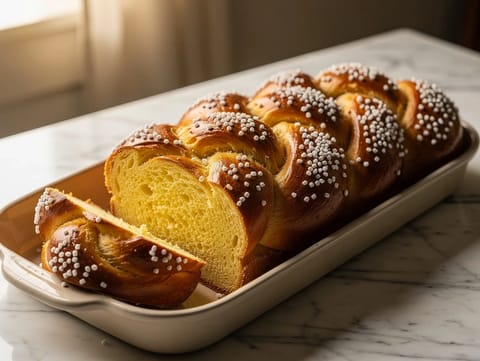
Hefezopf (German Braided Yeast Bread)
German braided yeast bread enriched with butter, eggs and milk
You might also like
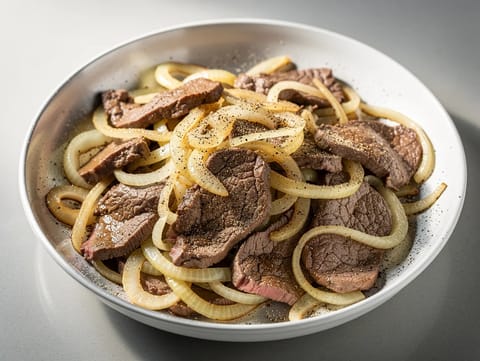
Fegato alla Veneziana (Venetian Liver with Onions)
Quickly sautéed calf liver served with slow-cooked onions
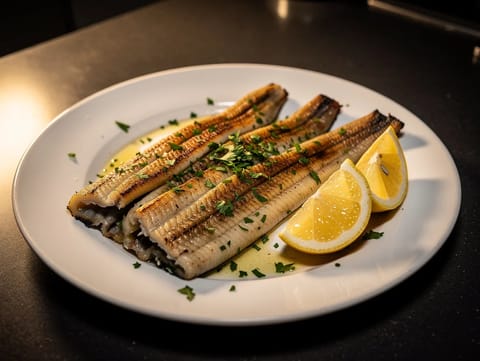
Anguilla alla Griglia (Italian Grilled Eel with Lemon and Garlic)
Italian grilled eel with lemon, garlic and parsley
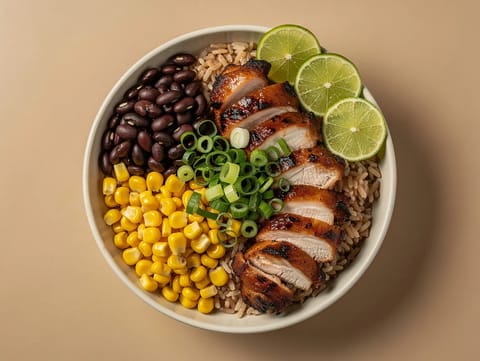
BBQ Chicken Bowl with Brown Rice and Black Beans
Sticky BBQ chicken with brown rice, black beans and sweetcorn
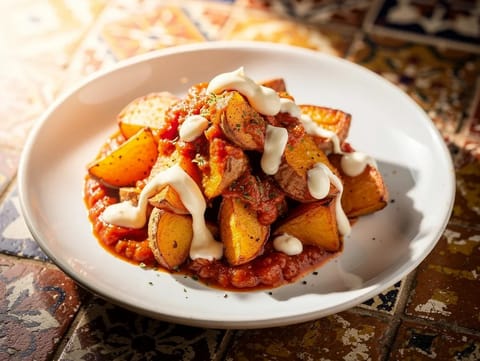
Sweet Potato Bravas with Smoky Tomato Bravas Sauce
Roasted sweet potato wedges with smoky tomato bravas sauce
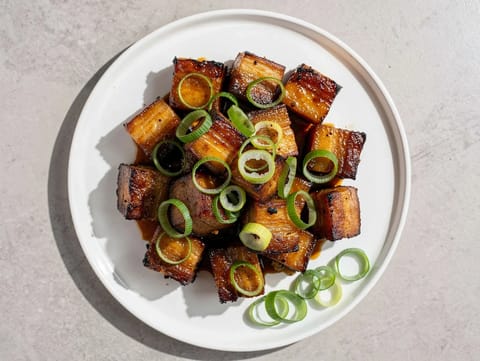
Air Fryer Honey Soy Pork Belly Bites
Crispy pork belly bites in a honey soy glaze.
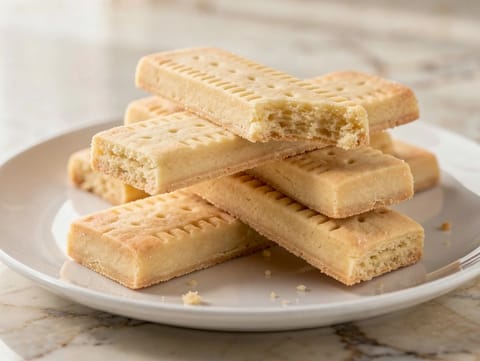
Scottish Shortbread
Buttery Scottish shortbread baked until pale gold
Make this recipe easier next time
AdvertisementThese tools help you get better results with less effort.
KitchenAid Stainless Steel Mixing Bowls
- Non-slip base
- Stainless steel
- Not microwave safe
Pyrex Glass Mixing Bowls with Lids
- Microwave safe
- BPA-free lids
- Glass is heavier
OXO Good Grips Stainless Mixing Bowl Set
- Non-slip base
- Comfort grip
- Higher price
Enjoy cooking with JustRecipes?
Add JustRecipes as one of your preferred Google sources to discover our recipes more easily across Google Search.
Add JustRecipes to GoogleEvery recipe on JustRecipes follows the same structured editorial process. Learn how recipes are created, validated, translated, illustrated, and continuously improved across the platform. How we create recipes.
