
Baked Stuffed Peppers with Beef, Rice and Cheddar
Why this recipe works
- Built-in savoury depth: Browning the beef before adding tomato, stock and spices gives the filling more flavour than mixing everything raw.
- Hearty but balanced: Rice stretches the beef filling and absorbs the tomato sauce, while the pepper shells add sweetness and freshness.
- Useful for planning ahead: The peppers reheat well and can be refrigerated or frozen, making them a practical option for batch cooking.
Get the most out of this recipe
Texture tips
- Keep the filling moist, not loose: Simmer the tomato mixture until it has thickened slightly before adding the rice; a soupy filling can make the peppers watery.
- Help the peppers soften evenly: Covering the dish for the first bake traps steam around the peppers, so they become tender without the filling drying out.
Common mistakes
- Do not bake until collapsing: The peppers should be tender when pierced but still hold their shape, especially if you want neat portions.
- Avoid overpacking: Pack the filling in lightly rather than pressing it down firmly, which can make the centres dense.
- Let them settle before serving: A short rest after baking helps the filling firm up slightly, making the peppers easier to slice and lift from the dish.
Make-ahead tips
- Assemble in advance: The peppers can be filled ahead and kept chilled, then baked when needed. Add the cheese near the end so it melts cleanly.
- Freeze cooked portions: Cool completely before freezing in sealed containers. Defrost overnight in the fridge before reheating.
- Reheat gently: Warm in a 180°C (355°F) oven until piping hot throughout, or microwave in short bursts to avoid drying the filling.
Ingredient notes
- Choose firm peppers: Firm, upright peppers are easiest to stuff and hold their shape better during baking.
- Smoked paprika matters: Smoked paprika gives the filling a gentle barbecue-like depth; sweet paprika will make the dish milder and less smoky.
- Use a good melting cheese: A cheddar that melts smoothly gives the best bubbling topping without overwhelming the beef and tomato filling.
Equipment you'll need
Ingredients
Instructions
- Heat the oven to 200°C (390°F). Cook the rice in a saucepan of salted water until just tender, then drain well and set aside.
- Meanwhile, slice the tops off the peppers and remove the seeds and pith. Sit them upright in a baking dish; if they wobble, trim a very thin slice from the base so they stand level.
- Heat the olive oil in a large frying pan over medium heat. Add the onion with a pinch of the salt and cook for 6 to 8 minutes until softened, then stir in the garlic for 1 minute.
- Add the minced beef and cook for 6 to 8 minutes, breaking it up, until browned with no pink remaining. Stir in the smoked paprika, ground cumin, black pepper and the remaining salt.
- Pour in the tomato passata and beef stock, bring to a gentle simmer, then cook for 5 minutes to thicken slightly. Take off the heat and stir through the cooked rice.
- Spoon the filling into the peppers, packing it in lightly. Pour a small splash of water into the base of the dish to help the peppers steam as they bake.
- Cover the dish and bake for 30 minutes, until the peppers are tender when pierced with a knife. Uncover, scatter over the cheddar, and bake for 8 to 10 minutes more until melted and bubbling.
Recipe notes
Tips
- For neat portions, let the peppers stand for 5 minutes after baking so the filling settles before serving.
- If the sauce looks thin before stuffing, simmer it for a few extra minutes; the filling should be moist but not soupy.
- If serving anyone who is vulnerable to foodborne illness, make sure the beef is cooked until piping hot throughout.
Substitutions
- Replace Cheddar cheese with Gruyere cheese for a nuttier, more savoury topping.
- Replace Smoked paprika with Sweet paprika for a milder, less smoky flavour.
- Replace Beef stock with Chicken stock for a lighter, slightly sweeter sauce.
Storage
- Refrigerate up to 3 days
- Cool completely, then refrigerate in a sealed container. Reheat in a 180°C (355°F) oven until piping hot, or microwave in short bursts; if frozen, defrost overnight in the fridge before reheating.
Ratings & reviews
Liked this recipe? Share your feedback to support our cooking community.
Tried this recipe?
Choose 1–5 stars. A comment is optional.
Stay inspired
Discover new recipes, seasonal favourites and cooking inspiration every day. Follow JustRecipes on Pinterest and Spillt.

Recipe overview
- Servings: 4 servings
- Total time: 1h 15min (25min active)
- Difficulty: Medium
- Cuisine: American
-
Allergens:
Milk
Plan your meals and get a complete grocery list automatically.
Add to meal plannerEquipment you'll need
Got ingredients left?
Find recipes using ingredients from this recipe or what you already have at home.
Find recipes with these ingredients →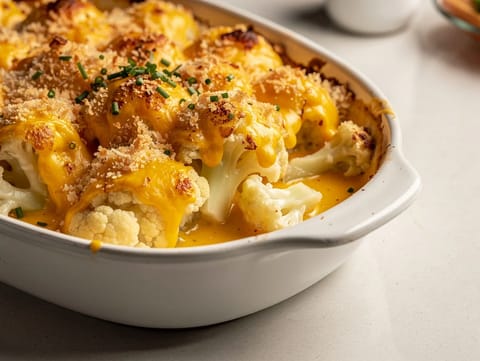
Cauliflower Cheese Bake
Cauliflower baked in Cheddar and mustard sauce with breadcrumbs
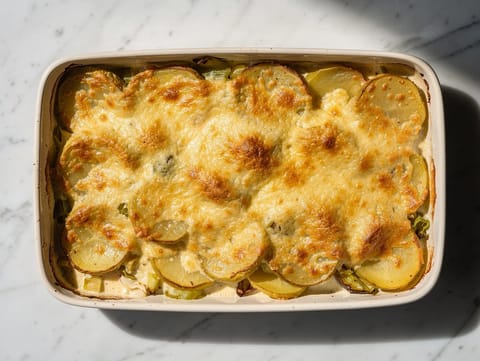
Gratin de Légumes (French Potato and Leek Gratin)
Potato and leek gratin with cream, garlic and Gruyère
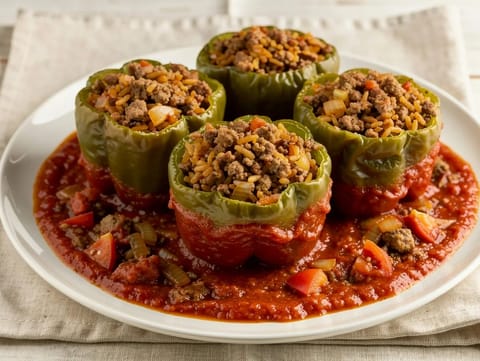
Holiday Stuffed Peppers (Beef and Rice in Tomato Sauce)
Stuffed peppers with minced beef, rice and tomato sauce
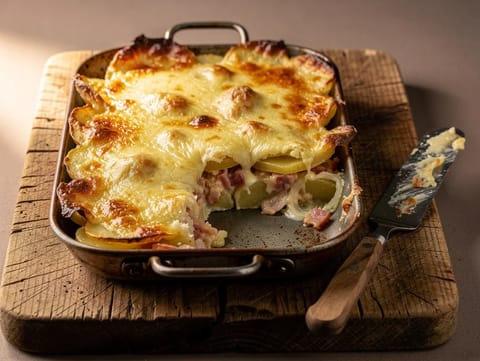
Tartiflette (Potato Bake with Bacon, Onions and Reblochon)
Potato bake with bacon, onions and melted Reblochon

Gratin de Fruits de Mer (French Seafood Gratin)
Seafood gratin with prawns, scallops, white wine cream and Gruyère
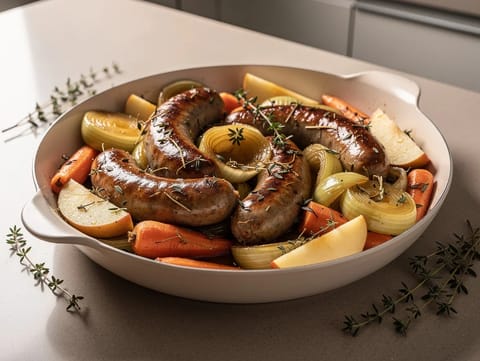
Sausage and Cider Casserole with Leeks, Carrots and Apples
Sausage casserole simmered in cider with leeks, carrots and apples
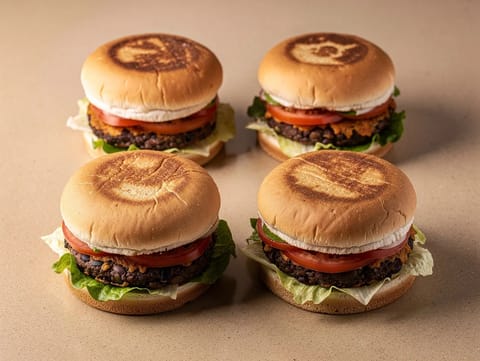
Vegetarian Black Bean Burgers
Crisp pan-fried black bean burgers in toasted buns
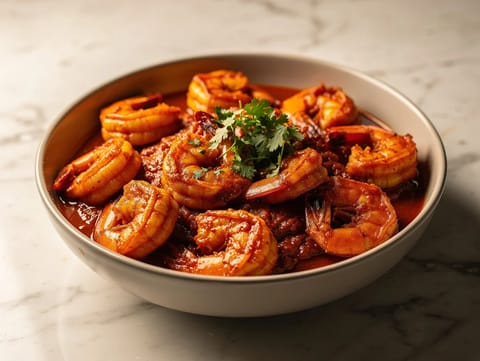
Prawn Balchão (Goan Spicy Prawn Pickle Curry)
Tangy Goan-style prawn curry with vinegar and chilli
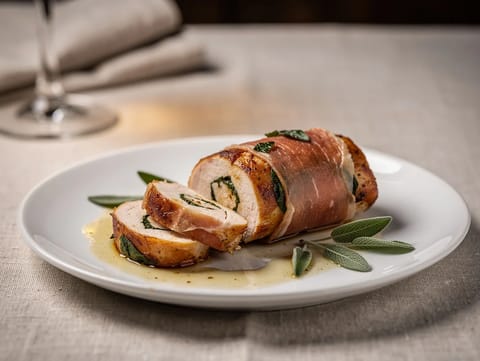
Involtini di Pollo con Prosciutto e Salvia (Chicken Wrapped with Prosciutto and Sage)
Chicken involtini wrapped in prosciutto and sage with pan sauce
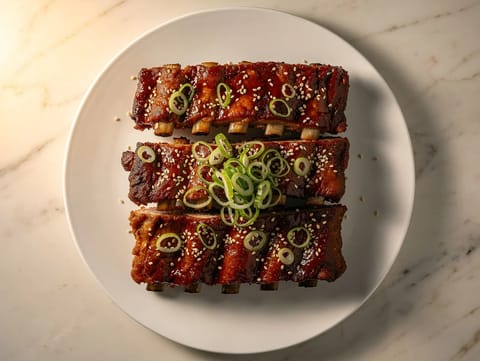
Korean-American Gochujang Glazed Pork Ribs
Oven-baked pork ribs with sticky gochujang glaze

Crab Cakes with Old Bay Aioli
Crisp pan-fried crab cakes with lemony Old Bay aioli
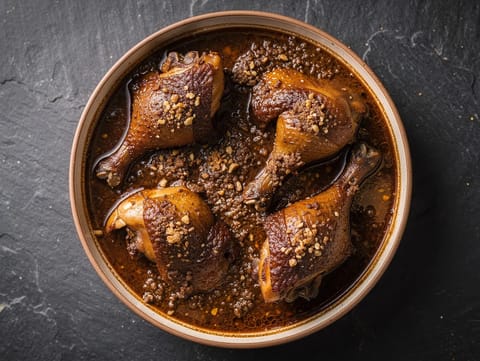
Fesenjan (Persian Chicken with Walnut and Pomegranate Sauce)
Persian chicken stew with walnut and pomegranate molasses sauce
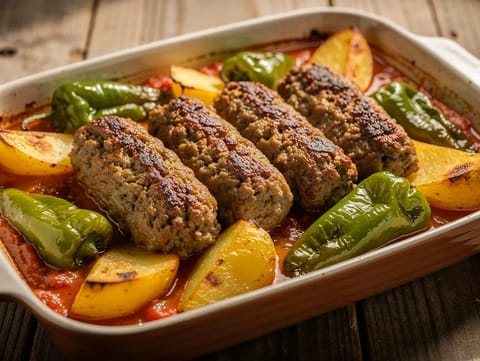
İzmir Köfte (Turkish Baked Meatballs with Potatoes and Peppers)
Turkish baked meatballs with potatoes and peppers in tomato sauce
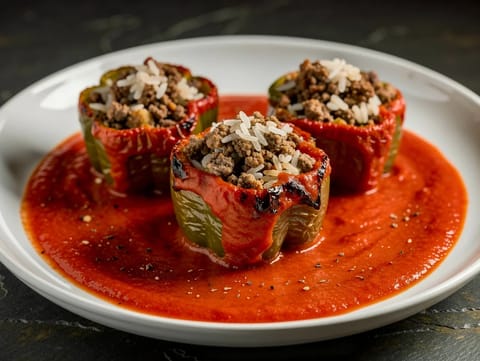
Gefüllte Paprika in Tomatensoße (Stuffed Peppers in Tomato Sauce)
Stuffed green peppers simmered in tomato sauce
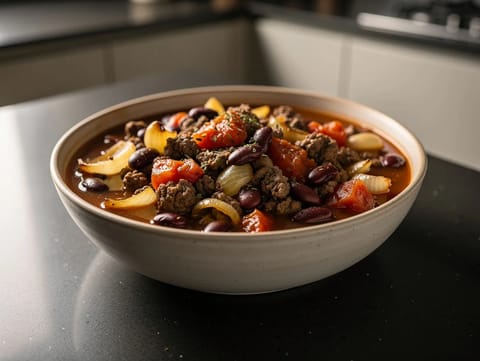
Beef and Bean Cowboy Stew
Thick cowboy stew with minced beef, kidney beans and tomatoes
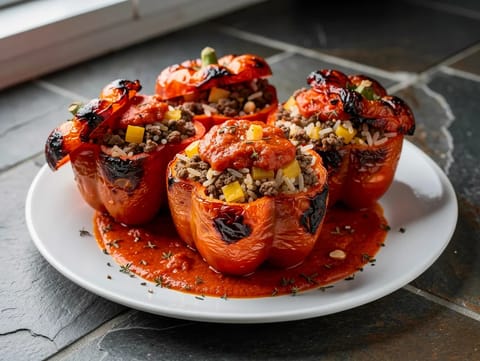
Stuffed Peppers with Minced Beef and Rice (Gevulde Paprika)
Baked red peppers stuffed with minced beef, rice and tomato passata
Holiday Stuffed Peppers (Beef and Rice in Tomato Sauce)
Stuffed peppers with minced beef, rice and tomato sauce
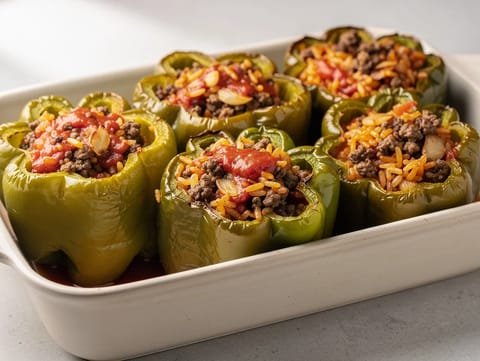
Turkish Stuffed Peppers with Minced Beef and Rice
Baked peppers stuffed with minced beef and rice in tomato sauce
You might also like
Wigilijny Barszcz z Uszkami (Polish Clear Beetroot Soup with Dumplings)
Clear beetroot soup served with mushroom-filled uszka dumplings
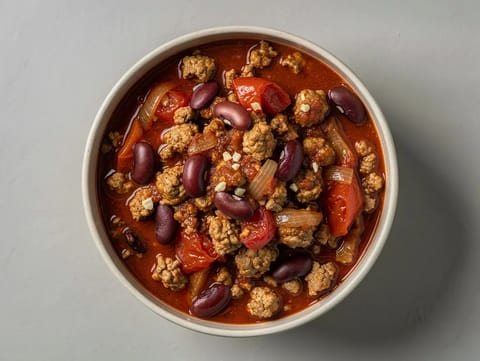
Turkey Chilli
Turkey chilli simmered with kidney beans, tomatoes and spices
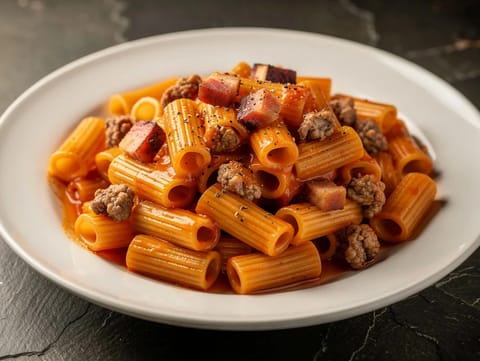
Pasta alla Zozzona (Roman Sausage and Egg Pasta)
Roman pasta with sausage, guanciale, eggs and pecorino
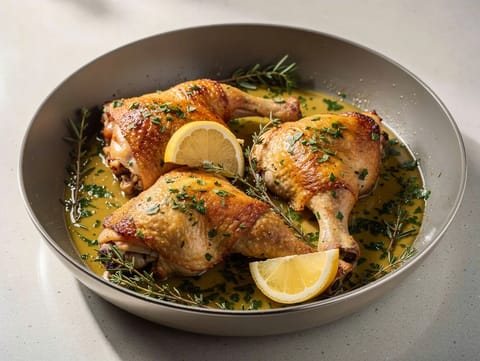
Garlic and Herb Chicken Bake
Baked chicken thighs with garlic, herbs and white wine
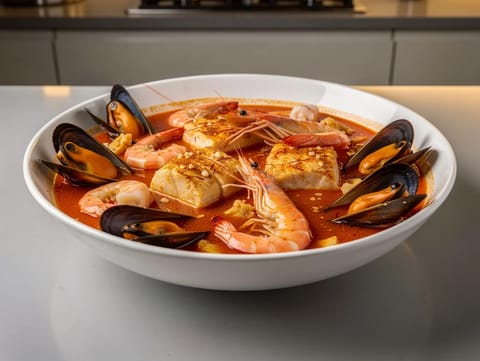
Christmas Seafood Zarzuela (Catalan Fish Stew with Monkfish, Mussels and Prawns)
Catalan fish stew with monkfish, mussels and prawns
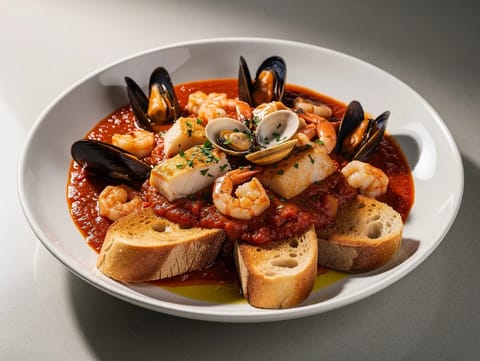
Cacciucco (Tuscan Fish Stew)
Tuscan fish stew served over toasted garlic-rubbed bread
Make this recipe easier next time
AdvertisementThese tools help you get better results with less effort.
Misen Carbon Steel Nonstick Frying Pan 12 Inch
- Works on all stovetops
- Naturally nonstick when seasoned
- Requires seasoning and maintenance
Pyrex Glass Mixing Bowls with Lids
- Microwave safe
- BPA-free lids
- Glass is heavier
All-Clad Tri-Ply Stainless Steel Saucepan
- Excellent heat control
- Premium build quality
- Expensive
KitchenAid Stainless Steel Mixing Bowls
- Non-slip base
- Stainless steel
- Not microwave safe
Enjoy cooking with JustRecipes?
Add JustRecipes as one of your preferred Google sources to discover our recipes more easily across Google Search.
Add JustRecipes to GoogleEvery recipe on JustRecipes follows the same structured editorial process. Learn how recipes are created, validated, translated, illustrated, and continuously improved across the platform. How we create recipes.
