
Conchas (Mexican Sweet Bread Rolls)
Why this recipe works
- Soft crumb, crisp topping: The enriched dough stays tender, while the sugar-butter topping sets into the signature crackly shell.
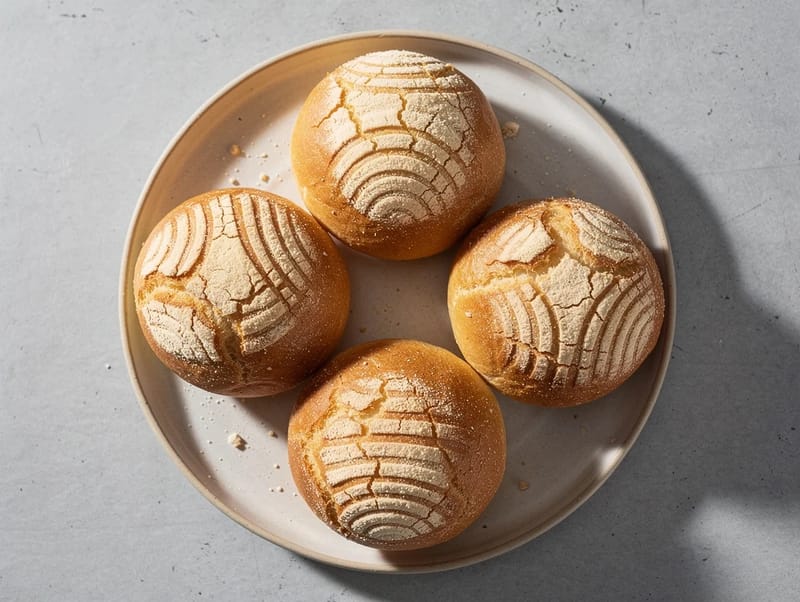
- Recognisable shell pattern: Scoring the topping before baking creates the familiar concha shape without cutting into the dough.
- Good for planning ahead: The rolls keep well for short-term storage and can be frozen once cool, then refreshed gently before serving.
Get the most out of this recipe
Timing notes
- Let the dough guide the timing: Proofing times can vary with room temperature, so look for dough that has doubled first, then rolls that are visibly puffy after shaping.
- Cool before serving: The topping crisps as the conchas cool, so avoid covering them while warm or the crust may soften.
Texture tips
- Keep the dough slightly tacky: A soft, lightly tacky dough produces a more tender roll than a dough stiffened with too much extra flour.
- Score cleanly: If the topping softens during proofing, refresh the shell lines just before baking for a clearer pattern and more defined crust.
Authenticity notes
- Pan dulce style: Conchas are a staple of Mexican panaderías, recognised by their enriched bread base and patterned sweet topping.
- How they are served: They are commonly served with coffee, hot chocolate or milk rather than heavily filled or iced.
Make-ahead tips
- Freeze after cooling: Freeze the baked conchas only once completely cool, then defrost at room temperature before refreshing.
- Refresh gently: Warm defrosted rolls in a 160°C (320°F) oven until lightly revived, avoiding high heat that could dry the crumb.
Equipment you'll need
Ingredients
Instructions
- Pour the lukewarm milk into the bowl of a stand mixer and stir in the yeast. Add the flour, 60 g of the caster sugar, the salt and the eggs, then mix with the dough hook on low until a shaggy dough forms.
- Increase to medium speed and knead for 6 to 8 minutes until the dough looks smoother and starts to pull away from the sides. Add 70 g of the butter a little at a time, kneading until fully incorporated and the dough is soft, elastic and slightly tacky.
- Shape the dough into a ball and place in a lightly buttered bowl, turning once to coat. Cover and leave to rise in a warm place for 60 to 75 minutes, until doubled in size.
- Meanwhile, make the topping: beat the remaining 100 g caster sugar with the remaining 100 g butter and the vanilla extract until smooth and spreadable. If it feels too soft, chill for 10 minutes so it is easier to portion.
- Line a baking tray. Tip out the dough, divide into 10 equal pieces and roll each into a smooth ball, then arrange on the tray with space between them.
- Divide the topping into 10 pieces and flatten each into a thin disc. Place a disc on each dough ball and gently press to adhere, then score a shell pattern with a knife, cutting through the topping but not into the dough.
- Cover and leave to proof for 30 minutes, until the rolls look puffy and slightly expanded. Meanwhile, heat the oven to 180°C (355°F).
- Bake for 18 to 22 minutes, until the rolls are golden and the topping looks set and crackly. Cool on the tray for 10 minutes, then transfer to a rack to cool completely so the crust crisps up.
Recipe notes
Tips
- Aim for a soft, slightly tacky dough after kneading; if it is very sticky and hard to handle, knead in a little more plain flour, 1 tbsp at a time.
- For the cleanest shell pattern, score the topping just before baking, after the second proof, if the lines have softened.
- Food safety: if serving to pregnant people, young children, older adults, or anyone immunocompromised, use eggs stamped with the British Lion mark or an equivalent pasteurised egg product.
Substitutions
- Replace vanilla extract with madagascar-vanilla-paste for a more intense vanilla flavour.
- Replace caster sugar with granulated-sugar for a slightly crunchier topping texture.
Storage
- Refrigerate up to 2 days
- Store in an airtight container at room temperature for up to 2 days. For longer storage, freeze once completely cool for up to 2 months; defrost at room temperature, then warm in a 160°C (320°F) oven for 5 to 8 minutes to refresh.
Ratings & reviews
Liked this recipe? Share your feedback to support our cooking community.
Tried this recipe?
Choose 1–5 stars. A comment is optional.
Stay inspired
Discover new recipes, seasonal favourites and cooking inspiration every day. Follow JustRecipes on Pinterest and Spillt.
Recipe overview
- Servings: 10 servings
- Total time: 2h 50min (45min active)
- Difficulty: Medium
- Cuisine: Mexican
-
Allergens:
Eggs Gluten Milk Wheat
Plan your meals and get a complete grocery list automatically.
Add to meal plannerEquipment you'll need
Got ingredients left?
Find recipes using ingredients from this recipe or what you already have at home.
Find recipes with these ingredients →
American Banana Bread
Moist banana bread loaf with vanilla
Barmbrack (Irish Tea-Soaked Fruit Loaf)
Tea-soaked fruit loaf enriched with butter, egg and milk
Julekake (Norwegian Christmas Bread with Raisins and Mixed Peel)
Soft Norwegian Christmas bread with raisins and mixed peel
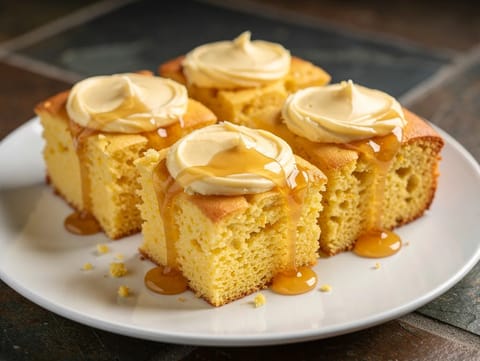
Cornbread with Honey Butter
Golden cornbread served warm with whipped honey butter
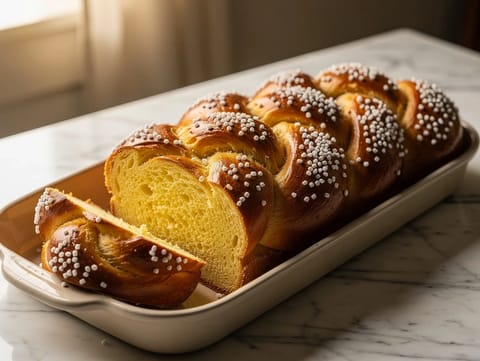
Hefezopf (German Braided Yeast Bread)
German braided yeast bread enriched with butter, eggs and milk
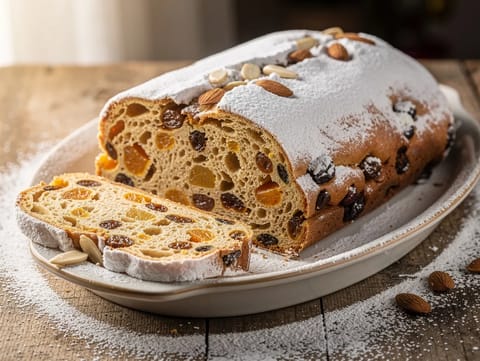
Stollen (German Christmas Fruit Bread with Raisins and Almonds)
German Christmas fruit bread with raisins, peel and almonds
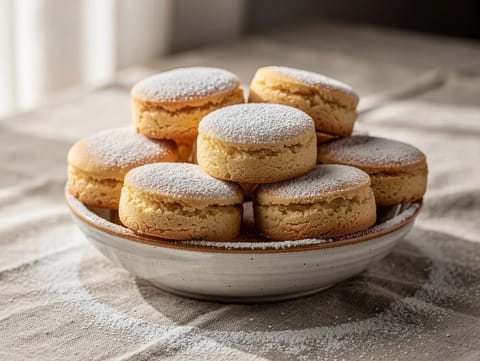
Mantecados (Spanish Holiday Shortbread Biscuits)
Tender shortbread biscuits with cinnamon, vanilla and icing sugar

Flan de Naranja (Orange Caramel Flan)
Baked orange caramel flan turned out with its caramel sauce
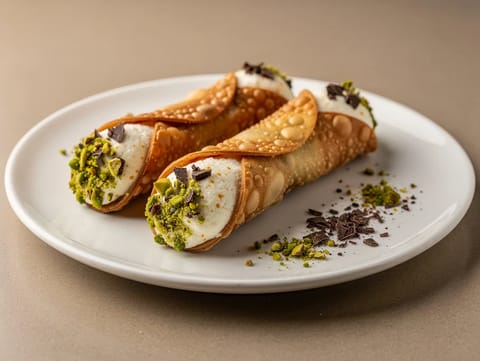
Cannoli Siciliani (Crisp Shells with Sweet Ricotta Filling)
Crisp cannoli filled with sweet ricotta, pistachios and chocolate
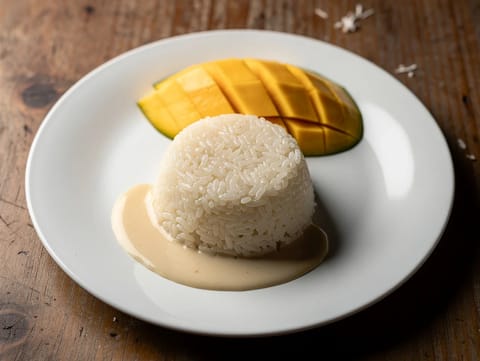
Mango Sticky Rice
Sticky coconut rice served with ripe mango
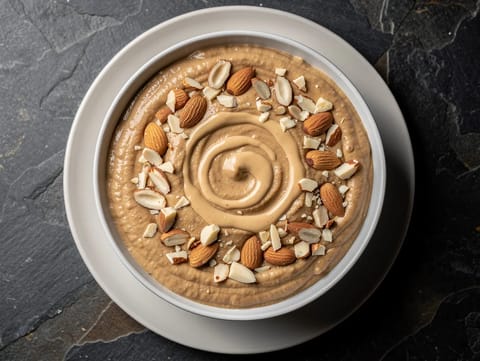
Date and Tahini Smoothie Bowl
Date and tahini smoothie bowl with banana and yoghurt
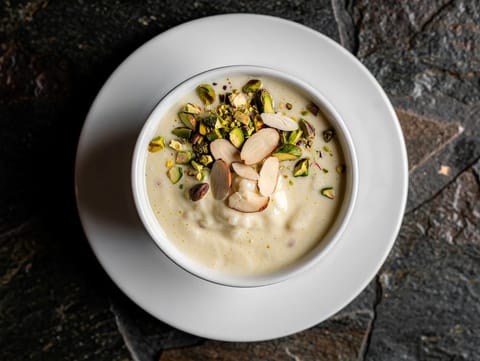
Phirni (Chilled Rice Pudding with Saffron)
Chilled phirni rice pudding with cardamom, saffron and nuts
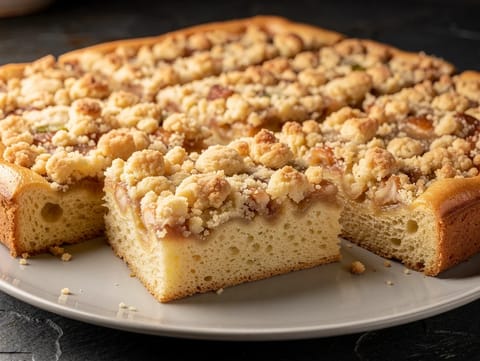
Streuselkuchen (German Yeasted Crumb Cake)
German yeasted crumb cake with a thick buttery streusel topping
Hefezopf (German Braided Yeast Bread)
German braided yeast bread enriched with butter, eggs and milk
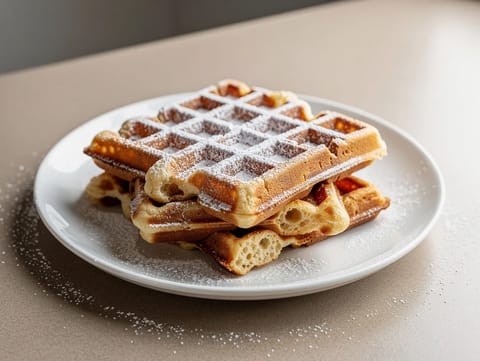
New Year’s Waffles (Gaufres du Nouvel An)
Yeast-raised Belgian waffles dusted with icing sugar
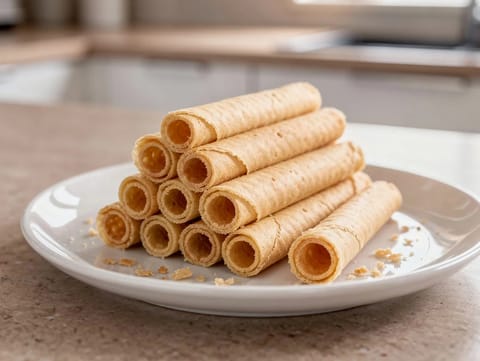
Nieuwjaarsrolletjes (Dutch New Year’s Wafer Rolls)
Crisp Dutch wafer rolls flavoured with butter and vanilla

Baba au Rhum (French Rum-Soaked Sponge Cakes)
Rum-soaked yeasted sponge cakes served with whipped cream

Boules de Berlin (Jam-Filled Doughnuts)
Yeasted jam doughnuts rolled in caster sugar
You might also like
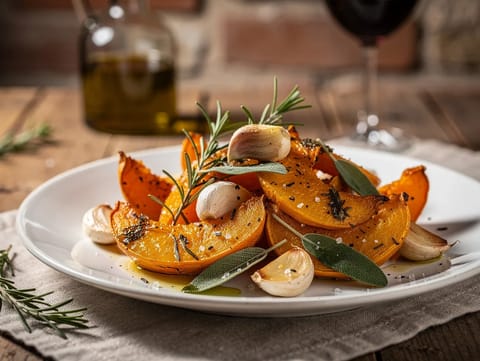
Zucca al Forno con Aglio e Erbe (Roasted Pumpkin with Garlic and Herbs)
Roasted pumpkin with garlic, sage, rosemary and balsamic
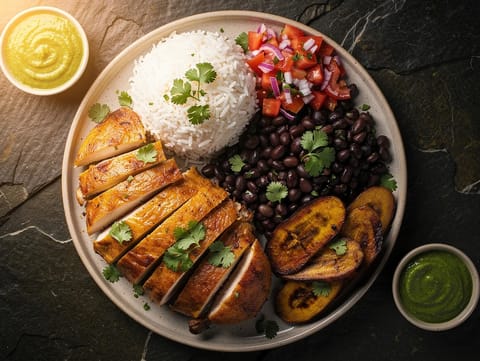
Holiday Latin Table (Festive Meal Spread)
Roast chicken with rice, beans, plantain, and salsa.

Mango Condensed Milk Smoothie
Blend mango with condensed milk, whole milk and ice.
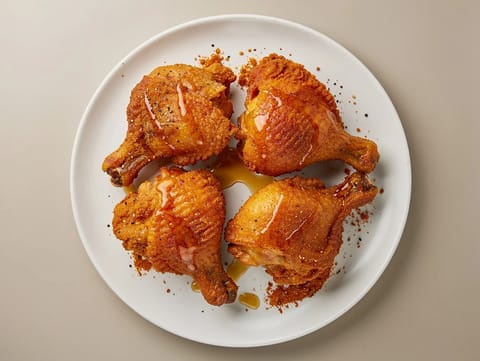
Buttermilk Fried Chicken with Honey
Crispy buttermilk fried chicken finished with honey
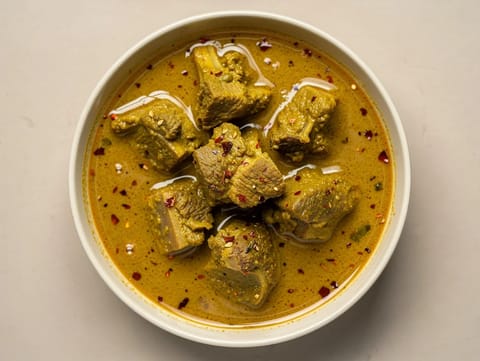
Gulai Kambing (Indonesian Spiced Lamb Curry)
Indonesian lamb curry simmered in coconut milk with spices
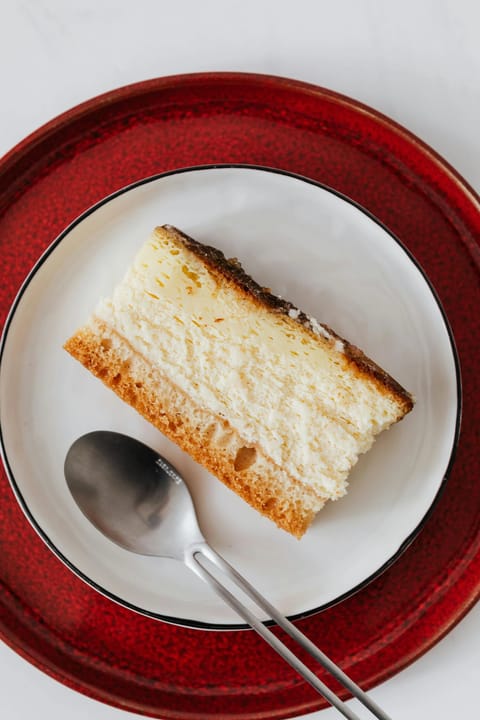
Bienenstich (German Honey Almond Cake with Vanilla Custard)
German honey almond cake filled with vanilla custard cream
Make this recipe easier next time
AdvertisementThese tools help you get better results with less effort.
KitchenAid Stainless Steel Mixing Bowls
- Non-slip base
- Stainless steel
- Not microwave safe
Pyrex Glass Mixing Bowls with Lids
- Microwave safe
- BPA-free lids
- Glass is heavier
OXO Good Grips Stainless Mixing Bowl Set
- Non-slip base
- Comfort grip
- Higher price
Enjoy cooking with JustRecipes?
Add JustRecipes as one of your preferred Google sources to discover our recipes more easily across Google Search.
Add JustRecipes to GoogleEvery recipe on JustRecipes follows the same structured editorial process. Learn how recipes are created, validated, translated, illustrated, and continuously improved across the platform. How we create recipes.
