
Air Fryer Breaded Chicken Breast
Why this recipe works
- Crisp coating without deep-frying: A light coating of oil helps the breadcrumb and Parmesan crust turn golden in the circulating heat of the air fryer.
- Seasoned from the start: Garlic, smoked paprika, salt and pepper are mixed into the flour layer, so the chicken is seasoned before the crumb goes on.
- Fast weeknight cooking: Thin, evenly coated chicken breasts cook quickly in the air fryer, making this a practical dinner option in about 30 minutes.
Get the most out of this recipe
Texture tips
- For a crisper crumb: Keep the chicken in a single layer and leave space around each piece so hot air can circulate properly.
- For juicier chicken: Rest the cooked chicken briefly before slicing so the juices settle back into the meat.
Common mistakes
- Avoid crowding the basket: Too much chicken in the air fryer traps steam and softens the coating. Cook in batches if needed.
- Watch thicker breasts: Very thick chicken can cause the crumb to brown before the centre is cooked, so flatten thicker pieces slightly for more even cooking.
- Adjust for powerful air fryers: If the coating is browning too quickly, reduce the temperature to 190°C (375°F) for the second side.
Ingredient notes
- Breadcrumb choice matters: Fine breadcrumbs give a more even coating, while coarser crumbs create a rougher, crunchier texture.
- Parmesan adds savoury depth: Parmesan seasons the crumb with salty, nutty flavour and helps the coating brown well.
Make-ahead tips
- Best served straight away: The crumb is crispest immediately after cooking, so this is best eaten fresh from the air fryer.
- Reheat in the air fryer: Reheat refrigerated chicken at 180°C (355°F) until piping hot and the coating has re-crisped.
Equipment you'll need
Ingredients
Instructions
- Set up a breading station: in one bowl mix the plain flour with the ground garlic, smoked paprika, fine sea salt and black pepper. In a second bowl whisk the egg. In a third bowl mix the breadcrumbs and parmesan.
- Pat the chicken breast dry. Coat each breast in the seasoned flour, dip into the egg, then press firmly into the breadcrumb mixture so it is well covered.
- Preheat the air fryer to 200°C (390°F). Brush or drizzle the olive oil over the breaded chicken on both sides, then place in the basket in a single layer.
- Air-fry for 10 minutes, then turn and air-fry for 4 to 8 minutes more, until the coating is golden and the chicken is cooked through. If your air fryer runs hot, reduce to 190°C (375°F) for the second side to prevent over-browning.
- Rest for 3 to 5 minutes before slicing so the juices stay in the meat. Serve straight away while the crumb is at its crispest.
Recipe notes
Tips
- For the crispest result, avoid crowding the air fryer basket; cook in batches if needed so hot air can circulate.
- If the chicken breasts are very thick, flatten them slightly so they cook evenly and the coating does not over-brown before the centre is done.
- For anyone who is pregnant, elderly, or immunocompromised, ensure the chicken is fully cooked through before serving.
Substitutions
- Replace Parmesan with Grana padano cheese for a similar salty, nutty finish.
- Replace Olive oil with Rapeseed oil for a more neutral flavour.
Storage
- Refrigerate up to 2 days
- Cool completely, then refrigerate in an airtight container. Reheat in the air fryer at 180°C (355°F) for 4 to 6 minutes until piping hot and the coating has re-crisped.
Ratings & reviews
Liked this recipe? Share your feedback to support our cooking community.
Tried this recipe?
Choose 1–5 stars. A comment is optional.
Stay inspired
Discover new recipes, seasonal favourites and cooking inspiration every day. Follow JustRecipes on Pinterest and Spillt.
Recipe overview
- Servings: 2 servings
- Total time: 30min (15min active)
- Difficulty: Easy
- Cuisine: American
-
Allergens:
Eggs Gluten Milk Wheat
Plan your meals and get a complete grocery list automatically.
Add to meal plannerEquipment you'll need
Got ingredients left?
Find recipes using ingredients from this recipe or what you already have at home.
Find recipes with these ingredients →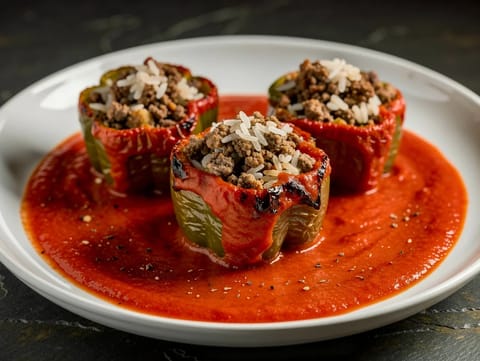
Gefüllte Paprika in Tomatensoße (Stuffed Peppers in Tomato Sauce)
Stuffed green peppers simmered in tomato sauce
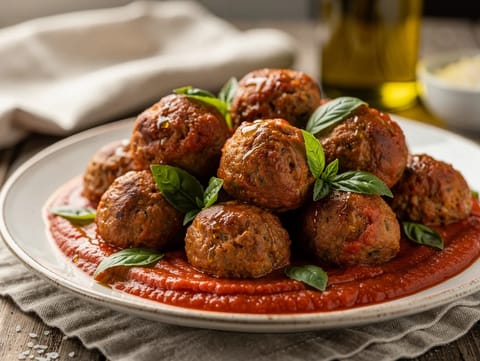
Air Fryer Italian Meatballs
Air-fried Italian meatballs with parmesan, garlic and marinara sauce.
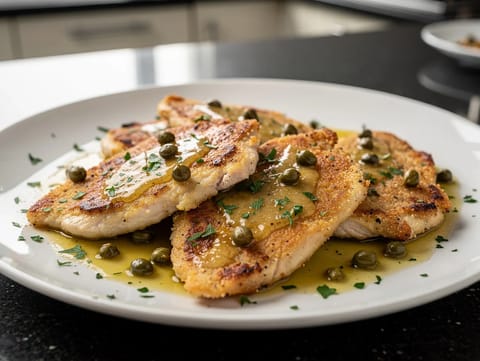
American-Style Chicken Piccata
Pan-fried chicken in a lemon, caper and butter sauce
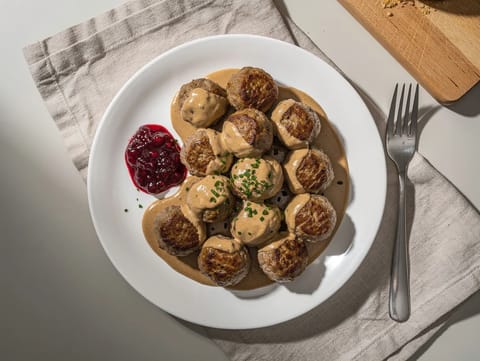
Swedish Meatballs with Cream Sauce and Lingonberry
Swedish meatballs in creamy gravy with lingonberry
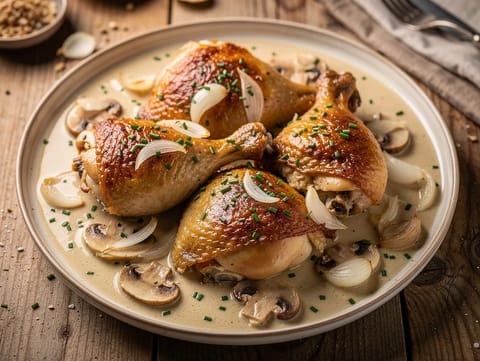
Hähnchen in Rieslingsoße (Chicken Braised in Riesling)
Chicken braised in Riesling with mushrooms
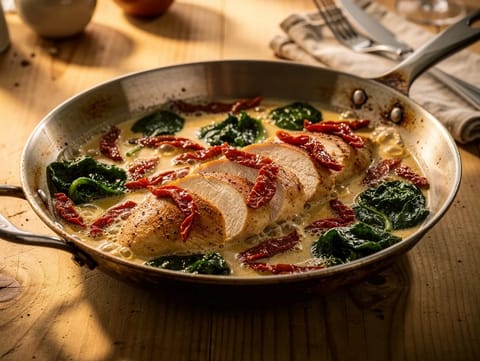
Creamy Chicken Skillet with Sun-Dried Tomatoes and Spinach
Seared chicken in creamy sauce with sun-dried tomatoes and spinach
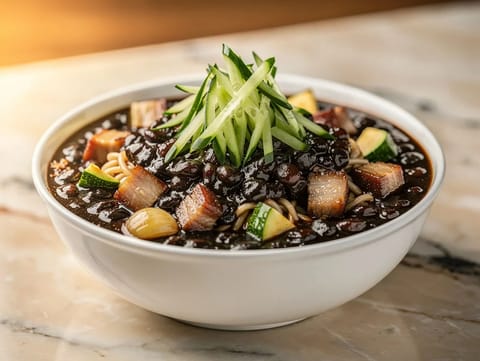
Jajangmyeon (Korean-Chinese Black Bean Noodles)
Black bean noodles with pork belly, courgette and cucumber
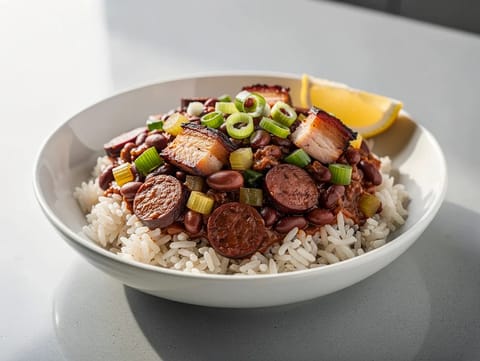
Cajun Red Beans and Rice
Creamy red beans with sausage, served over rice
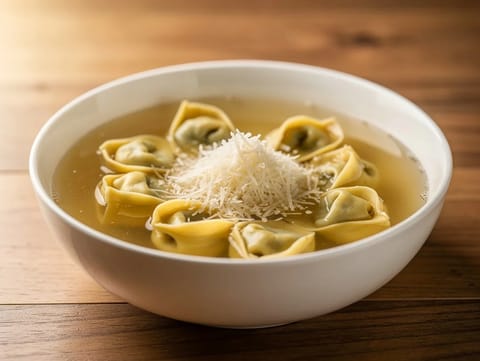
Tortellini in Brodo (Tortellini in Clear Chicken and Beef Broth)
Tortellini served in clear chicken and beef broth
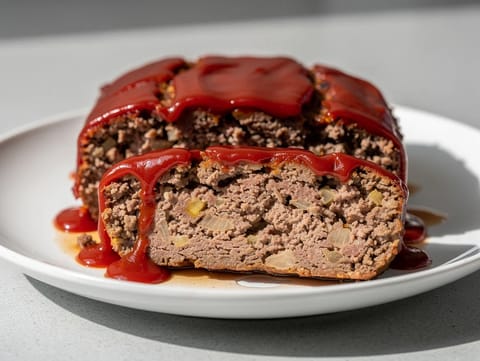
Classic Meatloaf with Ketchup Glaze
Meatloaf with minced beef, onion and ketchup glaze
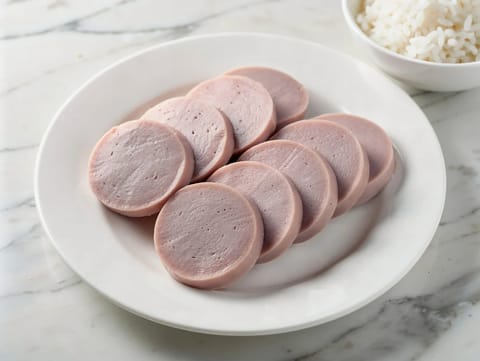
Giò Lụa (Vietnamese Steamed Pork Sausage in Banana Leaves)
Vietnamese steamed pork sausage wrapped in banana leaves
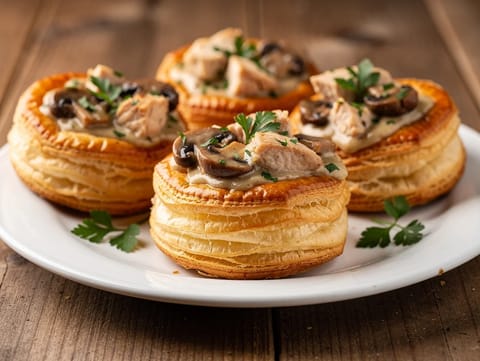
Vol-au-Vent (Chicken and Mushroom Puff Pastry Cases)
Vol-au-vent with chicken and mushrooms in creamy sauce
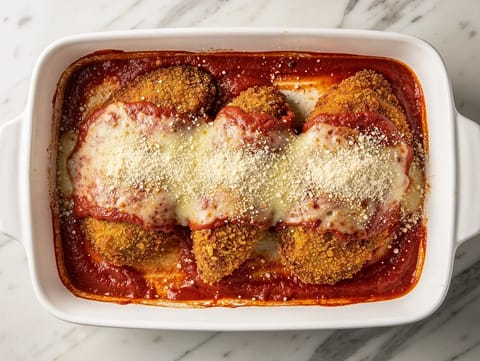
Chicken Parmesan (Breaded Chicken with Tomato Sauce and Mozzarella)
Crispy breaded chicken baked with tomato sauce and mozzarella
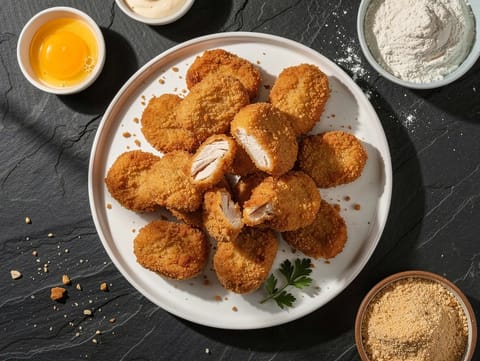
Air Fryer Homemade Chicken Nuggets
Crisp air fryer chicken nuggets with seasoned breadcrumbs.
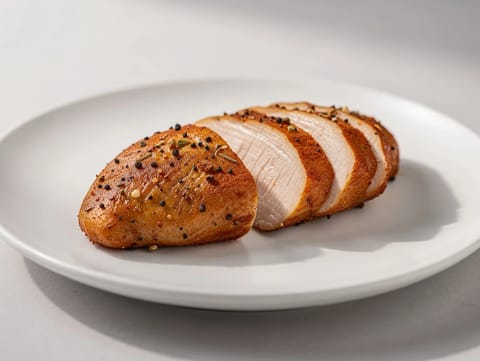
Air Fryer Chicken Breast
Juicy air fryer chicken breast with smoky paprika seasoning.
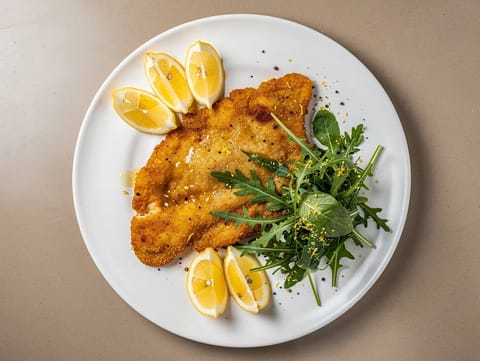
Chicken Milanese with Rocket and Lemon Salad
Crisp chicken Milanese served with rocket and lemon
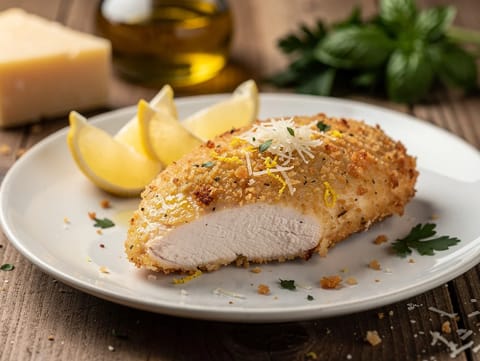
Air Fryer Parmesan Crusted Chicken Breast
Parmesan-crusted chicken breast cooked crisp in the air fryer.
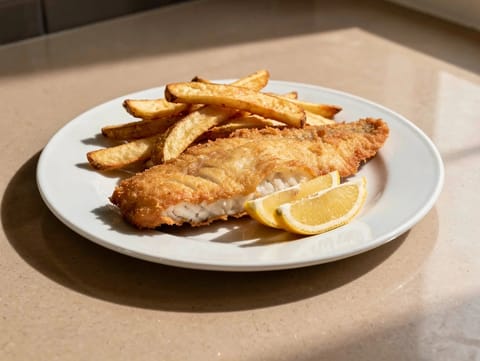
Air Fryer Fish and Chips
Crispy breadcrumb fish with chunky air fryer chips.
You might also like
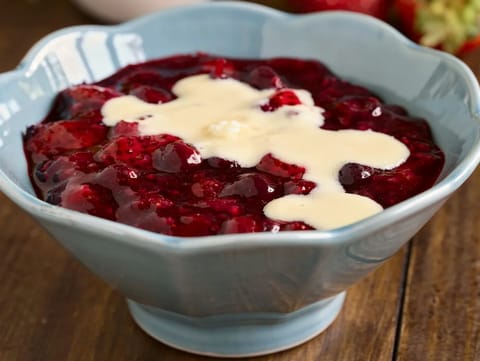
Rote Grütze (German Red Berry Pudding)
Chilled German red berry pudding thickened with cornflour
Classic Meatloaf with Ketchup Glaze
Meatloaf with minced beef, onion and ketchup glaze
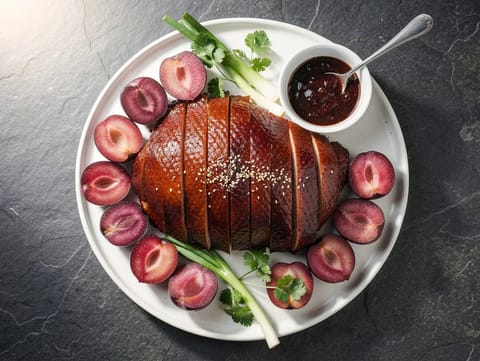
Cantonese Roast Duck with Plum Sauce
Cantonese roast duck with crisp skin and plum sauce
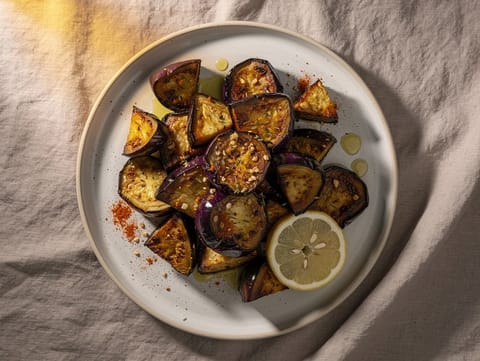
Air Fryer Eggplant
Air fried aubergine with smoked paprika, garlic and lemon.
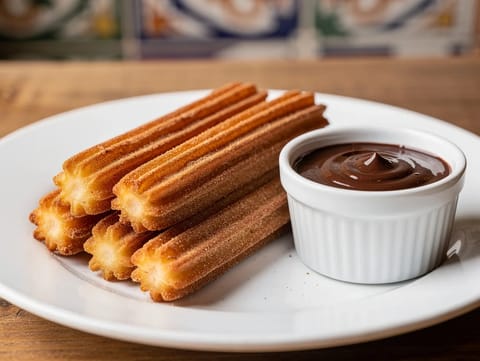
Air Fryer Churros
Air-fried churros rolled in cinnamon sugar with chocolate sauce.
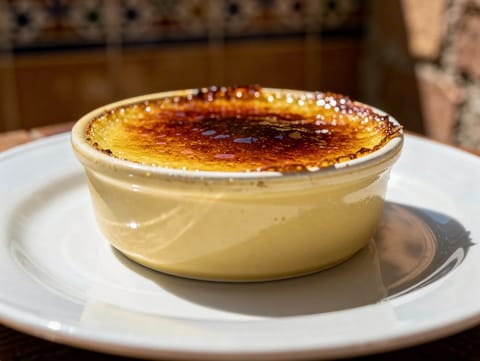
Crema Catalana (Catalan Custard with Caramelised Sugar)
Chilled cinnamon and citrus custard with a caramelised sugar crust
Make this recipe easier next time
AdvertisementThese tools help you get better results with less effort.
KitchenAid Stainless Steel Mixing Bowls
- Non-slip base
- Stainless steel
- Not microwave safe
Pyrex Glass Mixing Bowls with Lids
- Microwave safe
- BPA-free lids
- Glass is heavier
OXO Good Grips Stainless Mixing Bowl Set
- Non-slip base
- Comfort grip
- Higher price
Enjoy cooking with JustRecipes?
Add JustRecipes as one of your preferred Google sources to discover our recipes more easily across Google Search.
Add JustRecipes to GoogleEvery recipe on JustRecipes follows the same structured editorial process. Learn how recipes are created, validated, translated, illustrated, and continuously improved across the platform. How we create recipes.
