
Baekseolgi (Korean Steamed White Rice Cake)
Why this recipe works
- Traditional texture: Soaking, finely grinding and sieving the rice helps create the soft, even crumb associated with baekseolgi.
- Gentle sweetness: A small amount of sugar keeps the flavour clean and subtle rather than turning the rice cake into a rich dessert.
- Simple ingredient list: Rice, water, sugar and salt are enough to produce a tender steamed cake when the hydration is handled carefully.
Get the most out of this recipe
Timing notes
- Allow for soaking: The active work is modest, but the rice needs a long soak before grinding, so plan the preparation ahead.
- Rest before cutting: Keeping the cake covered briefly after steaming lets it finish setting and makes it easier to turn out cleanly.
- Best freshly steamed: Baekseolgi is softest while warm or freshly re-steamed; it firms as it cools.
Texture tips
- Drain thoroughly: Excess water after soaking can make the base dense or gummy, so the rice should be damp rather than wet before grinding.
- Sieve well: Passing the ground rice through a fine sieve removes coarse pieces and helps the finished cake feel tender rather than sandy.
- Do not over-pack: Level the rice mixture gently in the dish; pressing it down too firmly can make the cake heavy.
Ingredient notes
- Use short-grain rice: Short-grain rice gives the cake the right tenderness and cohesion; long-grain rice will not behave in the same way.
- Keep the sweetness restrained: Baekseolgi is usually gently sweet, so adjust sugar with care if you prefer a slightly sweeter result.
- Caster sugar blends easily: Caster sugar disperses more smoothly through the rice flour, while granulated sugar may give a slightly coarser crumb.
Make-ahead tips
- Serve the same day when possible: The texture is most delicate soon after steaming, before the rice cake has had time to firm.
- Re-steam to refresh: Warm chilled pieces in a steamer until soft again; prolonged microwaving can make the rice cake chewy.
- Freeze in portions: Wrap cooled squares well, freeze, then thaw in the fridge and re-steam before serving.
Equipment you'll need
Ingredients
Instructions
- Rinse the rice in several changes of cold water until the water runs mostly clear. Cover with fresh water and soak for 4 hours, then drain very well.
- Spread the drained rice on a tray and air-dry for 20 minutes so the grains feel damp but not wet. Grind the rice as finely as possible, then pass it through a fine sieve into a mixing bowl; re-grind any coarse bits and sieve again.
- Stir the caster sugar and fine sea salt into the rice flour. Sprinkle in the water a little at a time, rubbing the mixture between your fingertips until it looks like soft, snowy sand and holds together when gently squeezed.
- Set up a steamer over simmering water. Lightly pack the rice mixture into a heatproof dish, then level the top without compressing it too firmly so it stays tender.
- Steam for 25 minutes, keeping the water at a steady simmer. The cake is ready when it looks matte and set, and a skewer inserted into the centre comes out clean.
- Rest off the heat, covered, for 5 minutes to finish setting. Turn out, cool until just warm, then cut into squares and serve.
Recipe notes
Tips
- Drain the soaked rice extremely well; excess water makes the cake heavy and can cause a gummy layer at the base.
- If the rice mixture feels dry and will not clump when squeezed, sprinkle in a little more water, 1 tsp at a time, and rub again until it resembles damp sand.
- For anyone who is pregnant, elderly, very young, or immunocompromised, serve the rice cake freshly steamed and piping hot, and cool and refrigerate leftovers promptly.
Substitutions
- Replace caster sugar with granulated sugar for a slightly less delicate sweetness and a faintly coarser crumb.
Storage
- Refrigerate up to 2 days
- Cool completely, then store airtight in the fridge. Reheat in a steamer for 3 to 5 minutes until soft and warmed through; avoid microwaving for long as it can turn chewy. Freeze portions well wrapped, then thaw in the fridge and re-steam to refresh.
Ratings & reviews
Liked this recipe? Share your feedback to support our cooking community.
Tried this recipe?
Choose 1–5 stars. A comment is optional.
Stay inspired
Discover new recipes, seasonal favourites and cooking inspiration every day. Follow JustRecipes on Pinterest and Spillt.
Recipe overview
- Servings: 4 servings
- Total time: 1h 30min (25min active)
- Difficulty: Medium
- Cuisine: Korean
Plan your meals and get a complete grocery list automatically.
Add to meal plannerEquipment you'll need
Got ingredients left?
Find recipes using ingredients from this recipe or what you already have at home.
Find recipes with these ingredients →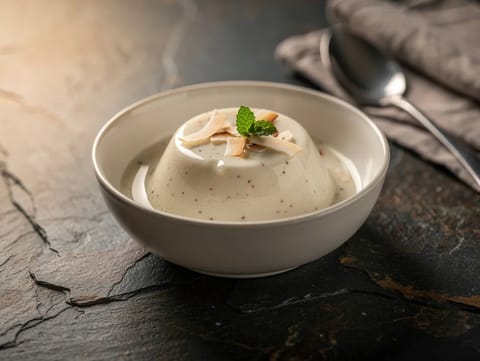
Vegan Panna Cotta with Coconut Milk
Vegan coconut panna cotta set with agar-agar and vanilla

Eton Mess Parfait
Eton mess parfait with strawberries, cream and meringue
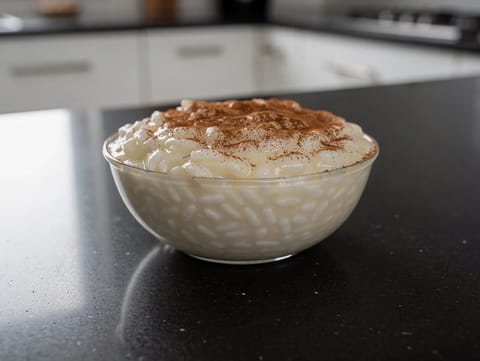
Light Arroz Doce (Portuguese Rice Pudding)
Chilled Portuguese rice pudding with lemon and cinnamon

Flan Napolitano (Mexican Baked Custard with Caramel)
Mexican baked custard with caramel sauce

Butterscotch Pudding (Stovetop Custard)
Smooth stovetop butterscotch pudding with vanilla
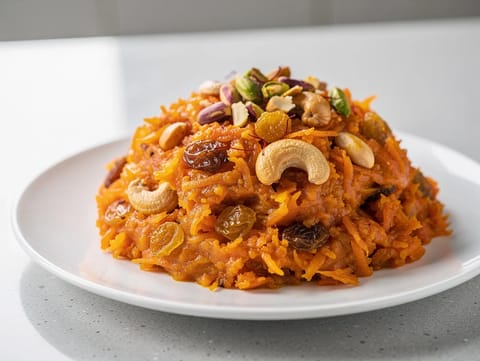
Gajar Ka Halwa (North Indian Carrot Pudding)
North Indian carrot pudding with milk, ghee and cardamom
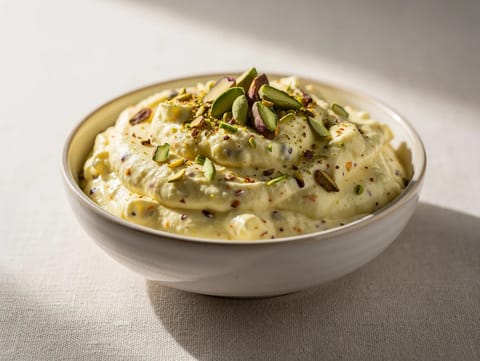
Shrikhand (Strained Yoghurt Dessert)
Strained yoghurt pudding flavoured with saffron and cardamom
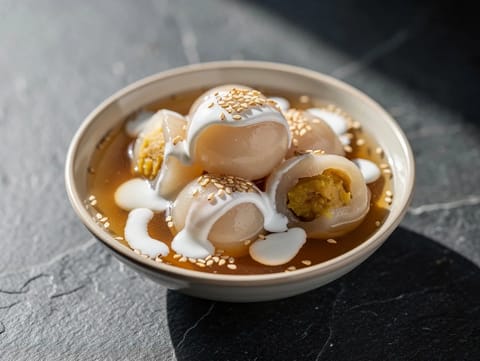
Chè Trôi Nước (Vietnamese Floating Rice Balls in Ginger Syrup)
Glutinous rice balls with mung bean in ginger syrup

Caramel Pecan Turtle Bars
Shortbread bars topped with pecans, caramel and dark chocolate

Vegan Panna Cotta with Coconut Milk and Berries
Vegan coconut panna cotta topped with mixed berries
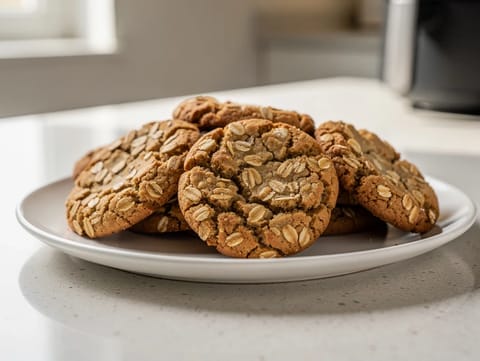
Air Fryer Oatmeal Cookies
Air fryer oatmeal cookies with a chewy centre and crisp edges.

Air Fryer Blueberry Pie
Air fryer blueberry pie with lemon and cornflour-thickened filling.

Rijstepap met Kaneel (Dutch Rice Pudding with Cinnamon)
Creamy Dutch rice pudding served warm with cinnamon
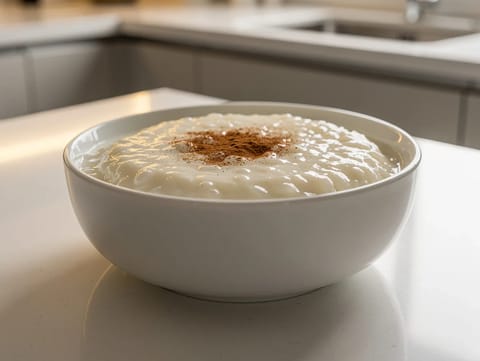
Sütlaç (Turkish Rice Pudding)
Chilled Turkish rice pudding with vanilla and cinnamon
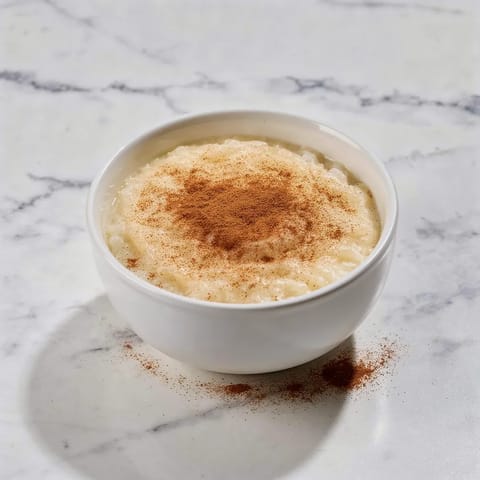
Rizogalo (Greek Rice Pudding)
Greek rice pudding with cinnamon, vanilla and lemon zest

Homemade Soy Milk
Fresh soya milk made by soaking, blending, simmering and straining

Turkish Coffee (Türk Kahvesi)
Unfiltered Turkish coffee gently heated with water and optional sugar

Tarte au Riz (Belgian Rice Pudding Tart)
Belgian rice pudding tart in a shortcrust case
You might also like

Poke Bowl with Jasmine Rice
Jasmine rice poke bowl with seared tuna and avocado.

Saumon en Croûte (Salmon Wellington with Spinach)
Salmon Wellington with spinach and crème fraîche in puff pastry

Eggnog (Spiced Milk Punch)
Chilled eggnog with milk, cream, vanilla and nutmeg
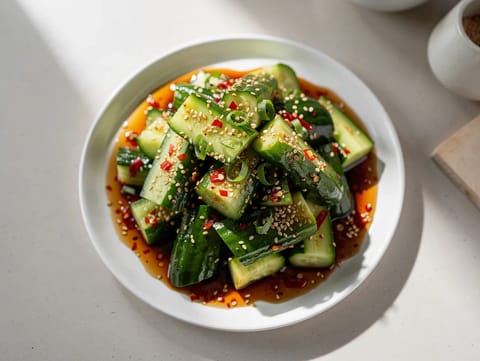
Smacked Cucumber Salad with Chilli Oil
Smacked cucumber salad with chilli oil, garlic and sesame

Berry Kefir Smoothie Bowl
Kefir smoothie bowl with berries, banana, granola and chia.
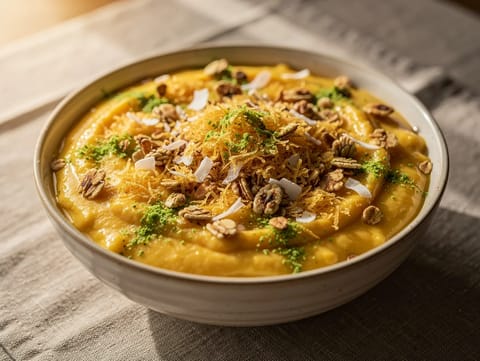
Tropical Fruit Smoothie Bowl
Mango and pineapple smoothie bowl with coconut yoghurt and granola.
Make this recipe easier next time
AdvertisementThese tools help you get better results with less effort.
KitchenAid Stainless Steel Mixing Bowls
- Non-slip base
- Stainless steel
- Not microwave safe
Pyrex Glass Mixing Bowls with Lids
- Microwave safe
- BPA-free lids
- Glass is heavier
OXO Good Grips Stainless Mixing Bowl Set
- Non-slip base
- Comfort grip
- Higher price
Enjoy cooking with JustRecipes?
Add JustRecipes as one of your preferred Google sources to discover our recipes more easily across Google Search.
Add JustRecipes to GoogleEvery recipe on JustRecipes follows the same structured editorial process. Learn how recipes are created, validated, translated, illustrated, and continuously improved across the platform. How we create recipes.
