
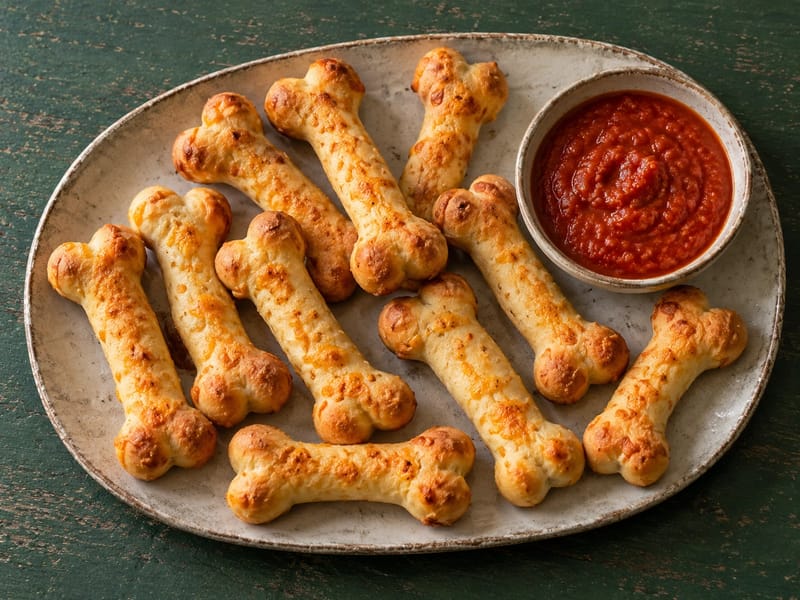
Cheddar Breadstick Bones with Tomato Dip
Why this recipe works
- Cheese throughout the dough: Cheddar kneaded through the dough flavours the centre as well as the crust. The tomato dip supplies a separate smoky note.
- Firm edges with a tender middle: A short final rise lightens the shafts. Modest curled ends cook through alongside the centres instead of remaining doughy after the thinner parts are ready.
- A dip that stays on the bread: Reducing the tomatoes makes a sauce that clings to the bread. Serving it separately preserves the firm surface until each piece is dipped.
Get the most out of this recipe
Ingredient notes
- Grate the Cheddar finely: Fine shreds spread evenly through the dough and let the narrow shafts roll smoothly without large cheese pockets breaking the surface.
- Keep the cheese vegetarian: Choose Cheddar made with vegetarian rennet for a vegetarian platter. Check the rennet in mature Gouda too if using the suggested substitution.
Timing notes
- Use the dough as your guide: Wait until the dough roughly doubles. In a cool kitchen, allow more time than the stated first rise.
- Fit the dip into the first rise: Cook and reduce the dip during the first rise, leaving the shaping stage clear for dividing the dough and curling the ends.
- Let the shaped ends relax: Let the shaped bones rest on the tray until slightly puffy, as directed. This gives the split ends room to expand before the oven fixes their shape.
Common mistakes
- Avoid bulky bone ends: Keep the split tips short and lightly curled. Bulky knots can remain doughy after the slender shafts have baked.
- Leave room around each shape: Use the specified large tray or an additional tray. Clear gaps let the bones expand without joining and help their edges colour evenly.
- Separate the dip seasoning first: Set aside the dip's oil and salt before mixing the dough. Otherwise the bread can take the full allowance, leaving the sauce underseasoned.
Make-ahead tips
- Store bread and dip separately: Keep cooled breadsticks dry and airtight. Refrigerate the dip separately, following its own storage limit, so moisture cannot soften the bread.
- Reheat only the dip you need: Reheat only the portion of dip needed until piping hot, then serve it in a bowl beside the breadsticks.
Equipment you'll need
Ingredients
Dough
Dip
Instructions
- Reserve 10 ml oil and 0.25 teaspoon salt for the dip. Mix the flour, yeast and remaining salt, add the lukewarm water and remaining 20 ml oil, then knead for 8 minutes until smooth.
- Finely grate the Cheddar and knead it into the dough. Cover and leave for 60 minutes until roughly doubled.
- While the dough rises, finely chop the garlic and warm it in the reserved oil for 30 seconds. Add the tomatoes, paprika and reserved salt, then simmer for 20 minutes until thick; stir occasionally.
- Heat the oven to 190°C (375°F) and line a large tray. Divide the dough into 16 pieces and roll each into a 15 cm rope; split each end for 2 cm with a knife and curl the two short tips outwards to form bone ends.
- Space the bones on the tray and leave for 10 minutes until slightly puffy. Keep the central shafts even so they bake at the same speed.
- Bake for 18–22 minutes until golden and firm, then cool on a rack for 5 minutes. Serve with the thick tomato dip in a separate bowl.
Recipe notes
Tips
- Allow the shaped ends to stay slightly thicker than the shafts, but avoid large knots that remain doughy inside.
- A tray about 35 × 45 cm fits the bone shapes with gaps; use another tray if yours is smaller. Put the tomato dip in a small bowl beside the breadsticks, keeping the bread dry until eating.
Substitutions
- Replace the Cheddar with vegetarian-rennet mature Gouda in the same quantity.
Storage
- Refrigerate up to 2 days
- Keep cooled breadsticks airtight in a dry cupboard for up to 2 days. Refrigerate the dip within 2 hours at 4°C (40°F) or below and use within 2 days; reheat until piping hot. Use leftover dip as a small pasta sauce after reheating until piping hot, and break dry leftover breadsticks over soup at serving time; keep their separate storage limits.
Ratings & reviews
Liked this recipe? Share your feedback to support our cooking community.
Tried this recipe?
Choose 1–5 stars. A comment is optional.
Stay inspired
Discover new recipes, seasonal favourites and cooking inspiration every day. Follow JustRecipes on Pinterest and Spillt.
Recipe overview
- Servings: 16 pieces
- Yield: breadstick bones
- Total time: 2h 15min (40min active)
- Difficulty: Medium
- Cuisine: Italian
-
Allergens:
Gluten Milk Wheat
Plan your meals and get a complete grocery list automatically.
Add to meal plannerEquipment you'll need
Got ingredients left?
Find recipes using ingredients from this recipe or what you already have at home.
Find recipes with these ingredients →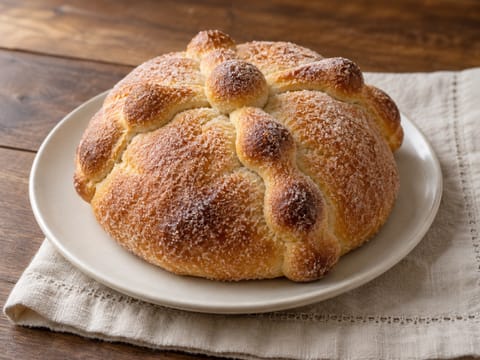
Pan de Muerto (Orange-Scented Sweet Bread)
Soft orange-scented sweet bread brushed with butter and coated in sugar
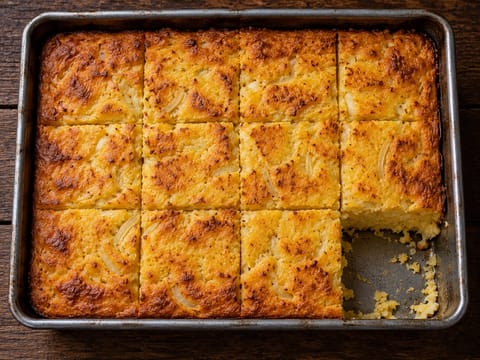
Sopa Paraguaya (Savoury Cornbread with Cheese and Onion)
Savoury cornbread baked with cheese and softened onions
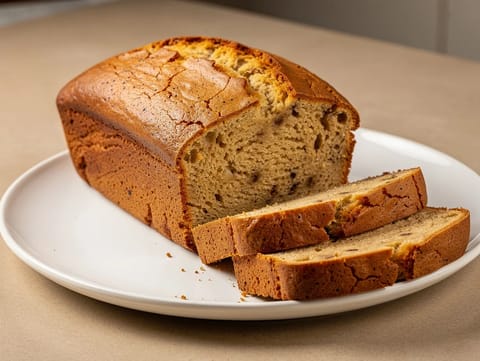
American Banana Bread
Moist banana bread loaf with vanilla
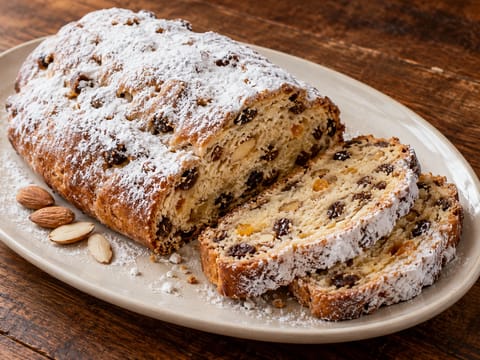
Stollen (German Christmas Fruit Bread with Raisins and Almonds)
German Christmas fruit bread with raisins, peel and almonds
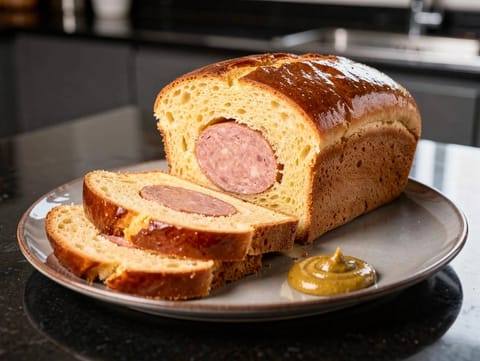
Saucisson Brioché (Sausage Baked in Brioche Dough)
Pork sausage baked inside soft brioche
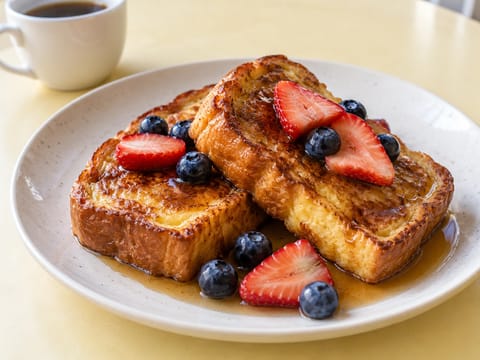
Air Fryer French Toast
Air-fried French toast with maple syrup and fresh berries.
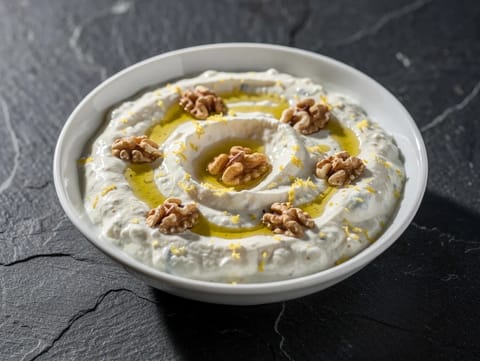
Tarator (Walnut Yoghurt Sauce)
Chilled walnut and yoghurt sauce with garlic and lemon
Garlic Toum (Middle Eastern Garlic Emulsion)
Thick garlic toum made with lemon juice and sunflower oil
Air Fryer Spicy Chilli Shrimp
Air-fried spicy chilli prawns with garlic and lime.
Crispy Kimchi Pancake (Kimchi Jeon)
Crispy kimchi pancake served with soy and vinegar dipping sauce
Sopa de Galets (Catalan Pasta Soup with Beef and Chicken Stock)
Galets pasta soup in a rich beef and chicken stock
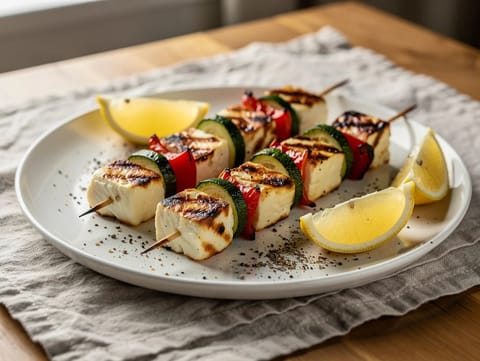
Grilled Halloumi Skewers with Courgette and Red Pepper
Grilled halloumi skewers with courgette, red pepper and oregano
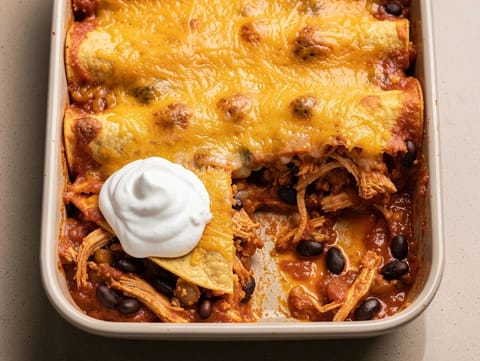
Modern Enchilada Casserole (Chicken, Black Beans and Cheddar)
Enchilada casserole with chicken, black beans and melted Cheddar
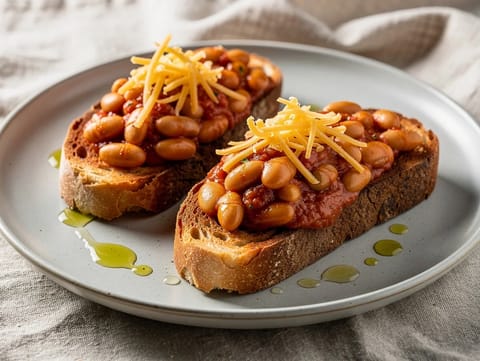
Modern Beans on Toast
Smoky tomato beans on sourdough with cheddar
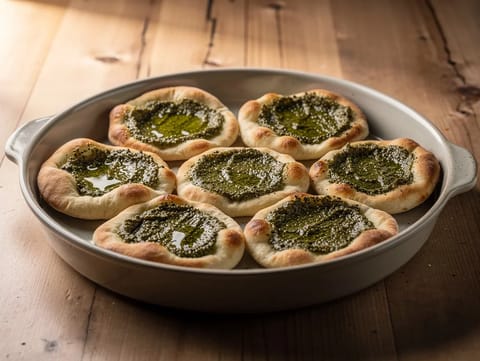
Manakish Zaatar (Middle Eastern Flatbread)
Soft flatbreads topped with zaatar and olive oil
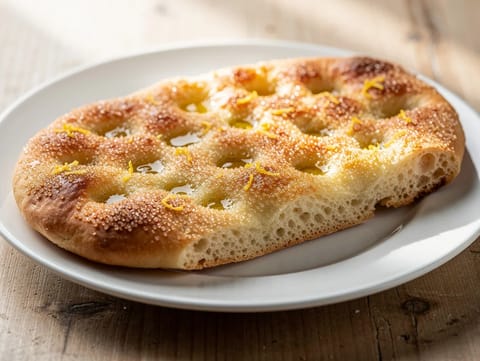
Focaccia Dolce alla Genovese (Sweet Genoese Focaccia)
Sweet olive oil focaccia topped with sugar and lemon zest
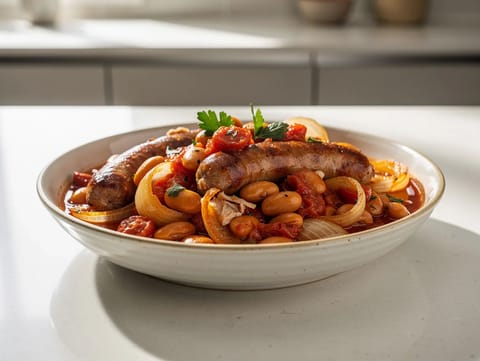
Pork Sausage Casserole with Butter Beans and Tomatoes
Sausage casserole with butter beans, tomatoes and rosemary
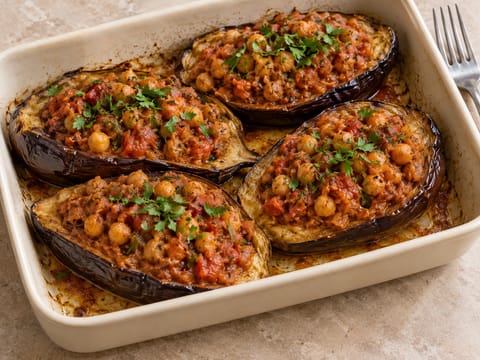
Vegan Stuffed Aubergines with Spiced Chickpeas
Roasted aubergines stuffed with spiced chickpeas in tomato sauce
You might also like
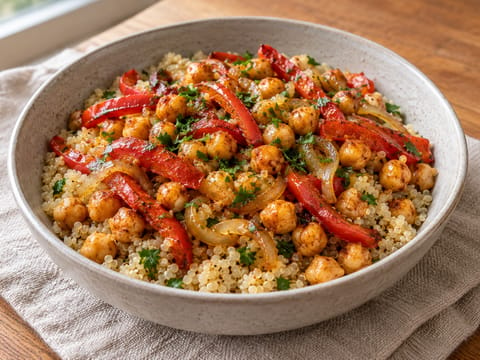
Spanish-Style Grain Bowl with Chickpeas and Peppers
Spanish-style quinoa bowl with chickpeas and red peppers
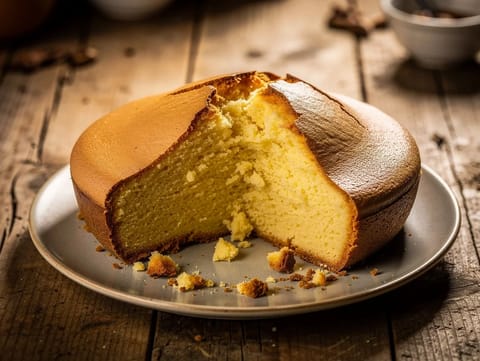
Pão de Ló (Portuguese Sponge Cake)
Light Portuguese sponge cake made with whisked eggs and flour
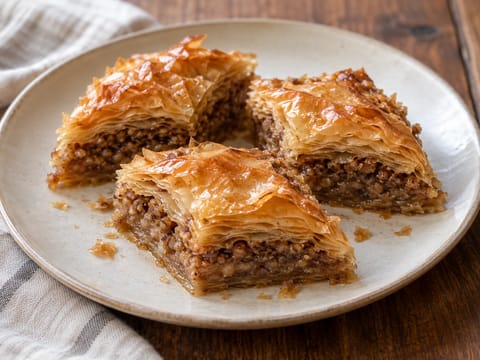
Baklava (Greek Walnut Phyllo Dessert)
Buttered phyllo baklava layered with spiced walnuts and honey syrup
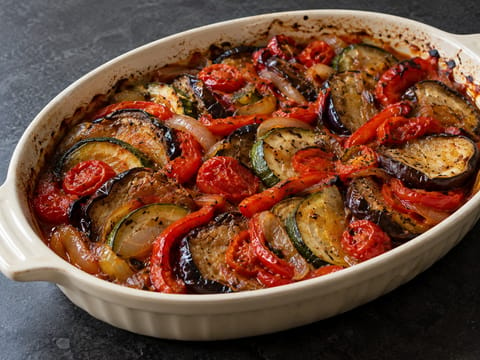
Ratatouille au Four (Oven-Baked Vegetables)
Oven-baked ratatouille with tender aubergine, courgette and tomatoes
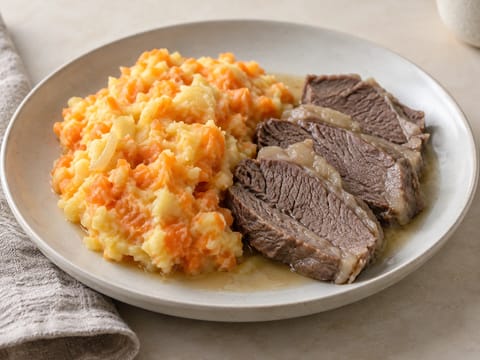
Hutspot met Klapstuk (Carrot and Onion Mash with Boiled Beef)
Dutch potato mash with carrots and onions served with boiled beef
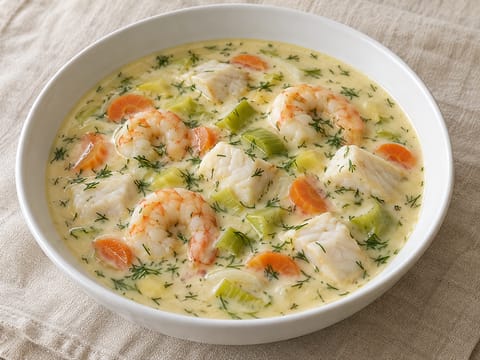
Sjømatgryte (Nordic Fish and Prawn Stew with Cream)
Creamy fish and prawn stew with dill and lemon
Make this recipe easier next time
AdvertisementThese tools help you get better results with less effort.
Misen 8-Inch Chef Knife
- AUS-10 steel
- Balanced design
- Less traditional feel
Pyrex Glass Mixing Bowls with Lids
- Microwave safe
- BPA-free lids
- Glass is heavier
All-Clad Tri-Ply Stainless Steel Saucepan
- Excellent heat control
- Premium build quality
- Expensive
KitchenAid Stainless Steel Mixing Bowls
- Non-slip base
- Stainless steel
- Not microwave safe
Enjoy cooking with JustRecipes?
Add JustRecipes as one of your preferred Google sources to discover our recipes more easily across Google Search.
Add JustRecipes to GoogleEvery recipe on JustRecipes follows the same structured editorial process. Learn how recipes are created, validated, translated, illustrated, and continuously improved across the platform. How we create recipes.