
Homemade Vanilla Bean Ice Cream
Why this recipe works
- Rich custard base: Egg yolks, whole milk and double cream create a smooth, full-bodied ice cream with a classic scoopable texture.
- Full vanilla flavour: Infusing both the vanilla seeds and pod into the warm dairy gives the custard a clean, aromatic flavour throughout.
- Balanced sweetness: A small amount of fine sea salt rounds out the sugar and keeps the vanilla flavour clear rather than flat.
Get the most out of this recipe
Timing notes
- Chill the custard thoroughly: The base needs to be very cold before churning so it freezes quickly and develops a finer texture.
- Allow time to firm up: After churning, the ice cream needs freezer time to move from soft-set to properly scoopable.
- Soften before scooping: If the ice cream is very firm, let it stand briefly at room temperature before serving for a smoother scoop.
Texture tips
- Control the custard heat: Cook the custard gently and keep it below a simmer; heavy steaming or bubbling can cause the egg yolks to scramble.
- Strain for a cleaner finish: Passing the custard through a sieve removes any cooked egg solids while keeping the vanilla seeds in the base.
Ingredient notes
- Use the whole vanilla bean: Scraping the seeds and infusing the pod gives the ice cream visible vanilla flecks and a rounded, natural aroma.
- Keep the dairy full-fat: Whole milk and double cream provide the fat needed for a creamy texture; lower-fat dairy will freeze firmer.
- Using vanilla extract: If replacing the vanilla bean with extract, add it to the strained custard once it has cooled slightly to preserve its flavour.
Make-ahead tips
- Make the base in advance: The custard can be prepared and refrigerated ahead of churning, which also helps ensure it is properly chilled.
- Store tightly covered: Keep the churned ice cream in a sealed freezer-safe container for best flavour and texture.
- Good for planned desserts: For a firmer, classic scoop, churn and freeze the ice cream ahead rather than serving it straight from the machine.
Equipment you'll need
Ingredients
Instructions
- Pour the milk and cream into a saucepan. Split the vanilla bean lengthways, scrape out the seeds, then add both seeds and pod to the pan; warm over medium heat until steaming and just starting to bubble at the edges.
- Meanwhile, whisk the sugar, egg yolks and salt in a mixing bowl until slightly paler and smooth. Set a sieve over a clean bowl ready for straining the custard.
- Slowly whisk about a third of the hot vanilla milk into the yolk mixture to temper it. Pour the warmed yolks back into the saucepan and cook over low to medium-low heat, stirring constantly with a whisk, for 6 to 10 minutes until the custard thickens enough to coat the back of a spoon.
- Immediately strain the custard through the sieve into the bowl, pressing gently to extract the vanilla seeds, then discard the pod. Cool for 20 minutes, stirring occasionally, then chill until very cold, at least 4 hours.
- Churn the cold custard in an ice cream maker according to the manufacturer’s instructions, until thick and softly set. Transfer to a freezer-safe container and freeze for 2 hours until scoopable.
- Let the ice cream stand at room temperature for 5 minutes before scooping for the smoothest texture. Serve straight away.
Recipe notes
Tips
- Keep the custard below a simmer and stir constantly; if it starts to steam heavily or bubble, take it off the heat briefly to prevent the egg yolks from scrambling.
- For the cleanest vanilla flavour, chill the custard thoroughly before churning; a colder base freezes faster and churns smoother.
- Food safety: if serving to pregnant people, young children, older adults, or anyone immunocompromised, use pasteurised egg yolks where available and ensure the custard is cooked until properly thickened.
Substitutions
- Replace the vanilla bean with 2 tsp vanilla extract, whisked into the strained custard once it has cooled slightly.
Storage
- Refrigerate up to 2 days
- Store in the freezer in a sealed container for up to 2 weeks for best flavour. If it freezes very firm, leave at room temperature for 5 to 10 minutes before scooping.
Ratings & reviews
Liked this recipe? Share your feedback to support our cooking community.
Tried this recipe?
Choose 1–5 stars. A comment is optional.
Stay inspired
Discover new recipes, seasonal favourites and cooking inspiration every day. Follow JustRecipes on Pinterest and Spillt.

Recipe overview
- Servings: 4 servings
- Total time: 7h (35min active)
- Difficulty: Medium
- Cuisine: American
-
Allergens:
Eggs Milk
Plan your meals and get a complete grocery list automatically.
Add to meal plannerEquipment you'll need
Got ingredients left?
Find recipes using ingredients from this recipe or what you already have at home.
Find recipes with these ingredients →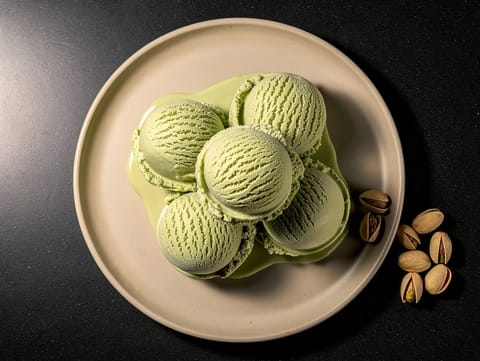
Gelato al Pistacchio (Sicilian Pistachio Gelato)
Smooth Sicilian-style pistachio gelato
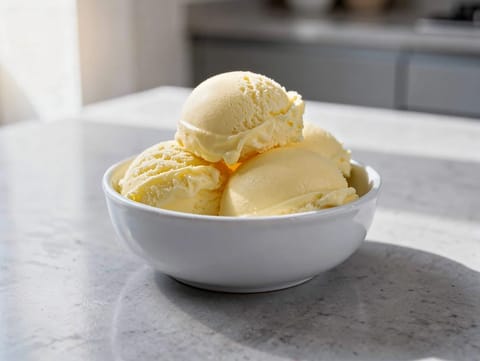
Gelato al Limone (Italian Lemon Gelato)
Italian lemon gelato made with fresh zest and juice
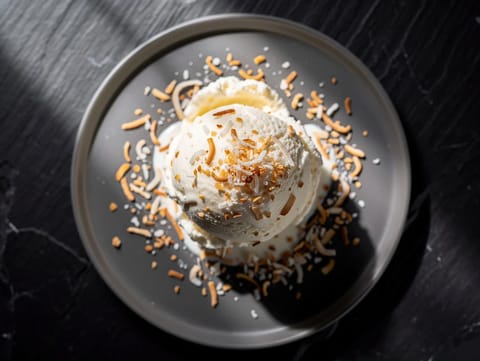
No-Churn Thai Coconut Ice Cream
No-churn coconut ice cream made with double cream and coconut milk
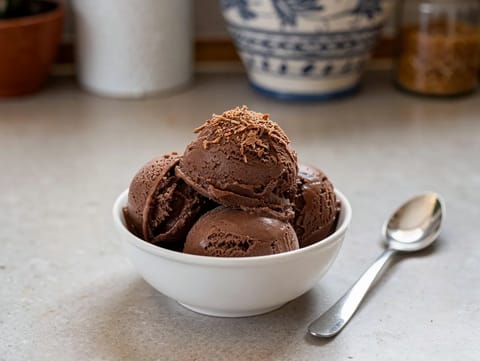
Gelato al Cioccolato Fondente (Dark Chocolate Gelato)
Dense dark chocolate gelato made with milk and double cream
Kulfi (Indian Ice Cream with Saffron, Cardamom and Pistachios)
Indian ice cream flavoured with saffron and cardamom, studded with pistachios
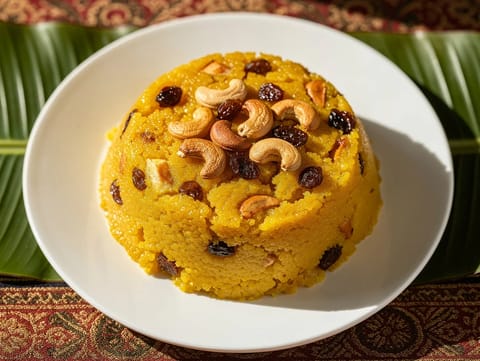
Rava Kesari (South Indian Semolina and Saffron Pudding)
South Indian semolina pudding with saffron, cardamom, cashews and raisins

Bomboloni alla Crema (Italian Custard Doughnuts)
Sugar-coated doughnuts filled with vanilla pastry cream
Gelato al Cioccolato Fondente (Dark Chocolate Gelato)
Dense dark chocolate gelato made with milk and double cream
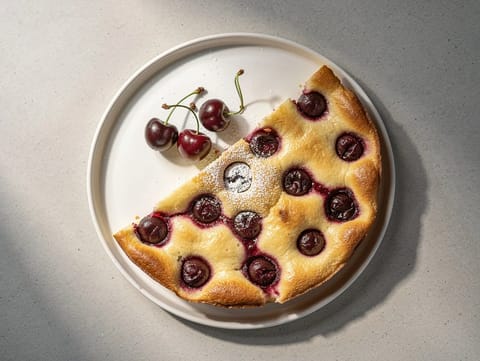
Cherry Clafoutis (French Baked Custard Dessert)
Cherry clafoutis baked in a lightly sweet custard batter
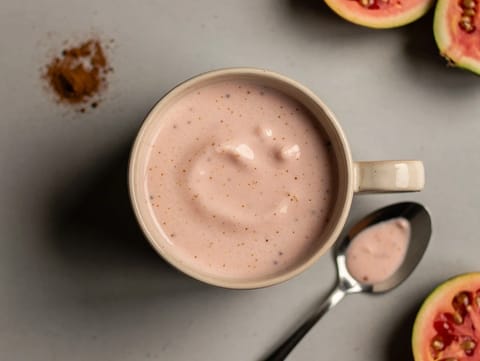
Atole de Guayaba (Guava Masa Pudding Drink)
Warm guava atole thickened with masa harina and milk
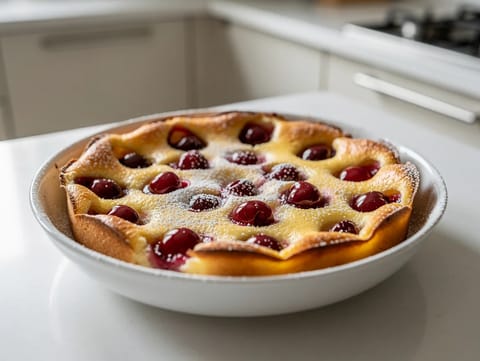
Clafoutis aux Cerises (Baked Cherry Custard)
Baked cherry custard made with a simple vanilla batter
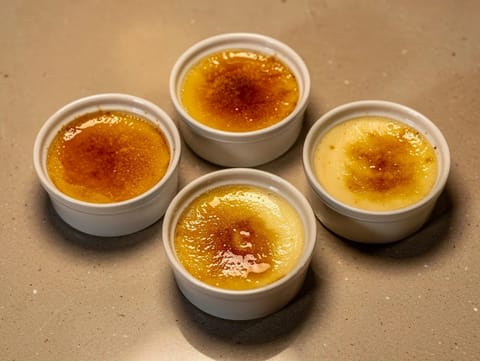
Crema Catalana all’Italiana (Baked Vanilla Custard with Caramel)
Chilled baked vanilla custard with a crisp caramel crust
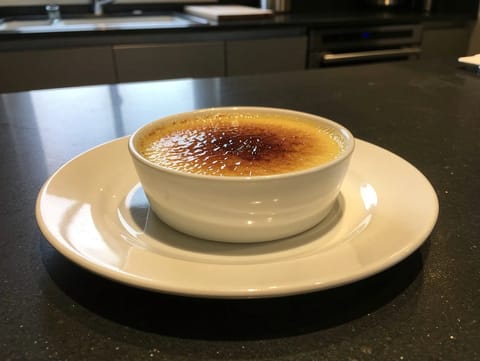
Crème Brûlée (Burnt Cream Custard)
Vanilla custard with a crisp caramelised sugar topping
Gelato al Limone (Italian Lemon Gelato)
Italian lemon gelato made with fresh zest and juice
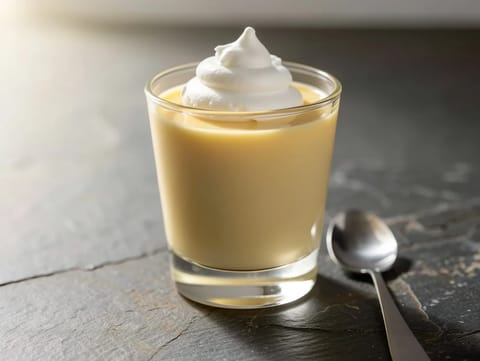
Belgian Advocaat Liqueur (Egg-Based Custard Liqueur)
Thick egg-yolk custard liqueur blended with brandy
Gelato al Pistacchio (Sicilian Pistachio Gelato)
Smooth Sicilian-style pistachio gelato
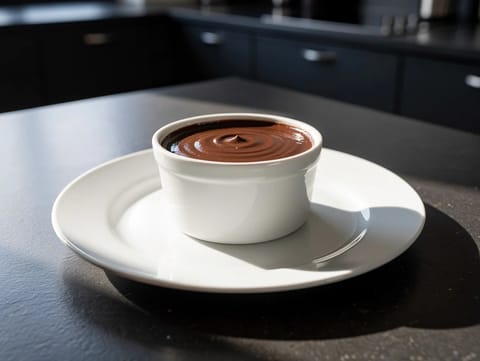
Pots de Crème au Chocolat
Silky baked chocolate custards chilled until spoonable
You might also like

New Mexico Green Chile Cheeseburgers
Beef burgers with roasted green chillies and cheddar

Milanesa (Breaded Beef Cutlet)
Crisp fried breaded beef cutlets served with lemon
Lanzhou Beef Noodles (Hand-Pulled Noodle Soup)
Lanzhou beef broth with hand-pulled noodles, beef and chilli oil

Passion Fruit Juice (Fresh Tropical Juice)
Strained passion fruit juice with lime, caster sugar and ice
Thandai (Holi Spiced Milk Drink)
Chilled thandai made with spiced milk and blended almonds

Ginger Milk Tea
Hot ginger milk tea brewed with black tea, milk and sugar
Make this recipe easier next time
AdvertisementThese tools help you get better results with less effort.
KitchenAid Stainless Steel Mixing Bowls
- Non-slip base
- Stainless steel
- Not microwave safe
T-fal Specialty Nonstick Handy Pot with Glass Lid 3 Quart
- Easy food release
- Dishwasher safe
- Not induction compatible
OXO Good Grips Stainless Mixing Bowl Set
- Non-slip base
- Comfort grip
- Higher price
WMF Mini Saucepan 16 cm with Lid
- High-quality stainless steel
- Even heat distribution
- Higher price point
Enjoy cooking with JustRecipes?
Add JustRecipes as one of your preferred Google sources to discover our recipes more easily across Google Search.
Add JustRecipes to GoogleEvery recipe on JustRecipes follows the same structured editorial process. Learn how recipes are created, validated, translated, illustrated, and continuously improved across the platform. How we create recipes.
