
Nordic Yule Log Cake (Chocolate Swiss Roll)
Why this recipe works
- Soft sponge, creamy centre: The airy cocoa sponge wraps around chilled whipped cream, giving each slice a clear contrast between light cake and soft filling.
- Rolled while warm: Rolling the sponge straight from the oven helps train its shape, reducing the risk of cracking once it is filled.
- Polished festive finish: Chocolate buttercream can be textured into bark-like ridges, while icing sugar adds the recognisable snowy yule log appearance.
Get the most out of this recipe
Timing notes
- Cool before filling: Let the rolled sponge cool completely before adding the whipped cream, otherwise the filling can soften and lose structure.
- Chill to set: A short chill after icing helps the buttercream and filling firm up, making the log easier to slice cleanly.
- Serve slightly softened: For the best texture, let chilled slices stand briefly at room temperature before serving.
Texture tips
- Keep the sponge light: Fold the flour and cocoa in gently so the whisked eggs retain as much air as possible.
- Smooth buttercream: Allow the melted chocolate to cool until just warm before beating it into the butter mixture to keep the icing smooth and spreadable.
- Avoid overbeating the icing: Once the cream has been added to the buttercream, beat only briefly so the texture stays cohesive.
Make-ahead tips
- Make ahead for easier serving: The cake can be assembled and chilled in advance, then dusted with icing sugar just before serving for a fresh snowy finish.
- Store chilled: Keep the finished cake covered in the fridge because it contains whipped cream and buttercream.
- Best texture window: The sponge and cream are at their best within a day or two, before the roll begins to soften too much.
Common mistakes
- Rolling too late: If the sponge is left flat until cool, it is more likely to crack when rolled around the filling.
- Filling while warm: Adding cream before the sponge is fully cool can make the filling slack and difficult to roll neatly.
- Leaving it out too long: Because the cake contains dairy, keep it chilled and avoid leaving it at room temperature for extended periods.
Equipment you'll need
Ingredients
Cocoa sponge
Whipped cream filling
Chocolate buttercream
To finish
Instructions
- Heat the oven to 200°C (390°F). Line a baking tray (about 30 x 40 cm) with parchment paper, leaving a little overhang on the long sides.
- In a mixing bowl, whisk the eggs, caster sugar and vanilla extract for 6 to 8 minutes until very pale, thick and ribboning. The mixture should hold a trail on the surface for a few seconds when you lift the whisk.
- Sift in the plain flour, cocoa powder and fine sea salt. Fold gently until no dry pockets remain, keeping as much air in the batter as possible.
- Spread the batter evenly in the lined tray and level the top. Bake for 8 to 10 minutes until the sponge springs back lightly when touched.
- While the sponge bakes, set out a clean sheet of parchment paper and dust it lightly with a little of the icing sugar. When the sponge comes out, immediately turn it out onto the sugared paper, peel off the baking paper, then roll the sponge up from a short end with the parchment inside.
- Leave the rolled sponge to cool completely, seam-side down. This helps it hold its shape and prevents cracking when you fill it.
- For the filling, whisk the whipping cream with the icing sugar until it holds medium peaks. Keep it chilled while you prepare the buttercream if your kitchen is warm.
- For the buttercream, melt the dark baking chocolate in a heatproof bowl set over a saucepan of barely simmering water, then cool it until just warm. In a bowl, beat the unsalted butter until smooth, then beat in the icing sugar, cocoa powder, fine sea salt and vanilla extract until fluffy.
- Beat the melted chocolate into the butter mixture until fully combined. Add the whipping cream and beat briefly until smooth and spreadable; do not overbeat.
- Carefully unroll the cooled sponge and spread the whipped cream filling evenly, leaving a 2 cm border at the far edge. Re-roll tightly, using the parchment to guide you, then place seam-side down on a serving plate.
- Spread the chocolate buttercream over the log, then use the back of a spoon to create bark-like ridges. Chill for 30 minutes to set the filling and icing.
- Just before serving, dust with the remaining icing sugar for a snowy finish. Slice with a sharp knife, wiping the blade between cuts for neat spirals.
Recipe notes
Tips
- For the neatest roll, turn the sponge out and roll it up while it is still hot; once cool, it will crack more easily.
- If the buttercream feels too firm to spread, let it stand at room temperature for 5 minutes, then beat briefly again.
- Food safety: this cake contains dairy; keep it chilled and do not leave it out at room temperature for more than 2 hours.
Substitutions
- Replace Vanilla extract with vanilla bean for a more pronounced vanilla flavour.
- Replace Dark baking chocolate with dark chocolate chips, melting them gently in the same way.
Storage
- Refrigerate up to 2 days
- Store covered in the fridge. For the best texture, let slices stand at room temperature for 10 to 15 minutes before serving.
Ratings & reviews
Liked this recipe? Share your feedback to support our cooking community.
Tried this recipe?
Choose 1–5 stars. A comment is optional.
Stay inspired
Discover new recipes, seasonal favourites and cooking inspiration every day. Follow JustRecipes on Pinterest and Spillt.

Recipe overview
- Servings: 10 servings
- Total time: 2h 20min (55min active)
- Difficulty: Advanced
- Cuisine: Nordic
-
Allergens:
Eggs Gluten Milk Wheat
Plan your meals and get a complete grocery list automatically.
Add to meal plannerEquipment you'll need
Got ingredients left?
Find recipes using ingredients from this recipe or what you already have at home.
Find recipes with these ingredients →
Torta Mimosa (Italian Sponge Cake with Pastry Cream)
Italian sponge cake with pastry cream and whipped cream
Sinterklaastaart (Dutch Saint Nicholas Spiced Almond Cake)
Spiced almond cake with orange zest and apricot glaze
Pflaumenkuchen (German Yeast Plum Cake)
German yeast plum cake topped with fresh plums and cinnamon sugar
Ciambella (Italian Ring Cake)
Tender Italian ring cake with olive oil and icing sugar
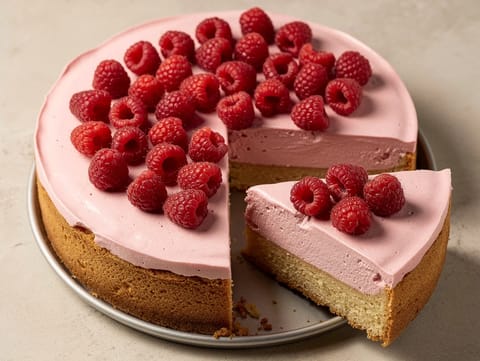
Entremet Framboise (Raspberry Mousse Cake)
Almond sponge topped with raspberry mousse and fresh raspberries
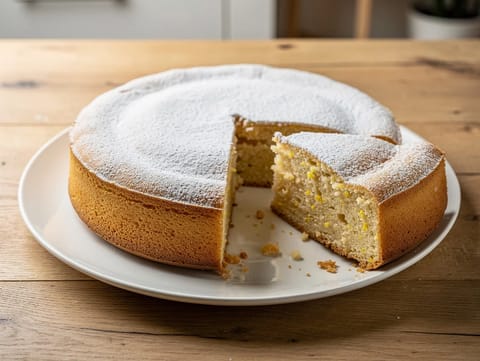
Gluten-Free Torta di Mandorle (Italian Almond Cake)
Gluten-free almond cake with lemon zest and icing sugar
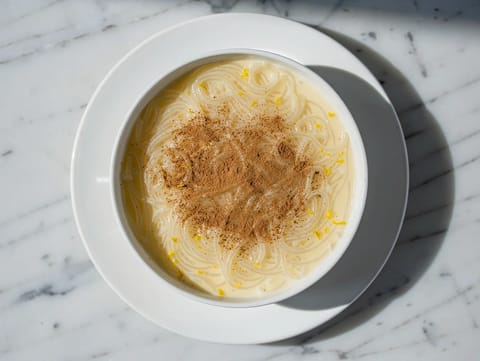
Aletria (Portuguese Vermicelli Custard Dessert)
Portuguese vermicelli custard with lemon zest and cinnamon
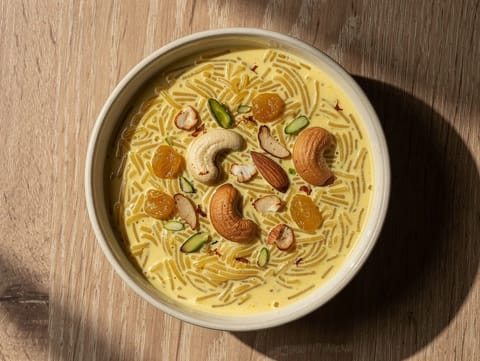
Seviyan (Indian Sweet Vermicelli Pudding with Milk and Saffron)
Sweet vermicelli simmered in milk with cardamom and saffron
Cocadas (Mexican Coconut Macaroons)
Chewy coconut macaroons baked into small golden mounds
Sinterklaastaart (Dutch Saint Nicholas Spiced Almond Cake)
Spiced almond cake with orange zest and apricot glaze
Air Fryer Lava Cake
Individual chocolate cakes with a molten centre.
Thai Custard (Sangkhaya) with Pandan and Coconut Milk
Thai steamed custard flavoured with pandan and coconut milk
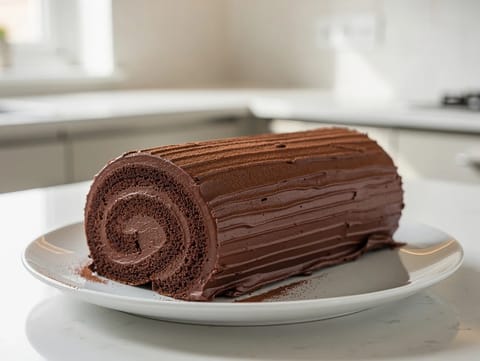
Bûche de Noël (Yule Log Cake) with Chocolate Buttercream
Chocolate sponge roll filled and coated with chocolate buttercream
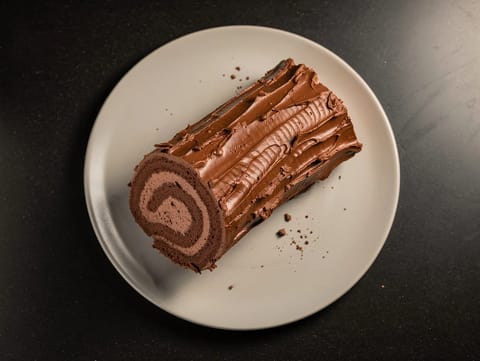
Yule Log (British Style)
Chocolate Swiss roll filled and coated with chocolate buttercream
Classic Fudgy Brownies
Fudgy brownies with dark chocolate, cocoa and vanilla
Belgian Chocolate Brownie Torte
Dense chocolate brownie torte with a crisp top
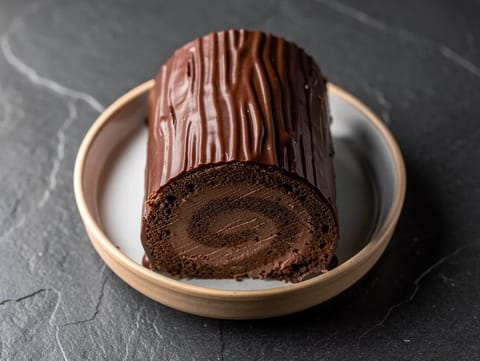
Chocolate Yule Log (Rolled Chocolate Sponge Cake)
Rolled chocolate sponge with chocolate cream and ganache
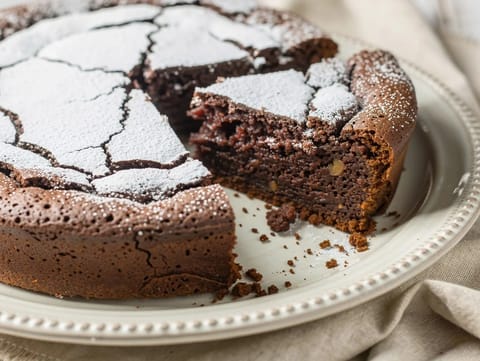
Torta Caprese (Flourless Chocolate and Almond Cake)
Flourless chocolate and almond cake with a fudgy centre
You might also like

Macaroni Salad with Sweetcorn
Macaroni salad with sweetcorn, celery and red onion
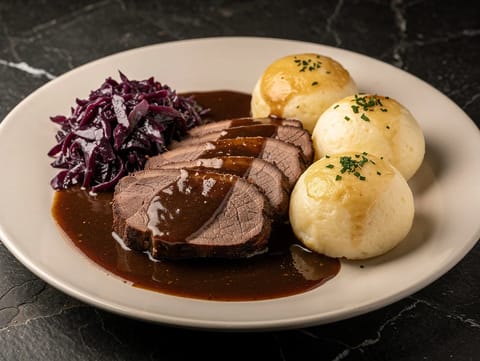
Rheinischer Sauerbraten with Red Cabbage and Potato Dumplings
Marinated beef pot roast with red cabbage and potato dumplings
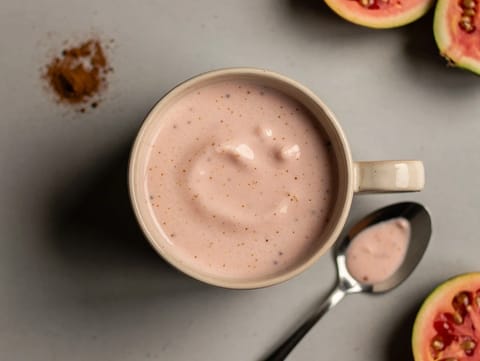
Atole de Guayaba (Guava Masa Pudding Drink)
Warm guava atole thickened with masa harina and milk
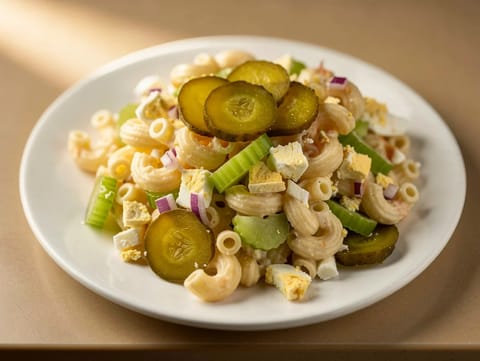
Macaroni Salad with Sweet Pickles
Creamy macaroni salad with sweet pickles and celery
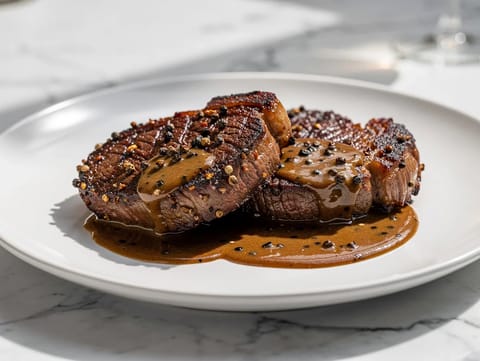
Steak au Poivre (Pepper-Crusted Steak with Brandy Cream Sauce)
Pepper-crusted steak with a brandy and cream pan sauce

Maiale al Latte (Pork Braised in Milk)
Pork braised in milk with sage, garlic and lemon
Make this recipe easier next time
AdvertisementThese tools help you get better results with less effort.
KitchenAid Stainless Steel Mixing Bowls
- Non-slip base
- Stainless steel
- Not microwave safe
T-fal Specialty Nonstick Handy Pot with Glass Lid 3 Quart
- Easy food release
- Dishwasher safe
- Not induction compatible
OXO Good Grips Stainless Mixing Bowl Set
- Non-slip base
- Comfort grip
- Higher price
WMF Mini Saucepan 16 cm with Lid
- High-quality stainless steel
- Even heat distribution
- Higher price point
Enjoy cooking with JustRecipes?
Add JustRecipes as one of your preferred Google sources to discover our recipes more easily across Google Search.
Add JustRecipes to GoogleEvery recipe on JustRecipes follows the same structured editorial process. Learn how recipes are created, validated, translated, illustrated, and continuously improved across the platform. How we create recipes.
