
Pastel de Elote (Mexican Sweetcorn Cake)
Why this recipe works
- Custardy corn crumb: Blending the sweetcorn with milk creates a naturally creamy base while keeping enough texture for a recognisable corn bite.
- Simple structure: A small amount of flour and baking powder gives the cake enough lift without making it dry or bready.
- Best served warm: Serving the cake slightly warm brings out the butter, vanilla and sweetcorn flavour, and keeps the centre soft.
Get the most out of this recipe
Texture tips
- For a finer crumb: Blend the corn a little longer if you prefer a smoother cake, but avoid turning it completely thin and watery.
- Keep the centre tender: Bake until the centre is just set with a slight wobble; a completely dry skewer can mean the cake has gone too far.
Ingredient notes
- Sweetcorn matters: Use naturally sweet corn kernels for the best flavour, as the corn is the main character rather than just a background ingredient.
- For extra richness: Whole milk keeps the crumb soft, while evaporated milk gives a richer, more traditional-style finish.
Timing notes
- Let it settle briefly: Cooling the cake in the tin for 10 minutes helps the custardy crumb firm enough to slice without losing its warmth.
- Serve warm when possible: The texture is at its softest when warm; if serving later, reheat slices briefly before eating.
Make-ahead tips
- Bake ahead: The cake can be baked in advance, cooled completely, covered and refrigerated until needed.
- Reheat gently: Warm slices in a 160°C (320°F) oven until heated through, which restores the softer texture without drying the edges.
- Freeze in slices: Freeze well-wrapped slices, then defrost overnight in the fridge before reheating.
Equipment you'll need
Ingredients
Instructions
- Heat the oven to 180°C (355°F). Grease a 20 cm cake tin with a little of the unsalted butter.
- Melt the remaining unsalted butter and set aside to cool slightly. In a small bowl, whisk together the plain flour, baking powder and fine sea salt.
- Add the sweet corn kernels and whole milk to a blender and blend until mostly smooth, with a little texture left. Tip into a mixing bowl.
- Whisk in the eggs, caster sugar, vanilla extract and the melted butter until well combined. Fold in the flour mixture just until you no longer see dry flour.
- Pour the batter into the prepared tin and bake for 45 to 55 minutes, until the top is lightly golden and the centre is just set with a slight wobble. A skewer should come out with a few moist crumbs rather than wet batter.
- Leave to cool in the tin for 10 minutes, then slice and serve warm for the soft, custardy crumb. If serving later, warm slices briefly before eating.
Recipe notes
Tips
- For the most tender texture, stop blending the corn while it still has a little bite rather than making it completely smooth.
- If the top is browning too quickly, loosely cover with foil for the final 10 to 15 minutes of baking.
- If you are serving to pregnant people, young children, older adults, or anyone immunocompromised, ensure the cake is baked until fully set throughout.
Substitutions
- Replace caster sugar with light brown sugar for a deeper, caramel-like sweetness.
- Replace vanilla extract with vanilla bean paste for a more pronounced vanilla flavour.
- Replace whole milk with evaporated milk for a richer, more traditional-style crumb.
Storage
- Refrigerate up to 3 days
- Cool completely, then cover and refrigerate. Reheat slices in a 160°C (320°F) oven for 8 to 10 minutes until warmed through; freeze slices well wrapped for up to 2 months and defrost overnight in the fridge before reheating.
Ratings & reviews
Liked this recipe? Share your feedback to support our cooking community.
Tried this recipe?
Choose 1–5 stars. A comment is optional.
Stay inspired
Discover new recipes, seasonal favourites and cooking inspiration every day. Follow JustRecipes on Pinterest and Spillt.
Recipe overview
- Servings: 8 servings
- Total time: 1h 15min (15min active)
- Difficulty: Easy
- Cuisine: Mexican
-
Allergens:
Eggs Gluten Milk Wheat
Plan your meals and get a complete grocery list automatically.
Add to meal plannerEquipment you'll need
Got ingredients left?
Find recipes using ingredients from this recipe or what you already have at home.
Find recipes with these ingredients →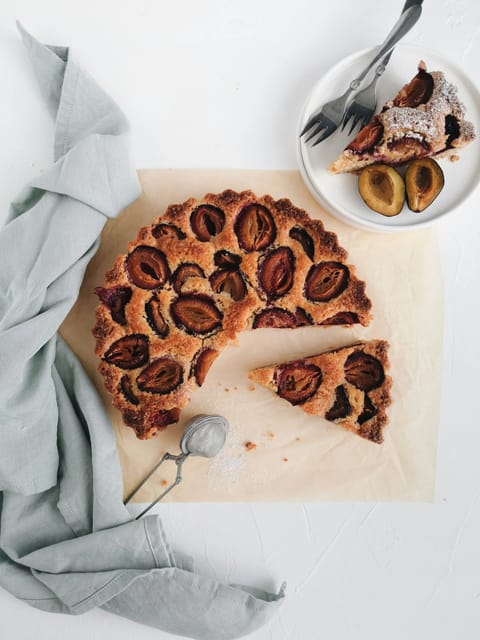
Pflaumenkuchen (German Yeast Plum Cake)
German yeast plum cake topped with fresh plums and cinnamon sugar
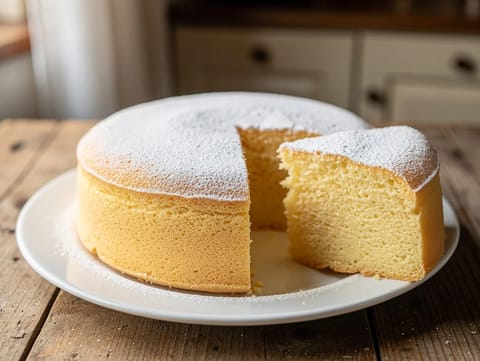
Torta Paradiso (Light Buttery Sponge Cake from Pavia)
Light buttery sponge cake finished with a dusting of icing sugar
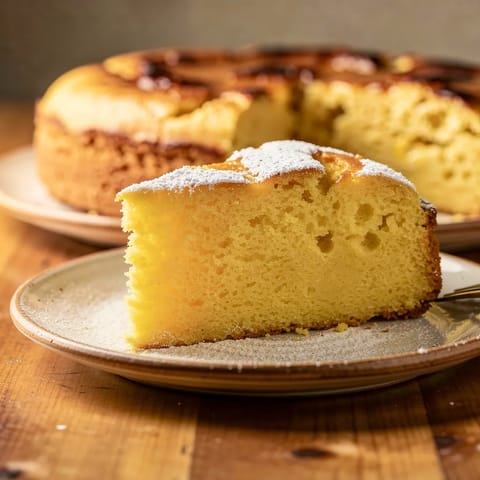
Pan de Elote (Mexican Corn Cake)
Mexican corn cake made with sweetcorn
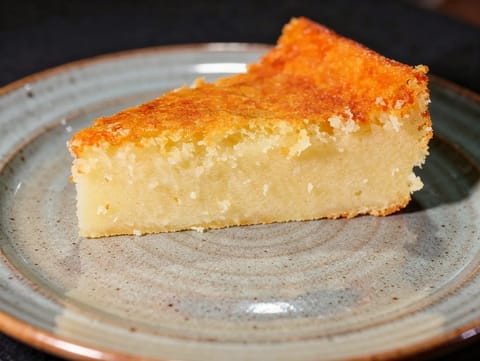
Toucinho do Céu (Portuguese Almond Cake)
Dense Portuguese almond cake finished with icing sugar
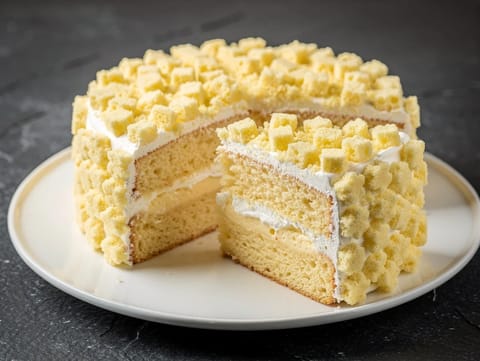
Torta Mimosa (Italian Sponge Cake with Pastry Cream)
Italian sponge cake with pastry cream and whipped cream

Red Velvet Cake with Cream Cheese Frosting
Red velvet cake layered with cream cheese frosting
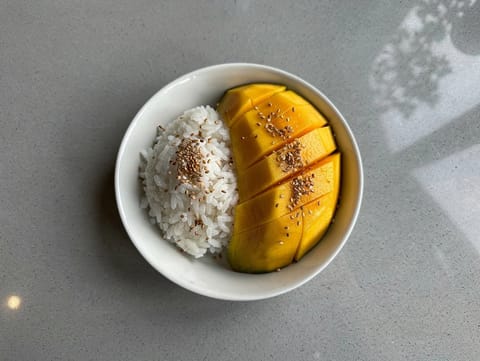
Thai Mango Sticky Rice Dessert Platter
Thai mango sticky rice platter with coconut sauce

Diwali Mixed Sweets Platter (Besan Ladoo, Coconut Barfi and Cashew Fudge)
Diwali sweets platter with besan ladoo, coconut barfi and cashew fudge

Air Fryer Mini Apple Pies
Mini apple pies air-fried with cinnamon and lemon.
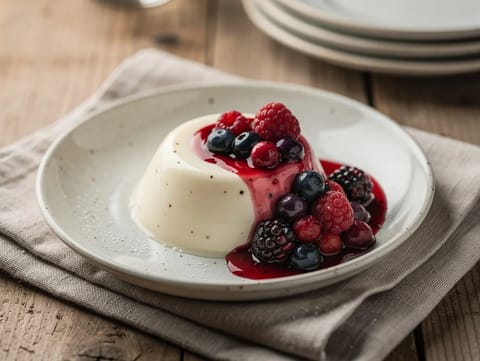
Panna Cotta alla Vaniglia (Vanilla Panna Cotta)
Silky vanilla panna cotta with berry compote

Madeleines de Commercy (French Shell Cakes)
French shell cakes with lemon zest, vanilla and icing sugar
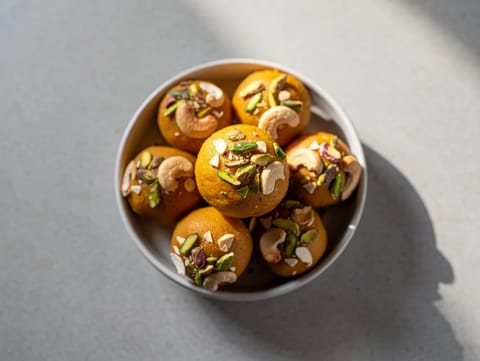
Besan Ladoo (Chickpea Flour Sweets)
Chickpea flour sweets roasted in ghee and shaped into balls
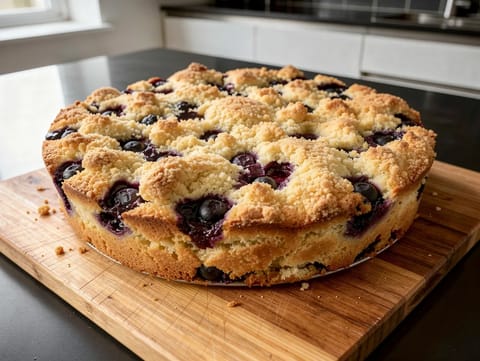
Blueberry Buckle (Sponge Cake with Crumble Topping)
Blueberry sponge cake with a crumble topping

Ciambella al Forno (Italian Breakfast Ring Cake)
Italian breakfast ring cake with lemon zest, mixed in one bowl

Air Fryer Vanilla Cake
Air fryer vanilla sponge cake with simple vanilla buttercream.

Air Fryer Muffins
Air fryer muffins with blueberries in a simple sweet batter.

Christmas Sugar Cookies with Vanilla Butter Dough
Buttery vanilla sugar cookies cut into festive shapes

Nieuwjaarsrolletjes (Dutch New Year’s Wafer Rolls)
Crisp Dutch wafer rolls flavoured with butter and vanilla
You might also like
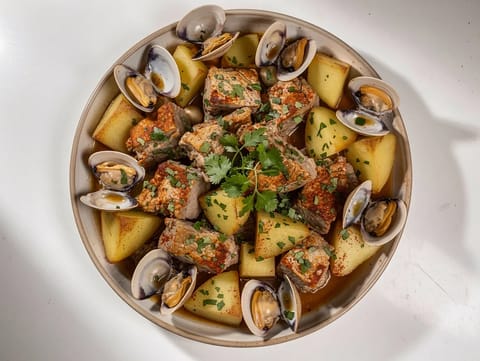
Carne de Porco à Alentejana (Portuguese Pork with Clams)
Portuguese pork with clams, garlic, white wine and fried potatoes
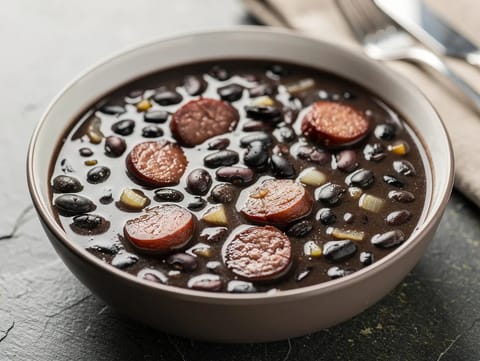
Feijão Preto (Brazilian Black Bean Soup with Smoked Pork)
Brazilian black bean soup with smoked pork and bay
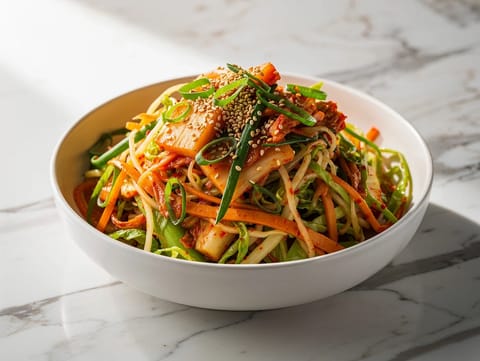
Modern Kimchi Slaw
Crisp kimchi slaw with cabbage and sesame dressing

Zupa Pomidorowa Lekka (Light Polish Tomato Soup)
Light tomato soup with carrots, celery, cream and dill

Thai Meal-Prep Fried Rice
Thai fried rice with chicken, egg and jasmine rice

Clay Pot Rice (Hong Kong-Style Rice Casserole)
Clay pot jasmine rice with chicken, Chinese sausage and spring onion
Make this recipe easier next time
AdvertisementThese tools help you get better results with less effort.
KitchenAid Stainless Steel Mixing Bowls
- Non-slip base
- Stainless steel
- Not microwave safe
Pyrex Glass Mixing Bowls with Lids
- Microwave safe
- BPA-free lids
- Glass is heavier
OXO Good Grips Stainless Mixing Bowl Set
- Non-slip base
- Comfort grip
- Higher price
Enjoy cooking with JustRecipes?
Add JustRecipes as one of your preferred Google sources to discover our recipes more easily across Google Search.
Add JustRecipes to GoogleEvery recipe on JustRecipes follows the same structured editorial process. Learn how recipes are created, validated, translated, illustrated, and continuously improved across the platform. How we create recipes.
