
Swiss Meringue Ghosts
Why this recipe works
- Dissolved sugar gives a smooth mixture: Heating dissolves the sugar before whipping. The resulting smooth, glossy meringue holds the curves and peaks that shape the ghosts.
- Dryness runs through the centre: Gentle heat dries the meringues without quickly browning them. Checking a test ghost inside confirms crispness through the centre.
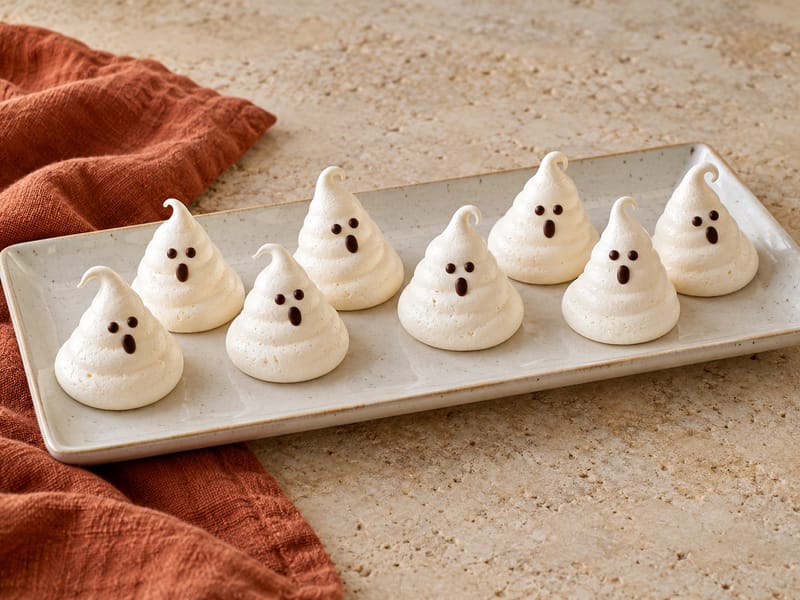
- Broad bases support simple shapes: A broad base anchors each lightweight ghost beneath its small curled tip. The outline needs only a plain piping opening and small chocolate faces.
Get the most out of this recipe
Common mistakes
- Start with grease-free tools: Yolk or grease can stop whites whipping well. Check the bowl before heating and use clean beaters for the whipping stage.
- Wait for peaks that hold: The mixture should be thick and glossy before it reaches the piping bag. A peak that slumps immediately will not support an upright ghost with a curved tip.
- Use the heating endpoint: Dissolved sugar is a texture cue. Continue whisking over the water until the mixture also reaches the stated thermometer endpoint.
Timing notes
- Pipe once the peaks are firm: Have the lined trays and piping bag ready before whipping. Once the meringue holds stiff peaks, pipe the ghosts and move them into the prepared oven.
- Keep the full oven-cooling stage: The oven cools gradually with its door slightly ajar. Wait until the ghosts are completely cold before adding chocolate so the small faces hold their outlines.
- Allow extra drying when needed: A sticky test centre needs the additional drying time in the method. Extend the schedule rather than decorating before the meringue is dry.
Make-ahead tips
- Pack only fully cold meringues: Pack only completely cold ghosts with set chocolate faces. Keep them airtight in a cool, dry cupboard for the stated 3 days, away from moist foods.
- Keep crumbs dry until dessert is served: Add broken ghosts to fruit or yoghurt at the last moment. Moist desserts soften the crumbs, so keep them dry until needed and within the original storage limit.
- Protect the curled tips: Carry the ghosts upright in a rigid container with enough headroom for their tips. Keep heavier food out of the box and lift each ghost from its base.
Equipment you'll need
Ingredients
Meringue
Faces
Instructions
- Heat the oven to 100°C (210°F) and line 2 baking trays. Put the egg whites and sugar in a clean, grease-free heatproof bowl over gently simmering water, keeping the bowl above the water.
- Whisk continuously for 6–8 minutes until the sugar dissolves and the mixture reaches 72°C (160°F). Remove from the heat and use clean electric beaters to whisk for 8–10 minutes until thick, glossy and holding stiff peaks; whisk in the vanilla.
- Spoon into a piping bag with a wide plain opening and pipe 24 upright ghosts about 4 cm tall, building a broad base and pulling up to a small curved tip. Leave space between them.
- Bake for 80–90 minutes until dry to the touch and a test ghost lifts cleanly from the paper. The centre of the test ghost should be dry, not sticky; if needed, dry for another 10–15 minutes.
- Turn off the oven and leave the ghosts inside for 60 minutes with the door slightly ajar, until completely cold. Extra drying extends the total time.
- Melt the chocolate in a dry bowl over warm water, then pipe 2 small eyes and an oval mouth on each ghost. Leave for 15 minutes in a cool room until the faces set.
Recipe notes
Tips
- Keep all egg yolk and grease out of the bowl; either prevents the whites from whipping well. Do not taste the egg mixture before the heating step.
- Use 2 trays about 30 × 40 cm and a heatproof mixing bowl that sits securely over the saucepan without touching the water. Lift cooled ghosts from underneath and serve on a flat platter.
Substitutions
- Replace the vanilla extract with 0.25 teaspoon almond extract; check its allergen label before serving.
Storage
- Keep completely cold, dry ghosts in an airtight container in a cool, dry cupboard for up to 3 days. Do not refrigerate or freeze: moisture makes the meringue sticky. Break damaged ghosts over fruit or yoghurt just before serving; keep the crumbs dry until then and use within the same storage limit.
Ratings & reviews
Liked this recipe? Share your feedback to support our cooking community.
Tried this recipe?
Choose 1–5 stars. A comment is optional.
Stay inspired
Discover new recipes, seasonal favourites and cooking inspiration every day. Follow JustRecipes on Pinterest and Spillt.
Recipe overview
- Servings: 24 pieces
- Yield: meringue ghosts
- Total time: 3h 35min (45min active)
- Difficulty: Medium
- Cuisine: Fusion
-
Allergens:
Eggs
Plan your meals and get a complete grocery list automatically.
Add to meal plannerEquipment you'll need
Got ingredients left?
Find recipes using ingredients from this recipe or what you already have at home.
Find recipes with these ingredients →
Kaju Katli (Cashew Sweet Diamonds)
Cashew kaju katli cut into diamond shapes with cardamom
Air Fryer Caramelized Bananas
Caramelised bananas with cinnamon, yoghurt and toasted almonds.
Tlacoyos (Griddled Masa Cakes Stuffed with Refried Black Beans)
Griddled masa cakes stuffed with refried black beans
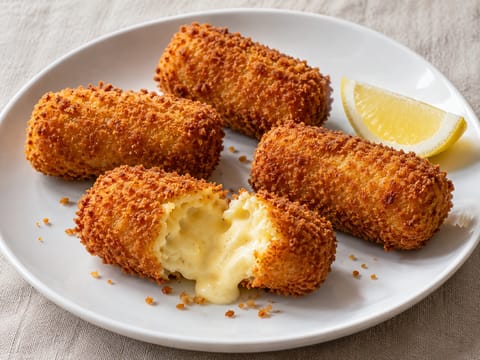
Kaaskroketten (Belgian Cheese Croquettes)
Belgian cheese croquettes with cheddar béchamel and a crisp coating
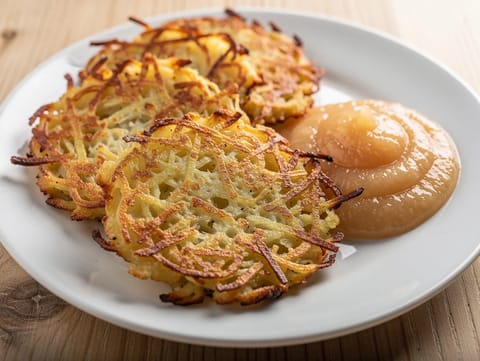
Reibekuchen (German Grated Potato Cakes)
Crisp German grated potato cakes served with apple sauce
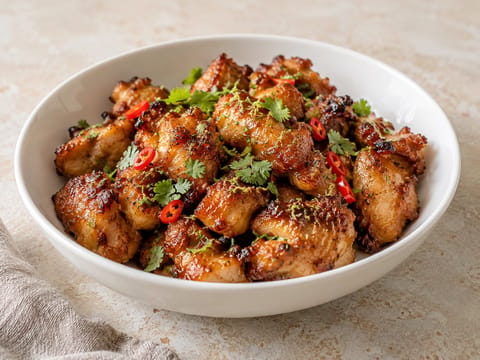
Air Fryer Thai Chicken Bites
Crispy Thai chicken bites finished with lime and honey glaze.
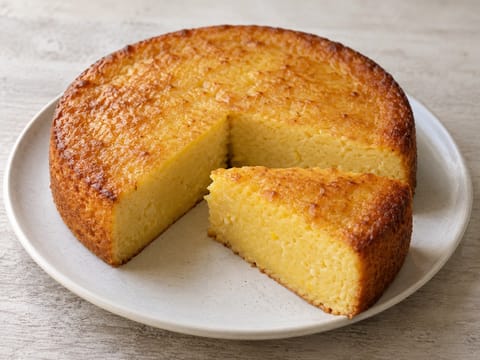
Pastel de Elote (Mexican Sweetcorn Cake)
Tender Mexican sweetcorn cake with a soft, custardy crumb
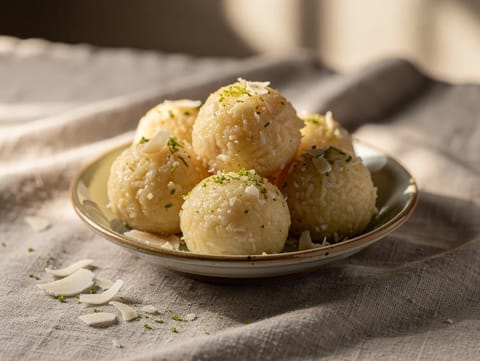
Coconut Sweets with Condensed Milk, Vanilla and Lime Zest
Chewy coconut sweets with vanilla and lime zest
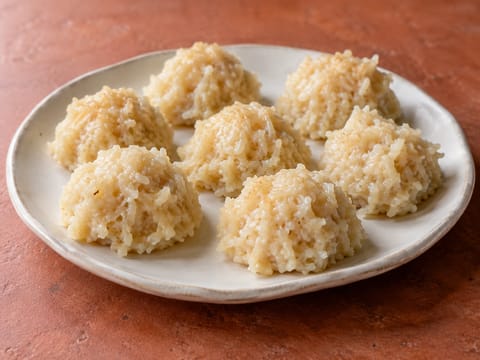
Cocada (Mexican Coconut Sweet)
Chewy coconut sweets made with condensed milk and vanilla
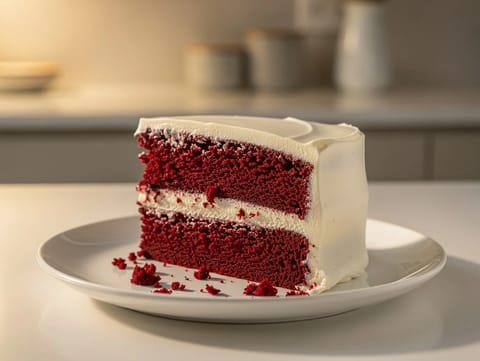
Red Velvet Cake with Cream Cheese Frosting
Red velvet cake layered with cream cheese frosting
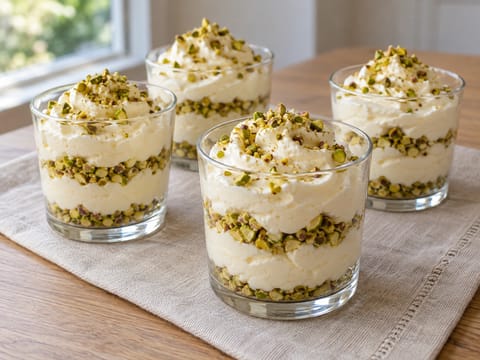
Pistachio and Rose Dessert Cups
Chilled rose cream cups topped with crushed pistachios
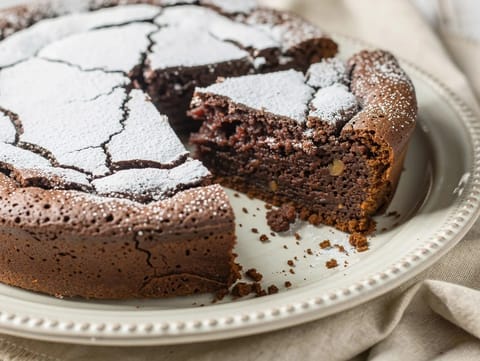
Torta Caprese (Flourless Chocolate and Almond Cake)
Flourless chocolate and almond cake with a fudgy centre
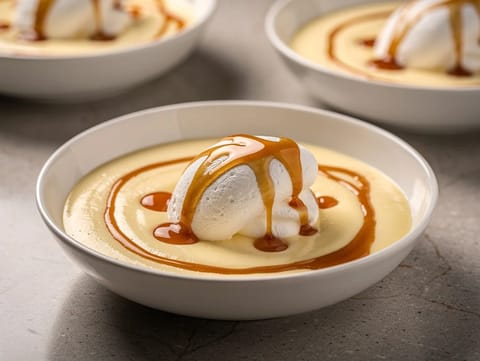
Île Flottante (Floating Island Meringue with Vanilla Custard)
Poached meringue floating on vanilla custard with caramel
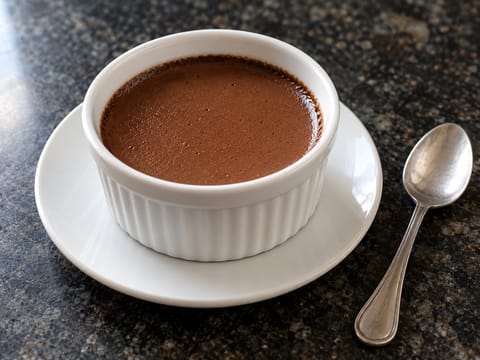
Pots de Crème au Chocolat
Silky baked chocolate custards chilled until spoonable
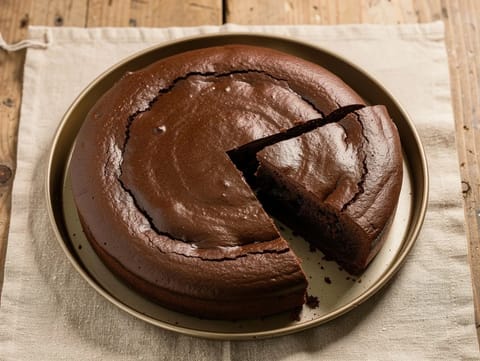
Gluten-Free Flourless Chocolate Cake
Fudgy flourless chocolate cake with cocoa
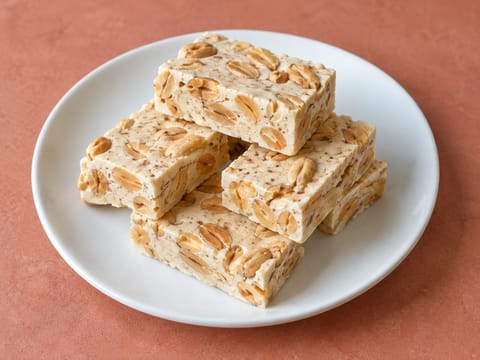
Turrón de Cacahuate (Mexican Peanut Nougat)
Chewy peanut nougat made with honey syrup and egg whites
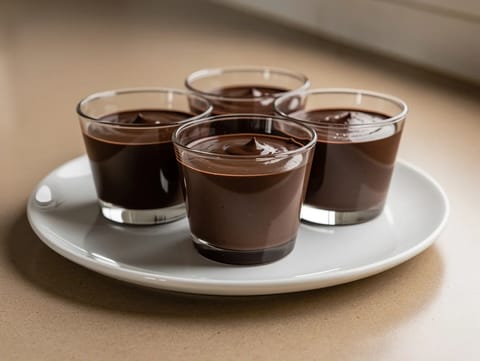
Mousse al Cioccolato Fondente (Dark Chocolate Mousse)
Chilled dark chocolate mousse folded with cream and egg whites
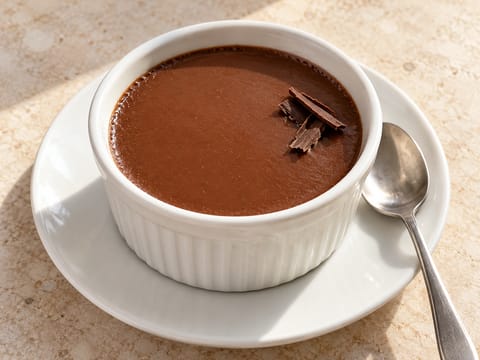
Pot de Crème au Chocolat (French Baked Chocolate Custards)
Chilled French chocolate custards baked in a bain-marie
You might also like

Aperol Spritz (Aperol, Prosecco and Soda Water)
Aperol, prosecco and soda water cocktail over ice
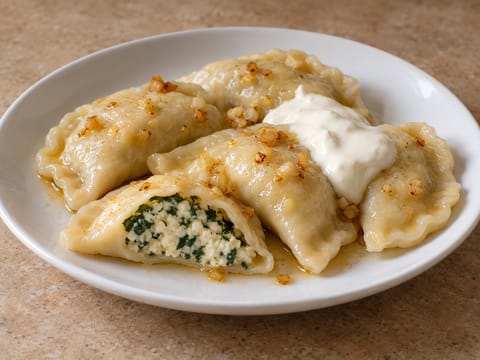
Modern Pierogi with Spinach and Ricotta
Pierogi filled with spinach and ricotta
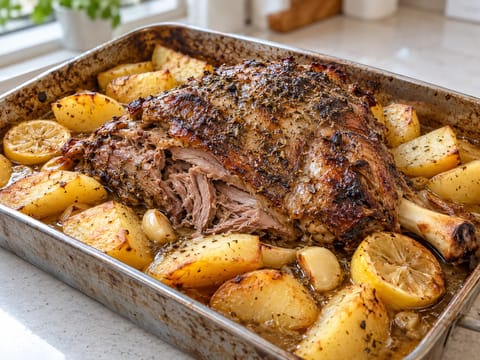
Arni Kleftiko (Slow-Roasted Lamb with Potatoes and Lemon)
Slow-roasted lamb with potatoes, lemon and oregano
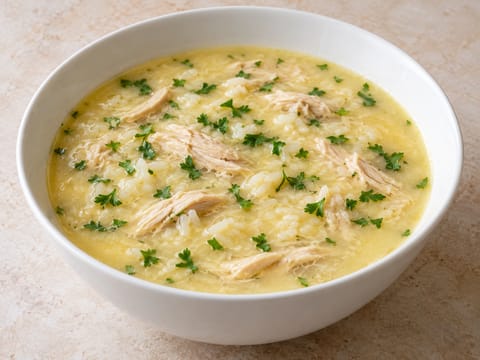
Avgolemono Soup (Greek Chicken, Rice, Egg and Lemon)
Greek chicken and rice soup thickened with egg and lemon
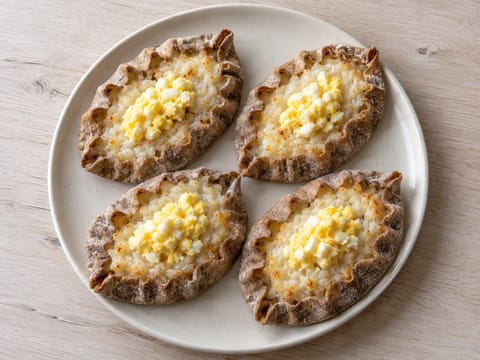
Karjalanpiirakka (Finnish Rye Pasties with Rice Filling)
Finnish rye pasties filled with creamy milk-cooked rice
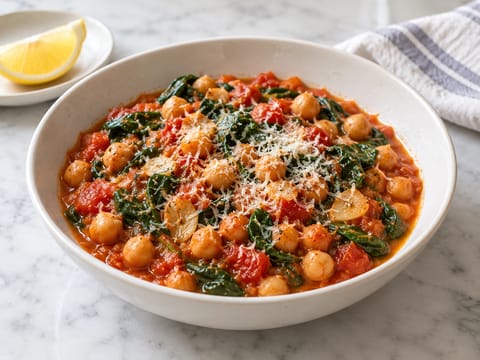
Italian Chickpea and Spinach Bowl
Chickpea and spinach bowl in tomato sauce with Parmesan
Make this recipe easier next time
AdvertisementThese tools help you get better results with less effort.
WMF Mini Saucepan 16 cm with Lid
- High-quality stainless steel
- Even heat distribution
- Higher price point
T-fal Specialty Nonstick Handy Pot with Glass Lid 3 Quart
- Easy food release
- Dishwasher safe
- Not induction compatible
All-Clad Tri-Ply Stainless Steel Saucepan
- Excellent heat control
- Premium build quality
- Expensive
Enjoy cooking with JustRecipes?
Add JustRecipes as one of your preferred Google sources to discover our recipes more easily across Google Search.
Add JustRecipes to GoogleEvery recipe on JustRecipes follows the same structured editorial process. Learn how recipes are created, validated, translated, illustrated, and continuously improved across the platform. How we create recipes.