
Caramel Pecan Turtle Bars
Why this recipe works
- Layered texture: The crisp shortbread-style base balances the chewy caramel, toasted pecans, and smooth chocolate topping.
- Deep caramel flavour: Brown sugar, butter, golden syrup, cream, and vanilla create a rich caramel layer without needing a separate sugar caramel.
- Easy to portion: Baking in a square tray and chilling briefly makes the bars simple to lift out, slice, and serve neatly.
Get the most out of this recipe
Timing notes
- Let the caramel settle: Cooling the tray before adding the chocolate helps the caramel firm slightly, so the topping sits cleanly rather than sinking in.
- Chill briefly, not for hours: Chill just until the chocolate is set; over-chilling can make the bars harder to cut cleanly.
- Serve slightly softened: After refrigeration, let the bars sit briefly at room temperature for a better caramel texture.
Ingredient notes
- Use pecans for the turtle flavour: Pecans are central to the classic turtle profile, adding a rounded nuttiness that works especially well with caramel and dark chocolate.
- Choose baking chocolate: Dark baking chocolate melts more smoothly than many eating chocolates and gives a cleaner finish for spreading or drizzling.
- Honey changes the caramel: Honey can replace golden syrup, but it brings a more floral flavour and a slightly different caramel profile.
Common mistakes
- Keep the caramel gentle: Once the caramel starts bubbling, avoid high heat; steady simmering thickens it without catching on the base of the pan.
- Do not underbake the base: The base should be set and pale golden at the edges before the topping goes on, otherwise it may soften under the caramel.
- Cut at the right point: Slice once the chocolate is set but not rock-hard, using a warm, dry knife for cleaner edges.
Make-ahead tips
- Good for making ahead: The bars keep well in the fridge, making them practical for dessert platters or gifting.
- Freeze after slicing: Freeze the bars in a single layer first, then transfer them to a container once firm to protect the chocolate topping.
- Texture improves after resting: After a night in the fridge, the layers become easier to handle and the caramel sets into a neat, chewy slice.
Equipment you'll need
Ingredients
Instructions
- Heat the oven to 170°C (340°F). Line a 20 cm square baking tray with parchment paper, leaving a little overhang for lifting out later.
- Melt 175 g of the butter and set aside to cool slightly. In a mixing bowl, combine the flour, 50 g of the light brown sugar and the fine sea salt, then stir in the melted butter until you have an even, sandy dough.
- Press the dough firmly into the lined tray in an even layer. Bake for 18 to 22 minutes, until pale golden and set at the edges.
- While the base bakes, toast the pecan nuts on a dry baking tray for 6 to 8 minutes, until fragrant. Roughly chop them once cool enough to handle.
- Make the caramel: in a saucepan over medium heat, melt the remaining 50 g butter with the remaining 150 g light brown sugar and the golden syrup, whisking until smooth. Simmer gently for 3 to 5 minutes until slightly thickened, then take off the heat and whisk in the double cream and vanilla extract.
- Scatter the toasted pecans evenly over the warm base. Pour the caramel over the top and tilt the tray to level it, then return to the oven for 10 to 12 minutes until bubbling across the surface.
- Cool the tray on a rack for 20 minutes so the caramel settles. Melt the dark baking chocolate gently, then drizzle or spread it over the caramel layer.
- Chill for 15 to 20 minutes, just until the chocolate is set and the layers slice cleanly. Lift out using the parchment overhang and cut into 12 bars with a warm, dry knife.
Recipe notes
Tips
- For neat slices, chill only until set, then cut with a knife warmed under hot water and wiped dry between cuts.
- When making the caramel, keep the heat gentle once it starts bubbling so it thickens without catching on the base of the pan.
Substitutions
- Replace golden syrup with honey for a slightly more floral caramel.
- Replace vanilla extract with madagascar-vanilla-paste for a more pronounced vanilla flavour.
Storage
- Refrigerate up to 5 days
- Store in an airtight container in the fridge for up to 5 days. For the best texture, let bars sit at room temperature for 10 minutes before serving; freeze in a single layer, then transfer to a container and defrost in the fridge overnight.
Ratings & reviews
Liked this recipe? Share your feedback to support our cooking community.
Tried this recipe?
Choose 1–5 stars. A comment is optional.
Stay inspired
Discover new recipes, seasonal favourites and cooking inspiration every day. Follow JustRecipes on Pinterest and Spillt.

Recipe overview
- Servings: 12 pieces
- Total time: 1h 50min (35min active)
- Difficulty: Medium
- Cuisine: American
-
Allergens:
Milk Pecans Tree nuts Wheat
Plan your meals and get a complete grocery list automatically.
Add to meal plannerEquipment you'll need
Got ingredients left?
Find recipes using ingredients from this recipe or what you already have at home.
Find recipes with these ingredients →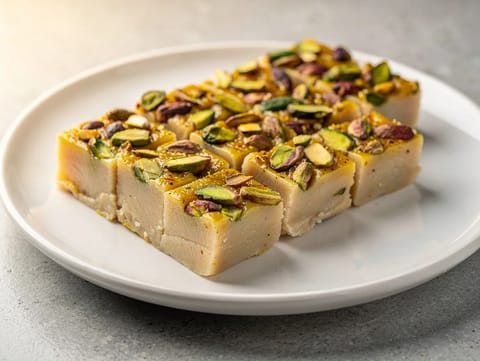
Barfi (Milk Sweet Bars)
Fudgy barfi made from reduced milk, cardamom and pistachios
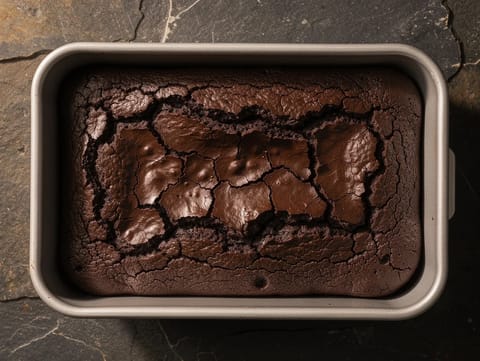
Air Fryer Chocolate Brownie Bites
Fudgy air fryer brownie bites with cocoa and dark chocolate.
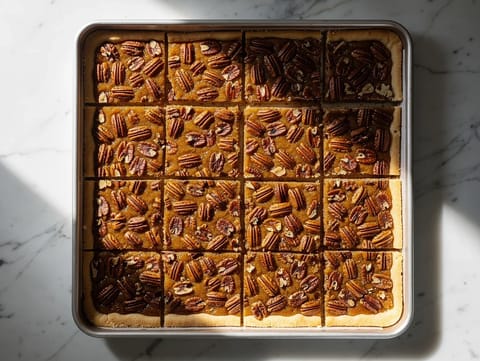
Pecan Pie Bars
Shortbread bars topped with maple and brown sugar pecans
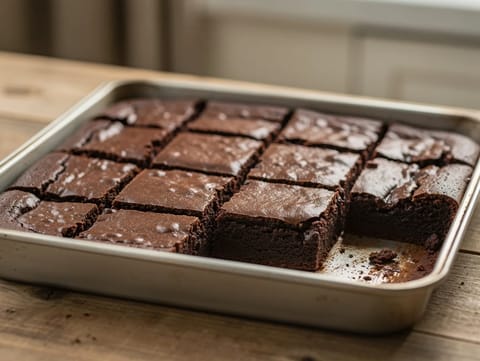
Classic Fudgy Brownies
Fudgy brownies with dark chocolate, cocoa and vanilla
Classic Brownies
Classic brownies baked until just set for a fudgy texture
Air Fryer Brownies
Rich air fryer brownies bake up fudgy with dark chocolate and cocoa.
Flan Casero (Spanish Caramel Custard)
Spanish baked caramel custard made with eggs, milk and vanilla
Pancake Bites
Baked pancake bites with vanilla batter and blueberries.
Air Fryer Lava Cake
Individual chocolate cakes with a molten centre.
Galette des Rois (Kings’ Cake) with Almond Frangipane
Puff pastry cake filled with almond frangipane
Scottish Shortbread
Buttery Scottish shortbread baked until pale gold
Gorditas de Azúcar (Sweet Fried Masa Cakes)
Sweet fried masa cakes coated in cinnamon sugar
Pecan Pie with Golden Syrup Custard in Shortcrust Pastry
Pecan pie in shortcrust pastry with golden syrup custard
Chocolate Yule Log (Rolled Chocolate Sponge Cake)
Rolled chocolate sponge with chocolate cream and ganache
Air Fryer Chocolate Brownie Bites
Fudgy air fryer brownie bites with cocoa and dark chocolate.
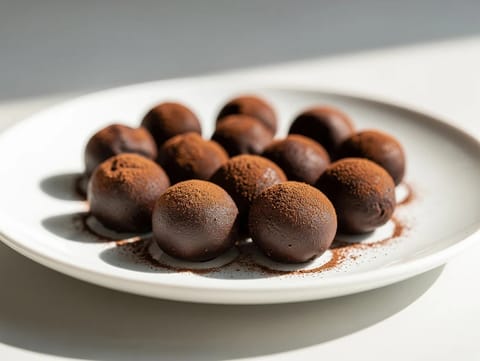
Belgian-Style Chocolate Truffles
Dark chocolate truffles coated in cocoa powder
Pecan Pie Bars
Shortbread bars topped with maple and brown sugar pecans
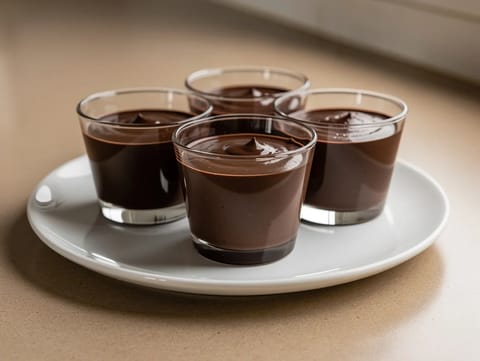
Mousse al Cioccolato Fondente (Dark Chocolate Mousse)
Chilled dark chocolate mousse folded with cream and egg whites
You might also like
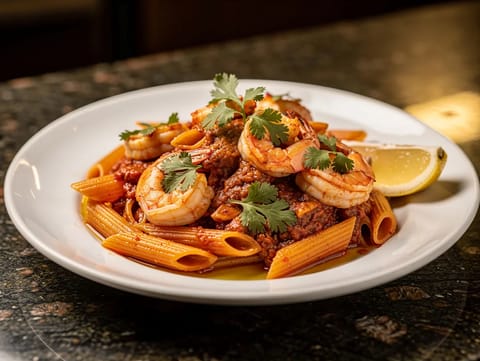
Masala Arrabbiata Prawn Pasta
Prawn penne in masala-spiced arrabbiata tomato sauce
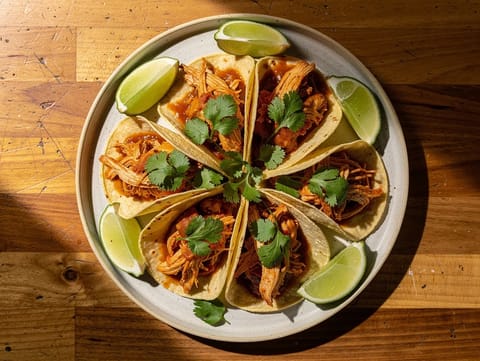
Tinga de Pollo Tacos with Chipotle Sauce
Tacos filled with shredded chicken tinga and chipotle sauce
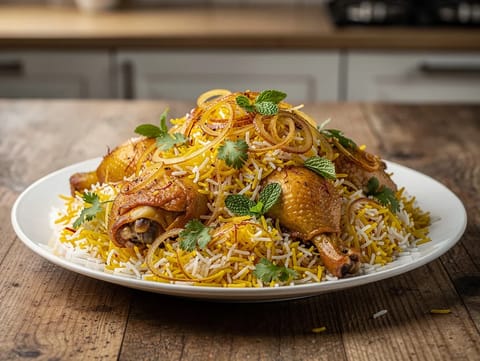
Hyderabadi Dum Biryani with Saffron and Rose Water
Layered Hyderabadi dum biryani with saffron, rose water and fried onions
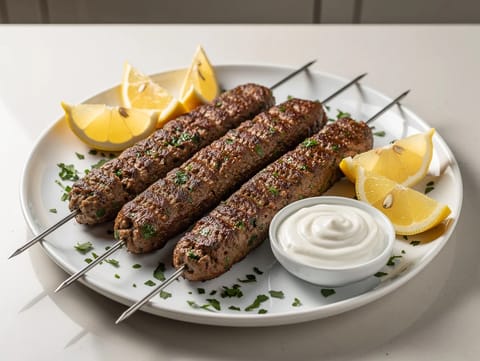
Air Fryer Kebab Skewers
Spiced lamb kebab skewers cooked until browned in the air fryer.
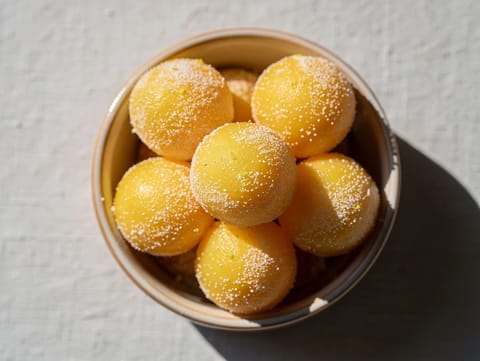
Yemas de Santa Teresa (Egg Yolk Sweets)
Egg yolk sweets shaped into balls and rolled in sugar
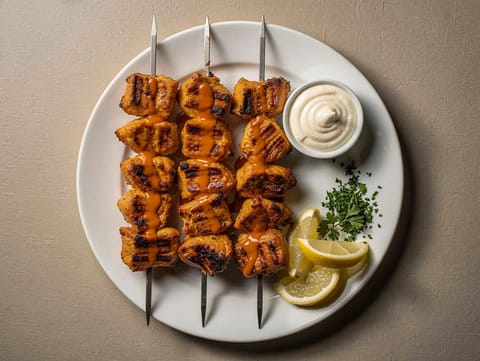
Shish Tawook (Marinated Chicken Skewers with Garlic Sauce)
Grilled chicken skewers marinated in yoghurt, lemon and garlic
Make this recipe easier next time
AdvertisementThese tools help you get better results with less effort.
KitchenAid Stainless Steel Mixing Bowls
- Non-slip base
- Stainless steel
- Not microwave safe
T-fal Specialty Nonstick Handy Pot with Glass Lid 3 Quart
- Easy food release
- Dishwasher safe
- Not induction compatible
OXO Good Grips Stainless Mixing Bowl Set
- Non-slip base
- Comfort grip
- Higher price
WMF Mini Saucepan 16 cm with Lid
- High-quality stainless steel
- Even heat distribution
- Higher price point
Enjoy cooking with JustRecipes?
Add JustRecipes as one of your preferred Google sources to discover our recipes more easily across Google Search.
Add JustRecipes to GoogleEvery recipe on JustRecipes follows the same structured editorial process. Learn how recipes are created, validated, translated, illustrated, and continuously improved across the platform. How we create recipes.
