
Baked Buffalo Chicken Wings (Hot Sauce and Butter)
Why this recipe works
- Crisp without frying: Baking powder and a high oven heat help dry the surface of the wings, encouraging browning and crisp skin.
- Sharp, rich balance: Hot sauce brings vinegar-led heat, while melted butter rounds the edges and gives the coating its classic glossy texture.
- Built-in contrast: Cool blue cheese dip and chilled celery balance the heat, richness and saltiness of the wings.
Get the most out of this recipe
Adjust the heat
- Make it milder: Choose a gentler hot sauce or use a slightly higher proportion of butter to soften the heat without losing the Buffalo-style flavour.
- Increase the heat: Use a hotter vinegar-based sauce, or add a small pinch of cayenne to the butter sauce before tossing the wings.
- Keep the heat balanced: Serve with the blue cheese dip and celery rather than skipping them; both are part of what makes the heat feel rounded rather than harsh.
Texture tips
- For extra-crisp skin: Pat the wings very dry before seasoning and leave space between them on the tray so the heat can circulate.
- Toss just before serving: Coat the wings in sauce at the last moment so the skin stays crisp at the edges rather than softening too quickly.
- Use a rack if available: A rack set over the baking tray helps hot air reach the underside of the wings, improving overall browning.
Ingredient notes
- Choose skin-on wings: Skin-on wings are essential here because the crisp surface is what holds the Buffalo sauce properly.
- Use a vinegar-based hot sauce: Classic Buffalo sauce depends on tangy, sharp heat rather than a thick sweet chilli-style sauce.
- Blue cheese safety note: For pregnant people, young children, older adults or anyone immunocompromised, use pasteurised blue cheese.
Make-ahead tips
- Prepare the dip ahead: The blue cheese dip can be mixed in advance and kept chilled, then stirred before serving.
- Re-crisp leftovers: Reheat refrigerated wings on a baking tray at 220°C (430°F) until piping hot and the skin has crisped again.
- Best served fresh: Buffalo wings are at their best immediately after baking and tossing, while the coating is glossy and the edges are still crisp.
Equipment you'll need
Ingredients
Wings
Buffalo sauce
Blue cheese dip and serving
Instructions
- Heat the oven to 230°C (445°F). Pat the chicken wings very dry with kitchen paper, then place in a large bowl.
- Mix the baking powder, fine sea salt and black pepper, then sprinkle over the wings. Toss thoroughly until every wing is evenly coated.
- Arrange the wings on a baking tray in a single layer, leaving a little space between them. Bake for 40 minutes, turning once halfway through, until deeply browned and the skin feels crisp.
- Meanwhile, make the dip: crush the garlic to a paste, then mix with the sour cream, mayonnaise and white wine vinegar. Crumble in most of the blue cheese and stir, keeping a little to sprinkle on top.
- Cut the celery into sticks and chill until serving. Cover the dip and set aside.
- In a small saucepan over low heat, melt the unsalted butter, then whisk in the hot sauce until glossy and combined. Do not let it boil.
- Transfer the hot wings to a clean bowl and pour over the buffalo sauce. Toss with tongs until evenly coated, then serve straight away with the celery sticks and blue cheese dip, topped with the reserved blue cheese.
Recipe notes
Tips
- Drying the wings well is key: moisture is the enemy of crisp skin, even with baking powder.
- For extra crunch, bake the wings on a rack set over the baking tray so hot air can circulate underneath.
- Food safety: if serving to pregnant people, young children, older adults, or anyone immunocompromised, use pasteurised blue cheese.
Substitutions
- Replace white wine vinegar with apple cider vinegar for a slightly fruitier tang in the dip.
- Replace sour cream with greek yogurt for a lighter, tangier dip.
- Replace hot sauce with buffalo-wing-sauce for a slightly thicker, more seasoned coating.
Storage
- Refrigerate up to 3 days
- Cool the wings, then refrigerate in a sealed container for up to 3 days. Reheat on a baking tray at 220°C (430°F) for 10 to 15 minutes until piping hot and the skin re-crisps; keep the dip refrigerated and stir before serving.
Ratings & reviews
Liked this recipe? Share your feedback to support our cooking community.
Tried this recipe?
Choose 1–5 stars. A comment is optional.
Stay inspired
Discover new recipes, seasonal favourites and cooking inspiration every day. Follow JustRecipes on Pinterest and Spillt.

Recipe overview
- Servings: 4 servings
- Total time: 55min (15min active)
- Difficulty: Easy
- Cuisine: American
-
Allergens:
Eggs Milk
Plan your meals and get a complete grocery list automatically.
Add to meal plannerEquipment you'll need
Got ingredients left?
Find recipes using ingredients from this recipe or what you already have at home.
Find recipes with these ingredients →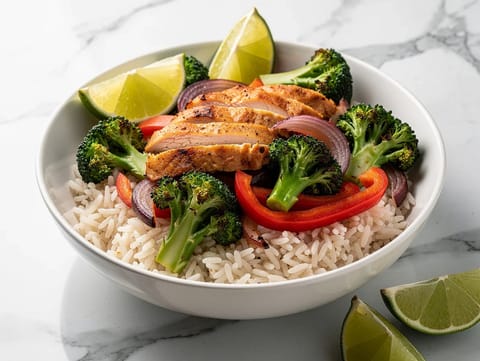
Air Fryer Turkey and Vegetables
Air-fried turkey with vegetables, served with jasmine rice.
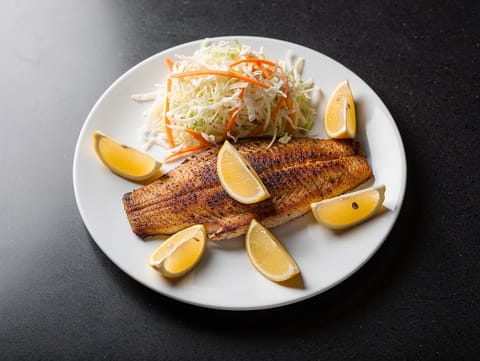
Cajun Blackened Catfish with Coleslaw
Blackened Cajun catfish with quick lemony coleslaw
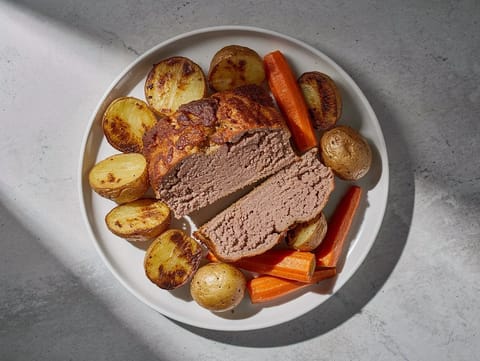
Sheet-Pan Meatloaf with Potatoes and Carrots
Sheet-pan meatloaf with roasted potatoes and carrots
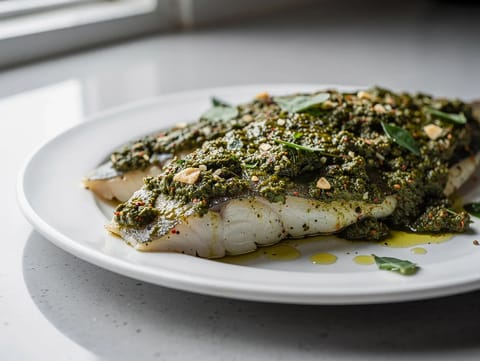
Chermoula Fish
Baked white fish topped with chermoula coriander and spices
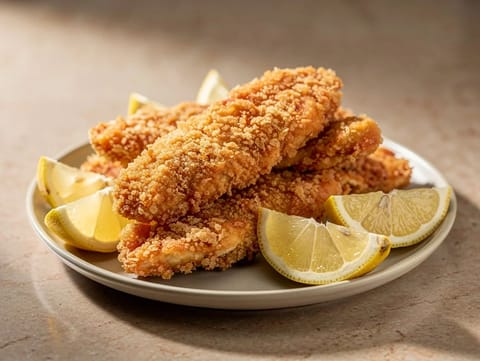
Air Fryer Extra Crispy Chicken Tenders
Panko-coated chicken tenders air fried until extra crispy.
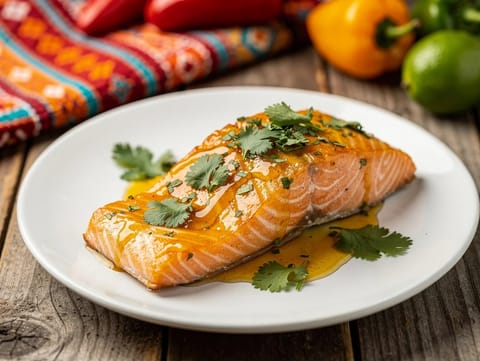
Baked Salmon with Aji Amarillo and Honey Glaze
Baked salmon with aji amarillo, honey and lime glaze
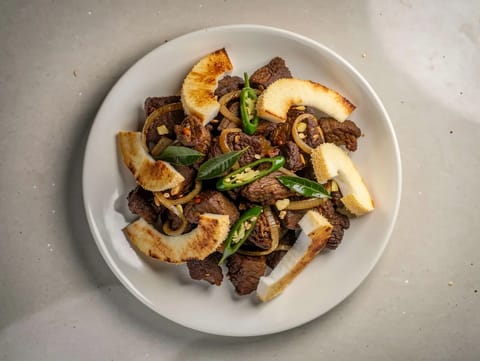
Kerala Beef Fry with Coconut Slices
Dry-style Kerala beef fry with curry leaves and coconut
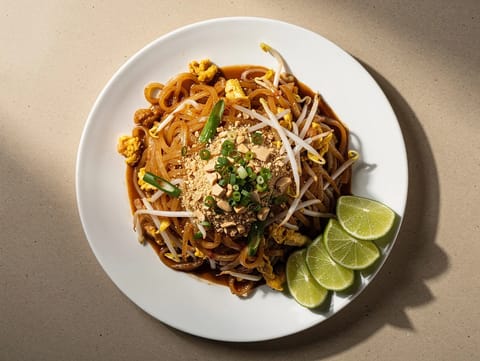
Pad Thai
Thai rice noodles stir-fried with tamarind, egg and peanuts
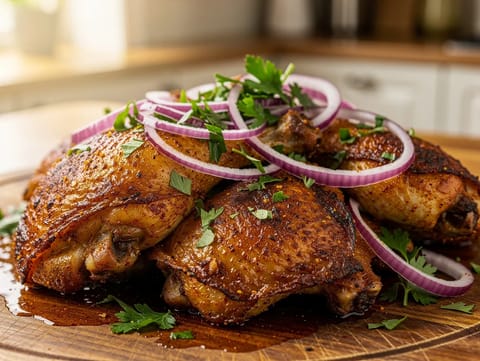
Shawarma-Spiced Roast Chicken Thighs
Roast chicken thighs marinated with shawarma spices, yoghurt and lemon
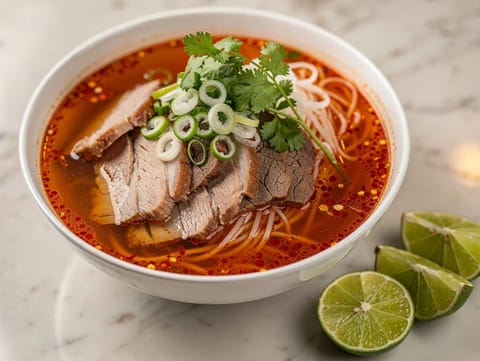
Tết Bún Bò Huế (Spicy Vietnamese Noodle Soup)
Spicy lemongrass beef noodle soup with beef and pork
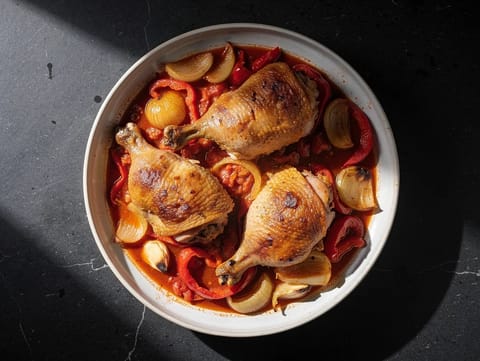
Pollo alla Romana con Peperoni (Chicken with Peppers and Tomatoes)
Roman style chicken simmered with peppers, tomatoes and rosemary
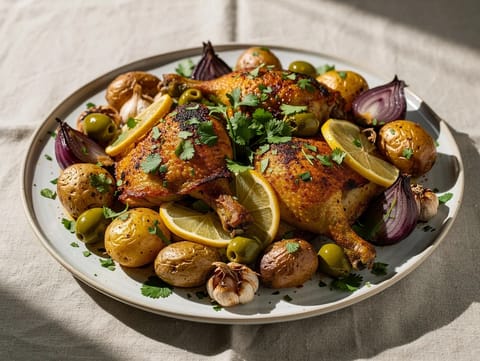
Moroccan Chicken Traybake with Preserved Lemon and Olives
Chicken traybake with preserved lemon, olives, potatoes and red onion
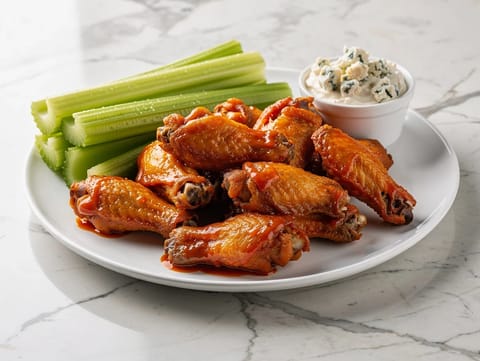
Air Fryer Buffalo Chicken Wings
Crisp wings tossed in buttery hot sauce Buffalo-style.
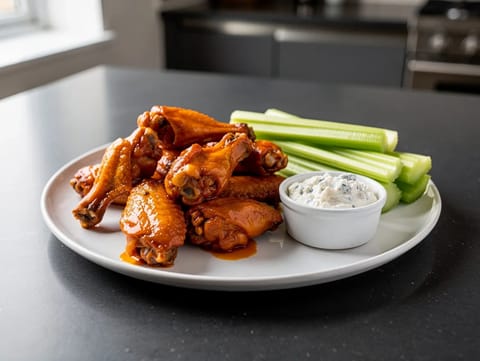
Buffalo Wings with Blue Cheese Dip
Crisp baked wings tossed in hot sauce and butter
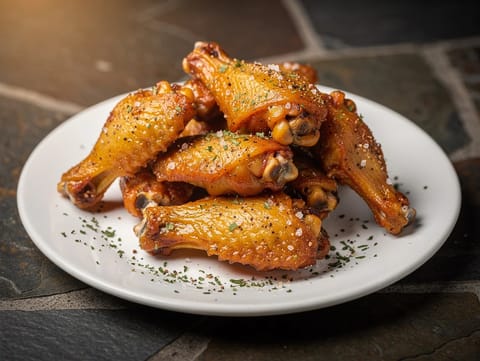
Air Fryer Garlic Parmesan Wings
Crispy wings coated in buttery garlic and Parmesan.
Tacos de Pescado Estilo Baja (Battered Fish Tacos)
Crispy battered fish tacos with lime crema
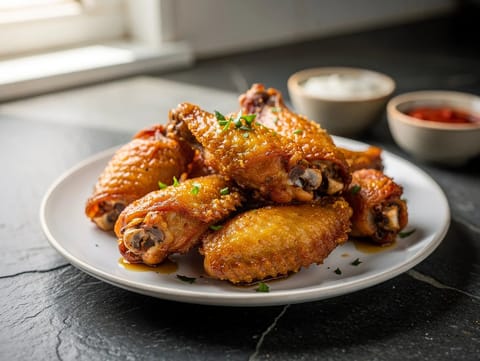
Air Fryer Extra Crispy Chicken Wings
Extra crispy air fryer chicken wings with a simple spice coating.
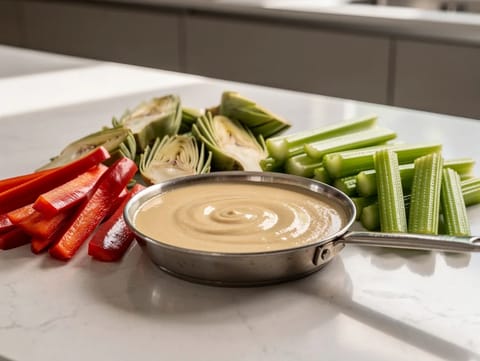
Bagna Cauda (Warm Anchovy and Garlic Dip)
Warm anchovy and garlic dip cooked in olive oil and butter
You might also like
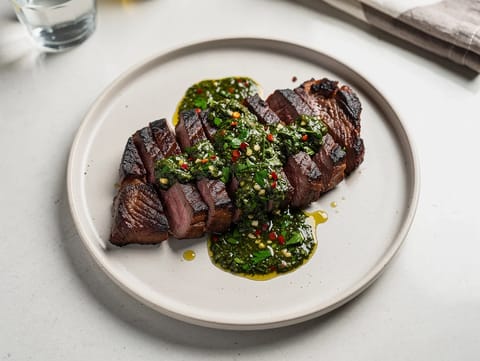
Churrasco with Chimichurri (Grilled Beef Steak)
Grilled beef steak served with herby chimichurri sauce
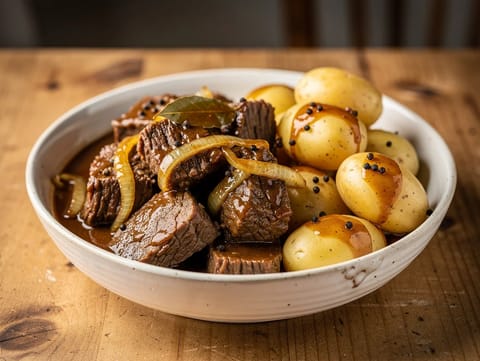
Westfälischer Pfefferpotthast (Westphalian Beef and Pepper Stew)
Westphalian beef stew with onions and plenty of black pepper

Watermelon Agua Fresca (Fresh Watermelon Drink)
Watermelon agua fresca blended with lime and chilled over ice

Creole Jambalaya with Andouille Sausage
Creole jambalaya with andouille sausage, rice and tomatoes
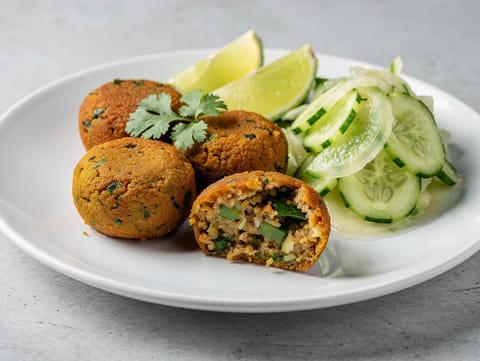
Tod Mun Pla (Thai Fish Cakes with Red Curry Paste)
Thai fish cakes with red curry paste and green beans
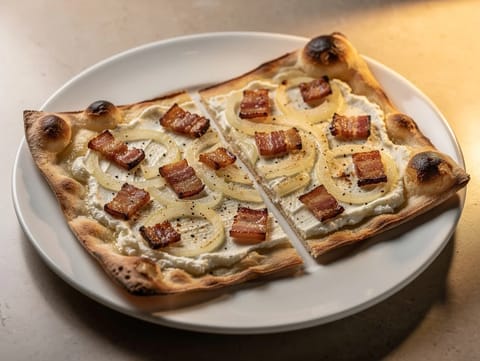
Tarte Flambée (French Flatbread with Onion and Lardons)
Crisp tarte flambée with onion, lardons and crème fraîche
Make this recipe easier next time
AdvertisementThese tools help you get better results with less effort.
KitchenAid Stainless Steel Mixing Bowls
- Non-slip base
- Stainless steel
- Not microwave safe
T-fal Specialty Nonstick Handy Pot with Glass Lid 3 Quart
- Easy food release
- Dishwasher safe
- Not induction compatible
OXO Good Grips Stainless Mixing Bowl Set
- Non-slip base
- Comfort grip
- Higher price
WMF Mini Saucepan 16 cm with Lid
- High-quality stainless steel
- Even heat distribution
- Higher price point
Enjoy cooking with JustRecipes?
Add JustRecipes as one of your preferred Google sources to discover our recipes more easily across Google Search.
Add JustRecipes to GoogleEvery recipe on JustRecipes follows the same structured editorial process. Learn how recipes are created, validated, translated, illustrated, and continuously improved across the platform. How we create recipes.
