
Air Fryer Fudge Brownies
Why this recipe works
- Deep chocolate flavour: Melted dark chocolate gives body and richness, while cocoa powder sharpens the chocolate intensity.
- Compact bake: A small tin and air-fryer cooking keep the total time manageable without heating a full oven.
- Clear doneness cues: Set edges, a slight wobble and moist crumbs on a skewer make it easier to avoid overbaking.
Get the most out of this recipe
Timing notes
- Cool before slicing: Let the brownies cool fully after the initial tin rest; the centre continues to firm up and the edges cut more cleanly.
- Best texture for serving: Serve at room temperature for the softest, fudgiest texture, especially if the brownies have been chilled.
Texture tips
- Keep the centre fudgy: Stop cooking when the middle still has a slight wobble and the skewer shows moist crumbs rather than waiting for it to come out clean.
- Fold gently: Once the flour and cocoa go in, mix only until no dry patches remain to keep the crumb dense rather than cakey.
Common mistakes
- Air fryer heat can vary: If the top browns before the centre is set, lower the temperature to 150°C (300°F) for the final few minutes.
- Do not slice too early: Cutting while warm will give soft, messy pieces; chilling briefly before slicing gives the neatest squares.
Make-ahead tips
- Make ahead: These brownies keep well in an airtight container and can be made in advance for easy serving.
- Freeze portions: Wrap individual pieces well, freeze, then thaw at room temperature when needed.
Equipment you'll need
Ingredients
Instructions
- Grease and line a small cake pan that fits your air fryer basket (about 15 cm). Preheat the air fryer to 160°C (320°F) for 3 minutes.
- Melt the butter and dark chocolate together in a saucepan over a low heat, stirring until smooth. Take off the heat and leave for 2 minutes to cool slightly.
- In a mixing bowl, whisk the caster sugar and eggs for 30 to 45 seconds until glossy and slightly thickened. Whisk in the vanilla, then whisk in the warm chocolate mixture.
- Sift in the cocoa powder, plain flour and fine sea salt, then fold with a spatula just until you no longer see dry flour. Scrape the batter into the prepared pan and level the top.
- Air fry at 160°C (320°F) for 16 to 20 minutes, until the edges look set and the centre has a slight wobble; a skewer should come out with moist crumbs, not wet batter. If the top is browning too quickly, reduce the temperature to 150°C (300°F) for the final few minutes.
- Cool in the tin for 15 minutes, then lift out and cool completely before slicing for clean edges. Cut into 8 small squares, or 4 larger portions.
Recipe notes
Tips
- For the fudgiest centre, stop cooking while the middle is still slightly soft; the brownies will continue to set as they cool.
- If you are serving to pregnant people, young children, the elderly, or anyone who is immunocompromised, use pasteurised eggs.
Substitutions
- Replace vanilla extract with vanilla bean paste for a stronger vanilla flavour.
Storage
- Refrigerate up to 4 days
- Store in an airtight container. For the neatest slices, chill first, then cut; bring to room temperature to serve. Freeze portions well wrapped, then thaw at room temperature.
Ratings & reviews
Liked this recipe? Share your feedback to support our cooking community.
Tried this recipe?
Choose 1–5 stars. A comment is optional.
Stay inspired
Discover new recipes, seasonal favourites and cooking inspiration every day. Follow JustRecipes on Pinterest and Spillt.
Recipe overview
- Servings: 4 servings
- Total time: 45min (15min active)
- Difficulty: Easy
- Cuisine: American
-
Allergens:
Eggs Gluten Milk Wheat
Plan your meals and get a complete grocery list automatically.
Add to meal plannerGot ingredients left?
Find recipes using ingredients from this recipe or what you already have at home.
Find recipes with these ingredients →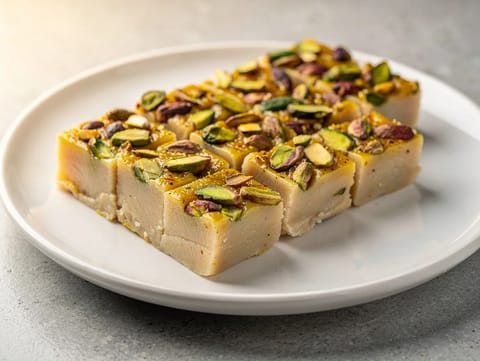
Barfi (Milk Sweet Bars)
Fudgy barfi made from reduced milk, cardamom and pistachios
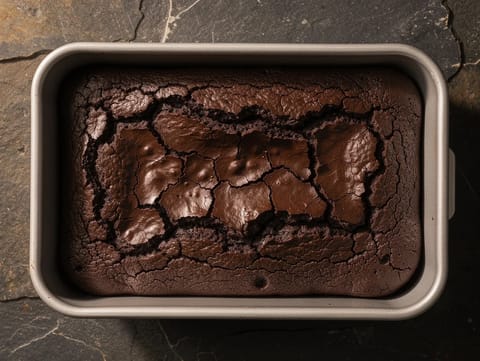
Air Fryer Chocolate Brownie Bites
Fudgy air fryer brownie bites with cocoa and dark chocolate.
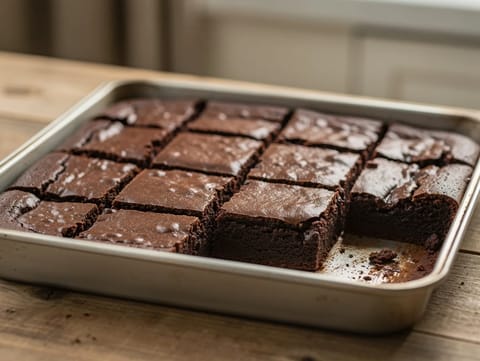
Classic Fudgy Brownies
Fudgy brownies with dark chocolate, cocoa and vanilla
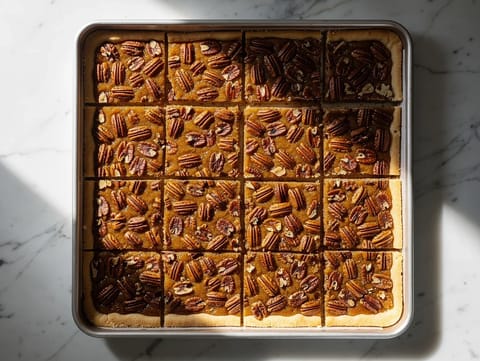
Pecan Pie Bars
Shortbread bars topped with maple and brown sugar pecans
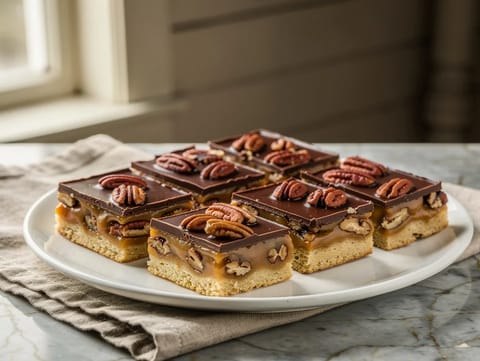
Caramel Pecan Turtle Bars
Shortbread bars topped with pecans, caramel and dark chocolate
Classic Brownies
Classic brownies baked until just set for a fudgy texture
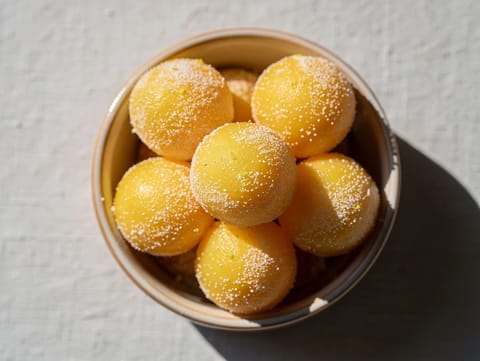
Yemas de Santa Teresa (Egg Yolk Sweets)
Egg yolk sweets shaped into balls and rolled in sugar
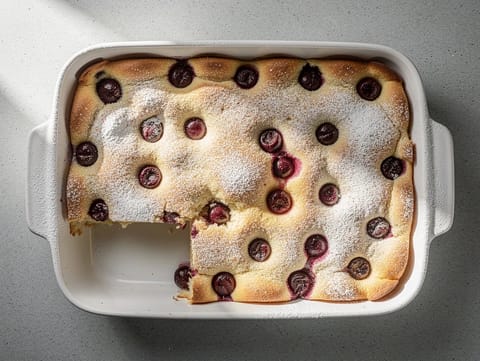
Kirschmichel (German Cherry Bread Pudding)
German baked bread pudding with cherries and vanilla custard
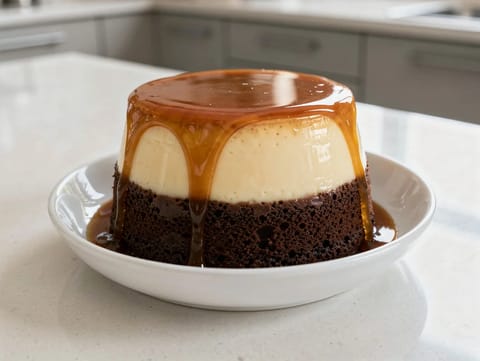
Chocoflan (Chocolate Cake with Vanilla Flan)
Caramel chocoflan with vanilla flan and chocolate sponge
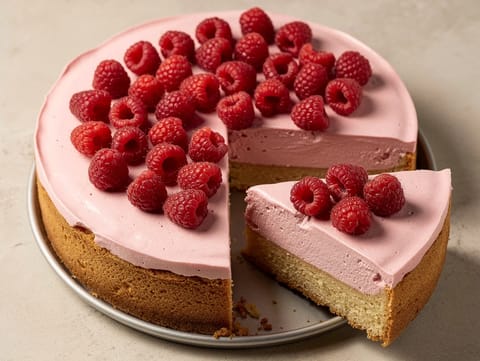
Entremet Framboise (Raspberry Mousse Cake)
Almond sponge topped with raspberry mousse and fresh raspberries
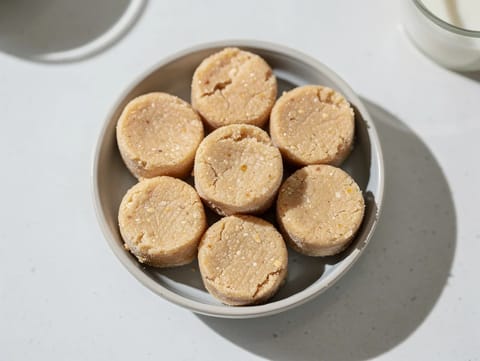
Mazapán (Mexican Peanut Marzipan)
Crumbly peanut mazapán pressed with icing sugar and vanilla
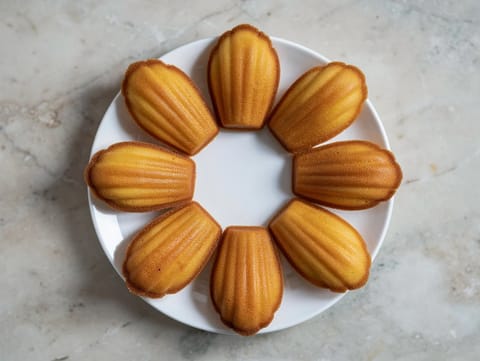
Madeleine Cakes
French shell-shaped sponge cakes with lemon and vanilla
Classic Fudgy Brownies
Fudgy brownies with dark chocolate, cocoa and vanilla
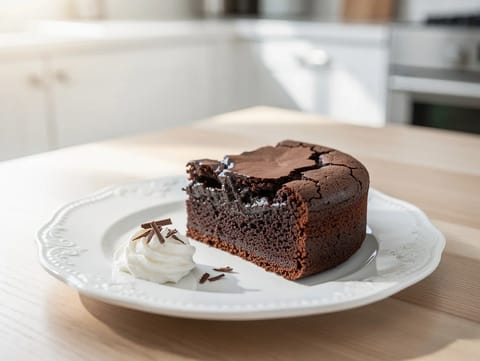
Belgian Chocolate Brownie Torte
Dense chocolate brownie torte with a crisp top
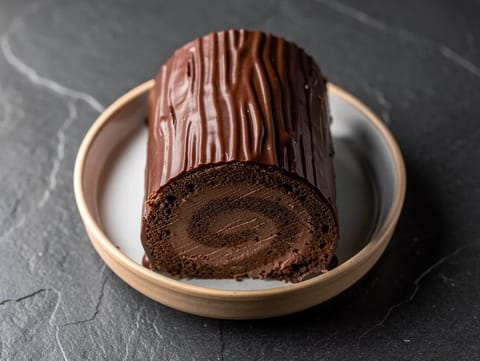
Chocolate Yule Log (Rolled Chocolate Sponge Cake)
Rolled chocolate sponge with chocolate cream and ganache
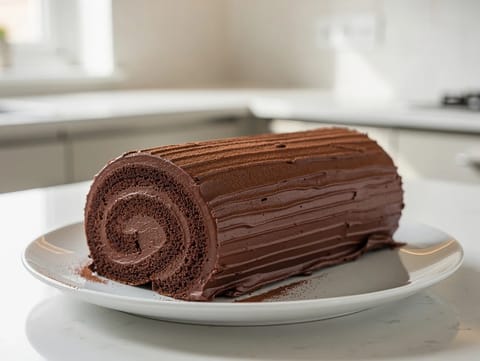
Bûche de Noël (Yule Log Cake) with Chocolate Buttercream
Chocolate sponge roll filled and coated with chocolate buttercream
Air Fryer Chocolate Brownie Bites
Fudgy air fryer brownie bites with cocoa and dark chocolate.
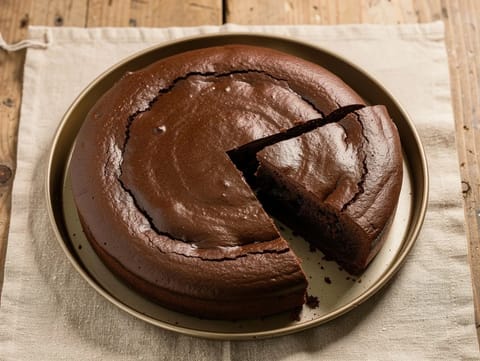
Gluten-Free Flourless Chocolate Cake
Fudgy flourless chocolate cake with cocoa
You might also like
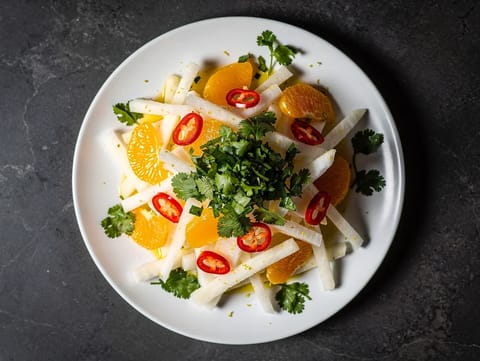
Jícama Salad with Orange, Lime and Chilli
Crunchy jícama salad with orange, lime and chilli
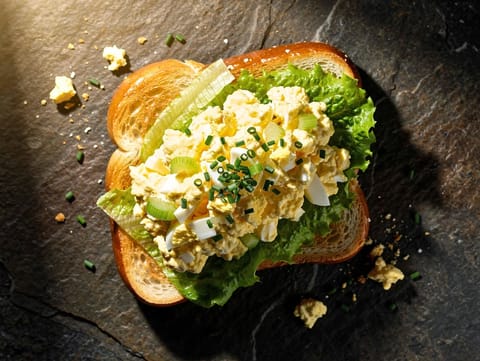
Egg Salad Sandwich on Brioche
Egg salad on toasted brioche with chives and lettuce
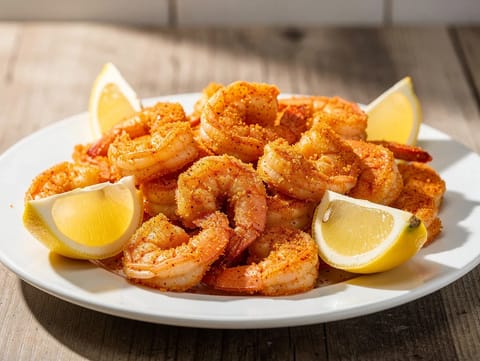
Air Fryer Breaded Shrimp
Crisp air fryer breaded shrimp with a light paprika coating.
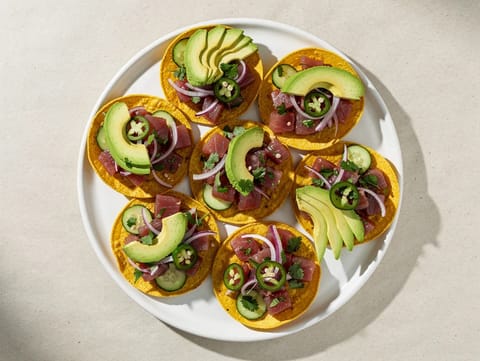
Tostadas de Ceviche de Atún (Tuna Ceviche Tostadas)
Crisp tostadas topped with tuna ceviche and avocado
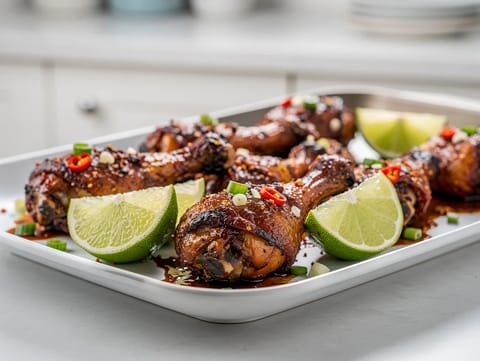
Five-Spice Jerk Chicken Drumsticks
Sticky roasted jerk chicken drumsticks with five-spice and lime
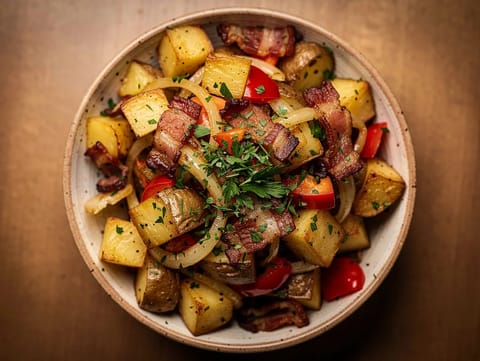
Air Fryer Breakfast Hash
Crispy air-fryer breakfast hash with potatoes and bacon.
Make this recipe easier next time
AdvertisementThese tools help you get better results with less effort.
KitchenAid Stainless Steel Mixing Bowls
- Non-slip base
- Stainless steel
- Not microwave safe
T-fal Specialty Nonstick Handy Pot with Glass Lid 3 Quart
- Easy food release
- Dishwasher safe
- Not induction compatible
OXO Good Grips Stainless Mixing Bowl Set
- Non-slip base
- Comfort grip
- Higher price
WMF Mini Saucepan 16 cm with Lid
- High-quality stainless steel
- Even heat distribution
- Higher price point
Enjoy cooking with JustRecipes?
Add JustRecipes as one of your preferred Google sources to discover our recipes more easily across Google Search.
Add JustRecipes to GoogleEvery recipe on JustRecipes follows the same structured editorial process. Learn how recipes are created, validated, translated, illustrated, and continuously improved across the platform. How we create recipes.
