
Pasta al Forno Pugliese (Baked Pasta with Meatballs and Eggs)
Why this recipe works
- Deep ragù flavour: Softened onion, garlic, passata and browned meatballs build a rich sauce before the pasta goes into the oven.
- Firm pasta, crisp edges: Cooking the rigatoni very al dente lets it absorb sauce as it bakes while the top turns bubbling and crisp around the edges.
- Built for sharing: Layering pasta, meatballs, eggs and cheese in a baking dish makes this a generous centrepiece that slices neatly after resting.
Get the most out of this recipe
Authenticity notes
- Puglian-style layering: This version follows the Southern Italian baked-pasta tradition, with small meatballs, mozzarella and sliced hard-boiled eggs layered through the pasta rather than served separately.
- A hearty family bake: The dish is designed to be substantial and sliceable, with the ragù binding the pasta and fillings together after a brief rest.
Timing notes
- Plan the stages: The eggs, ragù, meatballs and pasta each need attention before assembly, so this is best approached as a staged bake rather than a quick pasta dinner.
- Rest before slicing: Let the baked pasta stand for 10 minutes after it comes out of the oven so the cheese and sauce settle enough for cleaner portions.
- Best served warm: Serve once rested but still warm, while the mozzarella is soft and the edges remain crisp.
Texture tips
- Keep the pasta firm: Drain the rigatoni while it is still very al dente; it will continue cooking in the sauce during baking.
- Avoid a watery bake: Use a thick, glossy ragù and drain the pasta well before layering so the finished dish holds together.
- For a deeper top: Use the grill briefly at the end if you want extra colour, watching closely so the cheese and eggs do not catch.
Make-ahead tips
- Prepare components ahead: The eggs, ragù and browned meatballs can be prepared in advance, then assembled with freshly cooked pasta before baking.
- Freeze in portions: Cool completely, wrap portions tightly and freeze for up to 2 months. Thaw overnight in the fridge before reheating.
- Reheat gently: Reheat portions in a 180°C (355°F) oven until piping hot, adding a little water if the pasta looks dry.
Equipment you'll need
Ingredients
Instructions
- Put 4 eggs in a saucepan, cover with cold water and bring to the boil. Reduce to a gentle boil for 10 minutes, then drain and cool under cold running water. Peel and set aside.
- Finely chop the onion and crush the garlic. Heat 2 tbsp of the olive oil in a saucepan over medium heat, then cook the onion with a pinch of salt for 8 to 10 minutes until soft and sweet. Stir in the garlic for 1 minute.
- Pour in the tomato passata, add 1 tsp fine sea salt and 0.5 tsp black pepper, and bring to a gentle simmer. Cook for 25 to 30 minutes, stirring occasionally, until thickened and glossy. Taste and adjust seasoning if needed.
- Meanwhile, finely chop the parsley and grate the parmesan. In a bowl, mix the minced beef with the breadcrumbs, half the parsley, half the parmesan, 0.5 tsp fine sea salt and 0.5 tsp black pepper. Roll into small meatballs, about walnut-sized.
- Heat the remaining 2 tbsp olive oil in a large frying pan over medium-high heat. Brown the meatballs in batches for 5 to 7 minutes, turning, until well coloured all over; they do not need to be cooked through. Tip the browned meatballs into the ragù and simmer for 10 minutes until the meatballs are cooked through and the sauce tastes rich.
- Heat the oven to 200°C (390°F). Bring a large pot of well-salted water to the boil and cook the rigatoni for 2 minutes less than the packet suggests, so it is very al dente. Drain well.
- Slice the mozzarella and slice the hard-boiled eggs. Stir about two-thirds of the ragù through the drained pasta, coating it well. Keep the remaining ragù for layering and the top.
- Spoon half the pasta into a baking dish and level it gently. Dot over half the mozzarella and half the egg slices, then spoon over a little of the remaining ragù. Add the rest of the pasta, then top with the remaining ragù, mozzarella and egg slices, and finish with the remaining parmesan.
- Bake for 20 to 25 minutes until bubbling and crisp at the edges. If you want a deeper golden top, grill for 2 to 3 minutes, watching closely. Rest for 10 minutes before slicing and serving, scattered with the remaining parsley.
Recipe notes
Tips
- Undercook the rigatoni slightly so it finishes cooking in the oven and stays pleasantly firm.
- If the ragù thickens too much while simmering, loosen it with a splash of water and simmer for 2 minutes to bring it back together.
- Eggs should be cooked until the yolks are set; if serving anyone vulnerable, use eggs with the British Lion mark or equivalent assurance.
Substitutions
- Replace Rigatoni with Penne for a similar shape that holds the ragù well.
- Replace Parmesan with Pecorino romano cheese for a saltier, sharper finish.
- Replace Mozzarella with Low-moisture mozzarella for a less watery bake and a more defined top.
Storage
- Refrigerate up to 3 days
- Cool completely, then cover and refrigerate. Reheat portions in a 180°C (355°F) oven for 15 to 20 minutes until piping hot; add a spoonful of water if it looks dry. Freeze tightly wrapped portions for up to 2 months and thaw overnight in the fridge before reheating.
Ratings & reviews
Liked this recipe? Share your feedback to support our cooking community.
Tried this recipe?
Choose 1–5 stars. A comment is optional.
Stay inspired
Discover new recipes, seasonal favourites and cooking inspiration every day. Follow JustRecipes on Pinterest and Spillt.
Recipe overview
- Servings: 4 servings
- Total time: 1h 45min (45min active)
- Difficulty: Advanced
- Cuisine: Italian
-
Allergens:
Eggs Gluten Milk Wheat
Plan your meals and get a complete grocery list automatically.
Add to meal plannerEquipment you'll need
Got ingredients left?
Find recipes using ingredients from this recipe or what you already have at home.
Find recipes with these ingredients →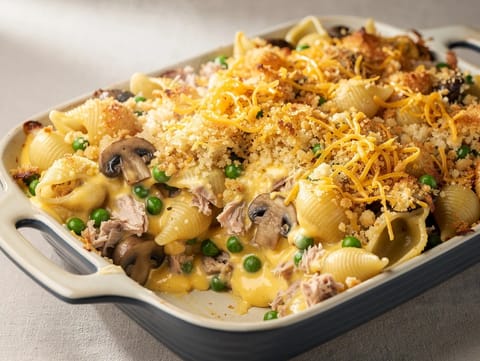
Tuna Casserole (Baked Pasta with Mushrooms and Breadcrumbs)
Baked tuna pasta casserole with mushrooms and crisp breadcrumbs
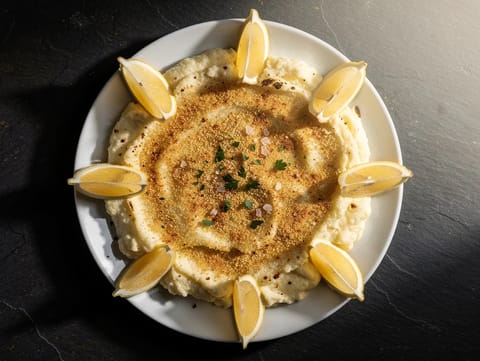
Brandade de Morue (French Salt Cod and Potato Gratin)
Salt cod and potato gratin with garlic and breadcrumbs
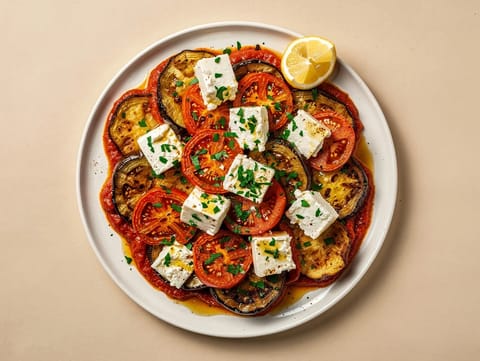
Aubergine and Feta Bake with Tomato Sauce
Roasted aubergine baked in tomato sauce with feta and oregano
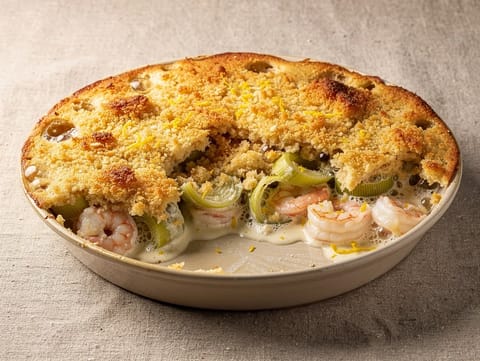
Prawn and Leek Gratin
Prawn and leek gratin with mustard cream, cheddar and breadcrumbs
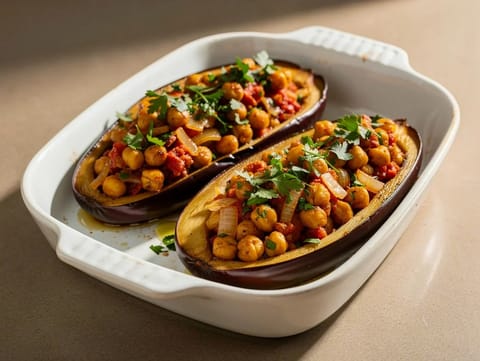
Vegan Stuffed Aubergines with Spiced Chickpeas
Roasted aubergines stuffed with spiced chickpeas in tomato sauce
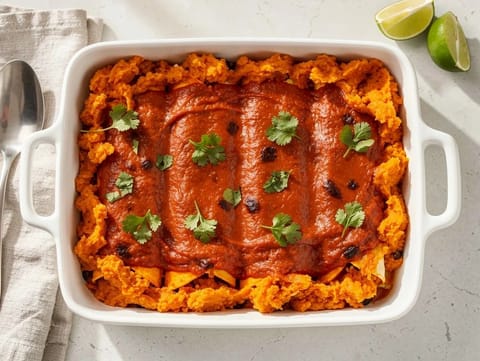
Gluten-Free Black Bean and Sweet Potato Enchiladas
Baked enchiladas with black beans, sweet potato and chipotle
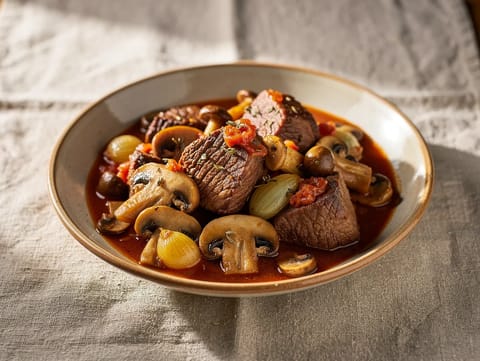
Estofado de Jabalí con Setas (Wild Boar and Mushroom Stew)
Wild boar and mushroom stew braised with red wine
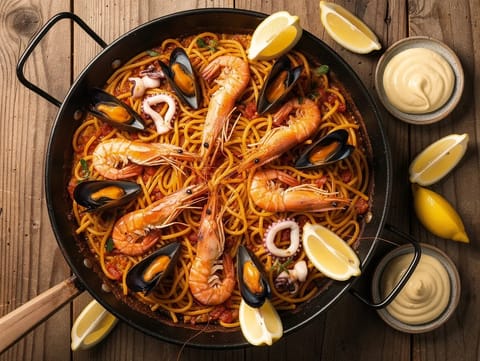
Fideuà de Mariscos (Seafood Noodle Paella)
Seafood fideuà with toasted noodles and saffron stock
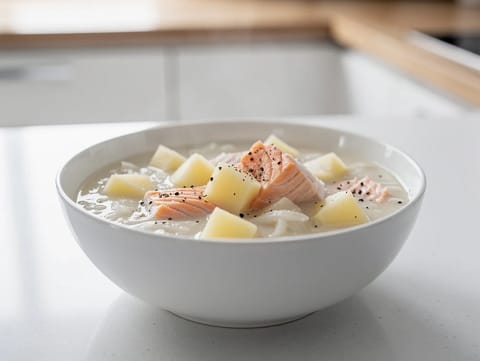
Cullen Skink (Scottish Smoked Haddock Soup)
Scottish smoked haddock soup with potatoes and milk
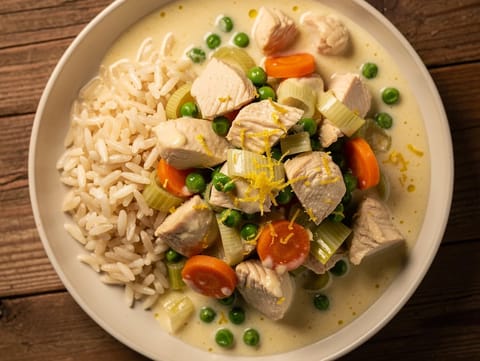
Hühnerfrikassee (German Chicken Fricassee with Rice)
Creamy German chicken fricassee with rice, carrots and peas
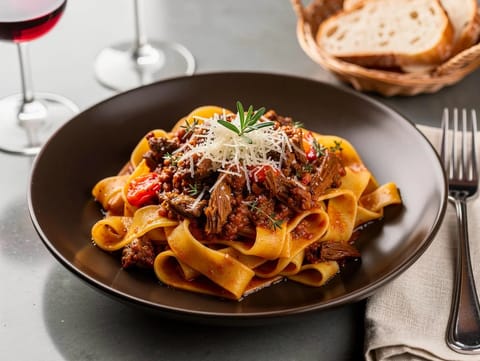
Pappardelle al Cinghiale (Pappardelle with Wild Boar Ragù)
Pappardelle with slow-simmered wild boar ragù and pecorino
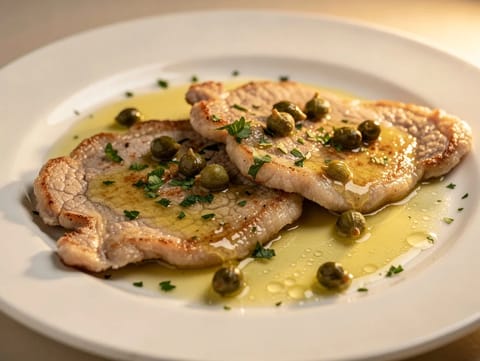
Veal Scaloppine al Limone (Italian Lemon Veal)
Pan-fried veal in a lemon, white wine and caper sauce
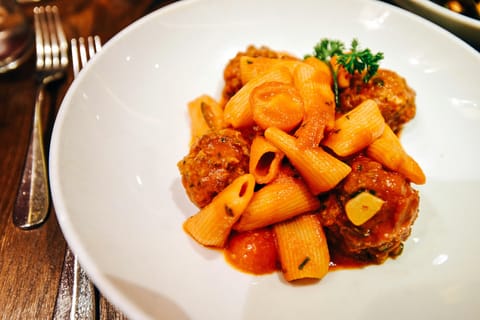
Pasta con le Polpette Napoletane (Pasta with Neapolitan Meatballs)
Rigatoni with Neapolitan meatballs simmered in tomato sauce
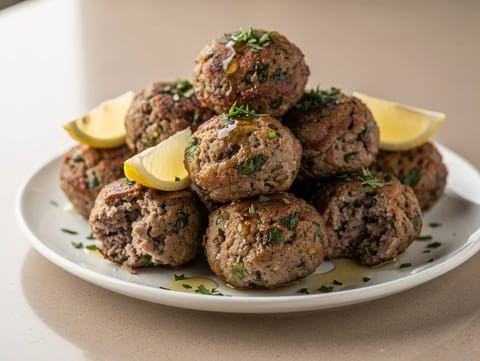
Keftedes (Greek Minced Beef Meatballs)
Pan-fried minced beef meatballs with herbs, breadcrumbs and lemon
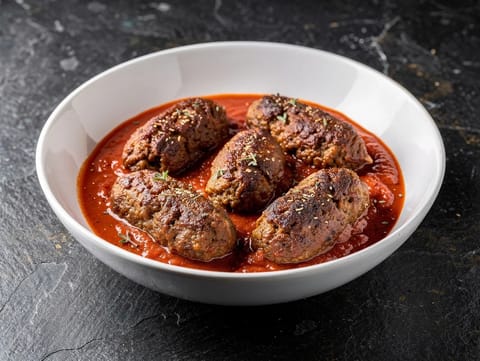
Soutzoukakia Smyrneika (Spiced Meatballs in Tomato Sauce)
Greek spiced beef meatballs in tomato sauce

Arancini Siciliani (Stuffed Sicilian Rice Balls with Ragù and Mozzarella)
Fried rice balls stuffed with ragù and mozzarella
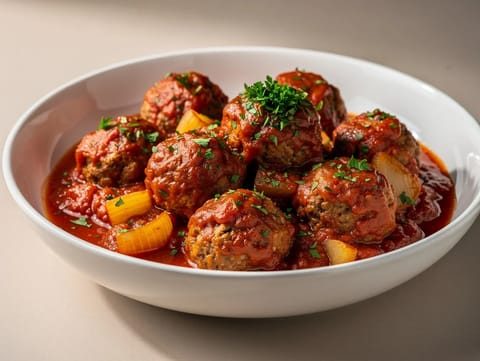
Albóndigas en Salsa de Tomate (Spanish Meatballs in Tomato Sauce)
Spanish beef meatballs simmered in a tomato and onion sauce
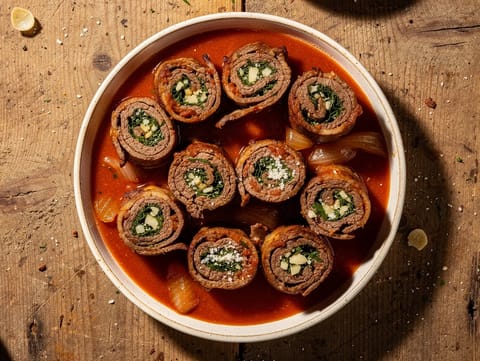
Braciole al Sugo (Italian Beef Rolls in Tomato Sauce)
Beef rolls braised in tomato sauce with garlic and Parmesan
You might also like
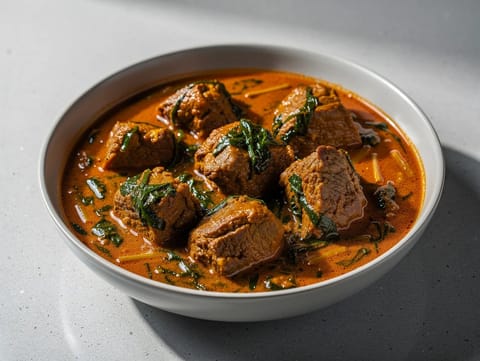
Saag Gosht (Lamb and Mustard Greens Curry)
Lamb curry simmered with mustard greens and spices
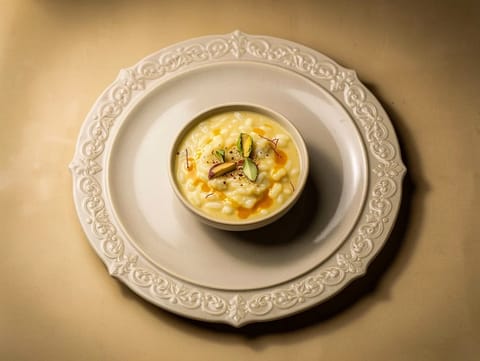
Kheer (Indian Rice Pudding with Cardamom and Saffron)
Creamy kheer made with basmati rice, milk, cardamom and saffron
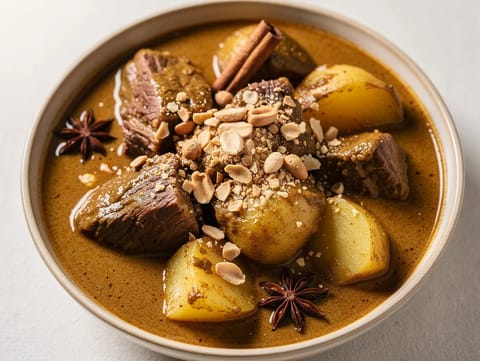
Massaman Beef Curry
Massaman beef curry with potatoes, peanuts and coconut milk
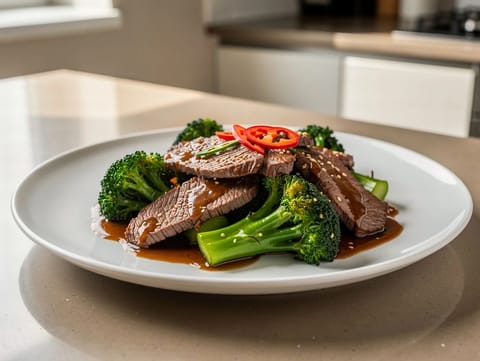
Stir-Fried Beef with Broccoli and Oyster Sauce
Quick beef and broccoli stir-fry with oyster sauce
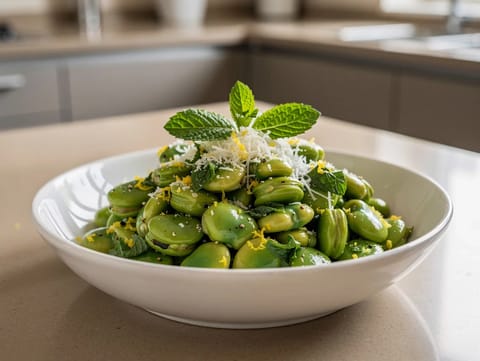
Broad Bean, Pecorino and Mint Salad (Insalata di Fave e Pecorino)
Broad bean salad with pecorino, mint, lemon and olive oil
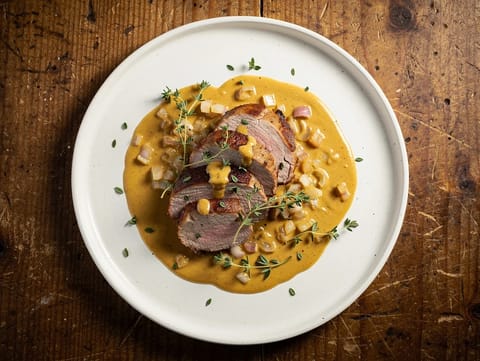
Pork Tenderloin with Dijon Mustard Sauce
Pan-seared pork with a quick Dijon mustard sauce
Make this recipe easier next time
AdvertisementThese tools help you get better results with less effort.
Misen Carbon Steel Nonstick Frying Pan 12 Inch
- Works on all stovetops
- Naturally nonstick when seasoned
- Requires seasoning and maintenance
T-fal Specialty Nonstick Handy Pot with Glass Lid 3 Quart
- Easy food release
- Dishwasher safe
- Not induction compatible
All-Clad HA1 Hard Anodized Nonstick Fry Pan 12 Inch
- Top-tier build quality
- Excellent heat distribution
- Expensive
WMF Mini Saucepan 16 cm with Lid
- High-quality stainless steel
- Even heat distribution
- Higher price point
Enjoy cooking with JustRecipes?
Add JustRecipes as one of your preferred Google sources to discover our recipes more easily across Google Search.
Add JustRecipes to GoogleEvery recipe on JustRecipes follows the same structured editorial process. Learn how recipes are created, validated, translated, illustrated, and continuously improved across the platform. How we create recipes.
