
Fläskstek (Roast Pork with Crackling)
Why this recipe works
- Proper crackling: Dry skin, careful scoring and an initial hot roast help the rind blister before the pork finishes cooking more gently.
- Built-in gravy flavour: Onion, bay leaves and pork juices season the roasting liquid, creating a savoury base for the gravy without extra complexity.
- Classic roast-dinner contrast: Juicy sliced pork, salty crackling and warm pan gravy make the dish satisfying without relying on heavy seasoning.
Get the most out of this recipe
Texture tips
- For crisper crackling: Pat the skin very dry before salting, and avoid pouring stock over the rind so it roasts rather than steams.
- Score with care: Cut through the rind and fat but stop before the meat; this helps the fat render while keeping the pork juicy.
- Use the thermometer: Check the thickest part of the pork and remove it once it reaches 70°C (160°F), then rest before carving.
Common mistakes
- Wet skin softens crackling: Moisture is the main obstacle to crisp rind, so dry the pork thoroughly and keep the roasting liquid below the skin.
- Watch the final blast: If finishing the crackling at 220°C (430°F), check it closely; it can move from golden to scorched quickly.
- Do not carve immediately: Resting allows the juices to settle, making the pork easier to slice and less likely to dry out on the board.
Make-ahead tips
- Store pork and gravy apart: Cool the pork and gravy, then refrigerate them in separate sealed containers to keep the texture and flavour cleaner.
- Reheat without softening the crackling: Warm sliced pork with a little gravy, but keep the crackling uncovered so it has the best chance of re-crisping.
- Freeze the meat and gravy: The cooked pork and gravy can be frozen, though crackling is best kept out of the freezer where possible.
Ingredient notes
- Choose skin-on shoulder: Skin-on pork shoulder gives enough fat for tender meat and a proper layer of crackling.
- Salt matters for the rind: Work the fine sea salt into the scored cuts so it seasons the crackling and helps draw moisture from the surface.
- Thickening the gravy: If using cornflour instead of plain flour, mix it with a little cold water first before whisking it into the hot juices.
Equipment you'll need
Ingredients
Instructions
- Heat the oven to 220°C (430°F). Peel the yellow onion and cut into thick wedges, then scatter them in a roasting pan with the bay leaves.
- Pat the pork dry, then score the skin in parallel lines, cutting through the rind and fat but not into the meat. Rub the fine sea salt thoroughly into the cuts and over the skin, then season the meat side with the black pepper.
- Sit the pork on top of the onions, skin-side up, and pour the vegetable stock into the pan around it (not over the skin). Roast for 20 minutes until the skin starts to blister.
- Reduce the oven to 180°C (355°F) and continue roasting for 70 to 80 minutes, topping up with a splash of water if the pan looks dry. The pork is ready when a thermometer in the thickest part reads 70°C (160°F) and the crackling is deep golden.
- Lift the pork onto a board and rest for 15 minutes. If the crackling needs extra colour, return just the crackling to the oven for a few minutes while the meat rests, watching closely so it does not burn.
- Pour the roasting juices into a saucepan, leaving the onions and bay leaves behind, and skim off excess fat if needed. Whisk in the plain flour and simmer for 3 to 5 minutes until thickened and the flour taste cooks out; add a little water if it becomes too thick.
- Carve the pork into slices, cutting through the crackling with a sharp knife. Serve with the gravy spooned over.
Recipe notes
Tips
- For the best crackling, make sure the skin is very dry before salting, and keep the stock away from the skin so it roasts rather than steams.
- If the crackling is golden but not crisp, give it a short blast at 220°C (430°F) at the end, checking every minute.
- Food safety: cook pork until it reaches at least 70°C (160°F) in the thickest part, and rest it before carving.
Substitutions
- Replace Vegetable stock with Chicken stock for a richer gravy.
- Replace Plain flour with Cornflour for a gluten-free gravy; mix it with a little cold water first, then whisk into the hot juices and simmer until thickened.
Storage
- Refrigerate up to 3 days
- Cool the pork and gravy, then refrigerate separately in sealed containers. Reheat sliced pork in a 180°C (355°F) oven with a splash of gravy until piping hot; crackling is best reheated uncovered so it re-crisps. Freeze the meat and gravy (without crackling if possible) for up to 2 months and defrost overnight in the fridge before reheating.
Ratings & reviews
Liked this recipe? Share your feedback to support our cooking community.
Tried this recipe?
Choose 1–5 stars. A comment is optional.
Stay inspired
Discover new recipes, seasonal favourites and cooking inspiration every day. Follow JustRecipes on Pinterest and Spillt.

Recipe overview
- Servings: 4 servings
- Total time: 2h 5min (25min active)
- Difficulty: Medium
- Cuisine: Nordic
-
Allergens:
Gluten Wheat
Plan your meals and get a complete grocery list automatically.
Add to meal plannerEquipment you'll need
Got ingredients left?
Find recipes using ingredients from this recipe or what you already have at home.
Find recipes with these ingredients →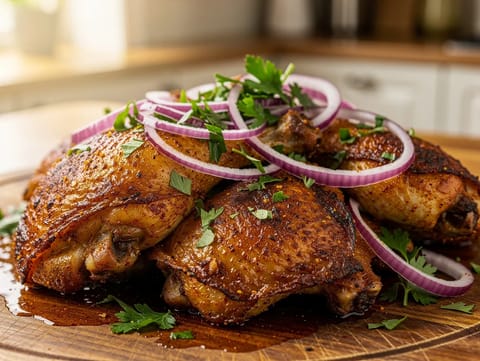
Shawarma-Spiced Roast Chicken Thighs
Roast chicken thighs marinated with shawarma spices, yoghurt and lemon
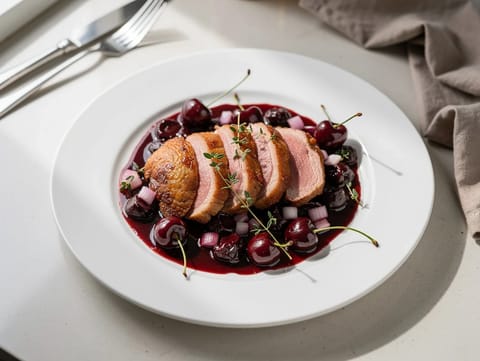
Pan-Seared Duck Breast with Cherry Bourbon Sauce
Pan-seared duck with cherry bourbon pan sauce
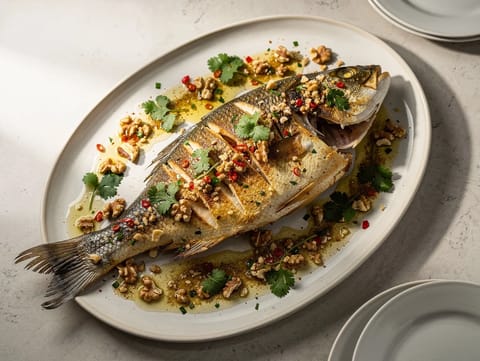
Samak Harra (Spiced Whole Roasted Fish)
Whole roasted fish with garlic chilli coriander sauce

Beef Wellington with Mushroom Duxelles
Beef Wellington wrapped with mushroom duxelles, prosciutto and pastry
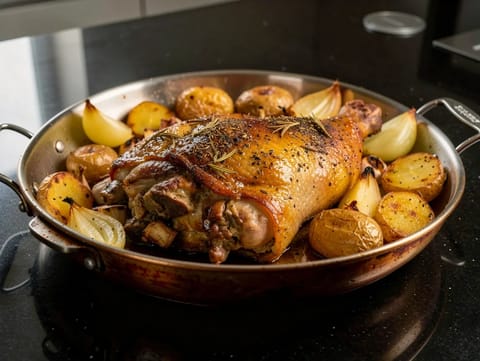
Kleftiko (Greek Slow-Roasted Lamb with Potatoes and Onion)
Greek slow-roasted lamb with lemon, oregano and potatoes
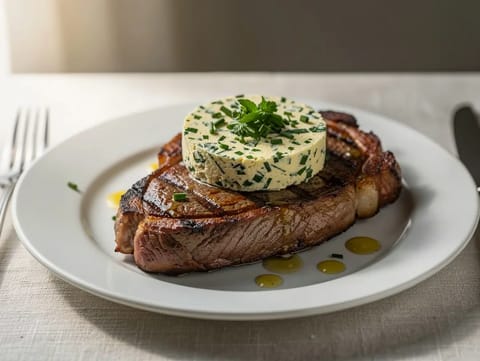
Grilled Entrecôte with Café de Paris Butter
Grilled entrecôte with melting Café de Paris butter
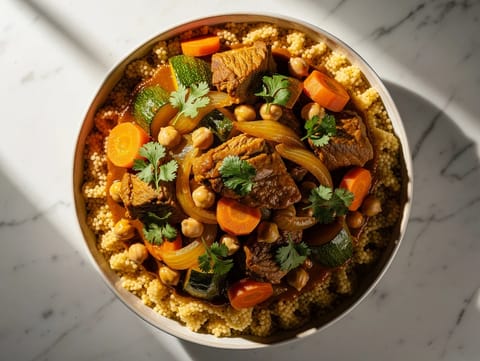
Moroccan Couscous with Lamb, Chickpeas and Vegetables
Steamed couscous with tender lamb, chickpeas and vegetables
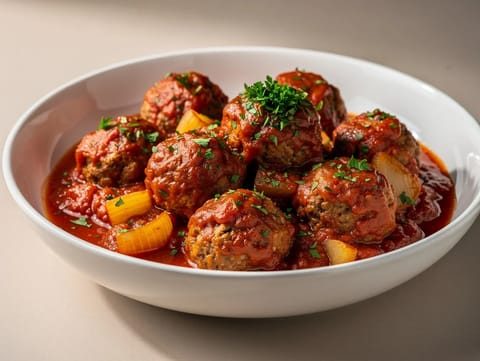
Albóndigas en Salsa de Tomate (Spanish Meatballs in Tomato Sauce)
Spanish beef meatballs simmered in a tomato and onion sauce
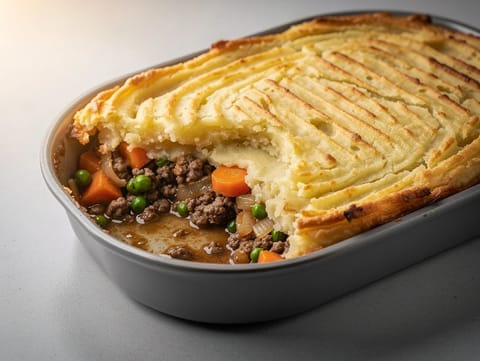
Traditional Beef Cottage Pie
Minced beef and gravy topped with mashed potatoes
Chuletón a la Parrilla con Chimichurri (Grilled T-Bone Steak)
Grilled T-bone steak with parsley chimichurri
Rajas con Crema (Poblano Strips in Cream Sauce)
Roasted poblano strips simmered with sweetcorn and cream
Zuppa di Pesce alla Livornese (Tuscan Fish Soup)
Tomato and white wine fish soup with mixed seafood
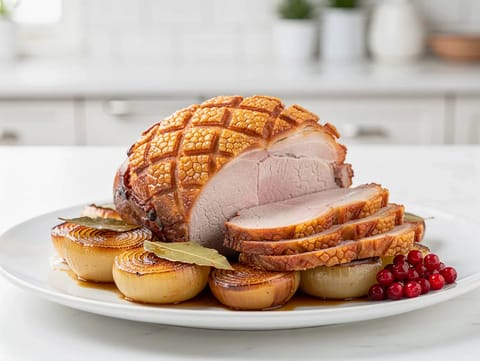
Christmas Pork Roast (Nordic Roast Pork with Crisp Crackling)
Nordic pork roast with crisp crackling and bay leaves
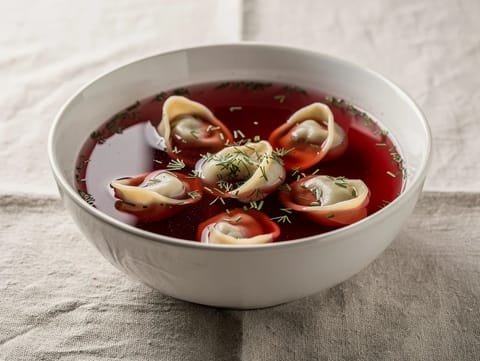
Wigilijny Barszcz z Uszkami (Polish Clear Beetroot Soup with Dumplings)
Clear beetroot soup served with mushroom-filled uszka dumplings
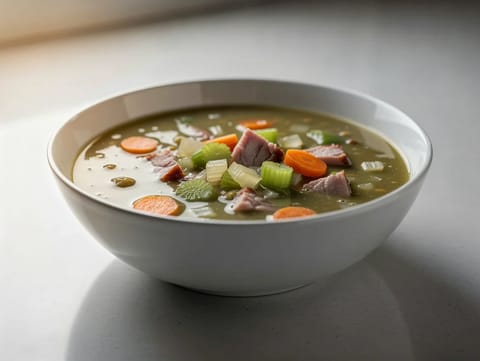
Light Pea and Ham Soup
Light split pea soup with smoked ham hock
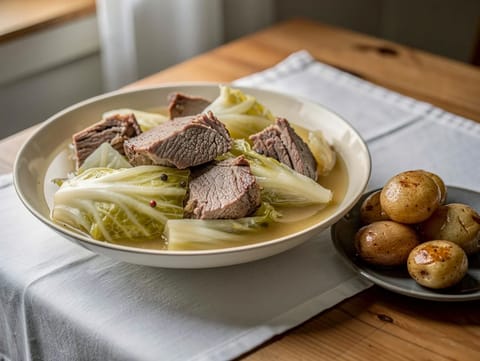
Fårikål (Norwegian Lamb and Cabbage Stew)
Norwegian lamb and cabbage stew with whole peppercorns
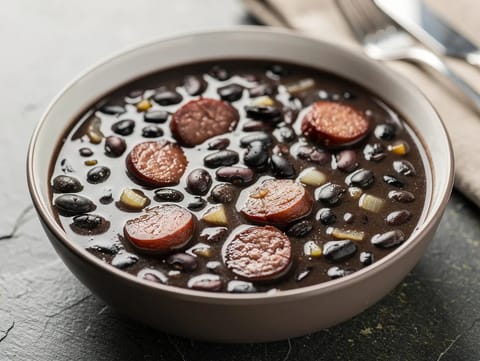
Feijão Preto (Brazilian Black Bean Soup with Smoked Pork)
Brazilian black bean soup with smoked pork and bay
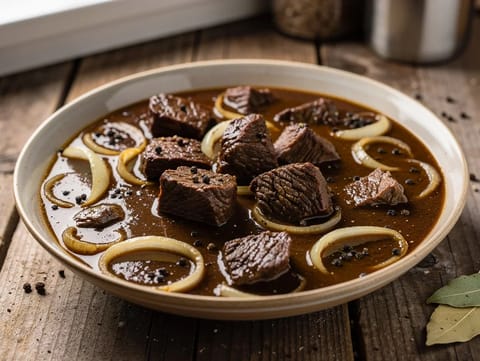
Westfälischer Pfefferpotthast (Westphalian Pepper Beef Stew)
Westphalian pepper beef stew with onions and vinegar
You might also like

Gajar ka Halwa (Carrot Halwa with Milk and Ghee)
Carrot halwa cooked in milk with ghee, cardamom and nuts
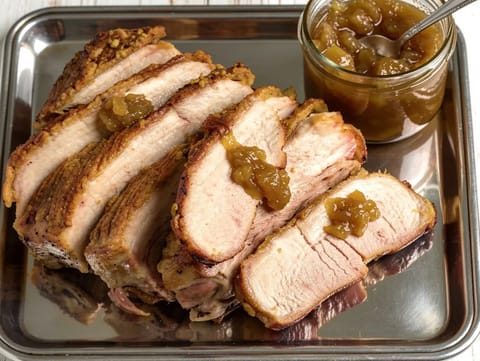
Slow-Roasted Pork Belly with Apple Chutney
Slow-roasted pork belly with crisp crackling and apple chutney

Milanesa (Breaded Beef Cutlet)
Crisp fried breaded beef cutlets served with lemon
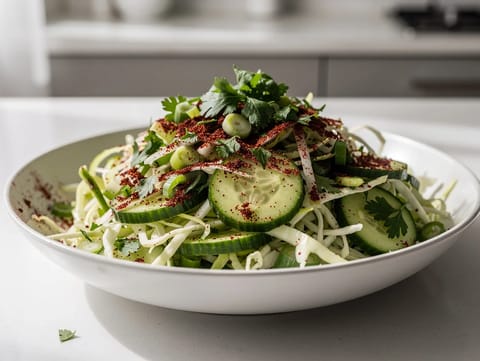
Middle Eastern Cabbage Slaw with Sumac and Lemon
Crunchy cabbage slaw with lemon, sumac and herbs
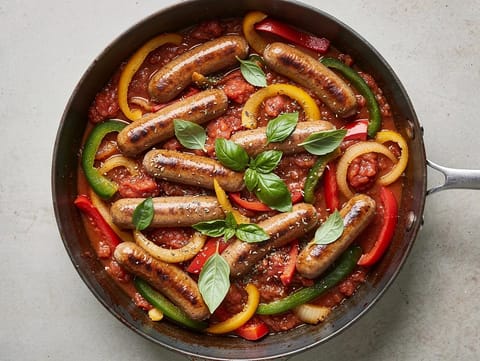
Sausage and Peppers
Pork sausages simmered with peppers, onions, tomatoes and basil
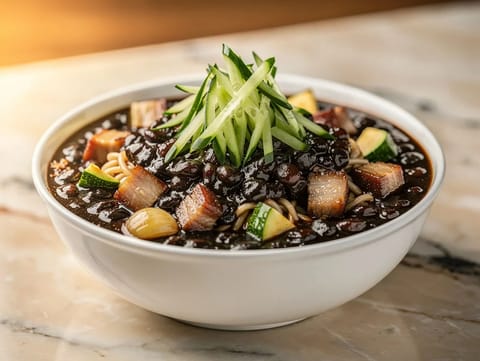
Jajangmyeon (Korean-Chinese Black Bean Noodles)
Black bean noodles with pork belly, courgette and cucumber
Make this recipe easier next time
AdvertisementThese tools help you get better results with less effort.
Misen 8-Inch Chef Knife
- AUS-10 steel
- Balanced design
- Less traditional feel
T-fal Specialty Nonstick Handy Pot with Glass Lid 3 Quart
- Easy food release
- Dishwasher safe
- Not induction compatible
WÜSTHOF Classic 8-Inch Chef's Knife
- Excellent build quality
- Reliable edge retention
- Expensive
WMF Mini Saucepan 16 cm with Lid
- High-quality stainless steel
- Even heat distribution
- Higher price point
Enjoy cooking with JustRecipes?
Add JustRecipes as one of your preferred Google sources to discover our recipes more easily across Google Search.
Add JustRecipes to GoogleEvery recipe on JustRecipes follows the same structured editorial process. Learn how recipes are created, validated, translated, illustrated, and continuously improved across the platform. How we create recipes.
