
Malabar Chicken Biryani
Why this recipe works
- Layered aromatics: Fried onions, whole spices, herbs, yogurt and tomatoes build depth before the rice is added.
- Sealed-pot steaming: Par-cooked rice finishes over the chicken gravy, giving the grains fragrance while keeping the layers distinct.
- Balanced richness: Yogurt and tomato lift the richness of the ghee and chicken, keeping the biryani savoury rather than heavy.
Get the most out of this recipe
Authenticity notes
- Malabar-style approach: This style leans on fragrant rice, fried onions, fresh herbs and whole spices rather than a heavy sauce.
- Dum-style finish: The sealed, low-heat steaming stage is essential: it lets the rice absorb the chicken’s aromatic juices while finishing gently.
- Serve with yogurt: Plain yogurt or a simple raita balances the spices and adds a cooling contrast at the table.
Timing notes
- Use the short marinade: The room-temperature marinade seasons the chicken before cooking; if preparing earlier, keep the chicken chilled.
- Stop the rice early: Drain the rice while the centre is still firm, as it will finish cooking in the sealed pot.
- Rest before serving: The final rest helps the steam settle, making it easier to fluff the biryani without breaking up the layers.
Ingredient notes
- Choose basmati rice: Basmati gives the biryani its long, separate grains; rinsing and soaking help prevent excess starchiness.
- Keep the spices whole: Whole cardamom, cloves, cinnamon and bay leaves perfume the pot without turning the rice gritty.
- Ghee adds depth: Ghee supports the fried onions and spices with a nutty richness; butter works, but needs gentler heat.
Common mistakes
- Fully cooking the rice too soon: Rice that is soft before layering can turn heavy or broken after steaming.
- Using too much heat for steaming: Keep the heat very low once the pot is sealed; a diffuser or heavy pan underneath helps protect the base.
- Mixing too aggressively: Fluff gently from the sides so the chicken, herbs and rice stay partly layered rather than becoming mashed together.
Equipment you'll need
Ingredients
Instructions
- In a mixing bowl, combine the yogurt with the ginger and garlic (finely grated), garam masala, and 2 tsp of the fine sea salt. Add the chicken thighs and turn well to coat. Set aside to marinate for 30 minutes at room temperature.
- Rinse the basmati rice in several changes of cold water until the water runs mostly clear, then cover with fresh water and soak for 20 minutes. Drain well in a colander and set aside. Meanwhile, thinly slice the yellow onions and roughly chop the tomatoes.
- In a large pot, bring plenty of water to the boil and stir in 1 tsp of the fine sea salt. Add the soaked rice and boil for 5 to 6 minutes until the grains are just tender on the outside but still firm in the centre. Drain immediately and spread the rice out briefly so the steam can escape.
- Heat the ghee in a dutch oven over medium heat. Add the onions and cook, stirring often, for 15 to 20 minutes until deep golden and sweet; lift out about one third for topping later. Add the green cardamom pods, whole cloves, cinnamon stick, and bay leaves to the pot and cook for 30 seconds until fragrant.
- Add the marinated chicken (scrape in any remaining marinade) and cook for 6 to 8 minutes, turning, until the outside turns opaque and lightly coloured. Stir in the tomatoes and cook for 5 minutes until they soften and start to break down. Cover and simmer on low for 12 to 15 minutes until the chicken is nearly cooked and the gravy is aromatic.
- Turn the heat to low and level the chicken mixture in the pot. Spoon over half the rice, then scatter over half the fresh mint and fresh coriander; repeat with the remaining rice and herbs, then top with the reserved fried onions. Cover tightly with a lid and steam on the lowest heat for 20 minutes, then rest off the heat for 10 minutes before gently fluffing from the sides to keep the layers distinct.
- Serve the biryani hot, making sure each portion gets both chicken and rice. Offer extra yogurt on the side for spooning over at the table. Remove the whole spices as you find them while serving.
Recipe notes
Serving suggestions
This recipe pairs well with:
Tips
- Keep the heat very low during the steaming stage; if your hob runs hot, place the dutch oven on a heat diffuser or a heavy frying pan to prevent the base catching.
- For the best texture, drain the rice as soon as it is par-cooked; it should still have a firm centre because it finishes cooking in the sealed pot.
- If serving pregnant people, young children, or anyone vulnerable, use pasteurised yogurt and ensure the chicken is cooked until piping hot throughout with no pink at the bone.
Substitutions
- Replace ghee with unsalted butter for a similar richness, but keep the heat slightly lower to prevent it browning too quickly.
- Replace chicken thighs with chicken drumsticks for a more traditional, bone-in result; simmer until the meat is tender and pulling from the bone.
- Replace garam masala with curry powder for a different spice profile that is still fragrant and warming.
Storage
- Refrigerate up to 3 days
- Cool quickly, then refrigerate in a sealed container. Reheat in a covered saucepan with a splash of water over low heat, or in a 180°C (355°F) oven covered until piping hot; keep the yogurt separate. Freeze in portions for up to 2 months and defrost overnight in the fridge before reheating.
Ratings & reviews
Liked this recipe? Share your feedback to support our cooking community.
Tried this recipe?
Choose 1–5 stars. A comment is optional.
Stay inspired
Discover new recipes, seasonal favourites and cooking inspiration every day. Follow JustRecipes on Pinterest and Spillt.
Recipe overview
- Servings: 4 servings
- Total time: 1h 50min (45min active)
- Difficulty: Advanced
- Cuisine: Indian
-
Allergens:
Milk
Plan your meals and get a complete grocery list automatically.
Add to meal plannerEquipment you'll need
Got ingredients left?
Find recipes using ingredients from this recipe or what you already have at home.
Find recipes with these ingredients →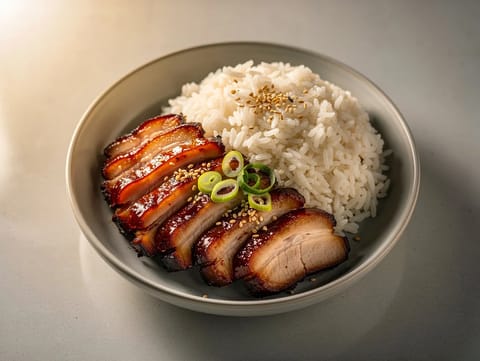
Char Siu Pork with Steamed Rice
Sticky roasted char siu pork served with steamed rice

Chaufa (Peruvian Fried Rice)
Peruvian fried rice with chicken, egg, soy sauce and sesame oil
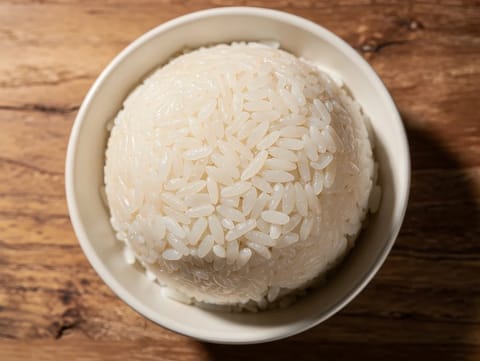
Sticky Rice (Khao Niao)
Thai sticky rice steamed from soaked glutinous rice
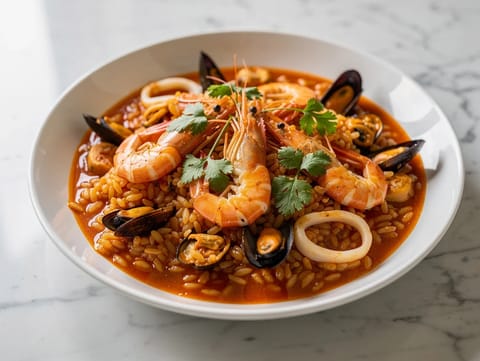
Arroz de Marisco (Portuguese Seafood Rice)
Portuguese seafood rice with prawns, mussels, squid and tomato
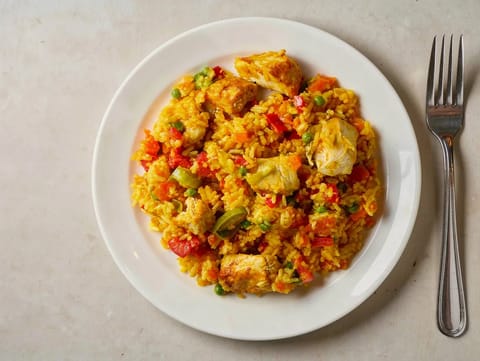
Arroz con Pollo (Colombian-Style Rice with Chicken)
One-pot rice with chicken thighs, vegetables and spices
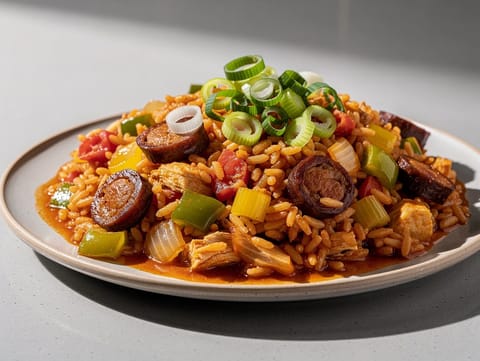
Jambalaya with Andouille Sausage
One-pot rice jambalaya with andouille sausage and peppers
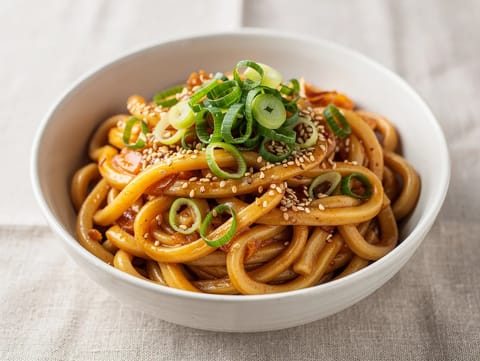
Spicy Miso Noodles with Garlic and Spring Onion
Udon noodles in a spicy miso sauce with spring onion
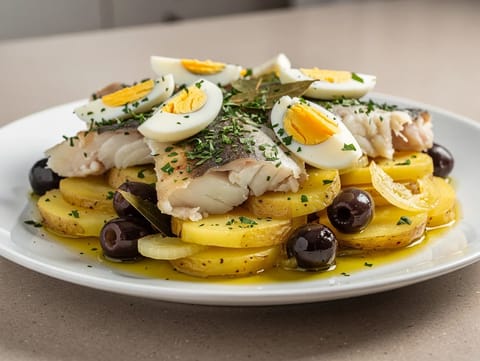
Bacalhau no Forno (Baked Salt Cod with Potatoes and Olives)
Baked salt cod with potatoes, onions and black olives
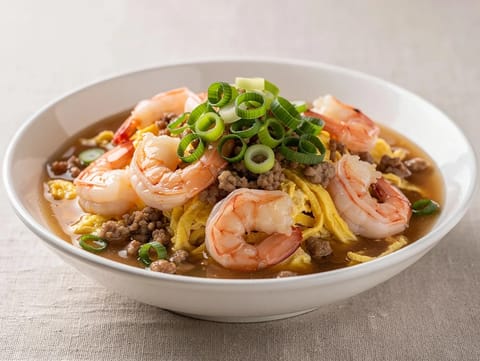
Shrimp with Lobster Sauce (Cantonese Prawns in Savoury Sauce)
Prawns in silky lobster sauce with minced pork and egg ribbons
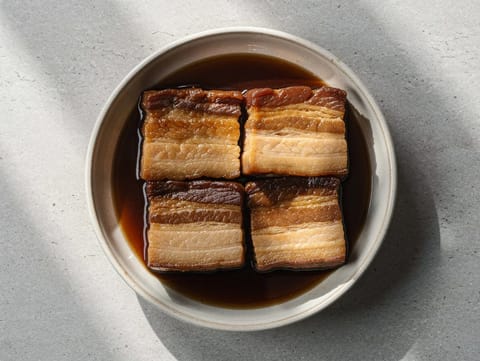
Buta no Kakuni (Braised Pork Belly)
Japanese braised pork belly simmered in soy, sake and mirin
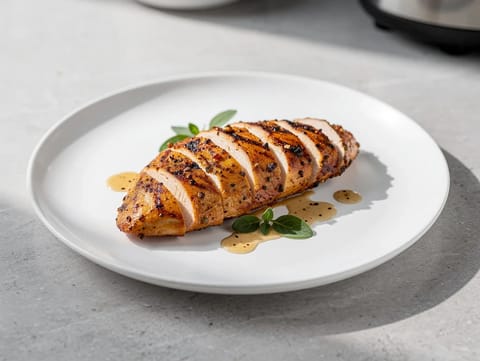
Air Fryer Marinated Chicken Breast
Air-fried chicken breast marinated with soy, lemon, garlic and honey.
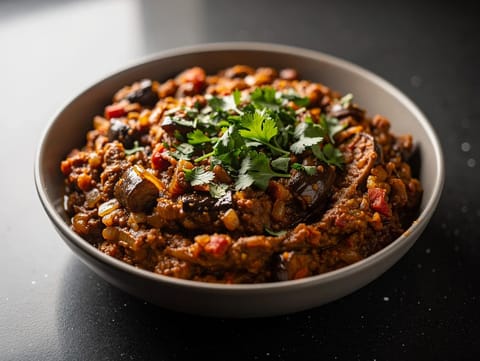
Baingan Bharta (Smoky Mashed Aubergine)
Smoky roasted aubergine mashed with tomatoes, spices and coriander

Chicken Biryani Lunch Bowl
Chicken biryani bowl layered with basmati rice and onions
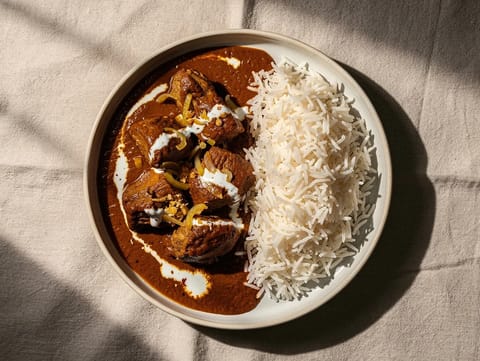
Lamb Rogan Josh with Basmati Rice
Kashmiri lamb curry with yoghurt, spices and basmati rice
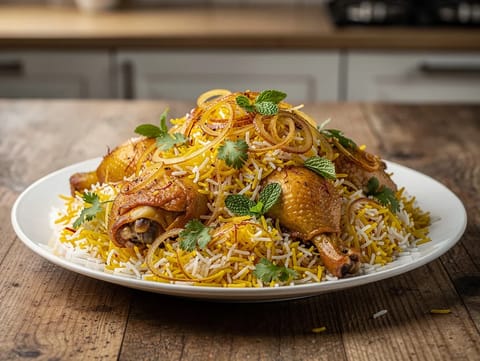
Hyderabadi Dum Biryani with Saffron and Rose Water
Layered Hyderabadi dum biryani with saffron, rose water and fried onions
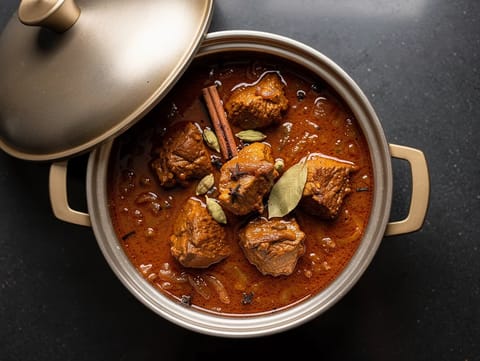
Rogan Josh (Kashmiri Spiced Lamb Curry)
Slow-cooked lamb curry with yoghurt and Kashmiri spices
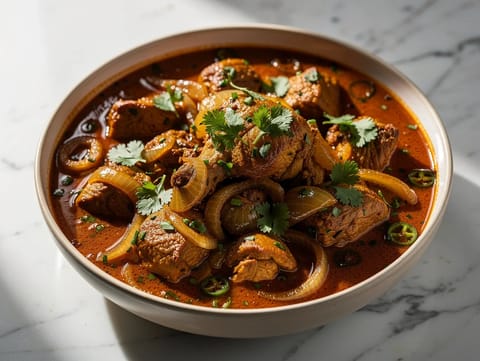
Chicken Do Pyaza (Chicken Curry with Onions)
North Indian chicken curry with onions, tomatoes, spices and yoghurt
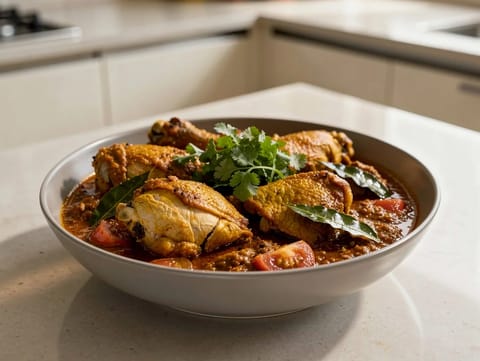
Chicken Chettinad Curry
South Indian chicken curry with toasted spices, pepper and coconut
You might also like
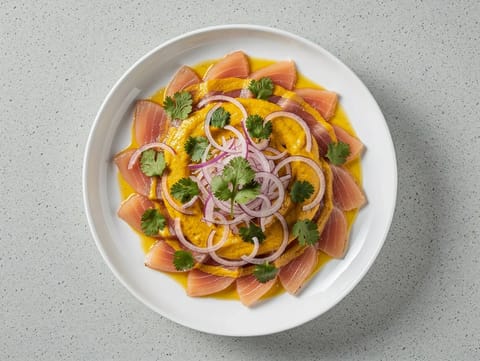
Tiradito de Atún (Peruvian-Style Tuna with Aji Amarillo and Lime)
Tuna tiradito with lime, aji amarillo and red onion

Air Fryer Churros
Air-fried churros rolled in cinnamon sugar with chocolate sauce.
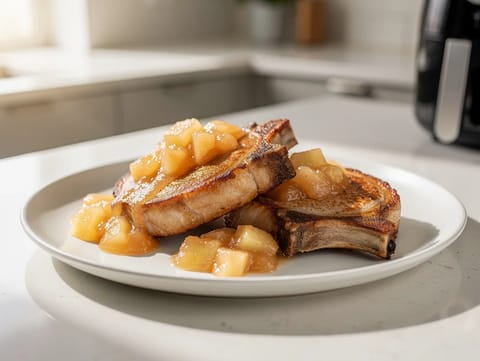
Air Fryer Pork Chops with Apple Sauce
Juicy air-fried pork chops topped with warm cinnamon apple sauce

Torta Paradiso (Light Buttery Sponge Cake from Pavia)
Light buttery sponge cake finished with a dusting of icing sugar
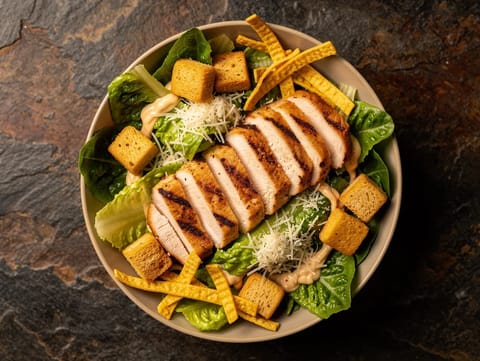
Southwest Chicken Caesar Salad
Chicken Caesar salad with smoky lime dressing and tortillas

Empanada Salteña (Baked Pastries with Beef and Potato)
Baked empanadas with beef, potato and onion filling
Make this recipe easier next time
AdvertisementThese tools help you get better results with less effort.
KitchenAid Stainless Steel Mixing Bowls
- Non-slip base
- Stainless steel
- Not microwave safe
T-fal Specialty Nonstick Handy Pot with Glass Lid 3 Quart
- Easy food release
- Dishwasher safe
- Not induction compatible
OXO Good Grips Stainless Mixing Bowl Set
- Non-slip base
- Comfort grip
- Higher price
WMF Mini Saucepan 16 cm with Lid
- High-quality stainless steel
- Even heat distribution
- Higher price point
Enjoy cooking with JustRecipes?
Add JustRecipes as one of your preferred Google sources to discover our recipes more easily across Google Search.
Add JustRecipes to GoogleEvery recipe on JustRecipes follows the same structured editorial process. Learn how recipes are created, validated, translated, illustrated, and continuously improved across the platform. How we create recipes.
