
Red Velvet Cake with Cream Cheese Icing
Why this recipe works
- Balanced sweetness: Buttermilk, vinegar and cream cheese keep the cake from tasting overly sweet, adding the gentle tang that defines red velvet.
- Classic red velvet structure: The cocoa-colouring paste gives even colour, while the vinegar and bicarbonate of soda help create a light, tender crumb.
- Smooth cream cheese icing: Cold cream cheese and brief mixing help the icing stay thick enough to spread cleanly between the layers and around the cake.
Get the most out of this recipe
Timing notes
- Cool completely before icing: The layers need to be fully cool before the cream cheese icing goes on, otherwise the frosting can soften and slide.
- Chill for cleaner slices: A short chill after icing firms the frosting enough for sharp edges and neater layers when cut.
- Serve slightly softened: After refrigeration, let the cake sit briefly at cool room temperature so the crumb and icing soften without becoming loose.
Common mistakes
- Do not overmix the batter: Once the flour and buttermilk are added, mix only until combined to keep the crumb soft rather than dense.
- Avoid loose icing: Cream cheese icing can become runny if beaten for too long, so stop as soon as it is thick, smooth and spreadable.
- Use the raising mixture straight away: Fold in the fizzing vinegar and bicarbonate of soda mixture immediately, then bake the layers without delay.
Ingredient notes
- Buttermilk matters: Buttermilk gives red velvet its mild tang and helps create a softer crumb than ordinary milk.
- Use a gentle cocoa: A modest amount of cocoa should support the flavour without making the cake taste like a full chocolate sponge.
- Colour evenly: Mixing the cocoa with the colouring first helps distribute the colour through the batter without streaks.
Make-ahead tips
- Bake the layers ahead: The cake layers can be baked in advance, cooled completely and wrapped well before icing.
- Keep the iced cake chilled: Because of the cream cheese icing, store the finished cake covered in the fridge until shortly before serving.
- Freeze for longer storage: Freeze well-wrapped slices or a whole cake, then defrost overnight in the fridge before serving.
Equipment you'll need
Ingredients
Red velvet cake
Cream cheese icing
Instructions
- Heat the oven to 175°C (350°F). Grease and line two 20 cm cake tins.
- In a small bowl, stir the cocoa powder into the red food colouring to make a smooth paste. Set aside.
- In a mixing bowl, beat the butter and caster sugar for 3 to 5 minutes until very pale and fluffy. Beat in the eggs one at a time, then mix in the vanilla.
- Beat in the cocoa-colouring paste until evenly coloured. Scrape down the bowl so the mixture is uniform.
- Whisk the flour and fine sea salt together. Add to the bowl in three additions, alternating with the buttermilk, mixing on low just until combined.
- Stir the vinegar into the bicarbonate of soda in a small bowl; it will fizz. Immediately fold it into the batter, then divide the batter between the tins and level the tops.
- Bake for 25 to 30 minutes, until the cakes spring back when lightly pressed and a skewer comes out clean. Cool in the tins for 10 minutes, then turn out onto a rack to cool completely.
- For the icing, beat the butter until smooth, then beat in the cream cheese just until combined. Add the icing sugar, vanilla and a pinch of salt, then beat briefly until thick and smooth; do not overbeat.
- Level the cakes if needed, then place one layer on a serving plate and spread over about a third of the icing. Top with the second layer, then ice the top and sides; chill for 20 minutes to set before slicing.
Recipe notes
Tips
- For the cleanest slices, chill the iced cake for 30 minutes, then cut with a long knife warmed under hot water and wiped dry between cuts.
- Cream cheese icing can turn loose if overbeaten; mix just until smooth and thick, and keep it cool while you work.
- Food safety: if serving to pregnant people, young children, older adults, or anyone immunocompromised, use eggs that are stamped as safe for raw and lightly cooked dishes.
Substitutions
- Replace White wine vinegar with Apple cider vinegar for a slightly fruitier tang.
- Replace Liquid food coloring with a gel red colouring, using a smaller amount and adjusting until the batter is a deep red.
Storage
- Refrigerate up to 4 days
- Store the cake covered in the fridge. Freeze slices or the whole cake (well wrapped) for up to 2 months; defrost overnight in the fridge, then bring to cool room temperature for 30 minutes before serving.
Ratings & reviews
Liked this recipe? Share your feedback to support our cooking community.
Tried this recipe?
Choose 1–5 stars. A comment is optional.
Stay inspired
Discover new recipes, seasonal favourites and cooking inspiration every day. Follow JustRecipes on Pinterest and Spillt.

Recipe overview
- Servings: 10 servings
- Total time: 2h (45min active)
- Difficulty: Medium
- Cuisine: American
-
Allergens:
Eggs Gluten Milk Wheat
Plan your meals and get a complete grocery list automatically.
Add to meal plannerEquipment you'll need
Got ingredients left?
Find recipes using ingredients from this recipe or what you already have at home.
Find recipes with these ingredients →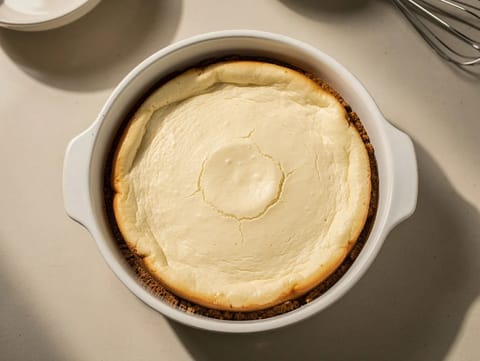
Air Fryer New York Cheesecake
Rich New York-style cheesecake baked in an air fryer.
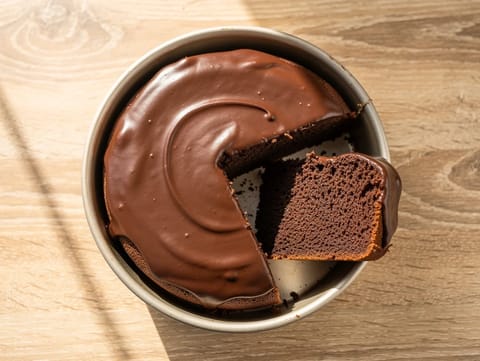
Air Fryer Chocolate Cake
Small chocolate cake baked in the air fryer with icing.
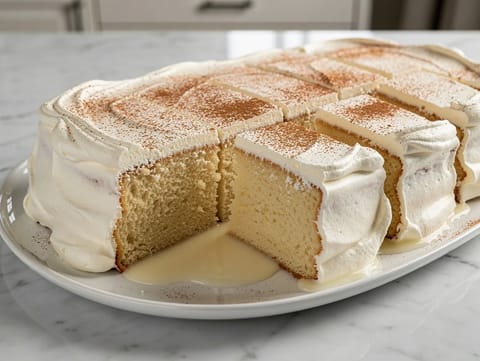
Tres Leches Cake (Milk-Soaked Sponge Cake)
Milk-soaked sponge cake with whipped cream and cinnamon

Baba au Rhum (French Rum-Soaked Sponge Cakes)
Rum-soaked yeasted sponge cakes served with whipped cream
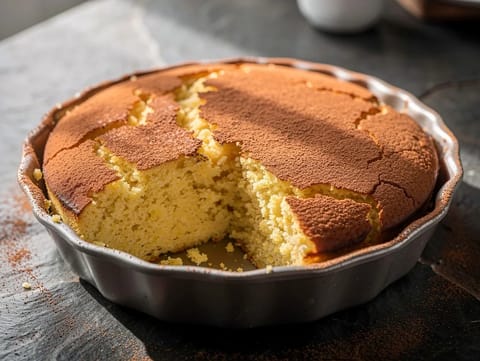
Pastel de Elote (Mexican Corn Cake)
Mexican sweetcorn cake with condensed milk and cinnamon
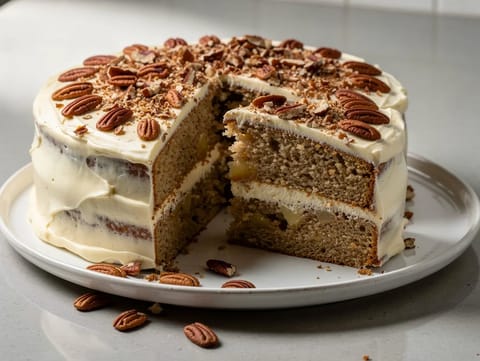
Hummingbird Cake
Spiced banana and pineapple cake with cream cheese icing
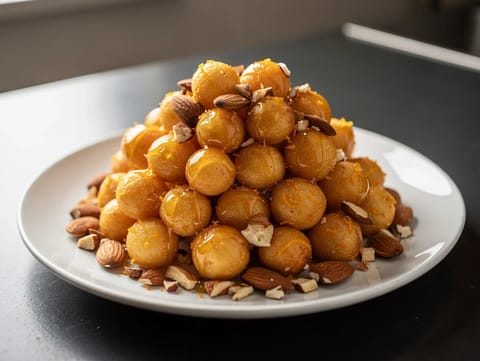
Struffoli (Neapolitan Honey-Glazed Dough Balls)
Fried dough balls coated in warm honey and citrus zest
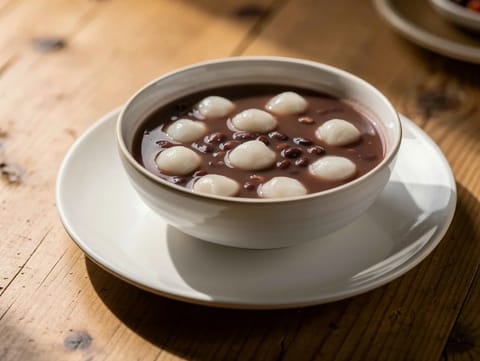
Patjuk (Korean Red Bean Porridge)
Korean red bean porridge with rice flour dumplings
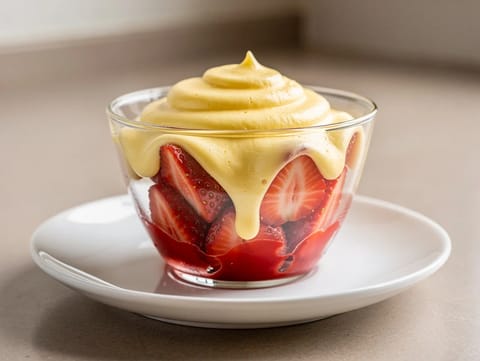
Zabaglione con Fragole (Marsala Custard with Strawberries)
Warm Marsala custard served over fresh strawberries

Air Fryer Cherry Pie
Air fryer cherry pie with lemon and cornflour-thickened filling.

Bignè alla Crema Pasticcera (Italian Choux Buns with Custard)
Crisp choux buns filled with smooth crema pasticcera

Bomboloni (Italian Filled Doughnuts)
Sugar-coated Italian doughnuts filled with vanilla pastry cream
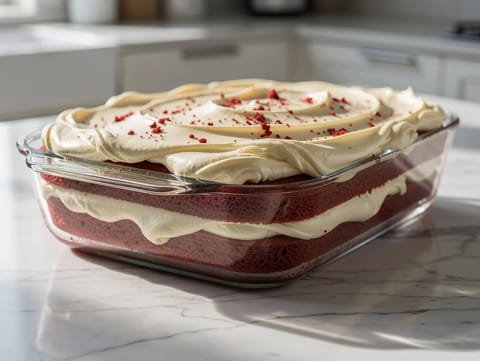
Red Velvet Cake with Cream Cheese Frosting
Red velvet cake with tangy cream cheese frosting

Red Velvet Cake with Cream Cheese Frosting
Red velvet cake layered with cream cheese frosting
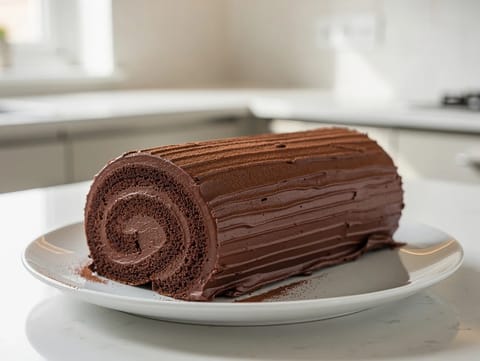
Bûche de Noël (Yule Log Cake) with Chocolate Buttercream
Chocolate sponge roll filled and coated with chocolate buttercream
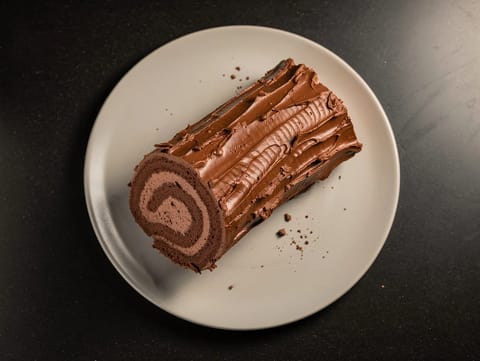
Yule Log (British Style)
Chocolate Swiss roll filled and coated with chocolate buttercream
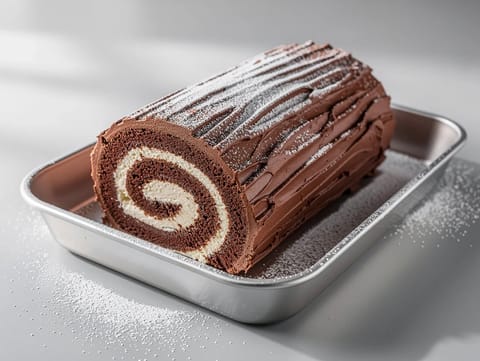
Nordic Yule Log Cake (Chocolate Swiss Roll)
Cocoa Swiss roll filled with whipped cream and buttercream
Air Fryer Chocolate Cake
Small chocolate cake baked in the air fryer with icing.
You might also like
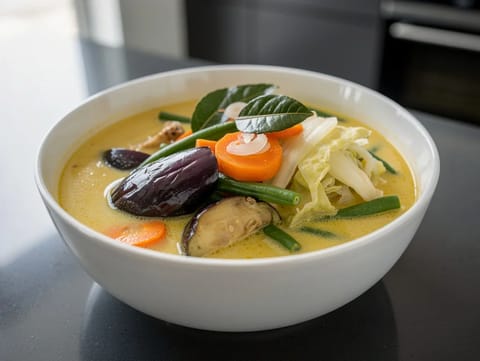
Sayur Lodeh (Vegetable Coconut Milk Stew)
Vegetable coconut milk stew (sayur lodeh)
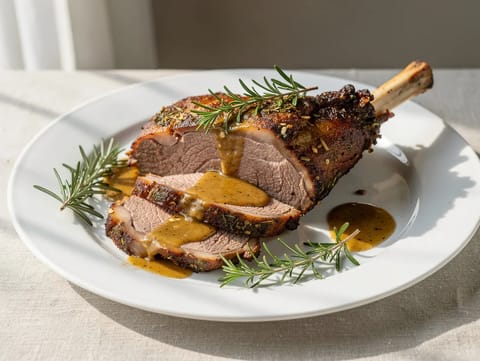
Cordero Asado (Spanish-Style Roast Lamb with Garlic and Rosemary)
Roast lamb with garlic, rosemary, lemon and white wine

Gaeng Massaman Tofu (Vegan Massaman Curry)
Vegan Massaman tofu curry with potatoes, coconut milk and peanuts
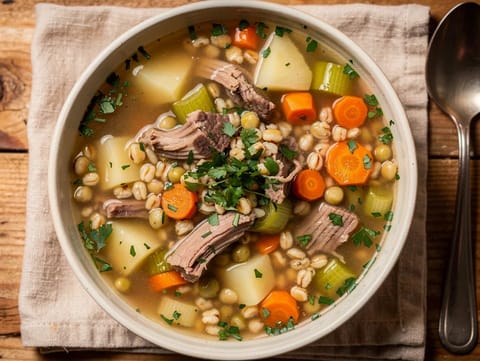
Scotch Broth Soup
Hearty Scotch broth with lamb, barley, split peas and vegetables

Air Fryer BBQ Chicken Thighs
Sticky BBQ chicken thighs finished in the air fryer.

Eton Mess Parfait
Eton mess parfait with strawberries, cream and meringue
Make this recipe easier next time
AdvertisementThese tools help you get better results with less effort.
KitchenAid Stainless Steel Mixing Bowls
- Non-slip base
- Stainless steel
- Not microwave safe
Pyrex Glass Mixing Bowls with Lids
- Microwave safe
- BPA-free lids
- Glass is heavier
OXO Good Grips Stainless Mixing Bowl Set
- Non-slip base
- Comfort grip
- Higher price
Enjoy cooking with JustRecipes?
Add JustRecipes as one of your preferred Google sources to discover our recipes more easily across Google Search.
Add JustRecipes to GoogleEvery recipe on JustRecipes follows the same structured editorial process. Learn how recipes are created, validated, translated, illustrated, and continuously improved across the platform. How we create recipes.
