
Costillas de Cerdo al Horno con Pimentón (Baked Pork Ribs)
Why this recipe works
- Smoky, savoury depth: Smoked paprika, garlic and oregano give the ribs a bold seasoning base without needing a long marinade.
- Low roast, high finish: Gentle roasting tenderises the meat, while the final hot oven stage browns the exterior and intensifies the paprika crust.
- Bright finish: Lemon wedges add freshness at the table, balancing the rich pork and smoky olive oil rub.
Get the most out of this recipe
Timing notes
- Mostly hands-off: The active work is mainly mixing the rub and coating the ribs; the oven does most of the cooking.
- Rest before cutting: A short rest helps the juices settle before the ribs are sliced between the bones.
Ingredient notes
- Choose meaty ribs: Bone-in spare ribs with a good amount of meat are best suited to the slow roast and hot finish.
- Use good smoked paprika: Pimentón is the defining flavour here, so a fresh, aromatic smoked paprika will make the rub taste fuller and more rounded.
- Finish with citrus: Lemon keeps the dish classic and bright; lime can be used for a sharper, more pronounced acidity.
Texture tips
- Dry the ribs well: Patting the ribs dry before adding the rub helps the paprika mixture cling properly and brown more effectively.
- Watch the final roast: The high-heat stage is for browning, not further tenderising, so remove the ribs once the outside is deeply coloured.
Make-ahead tips
- Season in advance: The ribs can be rubbed with the paprika mixture ahead of time and kept chilled until ready to roast.
- Reheat without drying out: Warm leftovers in a 180°C (355°F) oven until piping hot throughout, then use a brief 230°C (445°F) finish to refresh the crust.
- Freezer-friendly: Cooked ribs can be frozen once completely cooled, then reheated thoroughly before serving.
Equipment you'll need
Ingredients
Instructions
- Heat the oven to 160°C (320°F). Pat the ribs dry and place them in a roasting pan.
- Crush the garlic into a bowl, then mix in the smoked paprika, dried oregano and olive oil. Rub the mixture all over the ribs, working it into the meat and between the bones.
- Roast for 85 minutes, turning the ribs once halfway through, until the meat is tender and pulling back from the bones. If the pan looks dry at any point, add a small splash of water to prevent the spices catching.
- Increase the oven to 230°C (445°F) and roast for 10 minutes until the outside is deeply browned and lightly caramelised. Rest for 5 minutes, then cut the lemon into wedges and serve alongside for squeezing over.
Recipe notes
Tips
- For the best crust, make sure the ribs are well dried before rubbing on the paprika mixture.
- If cooking for children, keep the paprika rub as written and let everyone add extra heat at the table with more smoked paprika mixed into a little olive oil.
- Pork should be cooked until piping hot throughout; if serving vulnerable groups, ensure the ribs are thoroughly cooked and the juices run clear.
Substitutions
- Replace dried oregano with fresh oregano for a brighter herbal note.
- Replace lemon with lime for a sharper, more tropical acidity.
Storage
- Refrigerate up to 3 days
- Cool completely, then refrigerate in a sealed container. Reheat in a 180°C (355°F) oven until piping hot throughout; for a crisp finish, give them a final 3 to 5 minutes at 230°C (445°F).
Ratings & reviews
Liked this recipe? Share your feedback to support our cooking community.
Tried this recipe?
Choose 1–5 stars. A comment is optional.
Stay inspired
Discover new recipes, seasonal favourites and cooking inspiration every day. Follow JustRecipes on Pinterest and Spillt.
Recipe overview
- Servings: 4 servings
- Total time: 1h 50min (15min active)
- Difficulty: Easy
- Cuisine: Spanish
Plan your meals and get a complete grocery list automatically.
Add to meal plannerEquipment you'll need
Got ingredients left?
Find recipes using ingredients from this recipe or what you already have at home.
Find recipes with these ingredients →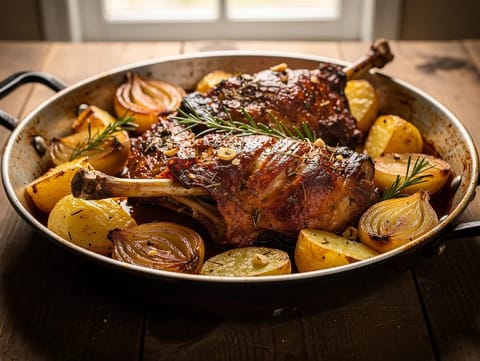
Cabrito Assado de Páscoa (Easter Roast Kid Goat with Potatoes)
Roast kid goat with potatoes, onions, garlic and white wine
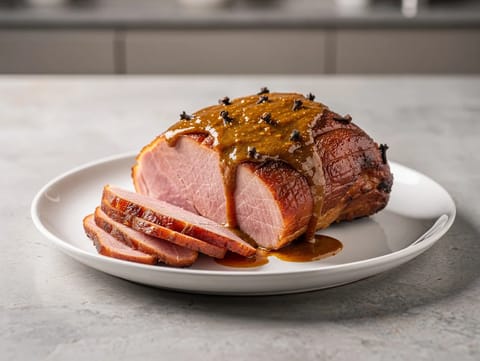
Belgian Beer-Braised Ham with Mustard and Brown Sugar Glaze
Beer-braised ham with mustard and brown sugar glaze
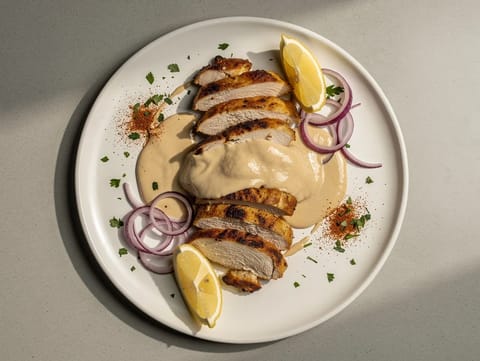
Chicken Shawarma with Yoghurt Marinade and Tahini Sauce
Roasted chicken shawarma with yoghurt marinade and tahini
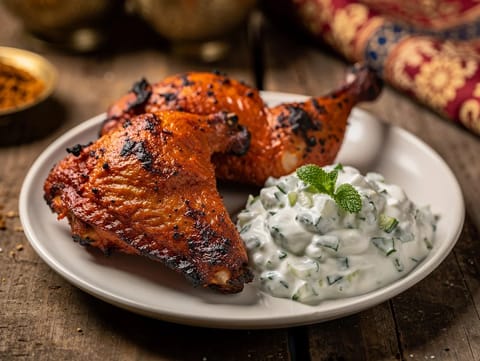
Tandoori Chicken with Raita
Roasted tandoori chicken with cucumber and mint raita
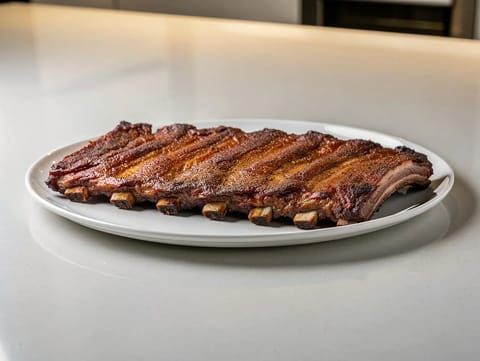
Rack of Pork Ribs with Smoky Dry Rub
Oven-baked pork ribs with smoky dry rub and vinegar sauce
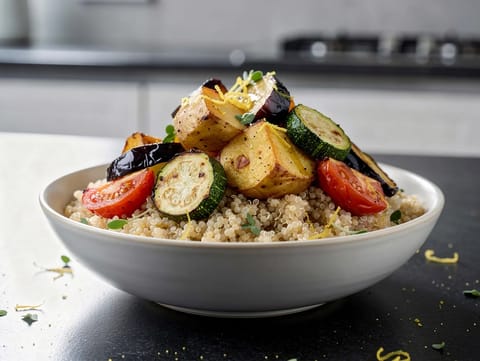
Modern Briam with Quinoa
Roasted aubergine, courgette and potato served over quinoa
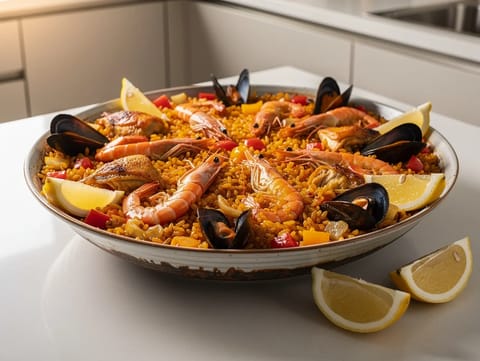
Paella Mixta (Mixed Paella with Chicken, Prawns and Mussels)
Mixed paella with chicken, prawns, mussels and saffron rice
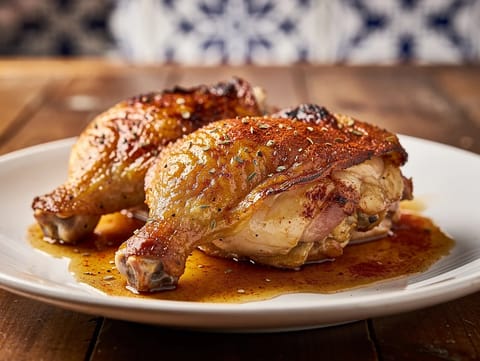
Citrus-Marinated Roasted Chicken Thighs
Roasted chicken thighs with orange and lemon marinade
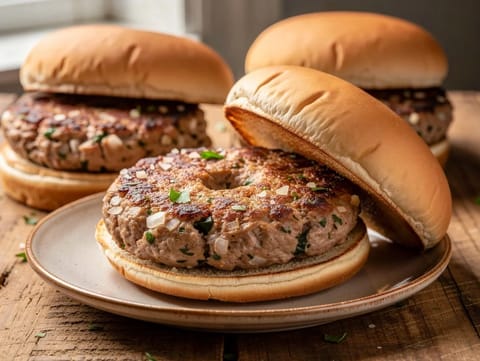
Air Fryer Turkey Burgers
Tender air fryer turkey burgers with onion and herbs.
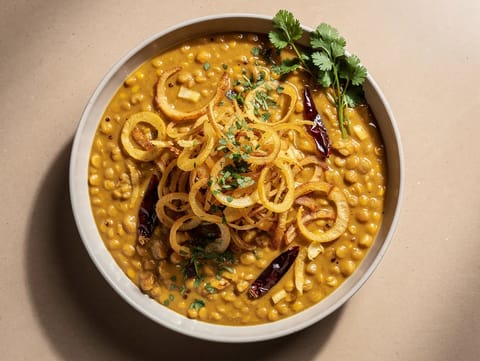
Tarka Dal with Crispy Fried Onions
Creamy tarka dal topped with crispy fried onions
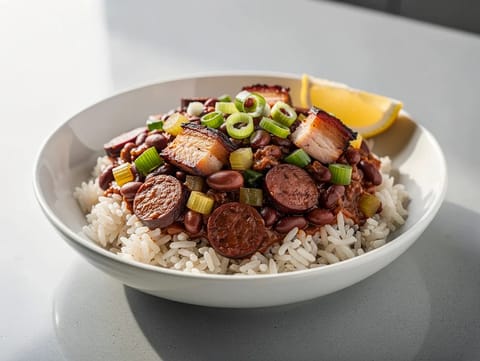
Cajun Red Beans and Rice
Creamy red beans with sausage, served over rice
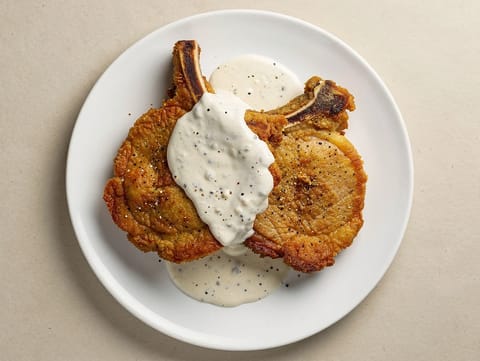
Country-Fried Pork Chops with White Gravy
Crisp pork chops topped with peppery white gravy
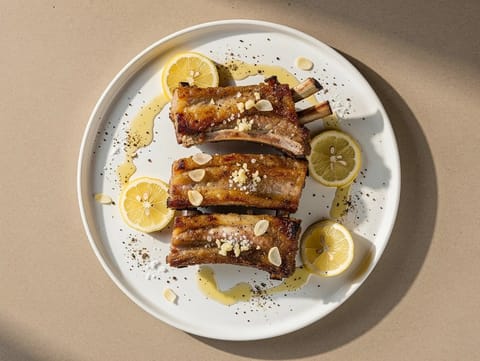
Costillas de Cerdo al Horno (Paprika-Roasted Pork Ribs)
Paprika-roasted pork ribs with garlic, olive oil and lemon
Citrus-Marinated Roasted Chicken Thighs
Roasted chicken thighs with orange and lemon marinade

Oven-Baked Pork Ribs with Mojo Picón
Oven-baked pork ribs served with mojo picón sauce
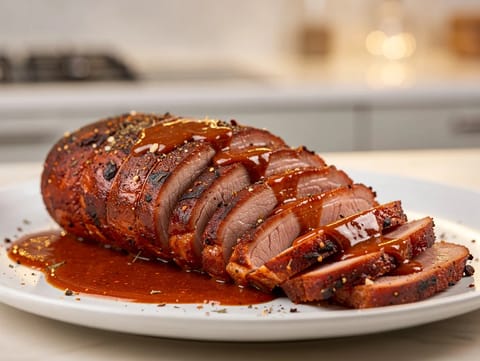
Lomo Adobado (Marinated Pork Loin Roast)
Marinated pork loin roast with smoked paprika and garlic
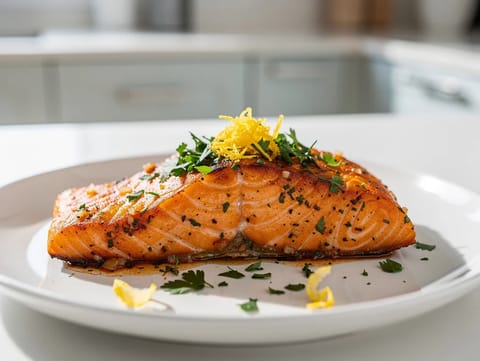
Spanish Lemon and Herb Salmon
Pan-seared salmon with lemon, herbs, garlic and paprika
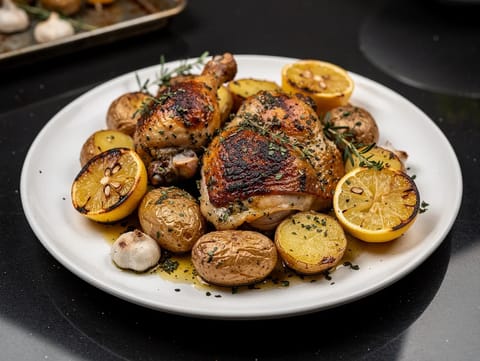
Lemon Herb Chicken Traybake
Roasted chicken thighs with lemon, oregano and baby potatoes
You might also like
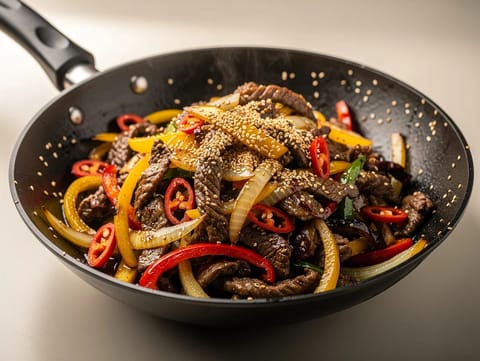
Cumin Lamb Stir-Fry (Xinjiang-Style Spiced Lamb)
Xinjiang-style cumin lamb stir-fry with chillies, onion and peppers

Masala Soda (Indian Spiced Soda)
Indian spiced soda with lemon, chaat masala and black salt
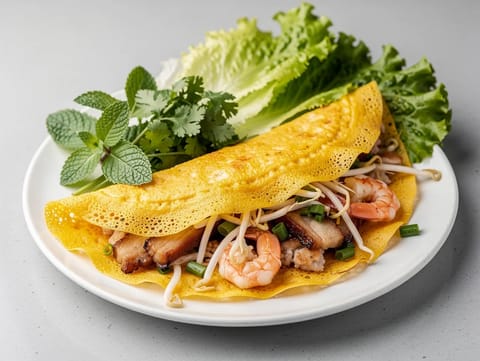
Bánh Xèo (Vietnamese Crispy Rice-Flour Pancakes)
Crispy Vietnamese rice-flour pancakes filled with pork and prawns
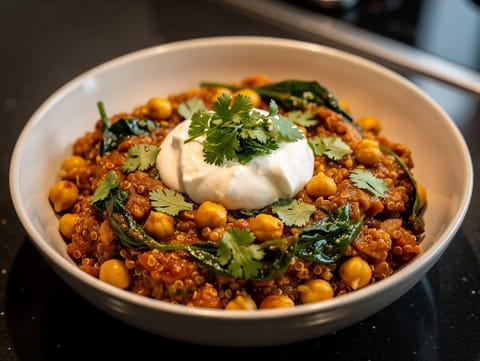
Masala Quinoa Bowl (Spiced Quinoa with Chickpeas, Spinach and Yoghurt)
Masala quinoa with chickpeas, spinach, yoghurt and coriander
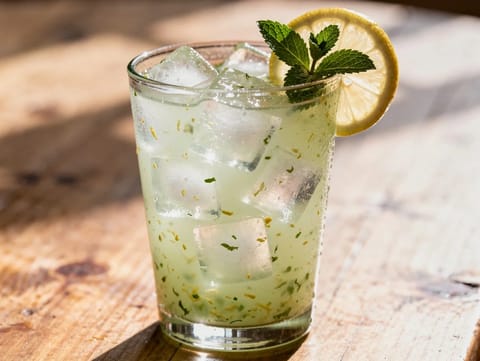
Turkish-Style Mint Lemonade
Mint lemonade blended with fresh mint, lemon juice and sugar
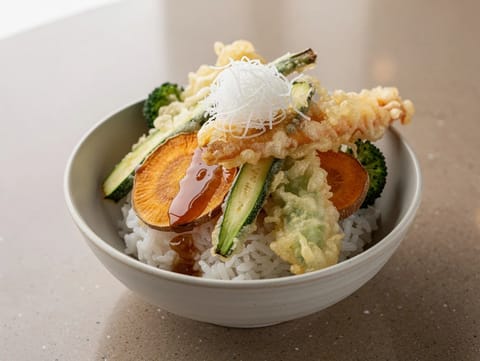
Tempura Veggie Bowl with Sushi Rice and Tentsuyu Sauce
Crisp tempura vegetables over sushi rice with tentsuyu
Make this recipe easier next time
AdvertisementThese tools help you get better results with less effort.
KitchenAid Stainless Steel Mixing Bowls
- Non-slip base
- Stainless steel
- Not microwave safe
Pyrex Glass Mixing Bowls with Lids
- Microwave safe
- BPA-free lids
- Glass is heavier
OXO Good Grips Stainless Mixing Bowl Set
- Non-slip base
- Comfort grip
- Higher price
Enjoy cooking with JustRecipes?
Add JustRecipes as one of your preferred Google sources to discover our recipes more easily across Google Search.
Add JustRecipes to GoogleEvery recipe on JustRecipes follows the same structured editorial process. Learn how recipes are created, validated, translated, illustrated, and continuously improved across the platform. How we create recipes.
