
Halloween Honeycomb Monster Bark
Why this recipe works
- Bubbles lighten the bite: Honeycomb breaks into fragile, airy pieces inside the firmer chocolate, giving each bite a different crunch from a solid chocolate sweet.
- Dark chocolate offsets the caramel: The cocoa flavour of dark chocolate provides a bitter edge against the sweet honeycomb, while the white chocolate is used mainly for the eyes.
- Irregular shapes suit the design: Breaking the slab around the eye pairs creates individual monsters, so neat moulds and identical portions are unnecessary.
Get the most out of this recipe
Ingredient notes
- Use golden syrup in the honeycomb: Golden syrup contributes its mellow caramel flavour to the cooked sugar. Weigh it with the other syrup ingredients so the honeycomb mixture keeps its intended balance.
- Keep chocolate equipment dry: Dry the bowls and utensils before melting the chocolate. Even a little water entering the bowl can make the chocolate stiff and grainy instead of fluid enough to spread.
- Measure the bicarbonate before heating: Have the bicarbonate measured and the tin lined before the syrup cooks. Once added, it produces foam that must be poured immediately.
Common mistakes
- Check the syrup, not just its colour: Read the sugar thermometer without letting its tip rest on the pan base. A pale amber colour alone does not reliably show that the syrup has reached the stated temperature.
- Leave the expanding foam alone: After the brief whisk, pour the foam into its tin and let it settle by itself. Spreading or pressing it down collapses the bubbles that make the honeycomb light.
- Cool the honeycomb before coating: Fold in only completely cold, hard honeycomb. Warm pieces can soften the brittle structure and prevent the chocolate from coating the chunks evenly.
Make-ahead tips
- Finish the bark before the party: The bark can be made within the stated storage window and kept airtight once firm. Choose a cool, dry place so the honeycomb retains its brittle texture.
- Protect the faces in transit: Use a rigid container and keep the pieces flat rather than piling them into a bag. Lift them out individually so the eyes and seed spikes remain attached.
Equipment you'll need
Ingredients
Honeycomb
Chocolate and decoration
Instructions
- Line a deep heatproof tin and a separate baking tray with baking paper. Measure the bicarbonate of soda into a small bowl before heating the sugar.
- Put the caster sugar, golden syrup and water in a large saucepan and stir over low heat until dissolved. Stop stirring and boil for 8–12 minutes until pale amber and a sugar thermometer reads 150°C (300°F); keep children away from the pan.
- Remove from the heat, whisk in the bicarbonate of soda briefly and immediately pour the expanding foam into the lined tin. Do not touch or spread the hot mixture; leave for 60 minutes until completely cold and hard.
- Break the honeycomb into small chunks. Chop the dark chocolate, reserving 15 g for the pupils, and melt the remaining 285 g in a dry heatproof bowl over barely simmering water, with the bowl above the water.
- Fold all the honeycomb into the melted chocolate and spread on the lined tray into a rectangle about 25 × 20 cm. Melt the white chocolate and reserved dark chocolate separately in clean, dry bowls over the warm water.
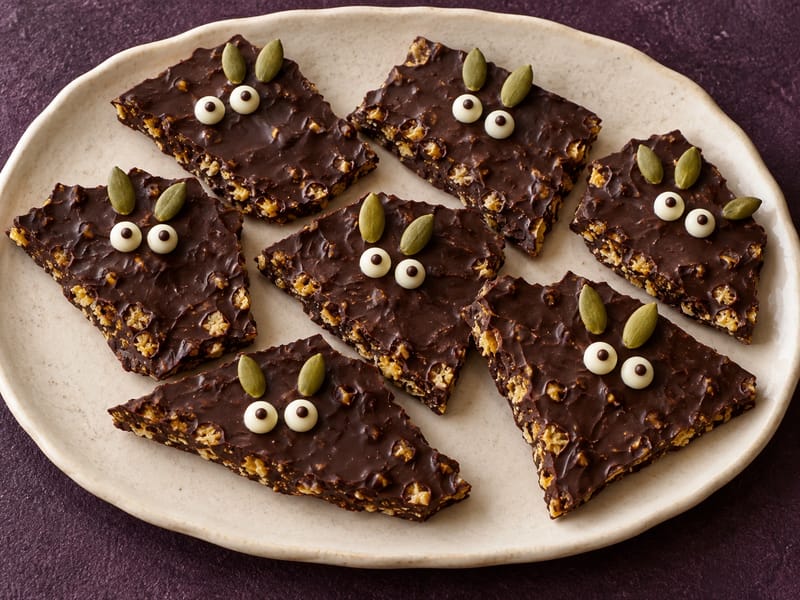
- Pipe 16 pairs of white chocolate dots across the bark, leaving space to break it into pieces. Add a tiny dark chocolate pupil to each dot and press the pumpkin seeds around the eyes as short monster spikes.
- Chill for 15 minutes until the chocolate is firm, then break into 16 irregular pieces, keeping the eye pairs together. Transfer to an airtight container and keep in a cool, dry place until serving.
Recipe notes
Tips
- Use a large saucepan: the honeycomb foams up as soon as the bicarbonate of soda is added.
- Hot sugar causes serious burns; adults should handle the pan, while children can decorate the completely cooled bark.
- Use a heavy saucepan of at least 2 litres, a 20 cm square tin at least 5 cm deep, and a tray at least 30 × 25 cm. Serve the finished pieces in a single layer on a flat platter.
Substitutions
- Replace the shelled pumpkin seeds with sunflower seeds for smaller monster spikes.
Storage
- Keep in an airtight container in a cool, dry cupboard for up to 3 days. Humidity softens honeycomb; avoid prolonged refrigeration and do not freeze. Scatter small leftover bark pieces over ice cream just before serving; keep them dry until then and within the same storage limit.
Ratings & reviews
Liked this recipe? Share your feedback to support our cooking community.
Tried this recipe?
Choose 1–5 stars. A comment is optional.
Stay inspired
Discover new recipes, seasonal favourites and cooking inspiration every day. Follow JustRecipes on Pinterest and Spillt.
Recipe overview
- Servings: 16 pieces
- Yield: chocolate honeycomb bark
- Total time: 2h (30min active)
- Difficulty: Medium
- Cuisine: British
-
Allergens:
Milk
Plan your meals and get a complete grocery list automatically.
Add to meal plannerEquipment you'll need
Got ingredients left?
Find recipes using ingredients from this recipe or what you already have at home.
Find recipes with these ingredients →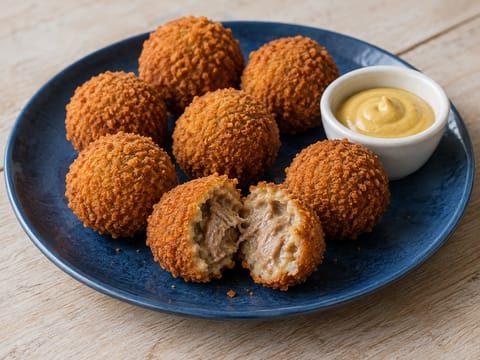
Bitterballen with Mustard (Dutch Beef Ragout Croquettes)
Crisp bitterballen filled with thick beef ragout
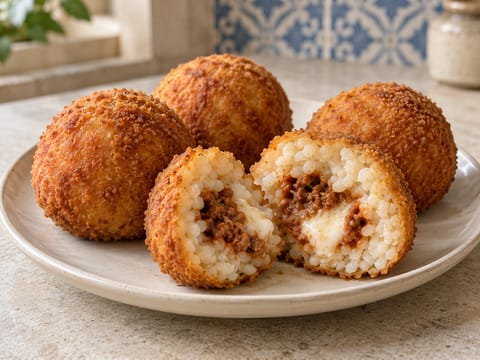
Arancini di Riso al Ragù (Fried Rice Balls with Beef Ragù and Mozzarella)
Crisp fried rice balls with beef ragù and mozzarella
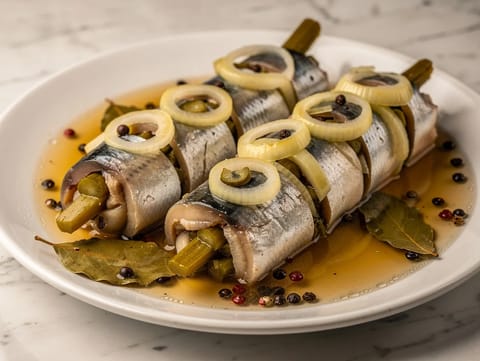
Rollmops (Pickled Herring Rolls with Gherkins and Onion)
Pickled herring rolls filled with gherkins and onion
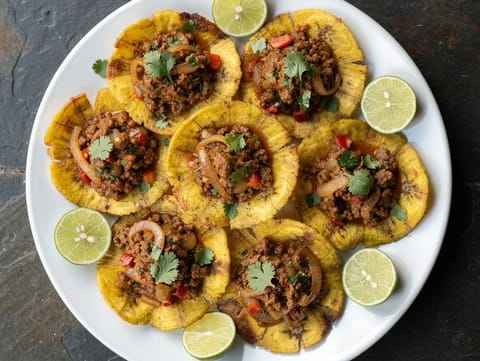
Tostones con Carne Molida (Fried Plantains with Spiced Minced Beef)
Twice-fried plantains topped with spiced minced beef
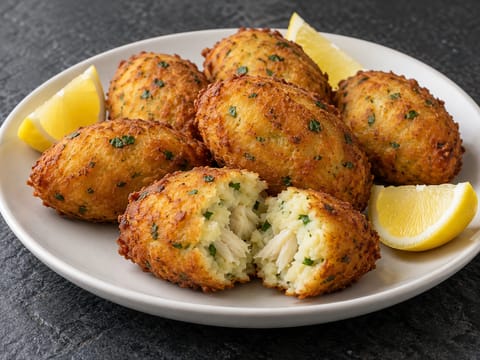
Bolinhos de Bacalhau (Salt Cod and Potato Fritters)
Crisp salt cod and potato fritters with parsley and lemon
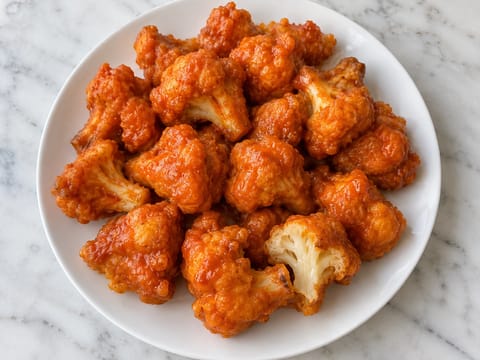
Buffalo Cauliflower Bites
Baked battered cauliflower bites tossed in hot sauce and butter
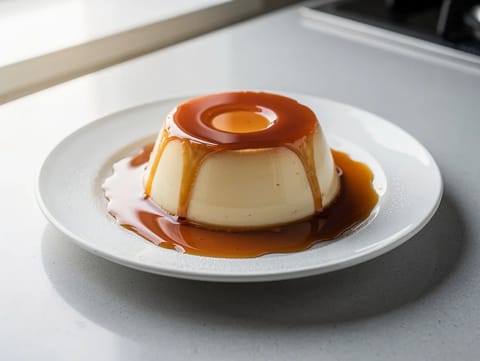
Flan de Caramelo
Baked caramel flan with vanilla custard, chilled before serving.
Zabaglione with Marsala Wine
Warm zabaglione custard made with Marsala wine
Mysore Pak (Chickpea Flour Fudge)
South Indian chickpea flour fudge cooked with ghee and sugar syrup
Air Fryer Apple Pie
Small air fryer apple pie with buttery pastry and cinnamon.
Suspiros de Monja (Nun’s Sighs Fritters)
Choux-style fritters fried in olive oil with lemon and icing sugar
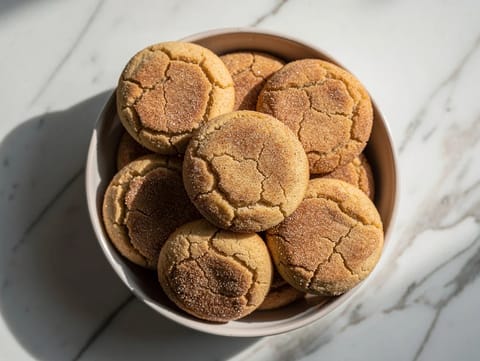
Air Fryer Snickerdoodles
Air fryer snickerdoodles rolled in cinnamon sugar and baked until puffed.
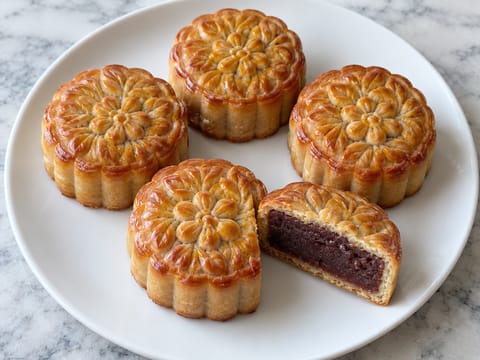
Mooncakes (Baked Cakes with Golden Syrup and Red Bean Filling)
Baked mooncakes with golden syrup dough and red bean paste
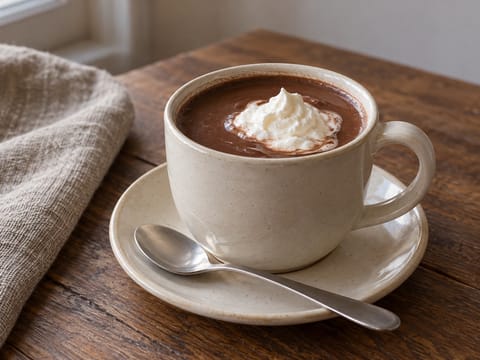
Belgian Hot Chocolate
Thick hot chocolate made with dark chocolate and whole milk
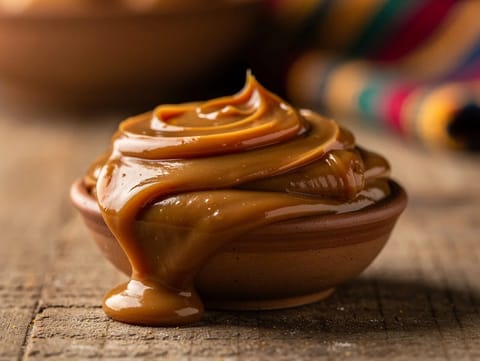
Dulce De Leche (Caramelised Milk Spread)
Thick caramelised milk spread made from milk and sugar
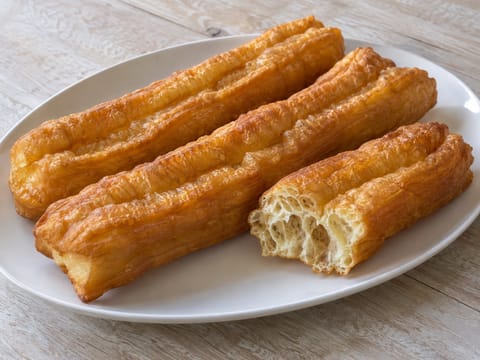
Youtiao (Chinese Fried Dough Sticks)
Chinese fried dough sticks, puffed and golden
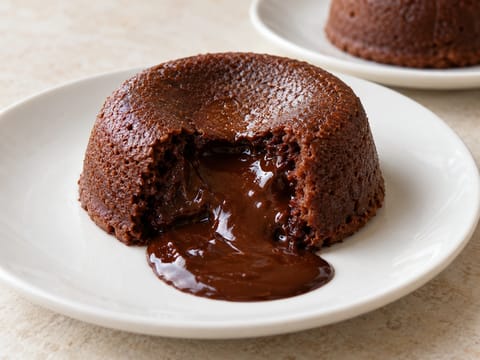
Fondant au Chocolat (Warm Chocolate Lava Cake)
Warm chocolate cakes with a molten centre
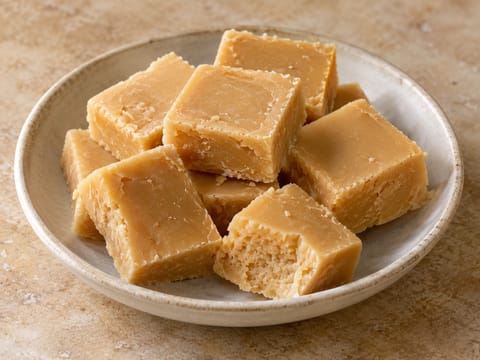
Clotted Cream Fudge with Golden Syrup
Rich clotted cream fudge set into smooth squares
You might also like

Air Fryer Donuts
Yeast donuts air-fried and finished with vanilla glaze.
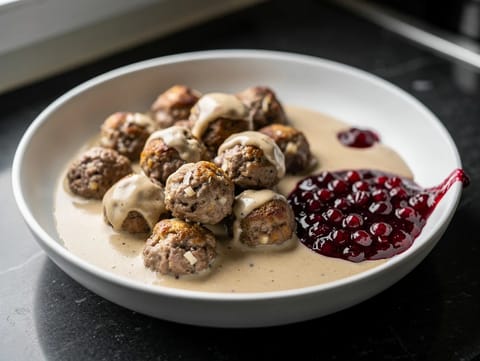
Air Fryer Swedish Meatballs
Air fryer Swedish meatballs with cream gravy and lingonberry jam.

Air Fryer Pad Thai Bites
Crispy Pad Thai bites with prawns, noodles and peanuts.
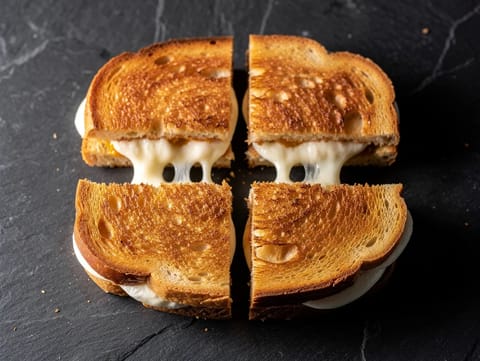
Mozzarella in Carrozza (Modern Light Version)
Pan-fried mozzarella sandwich dipped in egg until golden
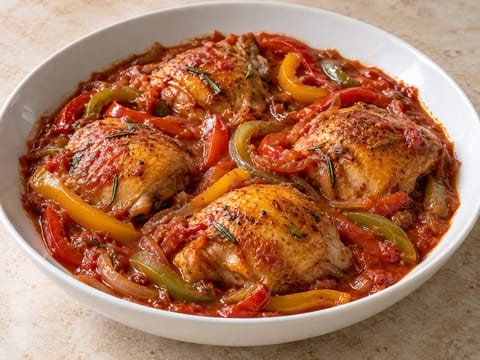
Pollo alla Cacciatora (Modern Light Version)
Chicken thighs simmered in tomato and red wine sauce
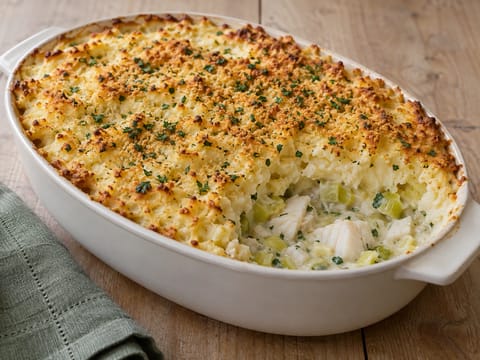
Fish Pie with Leek and Parsley Sauce
Baked fish pie with leek parsley sauce and crisp breadcrumbs
Make this recipe easier next time
AdvertisementThese tools help you get better results with less effort.
KitchenAid Stainless Steel Mixing Bowls
- Non-slip base
- Stainless steel
- Not microwave safe
T-fal Specialty Nonstick Handy Pot with Glass Lid 3 Quart
- Easy food release
- Dishwasher safe
- Not induction compatible
OXO Good Grips Stainless Mixing Bowl Set
- Non-slip base
- Comfort grip
- Higher price
WMF Mini Saucepan 16 cm with Lid
- High-quality stainless steel
- Even heat distribution
- Higher price point
Enjoy cooking with JustRecipes?
Add JustRecipes as one of your preferred Google sources to discover our recipes more easily across Google Search.
Add JustRecipes to GoogleEvery recipe on JustRecipes follows the same structured editorial process. Learn how recipes are created, validated, translated, illustrated, and continuously improved across the platform. How we create recipes.