
Hyderabadi Dum Biryani (Sealed-Pot Chicken and Rice with Saffron)
Why this recipe works
- Dum-style cooking: Sealing the pot keeps steam inside, allowing the rice and chicken to finish cooking gently together.
- Aromatic layers: Fried onions, fresh herbs, saffron ghee and whole spices season the rice from top to bottom without making it heavy.
- Distinct rice and tender chicken: Parboiling the basmati before layering helps the grains stay separate while the marinated chicken finishes underneath.
Get the most out of this recipe
Authenticity notes
- Hyderabadi style: This version follows the recognisable Hyderabadi approach of layering spiced meat with partially cooked rice before finishing it on dum.
- Sealed-pot steaming: The key technique is trapping the steam so the rice absorbs the aroma of saffron, herbs, ghee and whole spices as it finishes.
Timing notes
- Do not skip the marinade: The short yoghurt marinade seasons the chicken and helps the spices cling before it goes into the pot.
- Let it settle before serving: The covered rest after cooking allows the steam to redistribute, making the rice easier to lift without breaking the grains.
Texture tips
- Keep the rice firm at first: Boil the rice only until it is partly cooked and still firm in the centre; it will finish steaming during the dum stage.
- Steam-dry before layering: Let the drained rice shed excess surface moisture briefly so the top layers stay light rather than mushy.
Common mistakes
- Using too much heat: Dum cooking needs the lowest possible heat; strong heat can scorch the chicken before the rice has finished steaming.
- Overcooking the rice early: Fully cooked rice will become soft during the final steaming, so stop boiling while the grains still have some bite.
Equipment you'll need
Ingredients
Instructions
- Rinse the basmati rice in several changes of cold water until the water runs mostly clear, then cover with fresh water and soak for 30 minutes. Meanwhile, finely grate the ginger and crush the garlic to a paste. Thinly slice the onions, slit the green chillies, and pick the mint and coriander leaves.
- In a mixing bowl, combine the yogurt, ginger, garlic, green chillies, garam masala, 1 tsp fine sea salt, and the juice of half the lemon. Add the chicken thighs and turn well to coat, then set aside to marinate for 30 minutes at room temperature. Keep the remaining lemon half for serving.
- Warm 60 g of the ghee in a dutch oven over medium heat. Add the onions and cook, stirring often, for 15 to 20 minutes until deep golden and crisp at the edges. Lift out half the onions for layering later, leaving the rest in the pot.
- Add the marinated chicken to the dutch oven and spread it into an even layer. Cook over medium heat for 6 to 8 minutes, turning once, until the outside turns opaque and the yogurt marinade smells cooked. Take off the heat and keep the chicken in a single layer.
- Bring the water to a rolling boil in a large pot and stir in 2 tsp fine sea salt. Add the green cardamom pods, cinnamon stick, and whole cloves, then drain the soaked rice and add it to the pot. Boil for 5 to 6 minutes until the grains are about 70 percent cooked, still firm in the centre.
- Drain the rice in a colander and let it steam-dry for 2 minutes. Spoon half the rice over the chicken, then scatter over half the reserved fried onions, half the mint, and half the coriander. Add the remaining rice and finish with the remaining onions and herbs.
- Warm the remaining 20 g ghee in a small saucepan just until melted, then take off the heat and stir in the saffron. Drizzle the saffron ghee over the top layer of rice. Cover the pot with a tight-fitting lid; if your lid is loose, press it down firmly and keep the heat very low.
- Cook on the lowest heat for 25 minutes so the biryani steams and finishes cooking in its own trapped vapour. Turn off the heat and leave, covered, for 10 minutes to settle. Open the lid and gently lift and fold the rice from the sides to the centre with tongs, keeping the grains as separate as possible.
- Taste and add a pinch more salt if needed. Serve hot with lemon wedges for squeezing over. Aim to scoop right down to the bottom so each portion gets both chicken and rice.
Recipe notes
Tips
- For distinct grains, drain the parboiled rice well and let it steam-dry briefly before layering, so excess surface water does not turn the top layer mushy.
- Keep the heat extremely low during dum; if you smell scorching, move the pot to a cooler part of the hob and continue gently.
- Food safety: if serving anyone who is pregnant, elderly, or immunocompromised, ensure the chicken is cooked until piping hot throughout with no pink at the bone.
Substitutions
- Replace Chicken thighs with Chicken breast cutlets for a leaner biryani; reduce the dum time to 18 to 20 minutes to avoid drying out.
- Replace Ghee with Unsalted butter for a similar richness, but keep the heat slightly lower as butter browns faster.
- Replace Yogurt with Greek yogurt for a thicker marinade; loosen with a splash of Water so it coats the chicken evenly.
Storage
- Refrigerate up to 3 days
- Cool quickly, then refrigerate in a sealed container. Reheat in a covered saucepan with a small splash of water over low heat until piping hot, or in a 180°C (355°F) oven, covered, for 20 to 25 minutes. Freeze in portions for up to 2 months and defrost overnight in the fridge before reheating.
Ratings & reviews
Liked this recipe? Share your feedback to support our cooking community.
Tried this recipe?
Choose 1–5 stars. A comment is optional.
Stay inspired
Discover new recipes, seasonal favourites and cooking inspiration every day. Follow JustRecipes on Pinterest and Spillt.
Recipe overview
- Servings: 4 servings
- Total time: 2h 30min (45min active)
- Difficulty: Advanced
- Cuisine: Indian
-
Allergens:
Milk
Plan your meals and get a complete grocery list automatically.
Add to meal plannerEquipment you'll need
Got ingredients left?
Find recipes using ingredients from this recipe or what you already have at home.
Find recipes with these ingredients →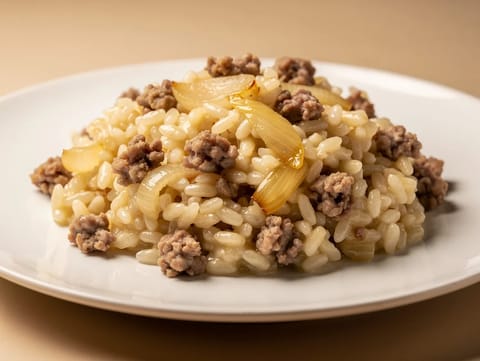
Risotto alla Salsiccia (Italian Sausage Risotto)
Creamy risotto with Italian sausage and Parmesan
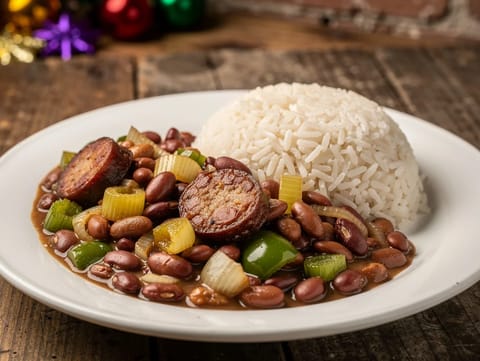
New Orleans Red Beans and Rice with Andouille
Creamy red beans with Andouille sausage served over rice
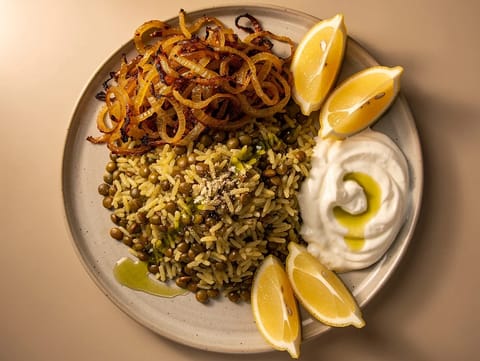
Mujaddara (Lentils and Rice with Caramelised Onions)
Lentils and rice topped with caramelised onions
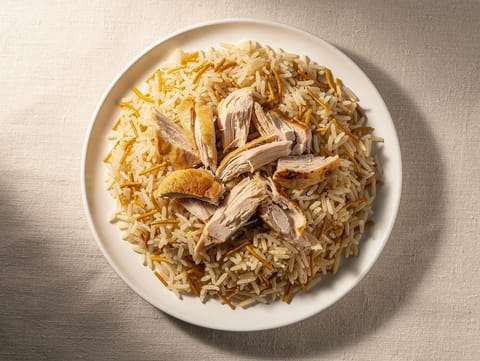
Tavuklu Pilav (Turkish Chicken Rice Pilaf)
Turkish chicken rice pilaf topped with shredded chicken
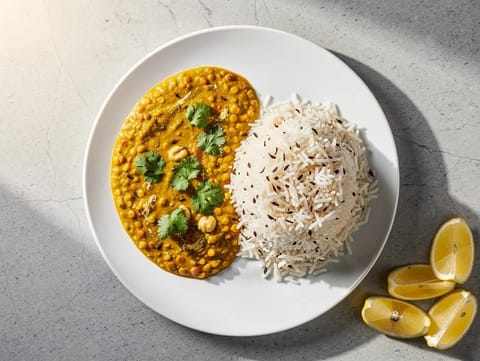
Quick Dal Tadka with Jeera Rice
Red lentil dal with cumin, garlic and chilli tadka
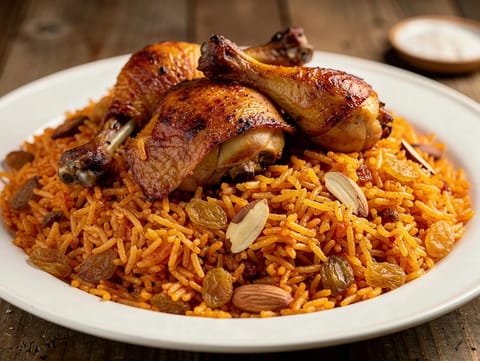
Chicken Kabsa (Saudi-Style Spiced Rice with Almonds and Raisins)
Saudi-style chicken kabsa with spiced basmati rice, almonds and raisins
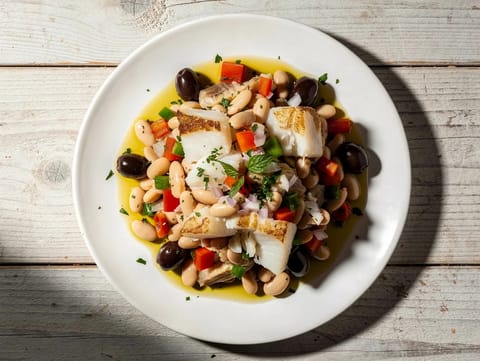
Empedrat (Catalan Salt Cod and White Bean Salad)
Catalan salt cod and white bean salad with tomato and peppers

Enchiladas Verdes with Chicken and Crema
Baked chicken enchiladas with tomatillo sauce and crema
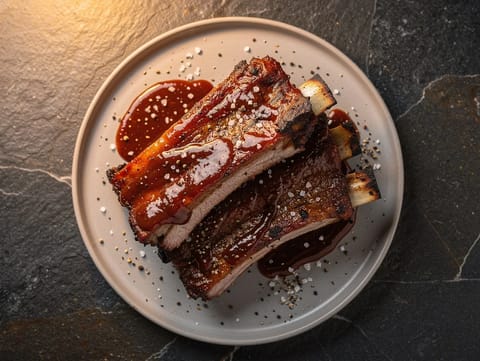
Pork Spare Ribs with Smoky BBQ Sauce
Oven-baked spare ribs glazed with smoky BBQ sauce

Linsensuppe mit Würstchen (German Lentil Soup with Frankfurters)
German lentil soup with frankfurters
Arroz con Pollo (Spanish Chicken and Rice)
One-pan Spanish chicken and rice with saffron and paprika

Baked Salmon with Hollandaise Sauce
Baked salmon with warm hollandaise sauce
Chicken Biryani Lunch Bowl
Chicken biryani bowl layered with basmati rice and onions
Hyderabadi Dum Biryani with Saffron and Rose Water
Layered Hyderabadi dum biryani with saffron, rose water and fried onions
Hyderabadi-Style Lamb Biryani
Hyderabadi-style lamb biryani layered with rice and fried onions
Chicken Tikka with Green Chutney
Grilled chicken tikka with coriander and mint chutney
Korma Nawabi (Mughlai Chicken Curry)
Mughlai chicken korma with yoghurt, cashews and saffron
Chicken Do Pyaza (Chicken Curry with Onions)
North Indian chicken curry with onions, tomatoes, spices and yoghurt
You might also like

Fish Tacos with Cabbage Slaw
Fish tacos with lime mayo cabbage slaw
Velouté de Champignons (Creamy French Mushroom Soup)
Blended mushroom soup finished with double cream
Salade de Chèvre Chaud (Warm Goat’s Cheese Salad)
Leafy salad with warm goat’s cheese on toasted baguette
Pollo alla Cacciatora Bianco (White Wine Braised Chicken with Olives and Capers)
White wine braised chicken with olives and capers
Westfälischer Pfefferpotthast (Westphalian Pepper Beef Stew)
Westphalian pepper beef stew with onions and vinegar
Moroccan Lamb Skewer Platter (Lamb Brochettes)
Grilled Moroccan lamb skewers with tomato and red onion salad
Make this recipe easier next time
AdvertisementThese tools help you get better results with less effort.
KitchenAid Stainless Steel Mixing Bowls
- Non-slip base
- Stainless steel
- Not microwave safe
T-fal Specialty Nonstick Handy Pot with Glass Lid 3 Quart
- Easy food release
- Dishwasher safe
- Not induction compatible
OXO Good Grips Stainless Mixing Bowl Set
- Non-slip base
- Comfort grip
- Higher price
WMF Mini Saucepan 16 cm with Lid
- High-quality stainless steel
- Even heat distribution
- Higher price point
Enjoy cooking with JustRecipes?
Add JustRecipes as one of your preferred Google sources to discover our recipes more easily across Google Search.
Add JustRecipes to GoogleEvery recipe on JustRecipes follows the same structured editorial process. Learn how recipes are created, validated, translated, illustrated, and continuously improved across the platform. How we create recipes.
