
Slow-Roasted Pork Shoulder with Crackling
Why this recipe works
- Slow roast, crisp finish: A long, gentle roast tenderises the shoulder before a final blast of heat turns the skin into crackling.
- Proper crackling: Drying the skin and keeping basting juices away from it helps the salt draw out moisture, giving the skin a better chance to blister.
- Classic balance: Rich pork, salty crackling and sweet applesauce give the dish its familiar roast-dinner contrast.
Get the most out of this recipe
Timing notes
- Mostly hands-off cooking: The active preparation is brief, but the pork needs several hours in the oven to become tender before the crackling stage.
- Rest before carving: Let the pork rest after roasting so the meat slices more cleanly, keeping the crackling on top to preserve its crispness.
- Serve crackling promptly: Crackling is at its best soon after roasting, while the surface is still dry and crisp.
Texture tips
- For crisper crackling: Pat the skin thoroughly dry before seasoning and rub the salt well into the surface.
- Keep moisture off the skin: If basting is needed, baste only the meat and avoid spooning juices over the skin.
- For softer, pull-apart pork: Cook until the meat feels very tender when pressed with tongs; shoulder benefits from reaching a higher internal temperature than leaner cuts.
Common mistakes
- Not raising the oven temperature: The high-heat finish is what blisters the skin, so do not skip the final stage.
- Leaving the crackling unattended: Once the oven is at 240°C (465°F), watch the skin closely as it can move from crisp to scorched quickly.
- Carving straight away: Cutting immediately can make the meat lose more juices; a short rest improves the texture without spoiling the crackling.
Make-ahead tips
- Dry the skin in advance: If time allows, leave the skin uncovered in the fridge before cooking to help remove surface moisture.
- Reheat meat and crackling separately: Warm sliced pork in a 180°C (355°F) oven until piping hot, then re-crisp the crackling separately for the best texture.
- Freeze the pork, not the crackling: Cooked pork freezes well once cooled, but crackling loses its texture after freezing.
Equipment you'll need
Ingredients
Instructions
- Heat the oven to 160°C (320°F). Pat the pork skin very dry, then rub the joint all over with the rapeseed oil, fine sea salt and black pepper, working the salt well into the skin.
- Put the pork in a roasting pan, skin-side up, and roast for 3 hours, basting the meat (not the skin) once or twice if it looks dry. The pork is ready for the next stage when the meat feels very tender if you press it with tongs and the juices run clear; if using a thermometer, aim for at least 90°C (195°F) in the thickest part for pull-apart tenderness.
- Turn the oven up to 240°C (465°F). Roast for 20–30 minutes until the skin is blistered and deeply crisp; keep an eye on it so it does not burn.
- Rest the pork for 15 minutes before carving, keeping the crackling on top so it stays crisp. Serve slices of pork with pieces of crackling and a spoon of applesauce on the side.
Recipe notes
Tips
- For the best crackling, make sure the skin is thoroughly dry before seasoning, and avoid basting the skin during roasting.
- If the crackling is crisp but not quite blistered, give it an extra 5 minutes at 240°C (465°F), watching closely.
- If serving vulnerable groups, ensure the pork is cooked until piping hot throughout and the juices run clear.
Substitutions
- Replace rapeseed oil with olive oil for a slightly fruitier flavour.
- Replace applesauce with apple jam for a sweeter, more pronounced apple note.
Storage
- Refrigerate up to 3 days
- Cool the pork quickly, then refrigerate in a sealed container for up to 3 days. Reheat sliced pork in a 180°C (355°F) oven until piping hot; reheat crackling separately for a few minutes to re-crisp. Freeze cooled pork (without crackling) for up to 2 months and defrost overnight in the fridge before reheating.
Ratings & reviews
Liked this recipe? Share your feedback to support our cooking community.
Tried this recipe?
Choose 1–5 stars. A comment is optional.
Stay inspired
Discover new recipes, seasonal favourites and cooking inspiration every day. Follow JustRecipes on Pinterest and Spillt.

Recipe overview
- Servings: 4 servings
- Total time: 4h (20min active)
- Difficulty: Easy
- Cuisine: British
Plan your meals and get a complete grocery list automatically.
Add to meal plannerEquipment you'll need
Got ingredients left?
Find recipes using ingredients from this recipe or what you already have at home.
Find recipes with these ingredients →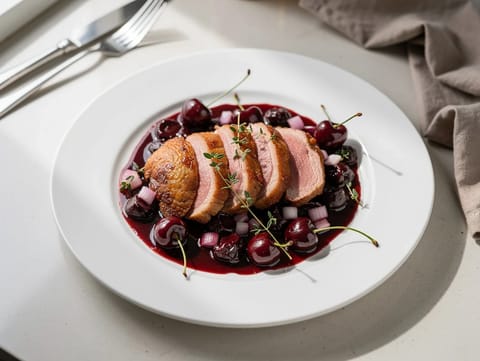
Pan-Seared Duck Breast with Cherry Bourbon Sauce
Pan-seared duck with cherry bourbon pan sauce
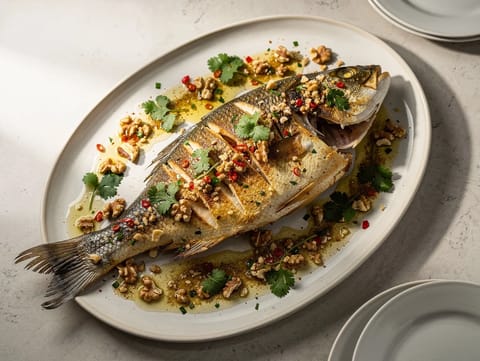
Samak Harra (Spiced Whole Roasted Fish)
Whole roasted fish with garlic chilli coriander sauce
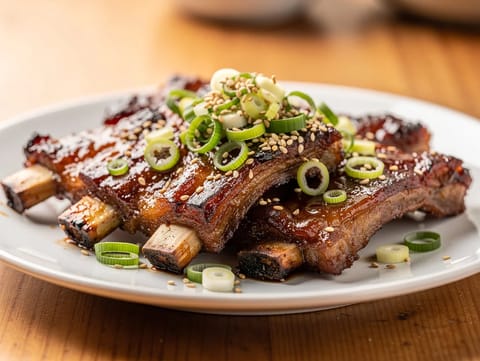
Dwaeji Galbi (Korean Pork Ribs)
Korean pork ribs marinated with soy, garlic and pear
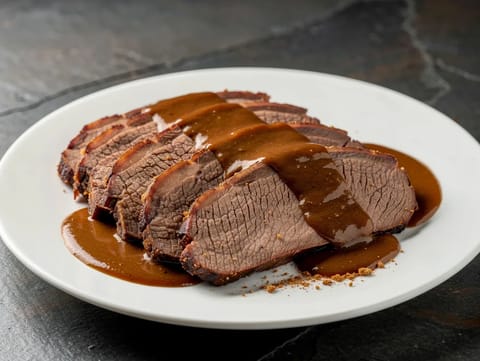
Sauerbraten with Gingersnap Gravy
Marinated beef pot roast with tangy gingersnap gravy
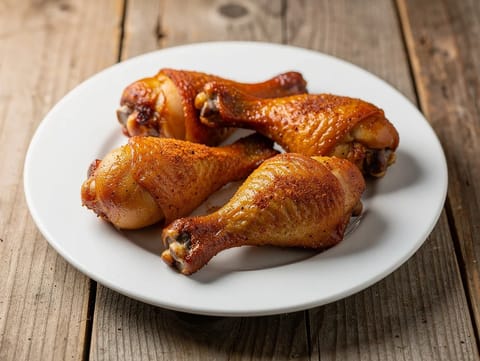
Air Fryer Chicken Drumsticks
Chicken drumsticks air-fried with garlic and paprika until juicy.
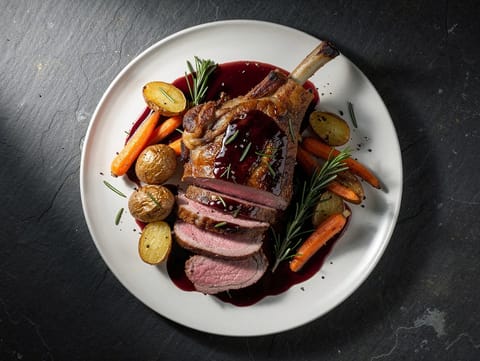
Roast Spring Lamb with Rosemary and Red Wine Gravy
Roast spring lamb with rosemary and red wine gravy

Biała Kiełbasa Pieczona (Baked Polish White Sausage)
Baked Polish white sausage with onion, garlic and marjoram
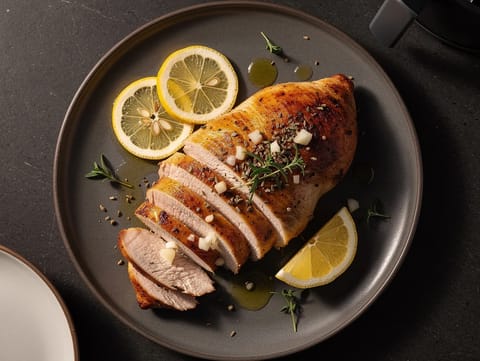
Air Fryer Herb Chicken Breast
Air fried chicken breasts with herbs, garlic and lemon.
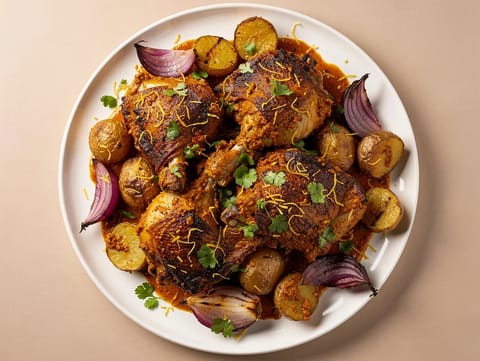
Masala Chicken Traybake (One-Tray Chicken with Potatoes and Yoghurt)
Masala chicken traybake with potatoes, red onion and yoghurt
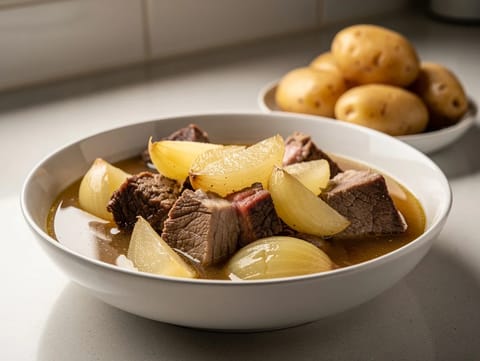
Karelian Stew (Karjalanpaisti)
Slow-cooked beef and pork stew with allspice
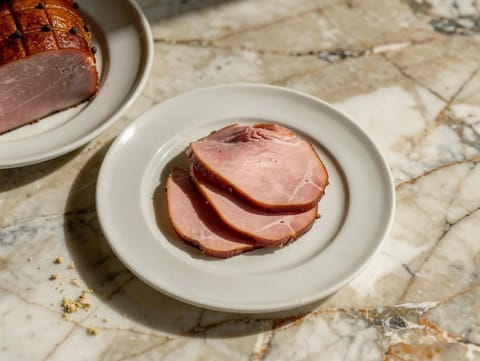
Glazed Ham with Brown Sugar, Dijon Mustard and Honey
Baked ham finished with a brown sugar and Dijon glaze

Gumbo (Southern Stew with Prawns and Andouille)
Southern stew with prawns, andouille, okra and dark roux
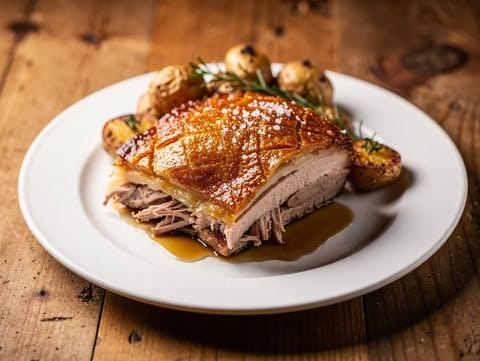
Slow-Cooked Pork Shoulder with Crackling
Slow-roasted pork shoulder with crisp crackling and roasting juices
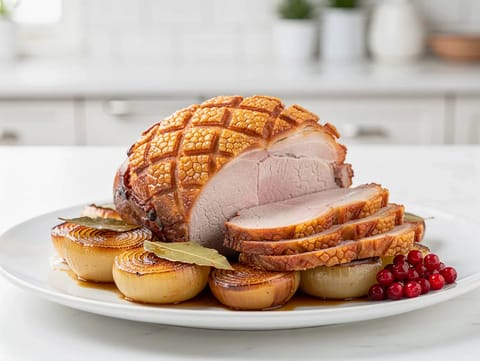
Christmas Pork Roast (Nordic Roast Pork with Crisp Crackling)
Nordic pork roast with crisp crackling and bay leaves

Air Fryer Sausages
Air fryer sausages with crisp skins and juicy centres.
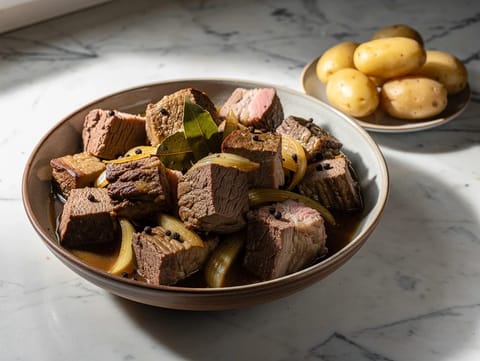
Karjalanpaisti (Finnish Beef and Pork Hot Pot)
Finnish beef and pork hot pot with onions and bay
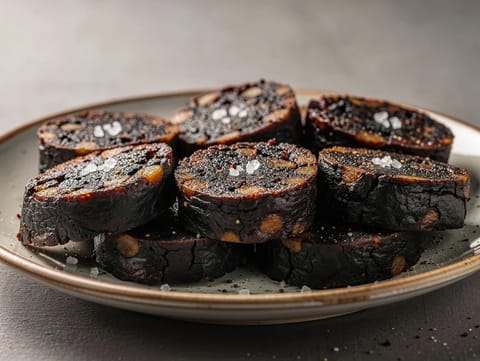
Black Pudding
Pan-fried black pudding, crisp outside and tender inside
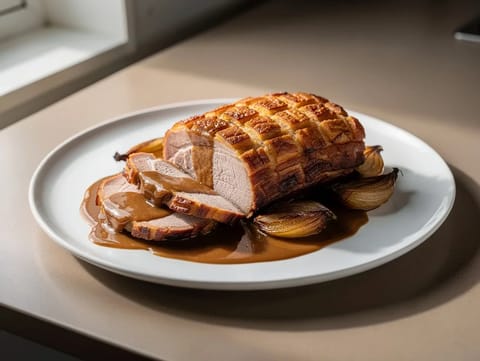
Fläskstek (Roast Pork with Crackling)
Roast pork shoulder with crisp crackling and rich gravy
You might also like
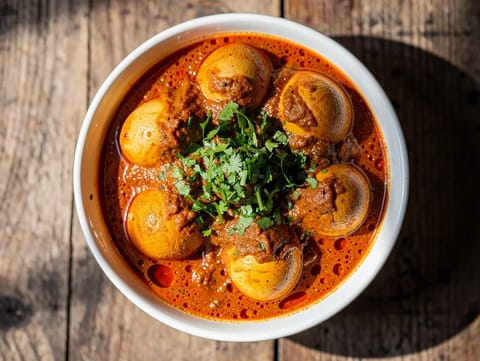
Egg Curry (Anda Masala)
Egg curry in a spiced tomato and onion gravy
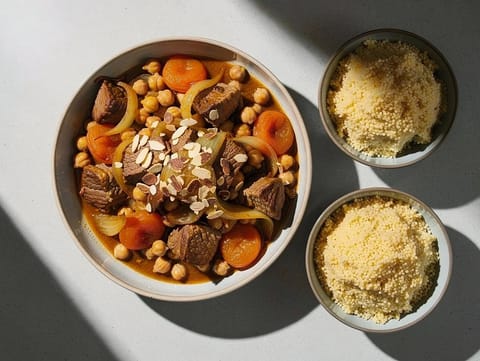
Lamb Tagine with Apricots and Chickpeas
Lamb tagine with apricots, chickpeas and warm spices
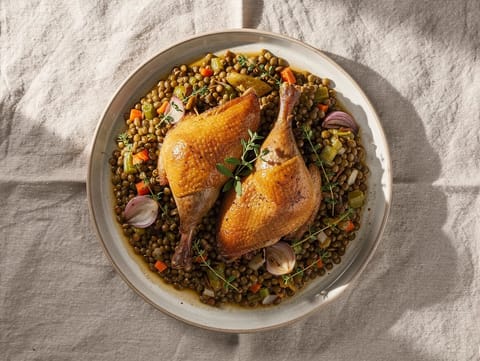
Duck Confit with Puy Lentils
Crispy duck confit with thyme-scented Puy lentils
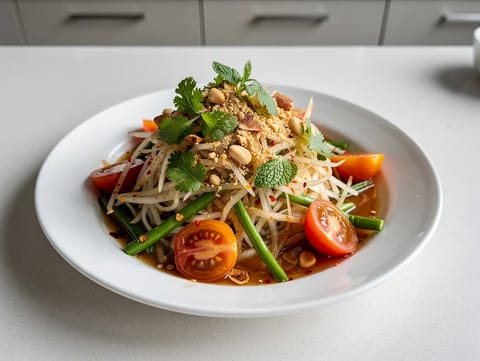
Som Tam Salad Bowl (Thai Green Papaya Salad)
Som tam style green papaya salad with peanuts and herbs
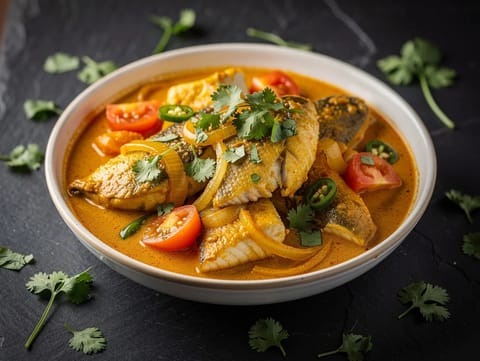
Goan Fish Curry with Coconut and Tamarind
Goan fish curry with coconut milk and tamarind

Kimchi Jeon (Kimchi and Spring Onion Pancake)
Kimchi and spring onion pancake with soy vinegar dipping sauce
Make this recipe easier next time
AdvertisementThese tools help you get better results with less effort.
Misen 8-Inch Chef Knife
- AUS-10 steel
- Balanced design
- Less traditional feel
Titanium & PP Double-Sided Cutting Board
- Separate surfaces for meat and produce
- Resists odors and stains
- Harder on knife edges than wood or plastic
WÜSTHOF Classic 8-Inch Chef's Knife
- Excellent build quality
- Reliable edge retention
- Expensive
OXO Good Grips 2-Piece Cutting Board Set
- Two useful sizes with reversible cutting surfaces
- Dishwasher safe and easy to clean
- Plastic surfaces will show knife marks over time
Enjoy cooking with JustRecipes?
Add JustRecipes as one of your preferred Google sources to discover our recipes more easily across Google Search.
Add JustRecipes to GoogleEvery recipe on JustRecipes follows the same structured editorial process. Learn how recipes are created, validated, translated, illustrated, and continuously improved across the platform. How we create recipes.
