
Hitsumabushi (Nagoya-Style Grilled Eel over Rice)
Why this recipe works
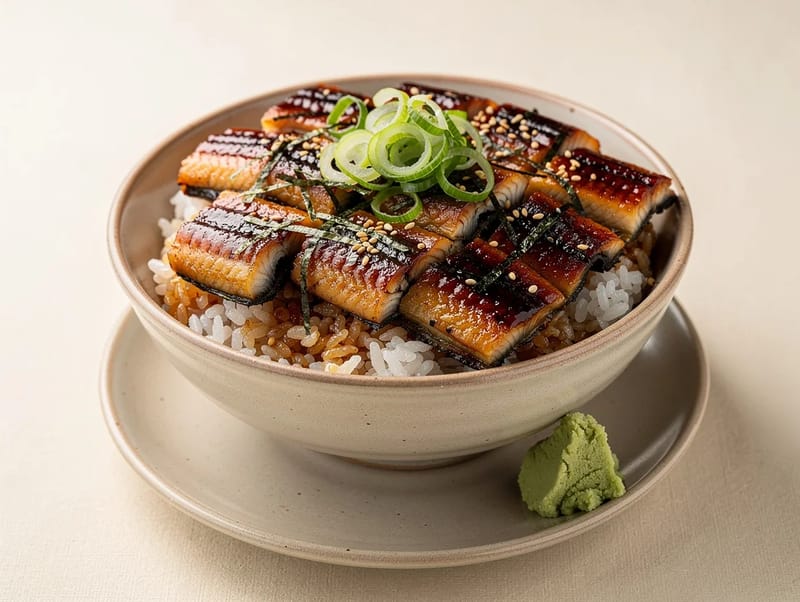
- Layered savoury-sweet flavour: The soy, mirin and sugar glaze gives the eel a glossy, savoury-sweet coating, while nori, sesame, spring onion and wasabi add contrast at the table.
- Staged serving: Eating the bowl in several stages changes the experience from a rich glazed rice dish to a lighter tea-moistened finish.
- Contrasting textures: Sticky hot rice, tender eel, crisp nori and sesame create a more varied bowl than eel and rice alone.
Get the most out of this recipe
Authenticity notes
- Nagoya-style serving: Hitsumabushi is associated with Nagoya and is distinct from a simple unagi rice bowl because the dish is divided and eaten in different ways.
- Three-stage eating: The classic sequence moves from plain eel and rice, to condiments mixed through, then a final portion moistened with hot tea.
- Classic accompaniments: Spring onion, nori, sesame and wasabi are used to sharpen and deepen the flavour of the sweet soy-glazed eel.
Ingredient notes
- Packaged unagi: Most packaged unagi is already cooked, so it only needs gentle reheating and glazing rather than a full cook from raw.
- Use short-grain rice: Short-grain rice has the slight stickiness needed to hold the glaze and later absorb the hot tea without losing its structure too quickly.
- Raw eel needs care: If using raw eel, cook it fully before glazing; do not treat it like pre-cooked unagi.
Common mistakes
- Boiling the glaze too hard: Keep the soy-mirin glaze at a gentle simmer. A rapid boil can make the sugars catch and turn bitter.
- Drying out pre-cooked eel: Pre-cooked eel only needs to be heated through and lacquered; too long under the grill can dry the flesh.
- Adding tea too early: Pour the hot tea only when ready to eat the final portion, so the rice stays distinct rather than sitting and swelling.
Make-ahead tips
- Prepare the garnishes: Slice the spring onion and cut the nori before serving, so the bowl can be assembled while the rice and eel are hot.
- Store rice and eel apart: Keep leftover rice and eel in separate airtight containers so each can be reheated in the best way.
- Restore the glaze: Warm the eel gently under the grill and brush with remaining glaze to bring back shine without drying the surface.
Equipment you'll need
Ingredients
Instructions
- Cook the rice in a rice cooker according to the manufacturer’s instructions, then keep it warm. Meanwhile, boil a kettle and make a strong pot of green tea with the dried green tea. Keep the tea hot for serving later.
- In a small saucepan, combine the soy sauce, mirin and caster sugar. Bring to a gentle simmer over medium heat, stirring until the sugar dissolves. Simmer 8 to 10 minutes until glossy and slightly thickened, then take off the heat.
- Heat the grill to medium-high. If the eel is pre-cooked (as most packaged unagi is), you are reheating and glazing rather than cooking from raw. Brush the eel with some of the glaze and grill 2 to 3 minutes per side until hot, lightly charred at the edges and shiny, brushing once more as it cooks.
- Slice the spring onion thinly. Cut or tear the nori sheets into fine strips. Slice the eel into bite-sized pieces.
- Divide the hot rice between two bowls and spoon over a little of the remaining glaze. Arrange the eel on top and finish with another light drizzle of glaze. Serve with spring onion, nori, roasted sesame seeds and wasabi paste on the side.
- To eat hitsumabushi in stages: first enjoy the eel and rice as served. Next, mix in some spring onion, nori, sesame and a small dab of wasabi. For the final stage, pour hot green tea into the bowl to moisten the rice and eel, then eat it like a light ochazuke.
Recipe notes
Tips
- Keep the glaze at a gentle simmer rather than a rapid boil so it thickens without turning bitter or catching on the base of the pan.
- If your eel is raw, grill it until fully cooked through and opaque before glazing, then brush with glaze and grill briefly to lacquer the surface.
- If serving to pregnant people, young children, older adults, or anyone immunocompromised, make sure the eel is thoroughly cooked and the tea is freshly boiled.
Substitutions
- Replace Mirin with dry sherry for a similar sweetness and aroma in the glaze.
- Replace Caster sugar with light brown sugar for a deeper, caramel-like sweetness.
- Replace Dried green tea with dried jasmine tea for a more floral final pour-over.
Storage
- Refrigerate up to 2 days
- Store rice and eel separately in airtight containers. Reheat the rice with a splash of water in the microwave until piping hot, and warm the eel gently under the grill, brushing with any remaining glaze to keep it glossy.
Ratings & reviews
Liked this recipe? Share your feedback to support our cooking community.
Tried this recipe?
Choose 1–5 stars. A comment is optional.
Stay inspired
Discover new recipes, seasonal favourites and cooking inspiration every day. Follow JustRecipes on Pinterest and Spillt.
Recipe overview
- Servings: 2 servings
- Total time: 55min (35min active)
- Difficulty: Advanced
- Cuisine: Japanese
-
Allergens:
Fish Sesame Soybeans
Plan your meals and get a complete grocery list automatically.
Add to meal plannerEquipment you'll need
Got ingredients left?
Find recipes using ingredients from this recipe or what you already have at home.
Find recipes with these ingredients →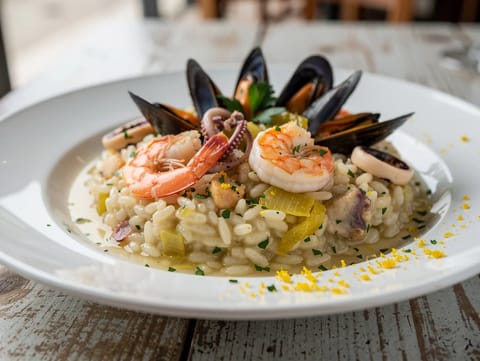
Risotto ai Frutti di Mare (Seafood Risotto with Prawns, Mussels and Squid)
Creamy seafood risotto with prawns, mussels and squid
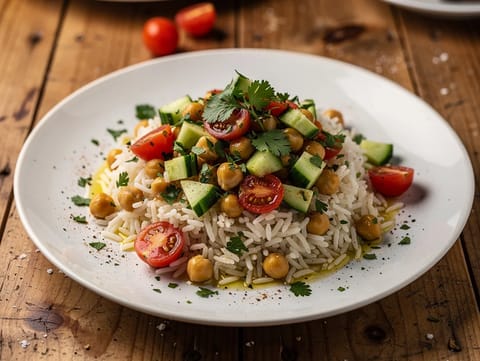
Moroccan Rice Bowl with Herbs
Basmati rice bowl with chickpeas, cucumber and fresh herbs

Modern Kimchi Fried Rice Bowl
Kimchi fried rice topped with a fried egg and sesame
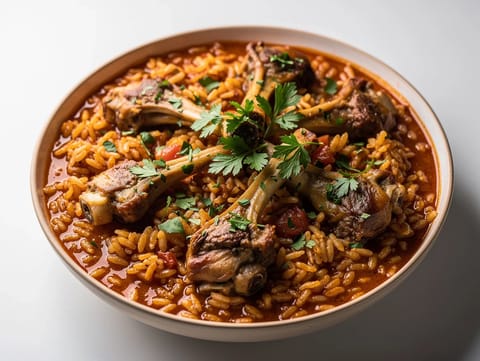
Arroz de Cabrito (Portuguese Oven-Baked Goat Rice)
Oven-baked goat rice with tomato, stock and parsley
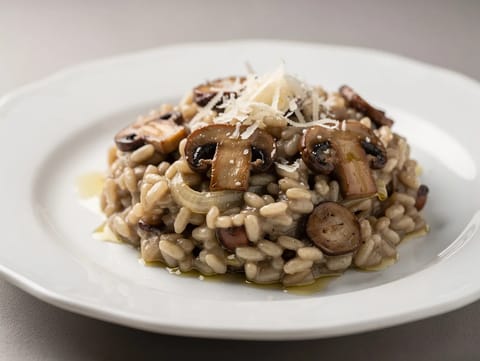
Truffle Mushroom Risotto
Creamy risotto with mushrooms, Parmesan and truffle oil
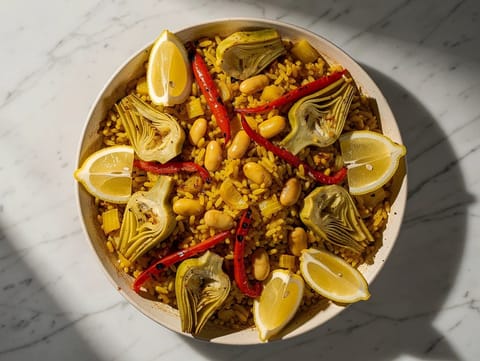
Vegetarian Paella with Artichokes and Butter Beans
Vegetarian paella with saffron rice, artichokes and butter beans
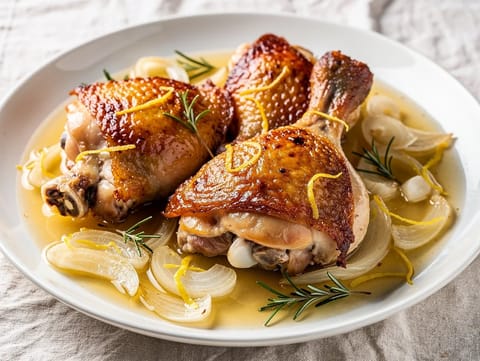
Pollo alla Cacciatora Bianca (White Wine Chicken with Rosemary and Lemon)
White wine chicken thighs simmered with rosemary, garlic and lemon

Beef Wellington with Mushroom Duxelles
Beef Wellington wrapped with mushroom duxelles, prosciutto and pastry
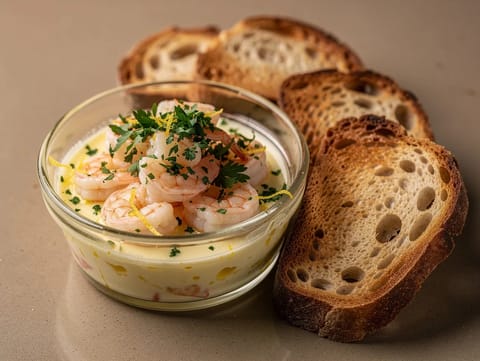
Potted Shrimp with Toasted Sourdough
Potted shrimp set in spiced butter, served with sourdough
Slow Cooker Beef Short Ribs with Red Wine
Slow-cooked beef short ribs in red wine sauce
Grilled Pork Chops with Dijon and Tarragon
Grilled pork chops with Dijon mustard and fresh tarragon
Crab Cakes with Old Bay and Lemon Aioli
Pan-fried crab cakes with Old Bay and lemon aioli
Gyudon (Beef Rice Bowl)
Beef and onion gyudon served over steamed rice
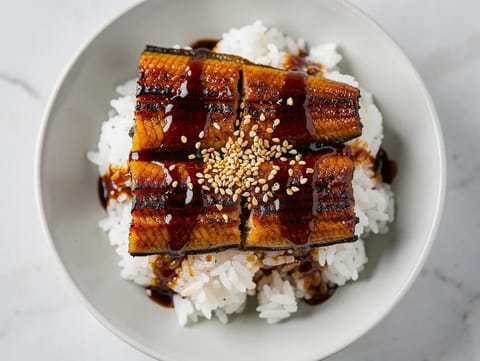
Unagi Kabayaki (Grilled Eel with Sweet Soy Sauce)
Grilled eel with sweet soy sauce served over rice
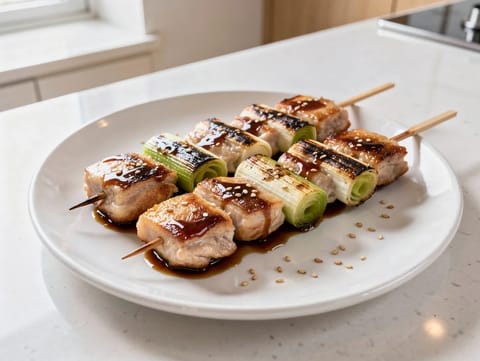
Air Fryer Yakitori
Chicken yakitori skewers with a soy and mirin glaze.
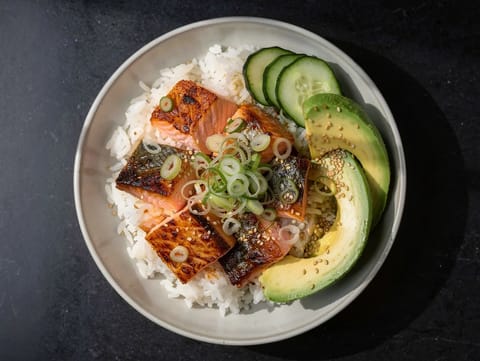
Japanese Salmon Rice Bowl with Soy and Mirin
Salmon rice bowl with soy, mirin, cucumber and avocado
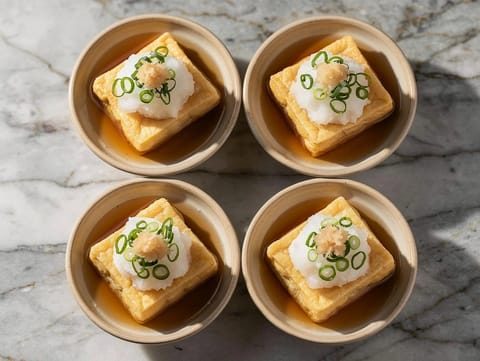
Agedashi Tofu (Fried Tofu in Dashi Broth)
Crisp fried tofu served in warm dashi broth
Japanese Chicken Rice Bowl with Soy, Mirin and Ginger
Chicken rice bowl with soy, mirin, ginger and spinach
You might also like
Zampone e Lenticchie (Sausage with Lentils)
Sausage served over lentils with tomato and stock

Air Fryer Cherry Pie
Air fryer cherry pie with lemon and cornflour-thickened filling.

Biscuits and Gravy
Warm biscuits topped with creamy pork sausage gravy

Cao Lau (Hoi An Noodles)
Hoi An noodles with roast pork, herbs, sprouts and fried shallots.
Air Fryer Salmon and Vegetables
Air-fried salmon with green beans, tomatoes and soy glaze.
Grilled Chicken and Avocado Salad
Grilled chicken salad with avocado and lime dressing
Make this recipe easier next time
AdvertisementThese tools help you get better results with less effort.
WMF Mini Saucepan 16 cm with Lid
- High-quality stainless steel
- Even heat distribution
- Higher price point
T-fal Specialty Nonstick Handy Pot with Glass Lid 3 Quart
- Easy food release
- Dishwasher safe
- Not induction compatible
All-Clad Tri-Ply Stainless Steel Saucepan
- Excellent heat control
- Premium build quality
- Expensive
Enjoy cooking with JustRecipes?
Add JustRecipes as one of your preferred Google sources to discover our recipes more easily across Google Search.
Add JustRecipes to GoogleEvery recipe on JustRecipes follows the same structured editorial process. Learn how recipes are created, validated, translated, illustrated, and continuously improved across the platform. How we create recipes.
