
Bánh Pía (Vietnamese Flaky Mung Bean Pastries)
Why this recipe works
- Flaky layered pastry: Wrapping fat dough inside water dough and rolling it twice creates distinct layers that bake into a crisp, delicate shell.
- Smooth, balanced filling: Cooking the mung bean paste until thick concentrates the flavour and keeps the sweetness rounded rather than wet or cloying.
- Classic laminated method: The roll-and-rest shaping method gives the pastries their recognisable spiral-like flake and helps prevent tearing during assembly.
Get the most out of this recipe
Timing notes
- Cool before eating: Let the pastries cool after baking; the filling firms slightly and the outer layers become crisper as steam escapes.
- Rest the dough rolls: The short rest after the second roll relaxes the gluten, making the dough easier to flatten without splitting the layers.
Texture tips
- For a crisper finish: Reheat chilled or thawed pastries in a 180°C (355°F) oven until the layers feel dry and lightly crisp again.
- For a smoother filling: Mash the mung beans while hot, then cook the paste until it holds together cleanly and no longer looks wet.
- Avoid a damp centre: Drain the mung beans thoroughly and allow steam to escape before mashing, so excess moisture does not soften the pastry.
Ingredient notes
- Mung bean texture: The beans need to be very tender before mashing; undercooked beans will leave the filling grainy rather than smooth.
- Handling the fat dough: Lard gives a short, flaky texture, but the dough should stay cool enough to roll cleanly without smearing.
Make-ahead tips
- Prepare the filling in advance: The mung bean paste can be made ahead and chilled, then brought back to a workable texture before shaping.
- Freeze after baking: Freeze cooled pastries in a sealed container, thaw at room temperature, then reheat in a 180°C (355°F) oven to refresh the layers.
Equipment you'll need
Ingredients
Mung bean filling
Water dough
Fat dough and finish
Instructions
- Rinse the mung beans well, then put them in a saucepan and cover with plenty of water. Bring to the boil, then simmer for 25 to 35 minutes until very tender and starting to break down. Drain thoroughly and let the steam escape for 5 minutes so the beans dry out a little.
- Return the drained beans to the saucepan over low heat and mash until smooth. Stir in the caster sugar, vegetable oil, vanilla extract and a pinch of fine sea salt, cooking for 6 to 10 minutes until the paste is thick, cohesive and no longer looks wet. Tip onto a plate and cool completely.
- While the filling cools, make the water dough: mix the plain flour, caster sugar and fine sea salt in a bowl. Add the vegetable oil and water, then mix and knead for 3 to 5 minutes until smooth and elastic. Cover and rest for 20 minutes.
- Make the fat dough: rub the lard into the plain flour until a soft, smooth dough forms. Knead briefly just to bring it together, then cover and rest for 10 minutes. If it feels greasy, chill for 5 minutes so it is easier to handle.
- Divide the cooled mung bean paste into 12 equal portions and roll each into a ball. Divide the water dough into 12 portions, and the fat dough into 12 smaller portions. Keep everything covered as you work to prevent drying.
- Flatten a portion of water dough into a disc and place a portion of fat dough in the centre. Wrap the water dough around it and pinch to seal, then roll into a short oval. Roll up tightly like a Swiss roll, cover, and repeat with the remaining portions.
- Take one rolled piece and roll it into a longer oval, then roll up tightly again to create more layers. Cover and repeat with the rest, then rest the rolls for 10 minutes to relax the gluten. This rest helps you roll without tearing and keeps the layers distinct.
- Working with one roll at a time, stand it cut-side up and press gently, then roll into a round about 10 to 12 cm wide, keeping the centre slightly thicker than the edges. Place a mung bean ball in the centre, wrap the dough up and over the filling, and pinch to seal. Turn seam-side down and gently round into a neat bun without squeezing out the layers.
- Heat the oven to 190°C (375°F) and line a baking tray. Whisk the egg, then brush a thin, even layer over the tops of the buns. Arrange them seam-side down on the tray with space to expand.
- Bake for 20 to 25 minutes until golden and lightly blistered, rotating the tray halfway through for even colour. Cool on the tray for 10 minutes, then transfer to a rack to cool further before eating. The pastry will crisp as it cools.
Recipe notes
Tips
- For the smoothest filling, mash the beans while they are still hot, then cook the paste until it holds its shape and does not smear when you drag a spoon through it.
- Keep the dough portions covered while shaping; a dry skin makes sealing difficult and can cause the layers to split.
- If serving to anyone who is pregnant, elderly, or immunocompromised, use eggs with a safety mark and bake the pastries until the egg wash is fully set and the buns are piping hot throughout.
Substitutions
- Replace Lard with Plant-based butter for a vegetarian version; chill the fat dough briefly if it becomes too soft to roll cleanly.
- Replace Vegetable oil with Neutral vegetable oil for a cleaner flavour in the filling and water dough.
- Replace Vanilla extract with Vanilla bean paste for a more pronounced vanilla aroma.
Storage
- Refrigerate up to 3 days
- Store in an airtight container at room temperature for up to 1 day, or refrigerate for up to 3 days. Reheat in a 180°C (355°F) oven for 6 to 8 minutes to re-crisp. Freeze in a sealed container for up to 2 months; thaw at room temperature, then reheat as above.
Ratings & reviews
Liked this recipe? Share your feedback to support our cooking community.
Tried this recipe?
Choose 1–5 stars. A comment is optional.
Stay inspired
Discover new recipes, seasonal favourites and cooking inspiration every day. Follow JustRecipes on Pinterest and Spillt.
Recipe overview
- Servings: 12 pieces
- Yield: mung bean pastries
- Total time: 2h 30min (1h active)
- Difficulty: Advanced
- Cuisine: Vietnamese
-
Allergens:
Eggs Gluten Wheat
Plan your meals and get a complete grocery list automatically.
Add to meal plannerEquipment you'll need
Got ingredients left?
Find recipes using ingredients from this recipe or what you already have at home.
Find recipes with these ingredients →
Air Fryer Puff Pastry Bites
Flaky puff pastry bites with cheddar, brushed with egg.

Gougères with Ham and Gruyère
Choux pastry gougères with Gruyère and diced ham

Saumon en Croûte (Salmon Wellington with Spinach)
Salmon Wellington with spinach and crème fraîche in puff pastry
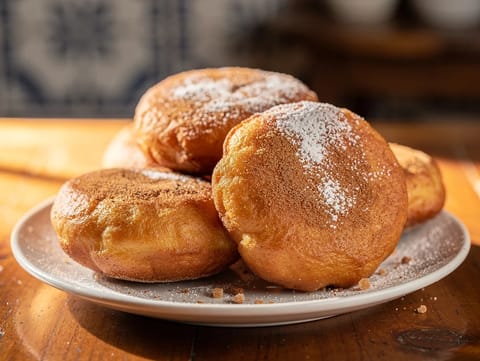
Filhoses (Portuguese Fried Christmas Pastries)
Portuguese fried pastries coated in cinnamon sugar
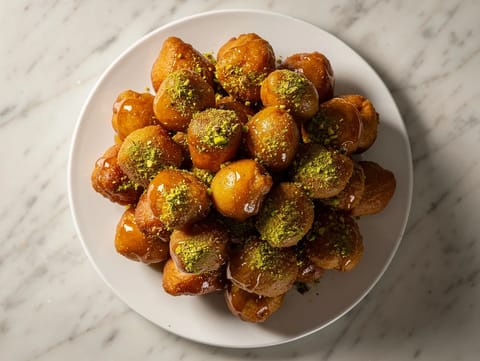
Pignolata (Sicilian Honey-Glazed Pastry Clusters)
Honey-glazed fried dough clusters with pistachios

Tulumba (Turkish Fried Choux Fritters in Lemon Syrup)
Ridged choux fritters soaked in cooled lemon syrup
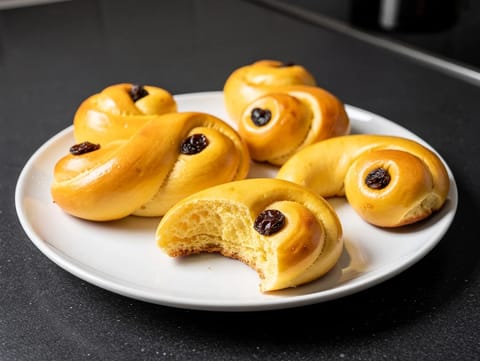
Lussekatter (Swedish Saffron Buns with Cardamom and Raisins)
Swedish saffron buns shaped into curls with raisins
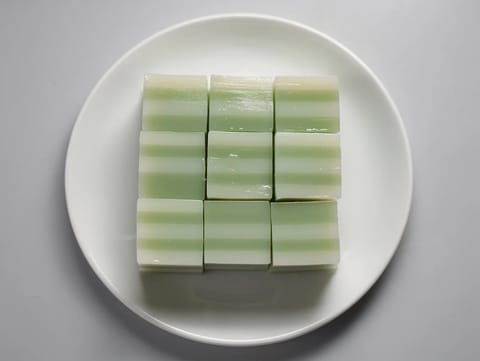
Khanom Chan (Layered Coconut Dessert)
Steamed Thai layered coconut dessert scented with pandan
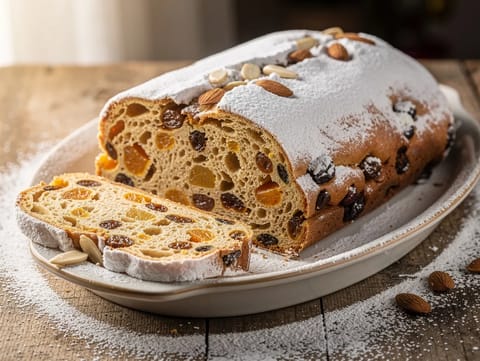
Stollen (German Christmas Fruit Bread with Raisins and Almonds)
German Christmas fruit bread with raisins, peel and almonds
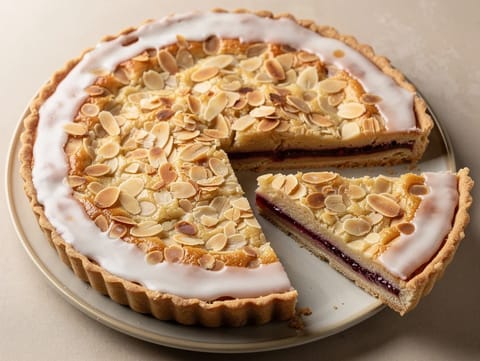
Bakewell Tart
Bakewell tart with raspberry jam and almond frangipane

Roze Koeken (Dutch Pink Iced Cakes)
Soft Dutch sponge cakes topped with smooth pink icing
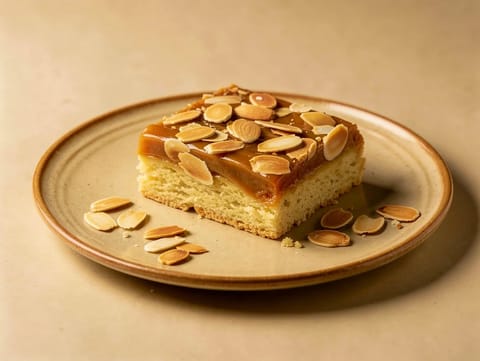
Mazurek (Polish Easter Shortcrust Tart)
Polish shortcrust tart topped with caramel and toasted almonds
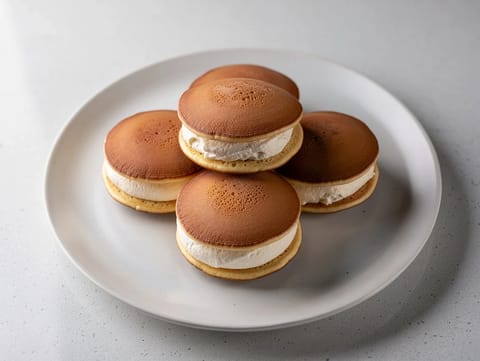
Cream-Filled Dorayaki (Japanese Honey Pancakes)
Japanese honey pancakes sandwiched with lightly sweetened whipped cream
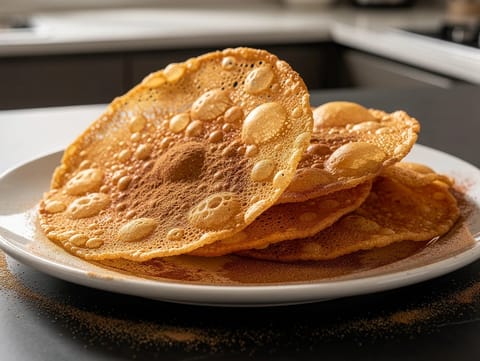
Buñuelos (Crispy Fried Pastry Discs)
Crispy fried pastry discs dusted with cinnamon sugar
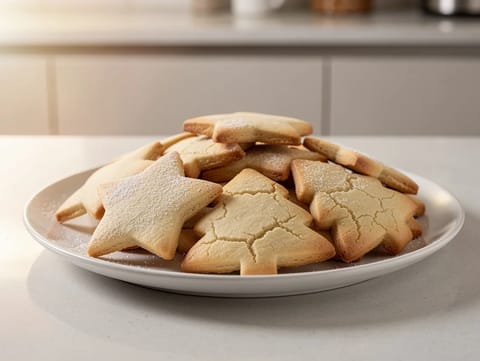
Christmas Sugar Cookies with Vanilla Butter Dough
Buttery vanilla sugar cookies cut into festive shapes
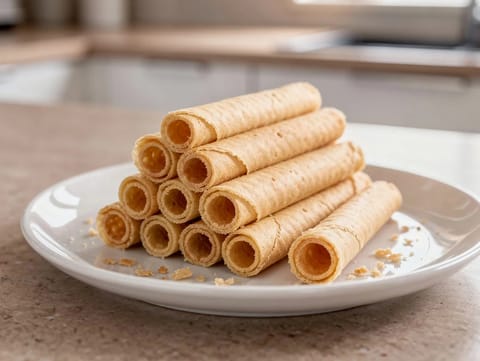
Nieuwjaarsrolletjes (Dutch New Year’s Wafer Rolls)
Crisp Dutch wafer rolls flavoured with butter and vanilla
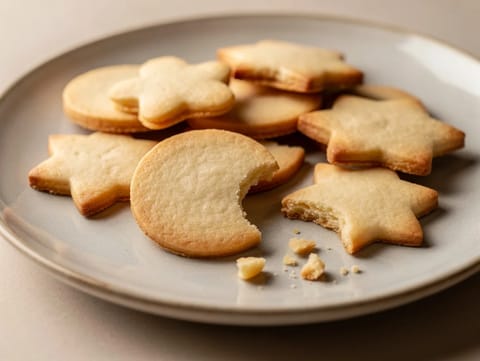
Nisse Cookies (Nordic Holiday Biscuits with Vanilla and Cardamom)
Crisp Nordic biscuits with vanilla and cardamom
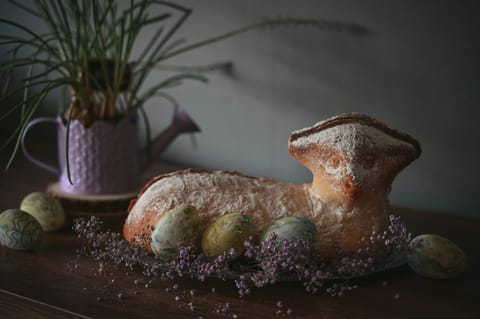
Gâteau Agneau de Pâques (Belgian Easter Lamb Sponge Cake)
Belgian Easter sponge cake finished with icing sugar
You might also like
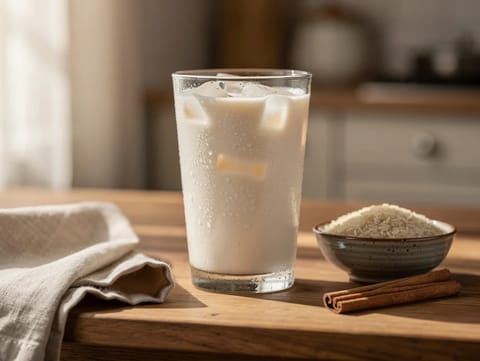
Horchata Casera (Homemade Rice and Cinnamon Drink)
Chilled rice drink blended with cinnamon, vanilla and sugar
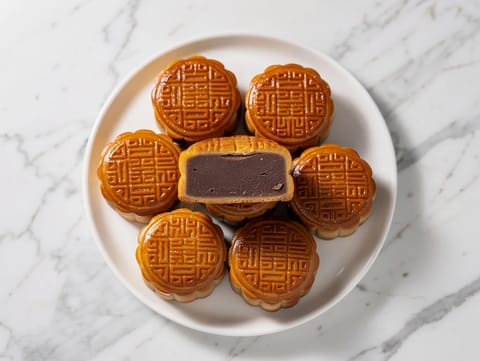
Mooncakes (Baked Cakes with Golden Syrup and Red Bean Filling)
Baked mooncakes with golden syrup dough and red bean paste
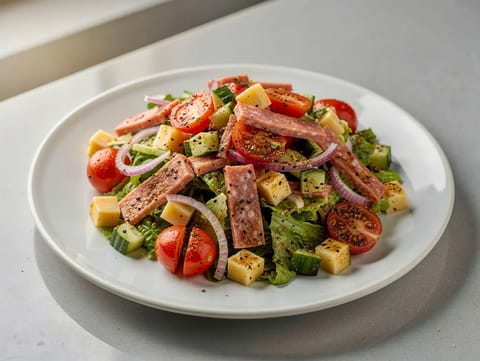
Chopped Italian Salad with Salami and Provolone
Chopped salad with lettuce, salami, provolone and vinaigrette
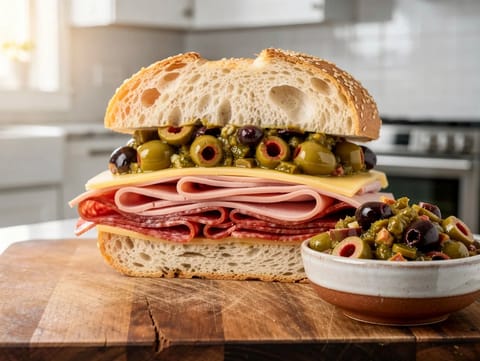
Muffuletta Sandwich with Olive Salad
Pressed sandwich layered with olive salad, meats and provolone

Seco de Carne (Peruvian Herb-Braised Beef Stew)
Peruvian beef stew braised with coriander, ají amarillo and beer

Tarka Dal with Jeera Rice
Red lentil tarka dal served with fragrant cumin jeera rice
Make this recipe easier next time
AdvertisementThese tools help you get better results with less effort.
KitchenAid Stainless Steel Mixing Bowls
- Non-slip base
- Stainless steel
- Not microwave safe
T-fal Specialty Nonstick Handy Pot with Glass Lid 3 Quart
- Easy food release
- Dishwasher safe
- Not induction compatible
OXO Good Grips Stainless Mixing Bowl Set
- Non-slip base
- Comfort grip
- Higher price
WMF Mini Saucepan 16 cm with Lid
- High-quality stainless steel
- Even heat distribution
- Higher price point
Enjoy cooking with JustRecipes?
Add JustRecipes as one of your preferred Google sources to discover our recipes more easily across Google Search.
Add JustRecipes to GoogleEvery recipe on JustRecipes follows the same structured editorial process. Learn how recipes are created, validated, translated, illustrated, and continuously improved across the platform. How we create recipes.
