
Pão de Queijo (Brazilian Cheese Bread)
Why this recipe works
- Distinctive chew: Tapioca starch creates the signature stretchy centre while the hot oven sets the outside into a golden shell.
- Hot liquid dough method: Pouring the simmered milk and oil mixture over the starch hydrates it quickly, giving the dough its glossy, elastic texture.
- Best served warm: The breads work as a snack, breakfast pastry or party bite, with the cheese flavour and chewy centre at their best straight from the oven.
Get the most out of this recipe
Timing notes
- Cool before adding eggs: Let the hot tapioca mixture cool until warm rather than hot so the eggs blend smoothly instead of scrambling.
- Serve promptly: Pão de queijo has its best texture within about 10 minutes of baking, when the centres are still stretchy and tender.
Ingredient notes
- Tapioca starch is essential: Tapioca starch gives pão de queijo its elastic chew; wheat flour will not produce the same texture.
- Choose a full-flavoured cheese: Aged cow’s milk cheese brings savoury depth. Parmesan can be used for a sharper, saltier result.
Texture tips
- Use the hot tray: Placing the dough on a preheated baking tray helps the breads puff quickly and hold their rounded shape.
- Do not bake them dry: Remove the breads once puffed and deeply golden; baking too long can make the centres less soft and chewy.
Make-ahead tips
- Freeze after baking: Cool the breads completely, then freeze in a sealed bag. Reheat from frozen at 180°C (355°F) until piping hot.
- Refresh before serving: Reheat chilled pão de queijo on a baking tray at 180°C (355°F) to bring back warmth and a lightly crisp exterior.
Equipment you'll need
Ingredients
Instructions
- Heat the oven to 200°C (400°F) and set a baking tray in the oven to preheat. Crack the eggs into a small bowl and beat lightly.
- Put the olive oil, whole milk, fine sea salt and black pepper in a saucepan and bring just to a simmer over medium heat. As soon as you see small bubbles around the edge, take it off the heat.
- Tip the tapioca starch into a mixing bowl and pour the hot milk mixture over it. Whisk quickly until you have a thick, glossy paste, then leave it to cool until warm rather than hot so it will not scramble the eggs.
- Whisk in the eggs a little at a time until the dough becomes smooth and stretchy. Fold in the aged cow’s milk cheese until evenly distributed.
- With lightly oiled hands, roll the dough into 12 balls and place them on the hot baking tray, spaced apart. Bake for 18 to 20 minutes until puffed and deeply golden, then serve warm.
Recipe notes
Tips
- Cooling the tapioca mixture until just warm makes it much easier to incorporate the eggs smoothly.
- Preheating the baking tray helps the breads puff quickly and set their shape.
- For the best texture, serve within 10 minutes of baking while the centres are at their chewiest.
Substitutions
- Replace aged cow’s milk cheese with parmesan for a sharper, saltier flavour.
- Replace olive oil with sunflower oil for a more neutral taste.
Storage
- Refrigerate up to 2 days
- Cool completely, then store in an airtight container in the fridge. Reheat on a baking tray at 180°C (355°F) for 6 to 8 minutes until piping hot; freeze in a sealed bag for up to 2 months and reheat from frozen at 180°C (355°F) for 10 to 12 minutes.
Ratings & reviews
Liked this recipe? Share your feedback to support our cooking community.
Tried this recipe?
Choose 1–5 stars. A comment is optional.
Stay inspired
Discover new recipes, seasonal favourites and cooking inspiration every day. Follow JustRecipes on Pinterest and Spillt.
Recipe overview
- Servings: 12 pieces
- Yield: cheese breads
- Total time: 45min (20min active)
- Difficulty: Easy
- Cuisine: Latin American
-
Allergens:
Eggs Milk
Plan your meals and get a complete grocery list automatically.
Add to meal plannerEquipment you'll need
Got ingredients left?
Find recipes using ingredients from this recipe or what you already have at home.
Find recipes with these ingredients →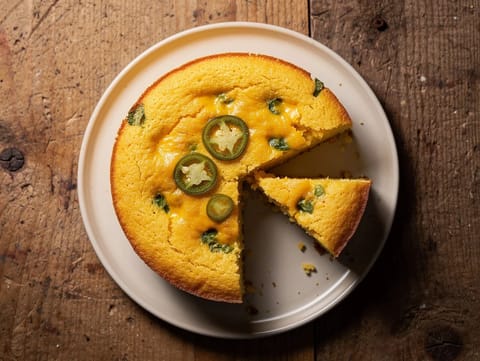
Skillet Cornbread with Jalapeño and Cheddar
Golden skillet cornbread with jalapeño and cheddar
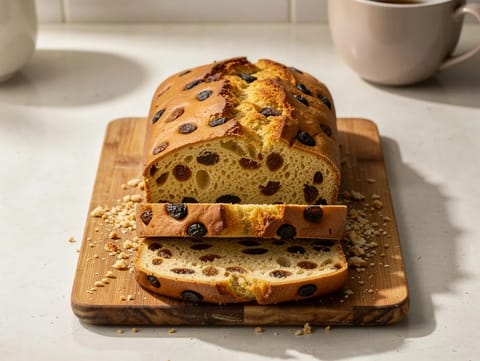
Barmbrack (Irish Tea-Soaked Fruit Loaf)
Tea-soaked fruit loaf enriched with butter, egg and milk
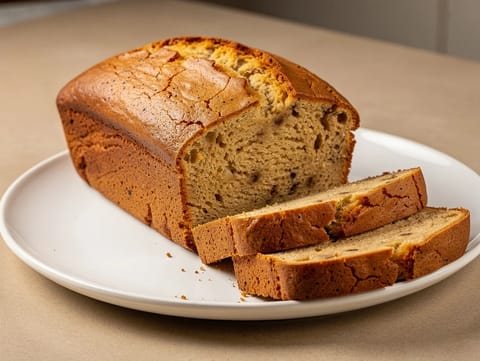
American Banana Bread
Moist banana bread loaf with vanilla
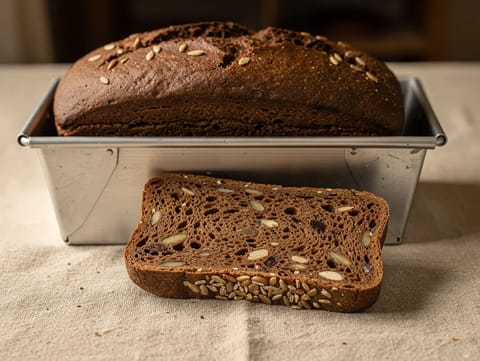
Nordic Rugbrød (Dense Rye Bread with Sunflower Seeds)
Dense Nordic rye bread with treacle and sunflower seeds
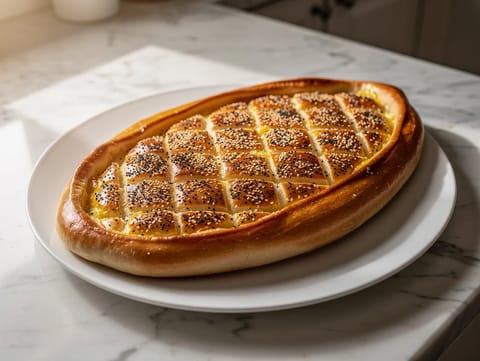
Ramadan Pide (Turkish Iftar Flatbread)
Soft Turkish flatbread topped with sesame and nigella
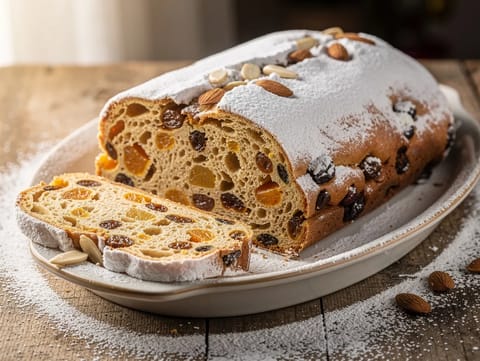
Stollen (German Christmas Fruit Bread with Raisins and Almonds)
German Christmas fruit bread with raisins, peel and almonds
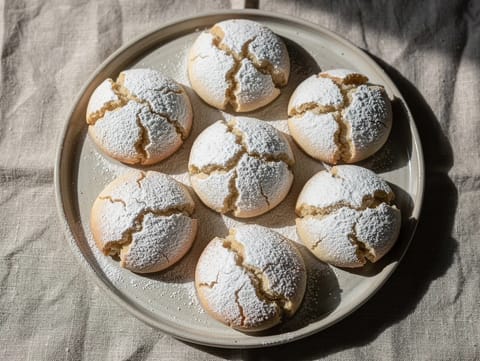
Ghriba (Moroccan Crackled Almond Biscuits)
Crackled almond biscuits flavoured with orange blossom water

Air Fryer Butter Biscuits
Buttermilk biscuits cooked in the air fryer and brushed with butter.
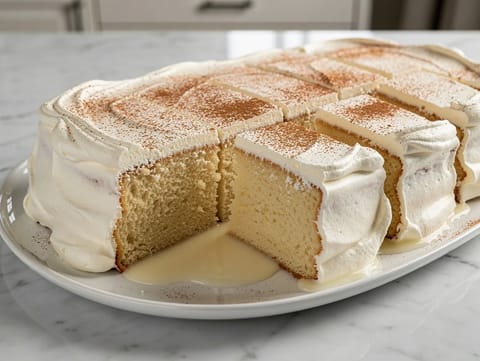
Tres Leches Cake (Milk-Soaked Sponge Cake)
Milk-soaked sponge cake with whipped cream and cinnamon
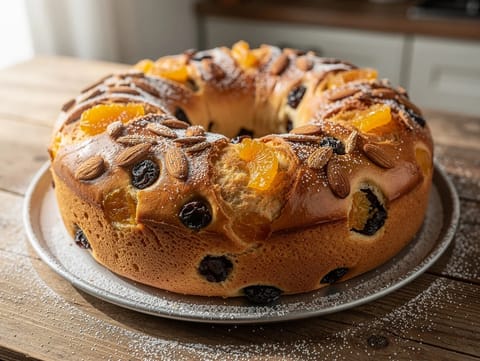
Bolo Rei (King’s Cake)
Portuguese sweet ring bread with candied peel and raisins

Boules de Berlin (Jam-Filled Doughnuts)
Yeasted jam doughnuts rolled in caster sugar
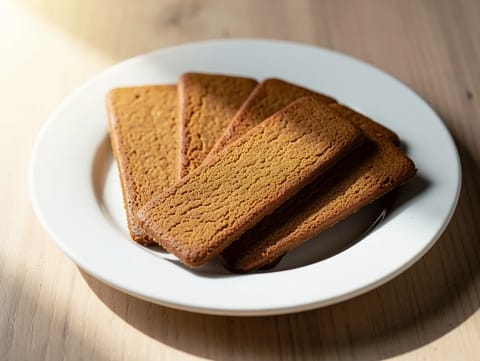
Speculoos (Belgian Spiced Biscuits)
Thin, crisp speculoos biscuits with warming spices
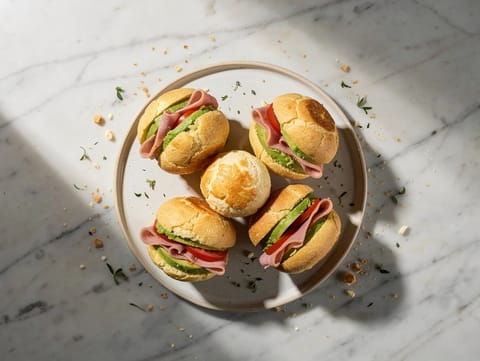
Pão de Queijo Sandwich with Avocado and Ham
Warm pão de queijo sandwich with avocado, tomato and ham
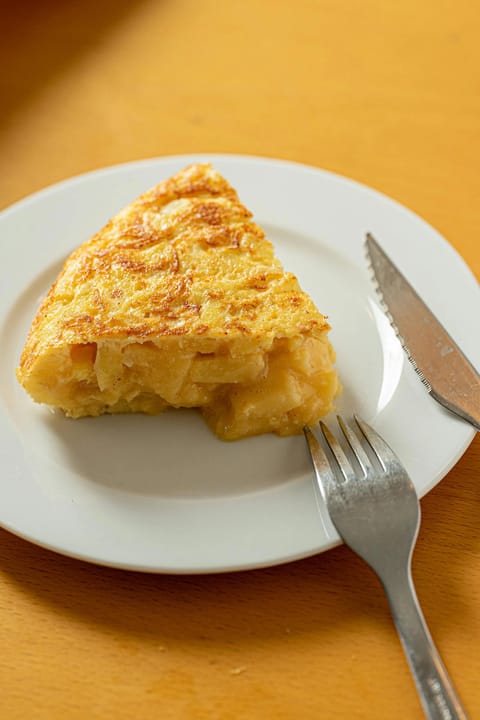
Tortilla Española (Spanish Omelette)
Thick Spanish omelette with potatoes and onion
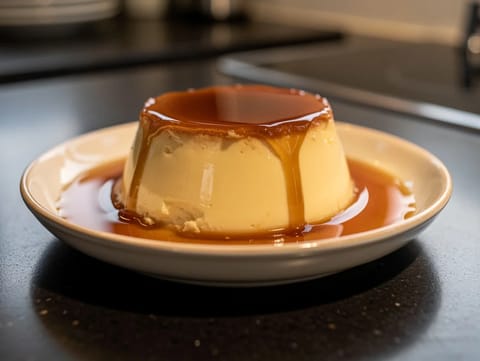
Flan Casero (Spanish Caramel Custard)
Spanish baked caramel custard made with eggs, milk and vanilla
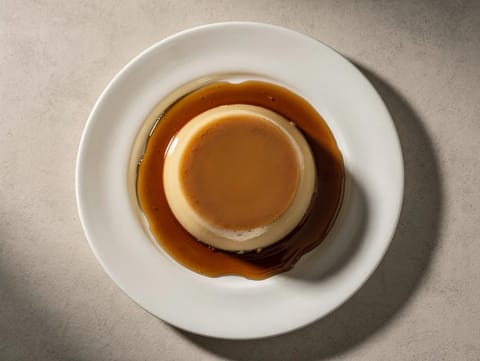
Light Spanish Flan (Caramel Custard)
Light Spanish flan with caramel sauce
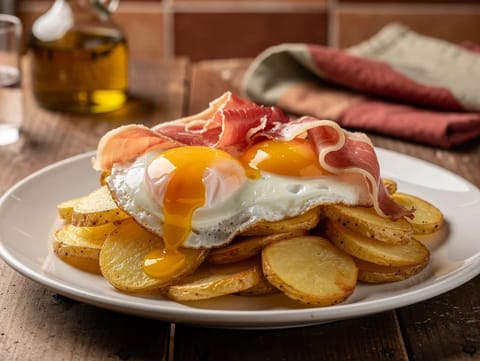
Huevos Rotos con Jamón y Patatas (Fried Eggs with Ham and Potatoes)
Crisp potatoes topped with runny eggs and Serrano ham

Flan de Caramelo
Baked caramel flan with vanilla custard, chilled before serving.
You might also like
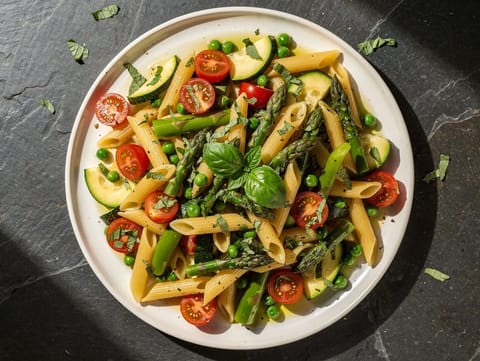
Vegan Pasta Primavera
Vegan penne with sautéed spring vegetables and lemon

Southern Fried Chicken with Buttermilk Gravy
Crisp fried chicken drumsticks with peppery buttermilk gravy
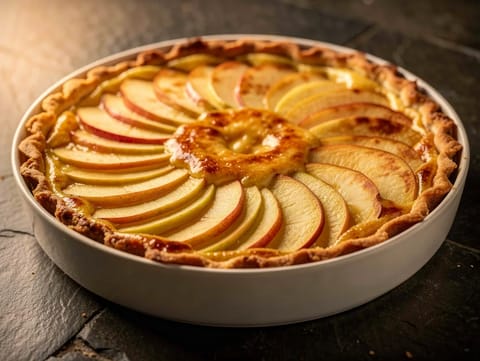
Tarte Normande aux Pommes (French Apple Tart)
French apple tart with shortcrust pastry and cream custard
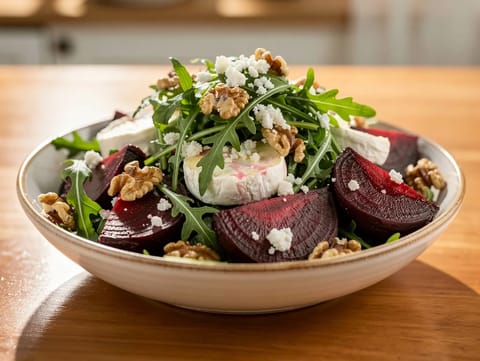
Roasted Beetroot and Goat’s Cheese Salad
Roasted beetroot salad with goat's cheese and rocket
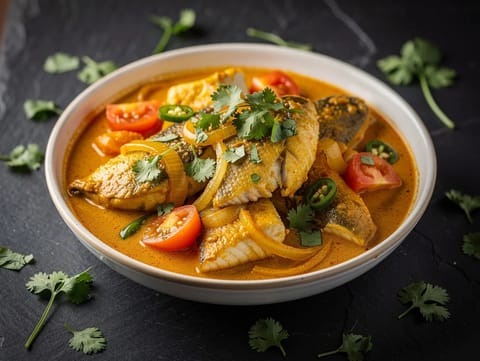
Goan Fish Curry with Coconut and Tamarind
Goan fish curry with coconut milk and tamarind
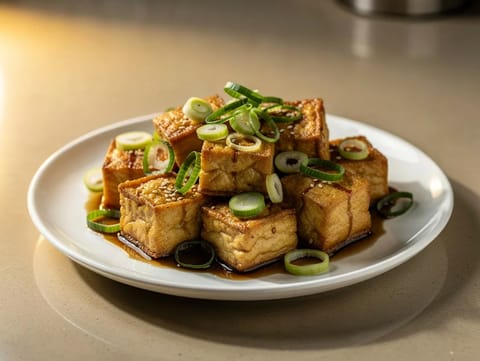
Air Fryer Tofu
Air-fried tofu tossed in soy, sesame, and spring onion.
Make this recipe easier next time
AdvertisementThese tools help you get better results with less effort.
KitchenAid Stainless Steel Mixing Bowls
- Non-slip base
- Stainless steel
- Not microwave safe
T-fal Specialty Nonstick Handy Pot with Glass Lid 3 Quart
- Easy food release
- Dishwasher safe
- Not induction compatible
OXO Good Grips Stainless Mixing Bowl Set
- Non-slip base
- Comfort grip
- Higher price
WMF Mini Saucepan 16 cm with Lid
- High-quality stainless steel
- Even heat distribution
- Higher price point
Enjoy cooking with JustRecipes?
Add JustRecipes as one of your preferred Google sources to discover our recipes more easily across Google Search.
Add JustRecipes to GoogleEvery recipe on JustRecipes follows the same structured editorial process. Learn how recipes are created, validated, translated, illustrated, and continuously improved across the platform. How we create recipes.
