
Kansas City Style BBQ Burnt Ends
Why this recipe works
- Deep barbecue flavour: Brown sugar, smoked paprika, garlic, onion and chilli season the brisket before the sauce adds tang, sweetness and savoury depth.
- Sticky caramelised edges: Cutting the brisket into cubes before the final bake exposes more surface area, helping the glaze cling and darken at the edges.
- Rich and satisfying: Brisket point has enough fat and connective tissue to become tender and full-flavoured during the long roast.
Get the most out of this recipe
Authenticity notes
- Kansas City influence: The sweet, tomato-based sauce with vinegar and molasses reflects the bold, glossy barbecue style associated with Kansas City.
- Oven-friendly method: Traditional burnt ends are usually cooked in a smoker; this version uses the oven and smoked paprika to create a practical home-cooking alternative.
- Brisket point preferred: The point end is the best choice because it is fattier than the flat, giving the cubes a richer texture after slow cooking.
Timing notes
- Rest before cubing: Letting the brisket rest helps it firm up slightly, making it easier to cut into neat cubes rather than shredding.
- Mostly hands-off: The active work is mainly seasoning, saucing and glazing; most of the time is slow oven cooking.
- Best served hot: Serve soon after the final glaze sets, while the sauce is sticky and the edges still have texture.
Texture tips
- Check tenderness first: If the brisket still feels tight when pierced, continue cooking before resting; it should be tender enough to cube cleanly.
- Spread in one layer: Give the sauced cubes space on the tray so the glaze can thicken and caramelise rather than steam.
- Avoid drying the edges: Once the sauce clings thickly and the edges are sticky, remove the tray rather than continuing to bake.
Make-ahead tips
- Cook the brisket ahead: The initial roasted brisket can be cooled and refrigerated before cubing, saucing and glazing later.
- Reheat gently: Reheat on a tray at 180°C (355°F) until piping hot and sticky again, adding a splash of water if the sauce looks dry.
- Freezer-friendly: Cool completely, freeze in a sealed container, then defrost overnight in the fridge before reheating.
Equipment you'll need
Ingredients
Instructions
- Heat the oven to 150°C (300°F). Pat the brisket dry and trim any very hard surface fat, leaving a thin layer for flavour.
- In a bowl, mix the brown sugar, sweet paprika, smoked paprika, ground Kashmiri chili, ground garlic, ground onion, fine sea salt, and black pepper. Rub the mixture all over the brisket, pressing it on well.
- Set the brisket in a roasting pan and roast for 3 hours, turning the pan once, until a skewer slides in with little resistance. If the surface looks like it is catching, loosely cover the top with foil for the remainder of the cook.
- Lift the brisket onto a board and rest for 20 minutes so it firms up for clean slicing. Keep the oven on.
- While the brisket rests, make the sauce: in a saucepan, whisk together the ketchup, apple cider vinegar, Worcestershire sauce, Dijon mustard, and molasses. Warm over low heat for 5 minutes, stirring, until smooth and glossy.
- Cut the brisket into 3 cm cubes, discarding any large pockets of unrendered fat. Tip the cubes into a bowl, add about two-thirds of the sauce, and toss until well coated.
- Spread the sauced cubes on a baking tray in a single layer. Bake for 35 minutes, turning once, until sticky, caramelised at the edges, and the sauce clings thickly.
- Toss the burnt ends with the remaining sauce and bake for 7 minutes more to set the glaze. Serve hot, scraping up any sticky bits from the tray.
Recipe notes
Tips
- For the best texture, aim for brisket that is tender enough to cube without shredding; if it still feels tight after roasting, return it to the oven for 20 to 30 minutes before resting.
- Keep the sauce at a gentle heat so it stays glossy; a hard boil can make it taste harsh and reduce too quickly.
- Food safety: make sure the brisket is cooked until piping hot throughout before serving, especially for young children, older adults, and anyone who is pregnant or immunocompromised.
Substitutions
- Replace Dijon mustard with whole-grain mustard for a slightly coarser, more textured sauce.
- Replace apple cider vinegar with white wine vinegar for a cleaner, sharper tang.
- Replace molasses with dark honey for a lighter, less bitter sweetness.
Storage
- Refrigerate up to 3 days
- Cool completely, then refrigerate in a sealed container. Reheat on a baking tray at 180°C (355°F) for 12 to 15 minutes until piping hot and sticky again; add a splash of water if the sauce looks dry. Freeze in a sealed container for up to 2 months and defrost overnight in the fridge before reheating.
Ratings & reviews
Liked this recipe? Share your feedback to support our cooking community.
Tried this recipe?
Choose 1–5 stars. A comment is optional.
Stay inspired
Discover new recipes, seasonal favourites and cooking inspiration every day. Follow JustRecipes on Pinterest and Spillt.

Recipe overview
- Servings: 4 servings
- Total time: 5h (35min active)
- Difficulty: Medium
- Cuisine: American
Plan your meals and get a complete grocery list automatically.
Add to meal plannerEquipment you'll need
Got ingredients left?
Find recipes using ingredients from this recipe or what you already have at home.
Find recipes with these ingredients →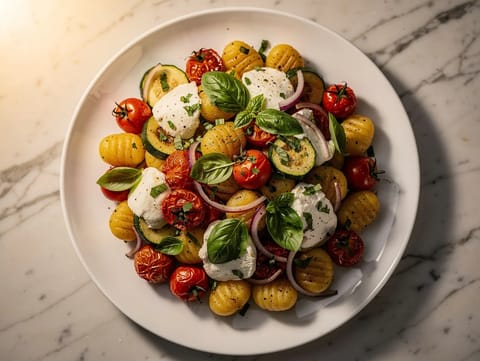
Sheet-Pan Gnocchi with Tomatoes, Mozzarella and Basil
Roasted gnocchi with cherry tomatoes, mozzarella and basil
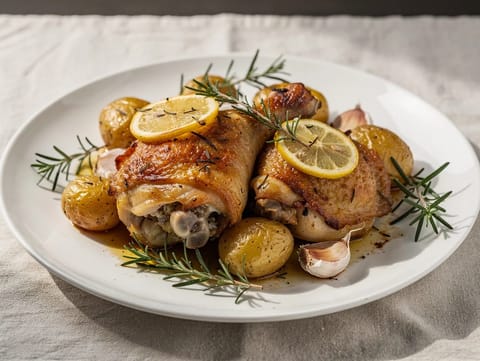
Pollo al Limone Traybake (Chicken with Lemon and Potatoes)
Chicken thighs traybake with lemon, rosemary and baby potatoes
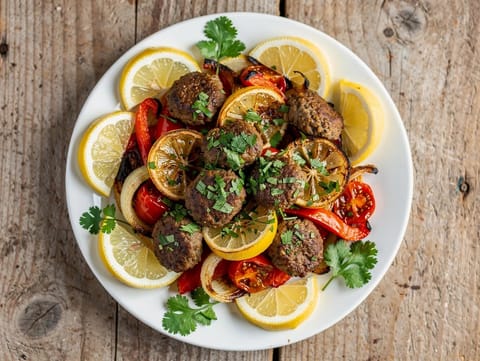
Moroccan Lamb Kofta Traybake with Peppers and Tomatoes
Traybaked lamb kofta with peppers, tomatoes, lemon and coriander
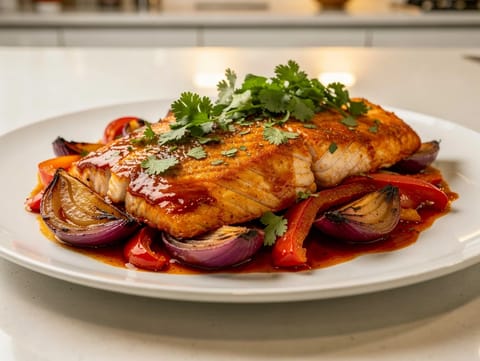
Pescado en Achiote (Baked Fish with Annatto Paste)
Baked white fish with achiote, citrus and roasted peppers
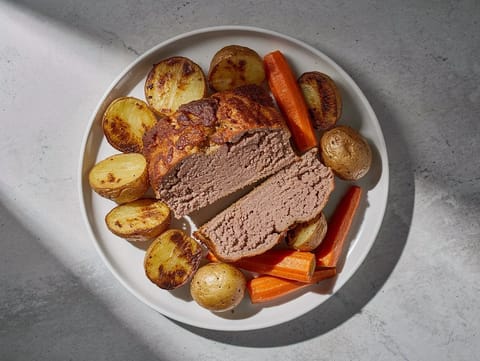
Sheet-Pan Meatloaf with Potatoes and Carrots
Sheet-pan meatloaf with roasted potatoes and carrots
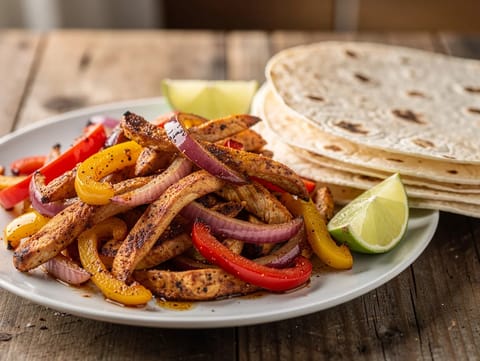
Sheet-Pan Chicken Fajitas
Sheet-pan chicken fajitas with peppers, onion and lime
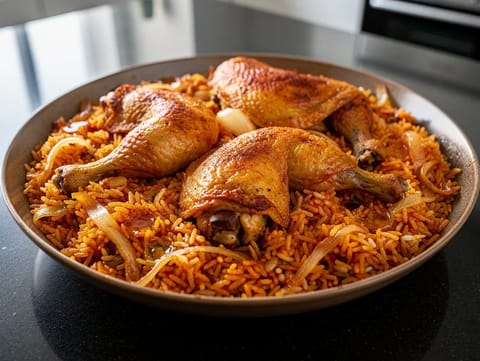
Eid Chicken Pilaf (Turkish Rice Cooked in Stock with Browned Thighs)
Turkish chicken pilaf with basmati rice simmered in stock
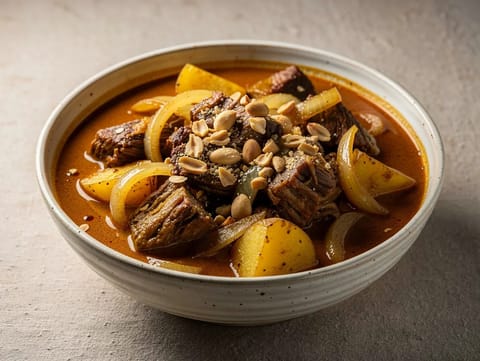
Massaman Curry with Beef, Potatoes and Peanuts
Massaman beef curry with potatoes, tamarind and roasted peanuts
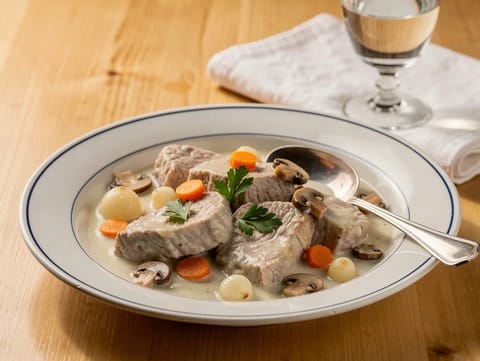
Blanquette de Veau (Creamy French Veal Stew)
Creamy veal stew with mushrooms, carrots and a velvety sauce
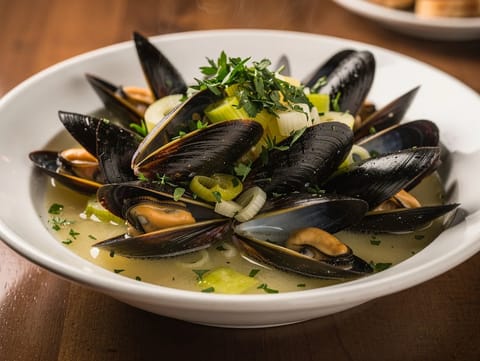
Mosselen Natuur (Steamed Mussels with White Wine)
Mussels steamed with white wine, leeks and celery
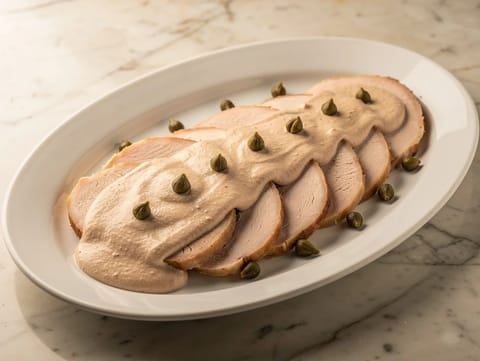
Tacchino Tonnato (Cold Turkey with Tuna and Caper Sauce)
Cold roast turkey topped with a creamy tuna, caper and lemon sauce
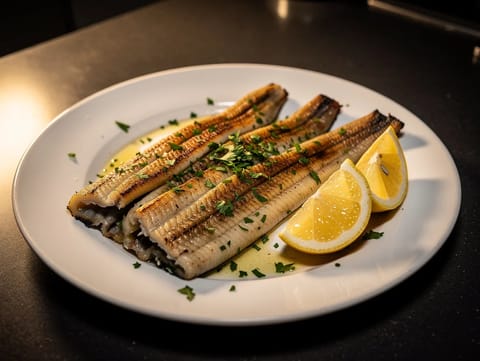
Anguilla alla Griglia (Italian Grilled Eel with Lemon and Garlic)
Italian grilled eel with lemon, garlic and parsley
Kansas City-Style BBQ Beef Ribs
Slow-baked beef ribs with a sweet, tangy BBQ glaze
Slow Cooker Beef Brisket with BBQ Sauce
Slow-cooked beef brisket finished with glossy BBQ-style sauce
Oven-Baked Baby Back Ribs with Honey Glaze
Slow-baked ribs finished with a sticky honey glaze
Southern BBQ Pulled Pork
Slow cooked pulled pork tossed in tangy BBQ sauce
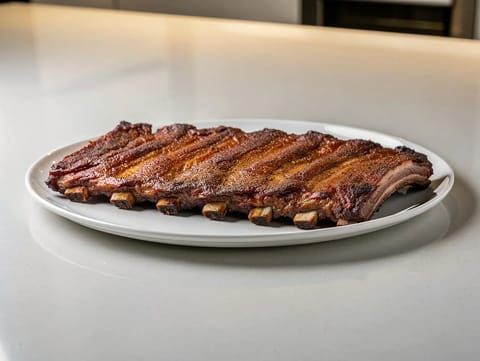
Rack of Pork Ribs with Smoky Dry Rub
Oven-baked pork ribs with smoky dry rub and vinegar sauce
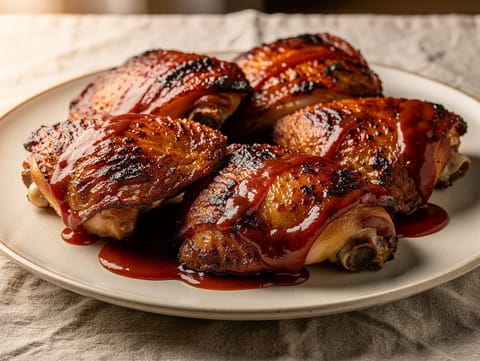
Oven-Baked BBQ Chicken Thighs
Oven-baked BBQ chicken thighs with tangy ketchup sauce
You might also like
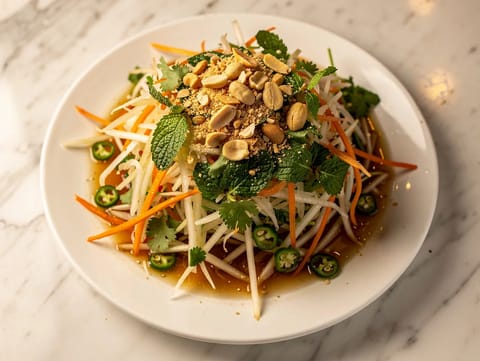
Gỏi Đu Đủ (Vietnamese Green Papaya Salad)
Crunchy green papaya salad with herbs, lime and peanuts
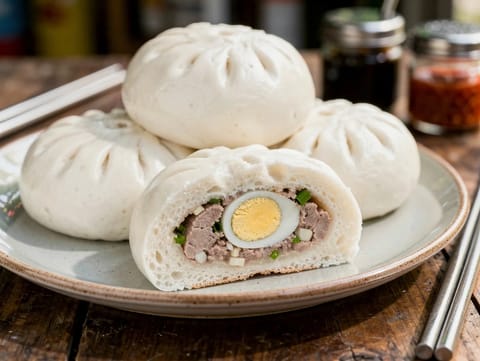
Bánh Bao (Vietnamese Steamed Pork Buns)
Fluffy steamed buns filled with minced pork and hard-boiled egg
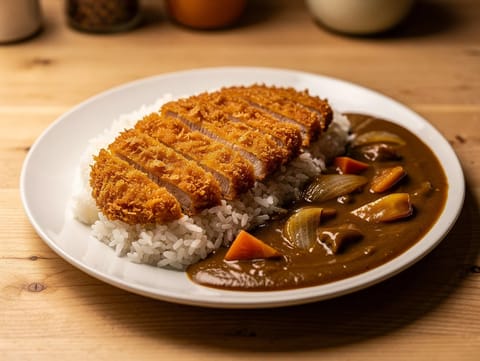
Katsu Curry (Pork Cutlet Curry)
Crispy pork katsu with mild curry sauce over rice
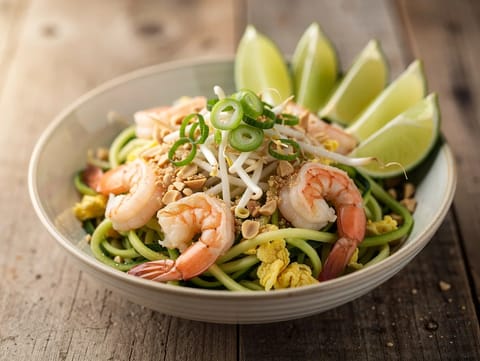
Pad Thai-Style Courgette Noodle Bowl with Prawns
Courgette noodle bowl with prawns, tamarind and peanuts

Festival-Style Spring Rolls (Pork, Cabbage and Shiitake)
Crisp spring rolls filled with pork, cabbage and shiitake
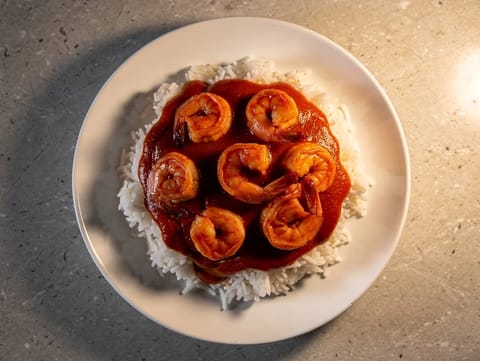
Camarones a la Diabla (Mexican Spicy Prawns)
Spicy prawns in guajillo and árbol chilli tomato sauce
Make this recipe easier next time
AdvertisementThese tools help you get better results with less effort.
KitchenAid Stainless Steel Mixing Bowls
- Non-slip base
- Stainless steel
- Not microwave safe
T-fal Specialty Nonstick Handy Pot with Glass Lid 3 Quart
- Easy food release
- Dishwasher safe
- Not induction compatible
OXO Good Grips Stainless Mixing Bowl Set
- Non-slip base
- Comfort grip
- Higher price
WMF Mini Saucepan 16 cm with Lid
- High-quality stainless steel
- Even heat distribution
- Higher price point
Enjoy cooking with JustRecipes?
Add JustRecipes as one of your preferred Google sources to discover our recipes more easily across Google Search.
Add JustRecipes to GoogleEvery recipe on JustRecipes follows the same structured editorial process. Learn how recipes are created, validated, translated, illustrated, and continuously improved across the platform. How we create recipes.
